Connect Zapier Chrome extension and WordPress to power AI-driven automation
- No-code AI automation
- Full audit trails and controls
- SOC 2 and GDPR compliant
- Easy visual workflow builder
- 9,000+ apps, 450+ AI tools
- Free tier available
Launch your first automated workflow
Start with a template that brings Zapier Chrome extension and WordPress together. Build enterprise-grade automation in minutes.
Our most popular template

How Zapier works
Zapier makes it easy to integrate Zapier Chrome extension with WordPress - no code necessary. See how you can get setup in minutes.
Choose a trigger
A trigger is the event that starts your Zap—like a "New Push" from Zapier Chrome extension.
Add your action
An action happens after the trigger—such as "Upload Media" in WordPress.
You’re connected!
Zapier seamlessly connects Zapier Chrome extension and WordPress, automating your workflow.
Supported triggers and actions
Zapier helps you create workflows that connect your apps to automate repetitive tasks. A trigger is an event that starts a workflow, and an action is an event a Zap performs.
- Instructions
- Input Fields (Optional)
Try ItTriggerInstant- Status
Try ItTriggerPolling- Post_status
- Post_type
Try ItTriggerPolling- Updated User
Triggers when a user is updated.
Try ItTriggerInstant
- Message TitleRequired
- Message DetailsRequired
ActionWrite- New Media
Triggers when a new media is uploaded.
Try ItTriggerPolling - Post_types
- Post_statuses
- Trigger only when state changes?
Try ItTriggerInstant- New User
Triggers when a new user is created.
Try ItTriggerPolling
For AI agents & developers
Use Zapier Chrome extension and WordPress with AI agents and code
Beyond Zap workflows. Call Zapier Chrome extension and WordPress actions directly from your AI client or your codebase, using the same 9,000+ app integrations Zapier already runs.
Connect via Zapier MCP
Expose Zapier Chrome extension and WordPress actions as tools in any MCP client. Authenticate once, then call them in natural language.
Example actions on this page
Works with
Claude · ChatGPT · Cursor · any MCP-compatible client
Call from code with the Zapier SDK
Trigger Zapier Chrome extension and WordPress actions from backend services, scripts, or agent code.
Install
# TypeScript / Node
npm install @zapier/zapier-sdk
Run an action
import { createZapierSdk } from '@zapier/zapier-sdk';

const zapier = createZapierSdk();
await zapier.runAction({ /* zapier-chrome-extension / wordpress action */ });There is no Python package yet. SDK is TypeScript-only (@zapier/zapier-sdk). The MCP server URL is personal to your account; get it at zapier.com/mcp.
Zapier is the automation platform of choice for 87% of Forbes Cloud 100 companies in 2023


93%
Customers who say using Zapier has made them better at their job
25m
Customers have created over 25 million Zaps on the platform
6 mins
The average user takes less than 6 minutes to set up a Zap
Connect Zapier Chrome extension and WordPress to integrate crucial parts of your business
With Zapier, you can integrate everything from basic data entry to end-to-end processes. Here are some of the business-critical workflows that people automate with Zapier.
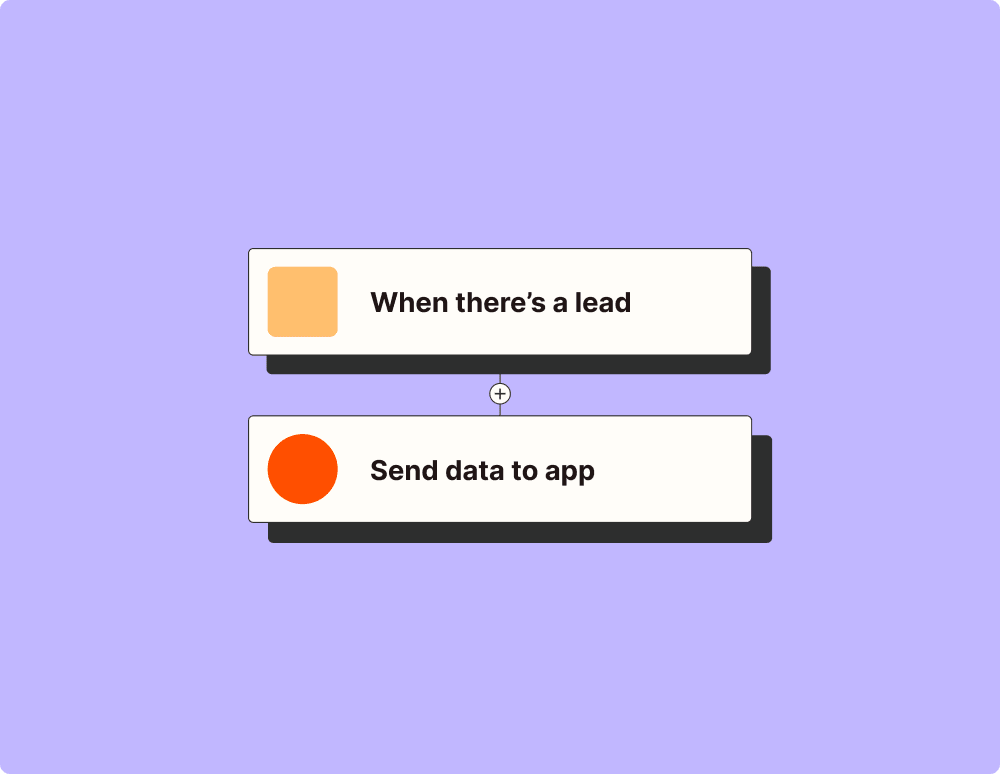
Automate your lead management and improve conversions
Create more impactful campaigns with automation

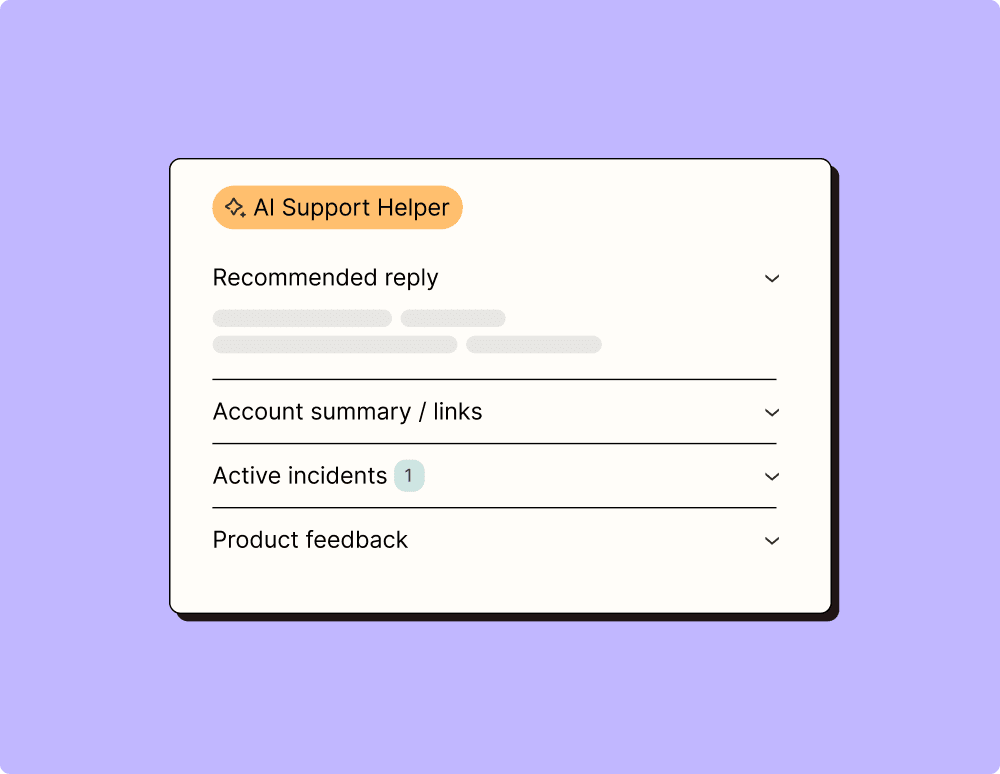
Provide world-class support with a little help from automation
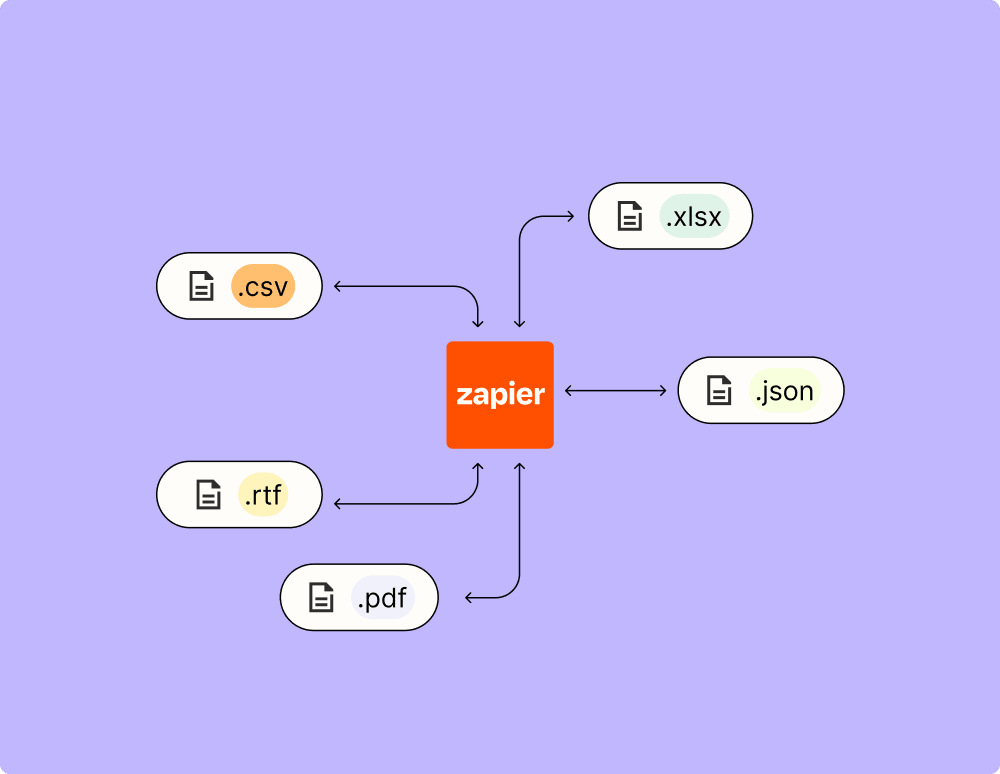
Automate your way to actionable, up-to-date data
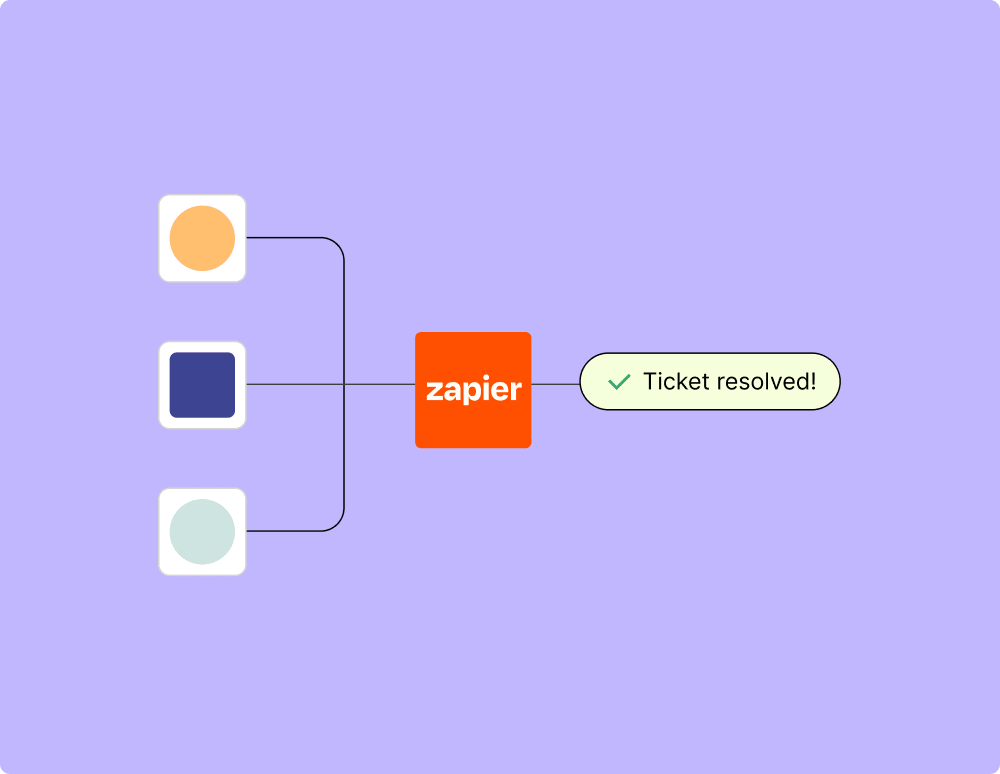
Resolve incidents faster with automation
Learn how to automate WordPress on the Zapier blog
Make work flow with AI


