Creating great content takes a lot of work. There's researching, talking to subject matter experts, writing, editing, editing again. After all of that, you have a draft that, if you're lucky, you don't hate.
And the wild thing is, creating the content is only half the battle. Distributing all the great content you create is essential to content marketing success, but it can also feel like a heavy added burden. Especially since, to do it well, you'll want to cater each social media post to its given platform, rather than just copy/pasting the same post everywhere. That kind of specificity takes work! Or, at least, it used to.
Thanks to this thing called OpenAI that you may or may not have heard about recently, AI can help you write your social media content and optimize it for each individual channel. Pair AI with Zapier, and you can make writing social copy as fast and painless as possible.
Looking for GPT-4 or OpenAI's other latest models? You can access those via our ChatGPT integration now—allowing you to add ChatGPT-powered conversations into apps like Slack. You need $5 or more of credit in your OpenAI account to access GPT-4. Discover popular ways to use the ChatGPT Zapier integration.
Write social media copy with AI
With Zapier, you can create automated workflows—we call them Zaps—that send information from one app to another. You can create them from scratch, or use a Zap template that has preselected the tools and actions for you.
The Zap below will send a prompt to OpenAI to read your article and generate social media posts for it as soon as you add the link to your published article to Airtable. I used Airtable because it's a popular tool for managing editorial calendars, but if you use another tool, you can easily swap them when building your own. The basic steps for setting up your Zap should be the same.
Send prompts to GPT-3 for updated Airtable records
This workflow requires a multi-step Zap, available on a paid Zapier plan or during a free trial. Learn more about multi-step Zaps.
Before you begin
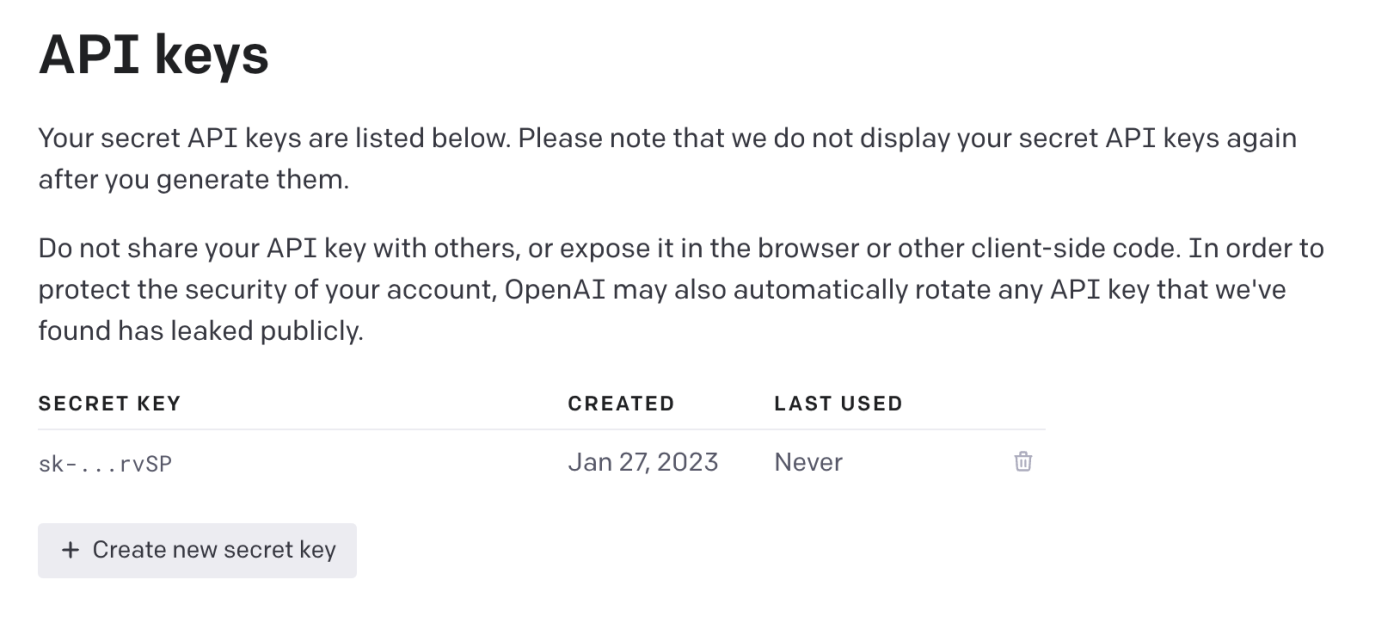
Before you start building your Zap, you'll need to set up a free OpenAI account. Once that's done, go to the settings tab in the top-right corner and select View API keys.
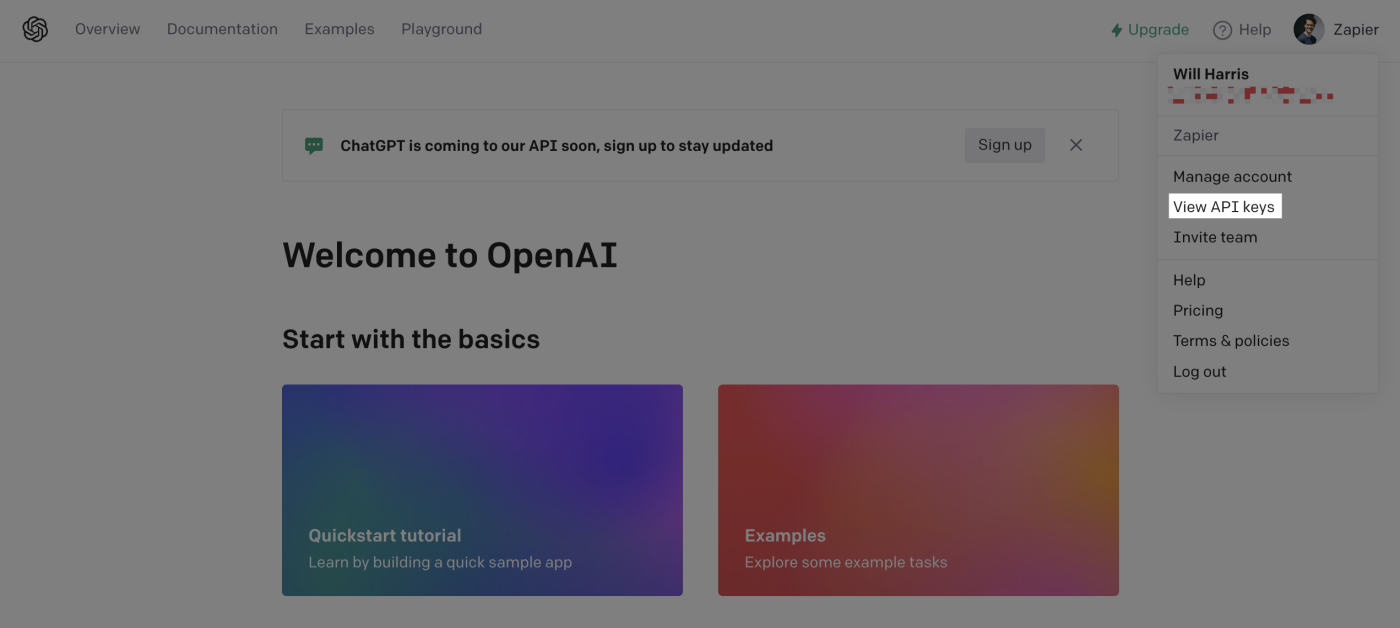
Click the + Create new secret key button to produce your API key. While you're there, make sure you copy the key and paste it somewhere safe, as you'll need it later when linking your OpenAI account to Zapier.
Next, you'll need to do some quick prep in Airtable.
Below, you'll see the example editorial calendar I created, with standard columns like the name of the article, author, draft link, etc. I also included fields for LinkedIn and Twitter copy, which is where our Zap will eventually add our social copy.

To trigger our Zap, we'll also need to create a Last Modified Time column. This column changes any time a column that you specify is updated.
To create this column, click the + button in the top-right of your table and select Last Modified Time.
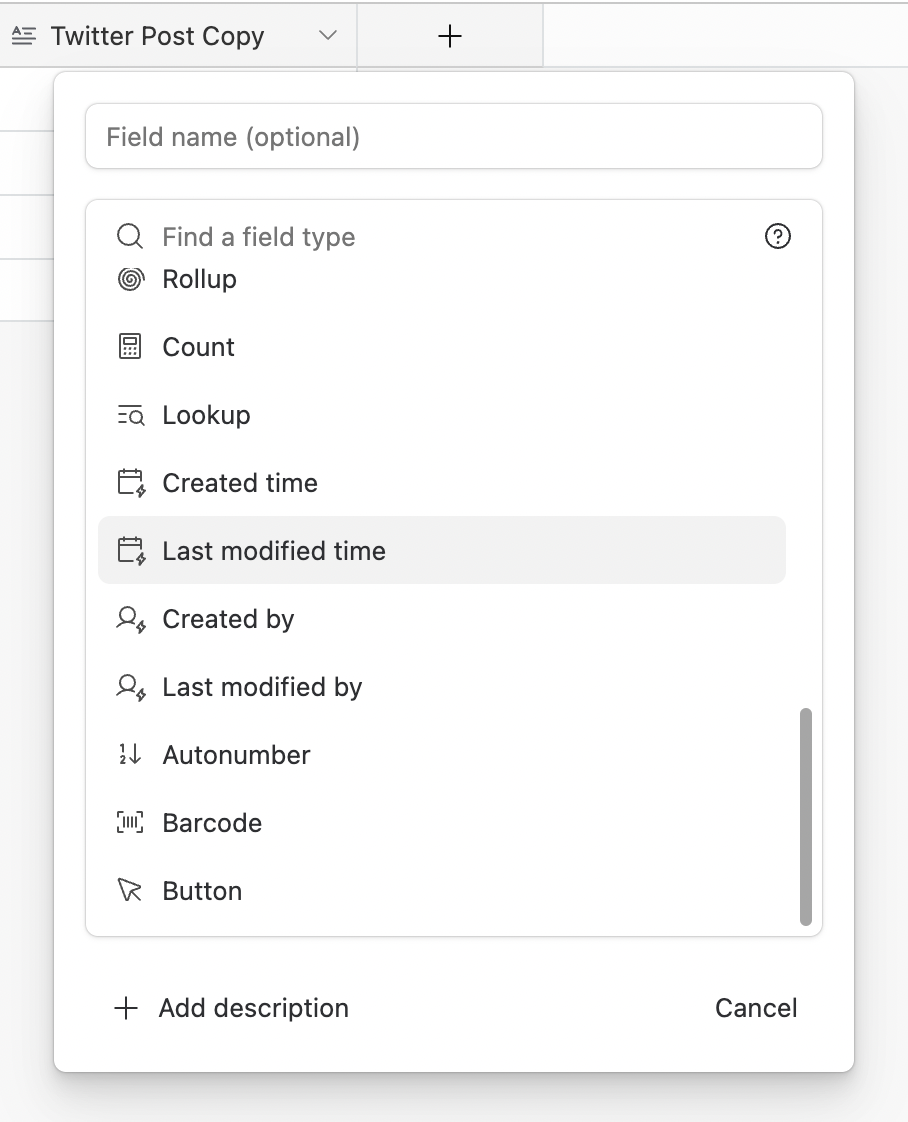
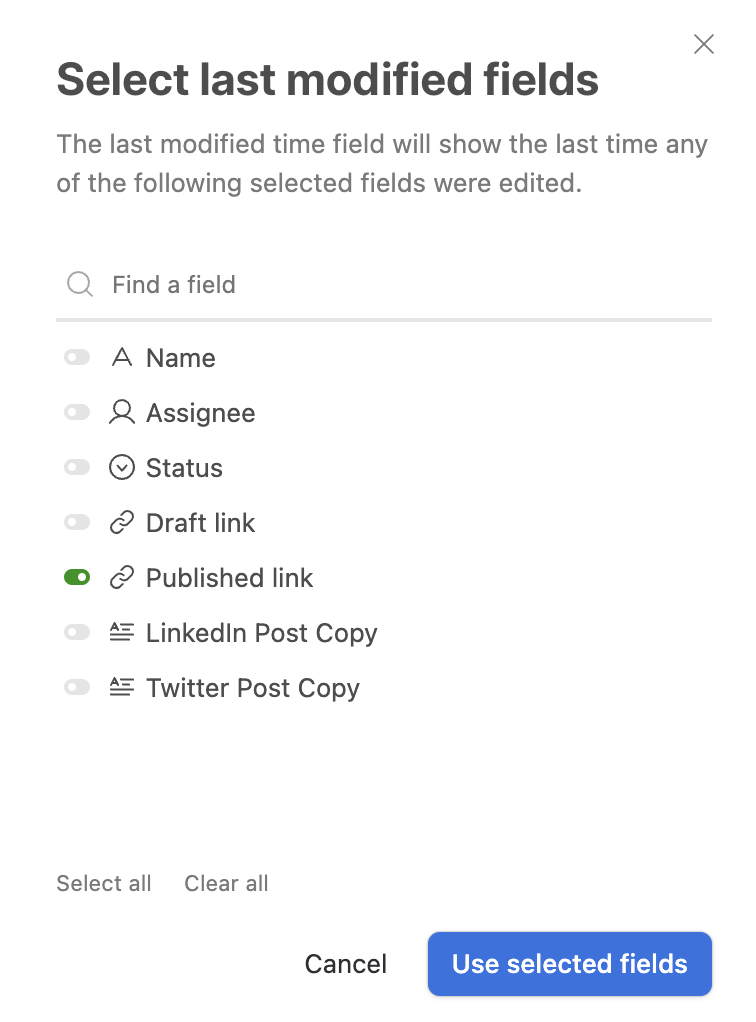
Next, click the Specific fields radio button. A pop-up will appear on your screen with a list of the columns in your table. Select the one you created for your finished article's URL—mine is titled Published link—then click Use selected fields.
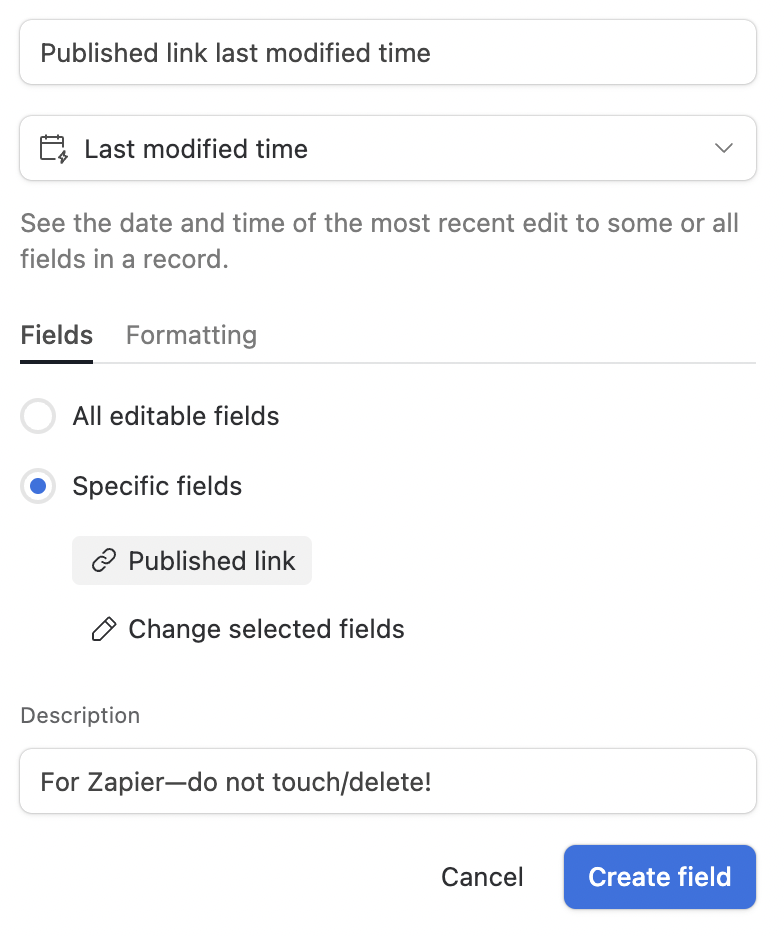
Give your Last modified column a name and a description, if you'd like. I'd recommend it so coworkers with access to your Airtable understand what it is. After that, click Create field.
Set up your Airtable trigger
Now it's time to start building our Zap. Every Zap starts with a trigger: an event that puts your automation into motion.
Choose Airtable as your trigger app and New or Updated Record for your trigger event.
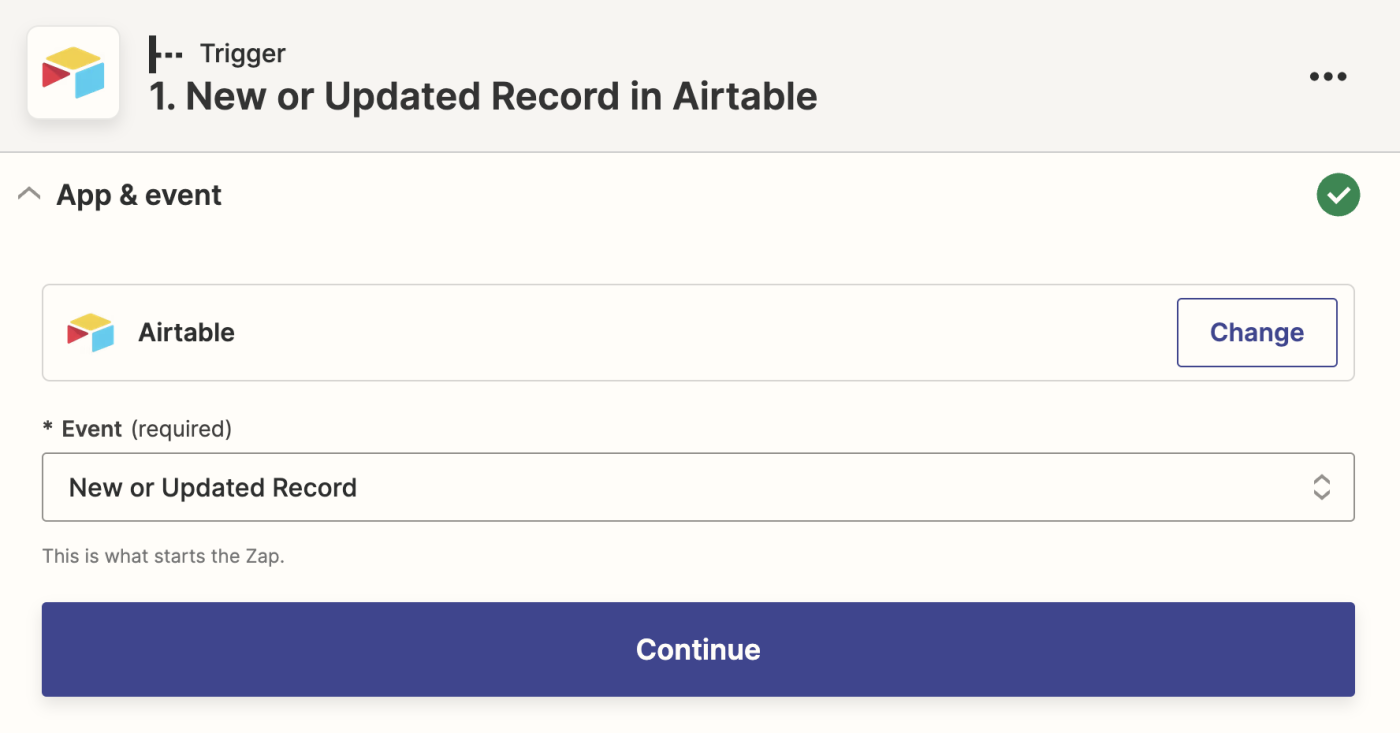
If you haven't yet, you'll need to connect your Airtable account to Zapier. Click Choose an account… and either select an account from the dropdown (if you've connected Airtable to Zapier before) or click + Connect a new account.
Click Continue.
Now, customize your trigger by telling Zapier which Airtable base, table, and column to look for.
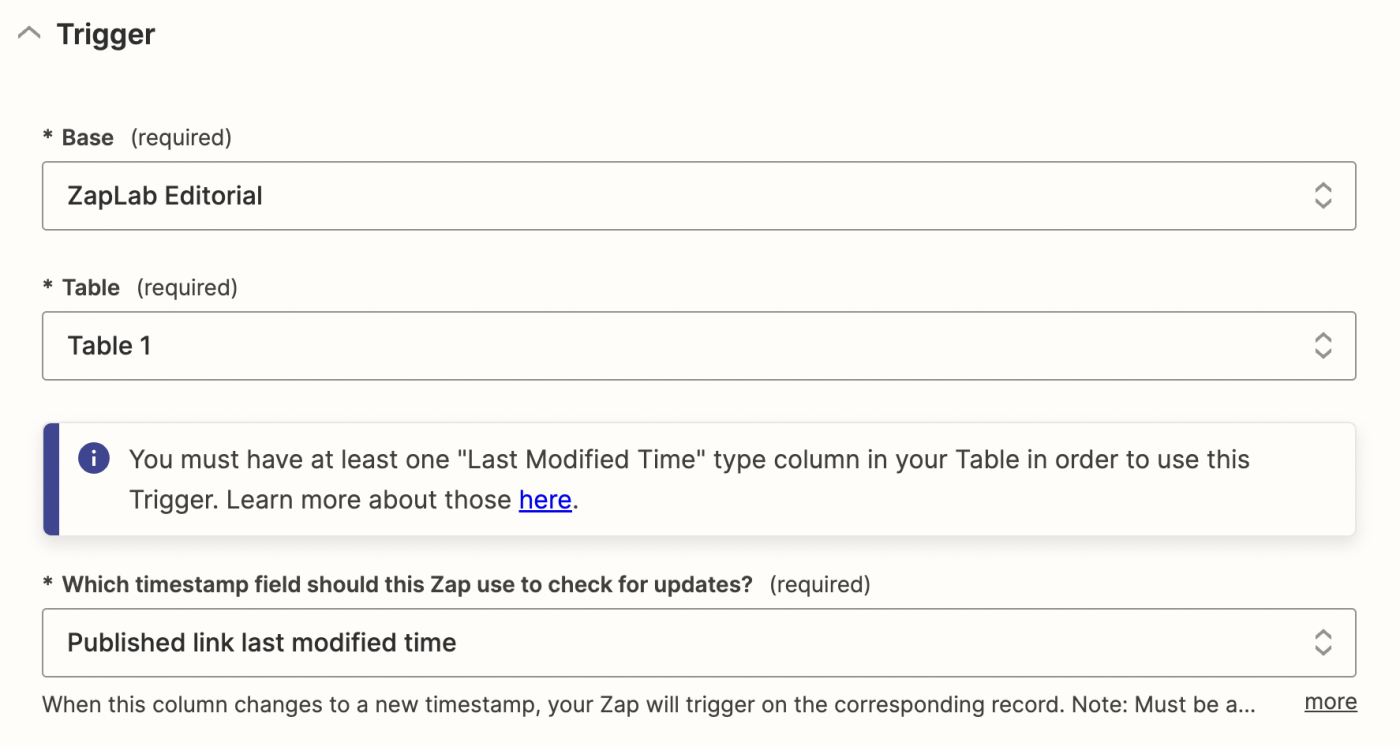
Once you've selected the right column to base your trigger on, click Continue.
Next, click Test Trigger to make sure everything is working properly.
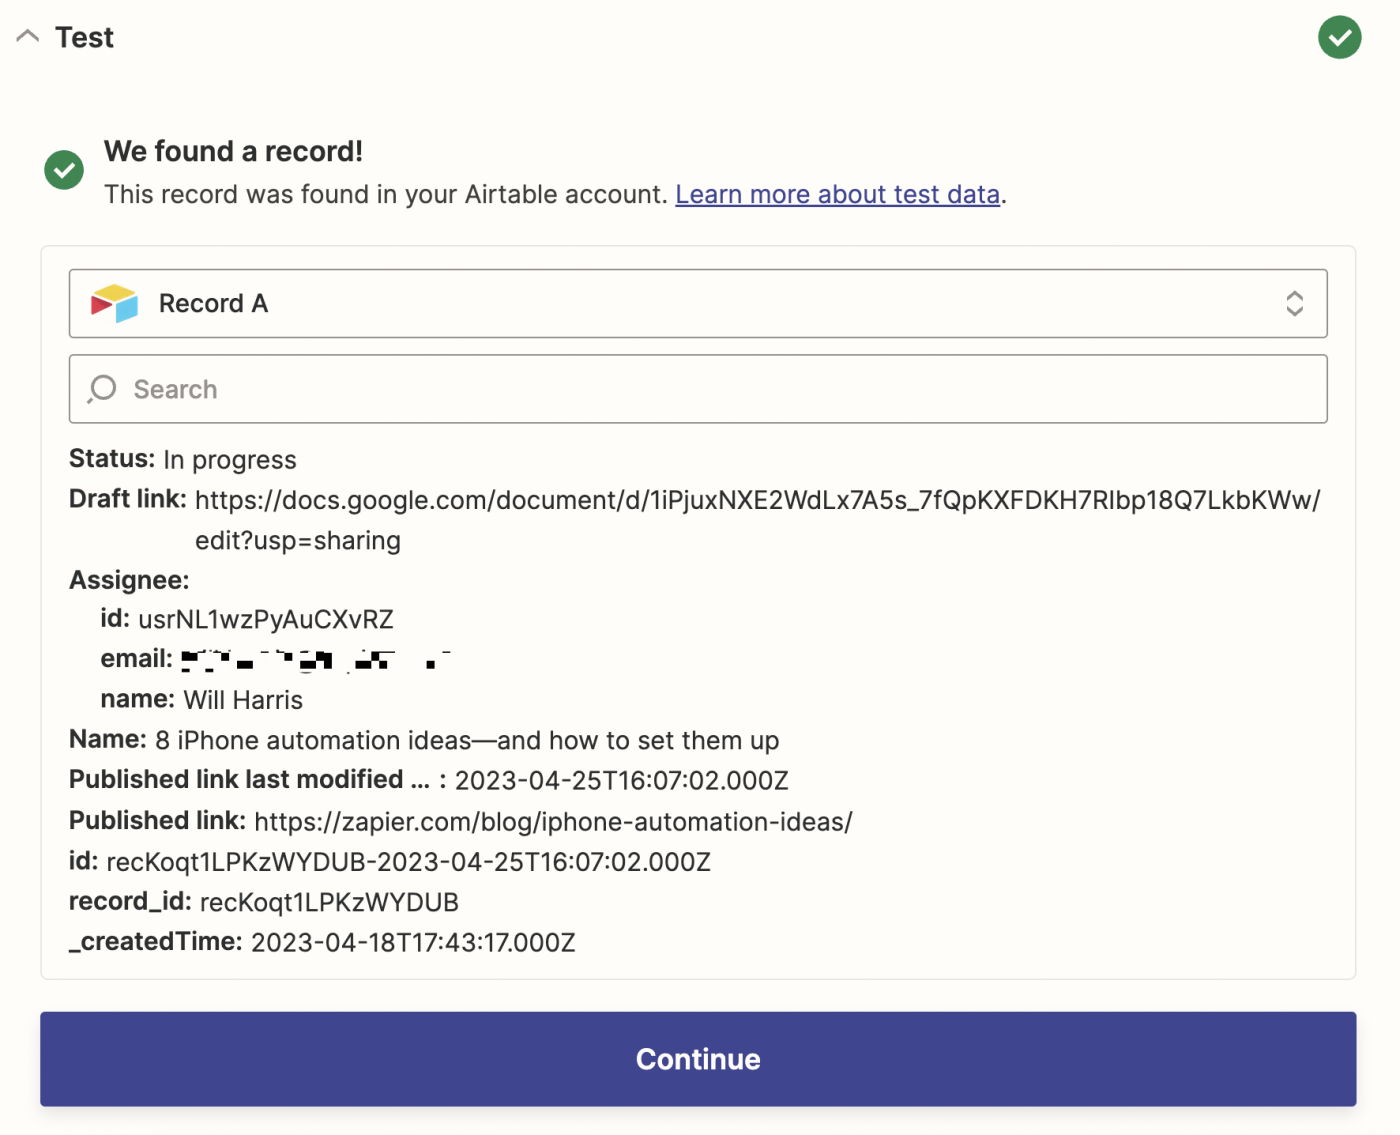
After your test has successfully run, click Continue.
Extract blog post copy with Web Parser by Zapier
For OpenAI to write the best social media posts possible, it actually needs to read the post you wrote. With some help from the Web Parser by Zapier app, it can do just that.
To do so, select Web Parser by Zapier as your action app and Parse Webpage as your event. Click Continue.
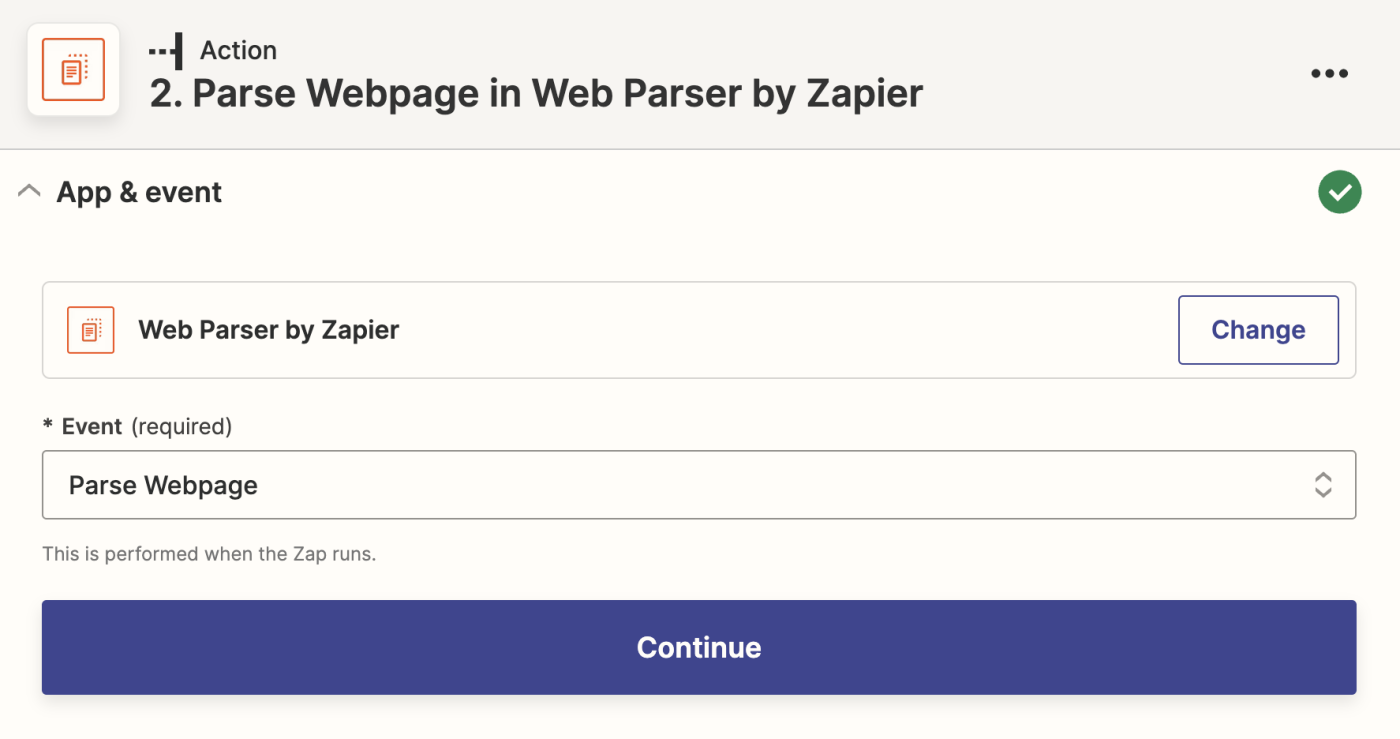
Next, set up the action by telling your Zap which URL to parse. To get the URL to your published article, open the Insert Data dropdown and select the data field from Airtable that contains the URL to your post.
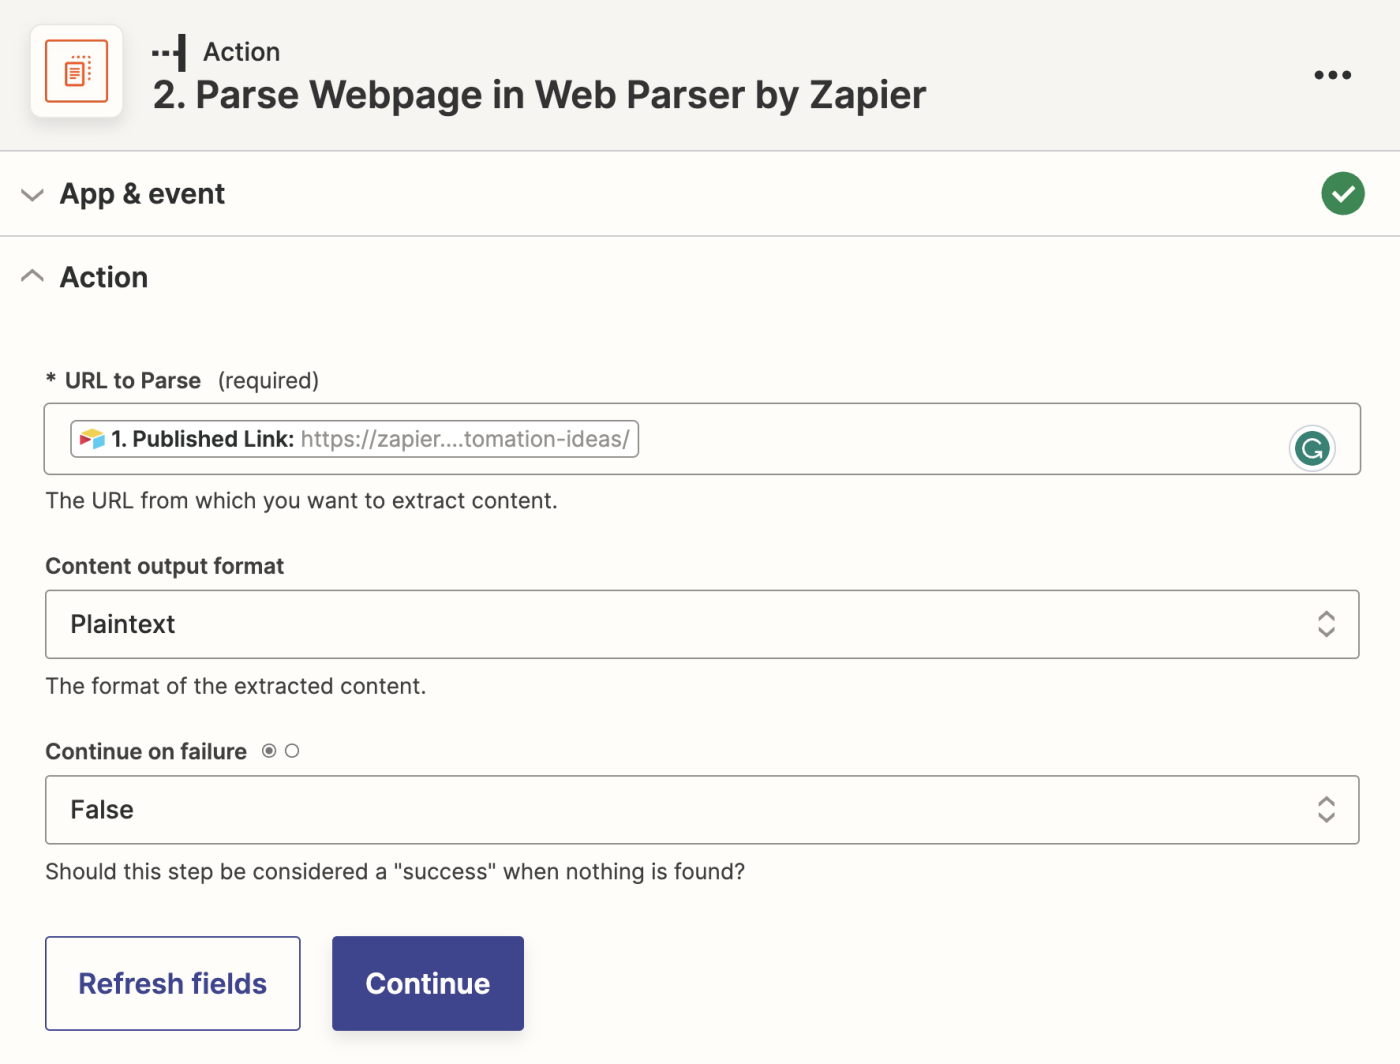
Plaintext will work as the format. And for the Continue on failure field, you'll want to choose False so your Zap doesn't try to continue running if you accidentally populate the field in Airtable with a non-URL.
Click Continue.
Now, test your action. In the test results, you'll see a field called Content. This field should contain all of the copy from your blog post.
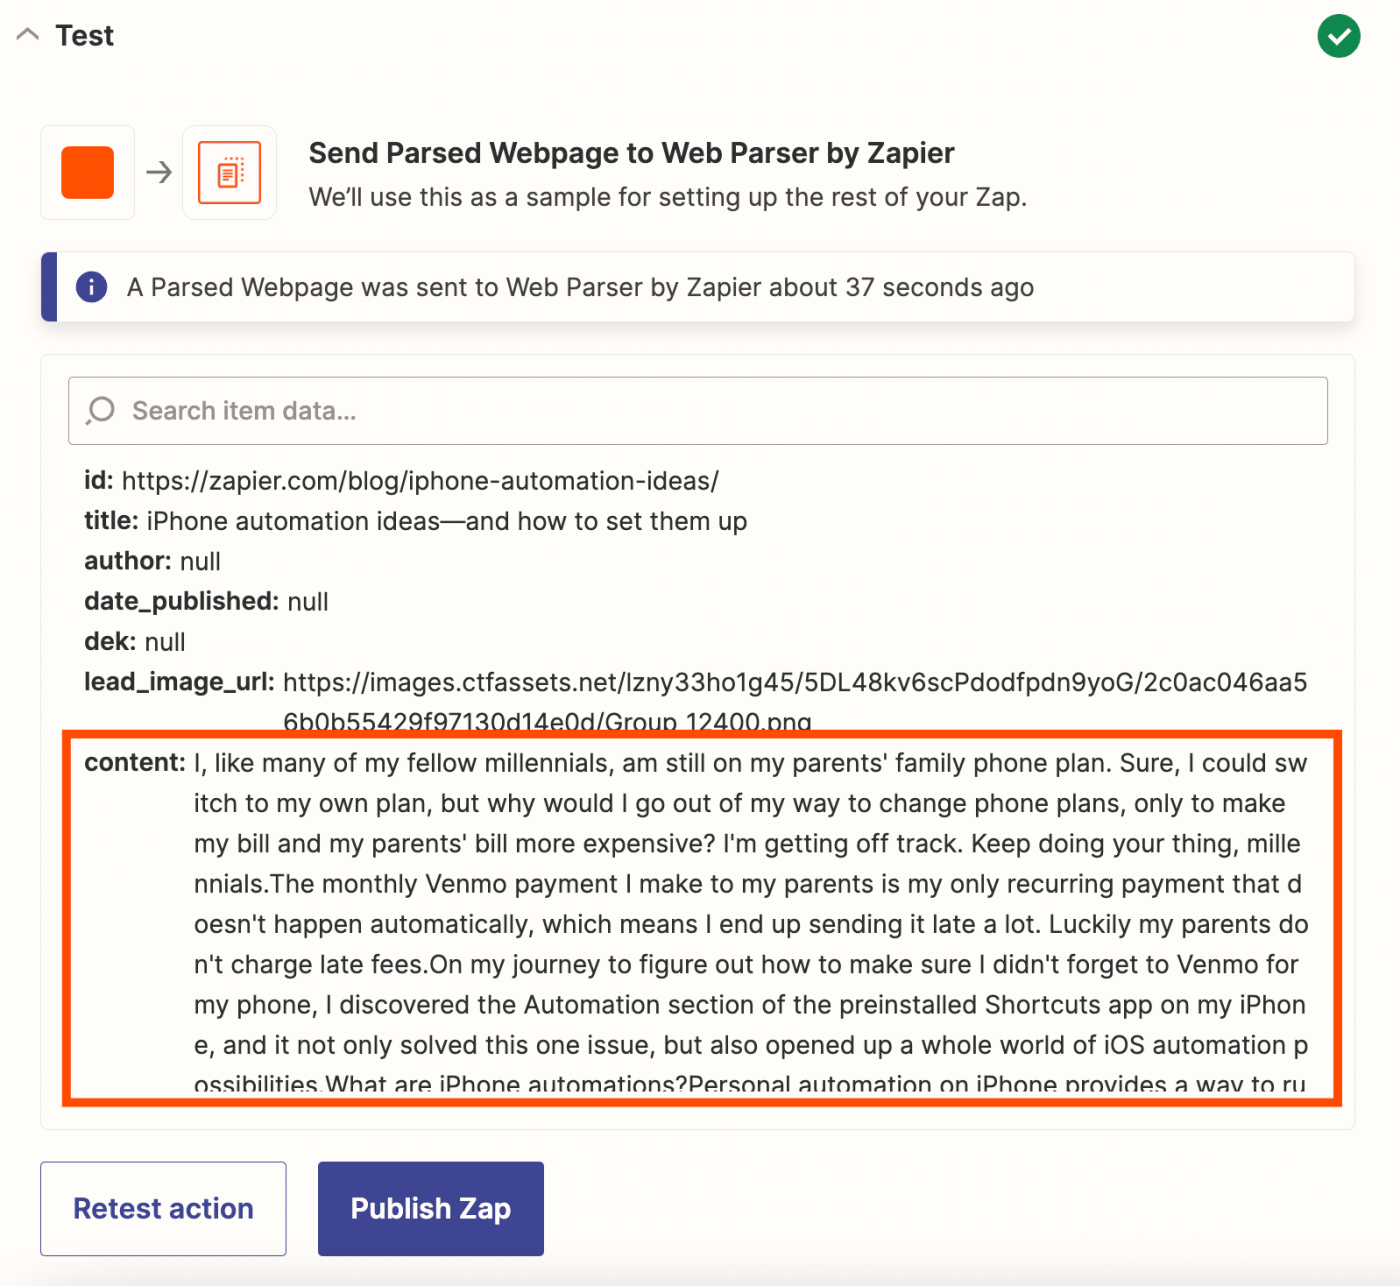
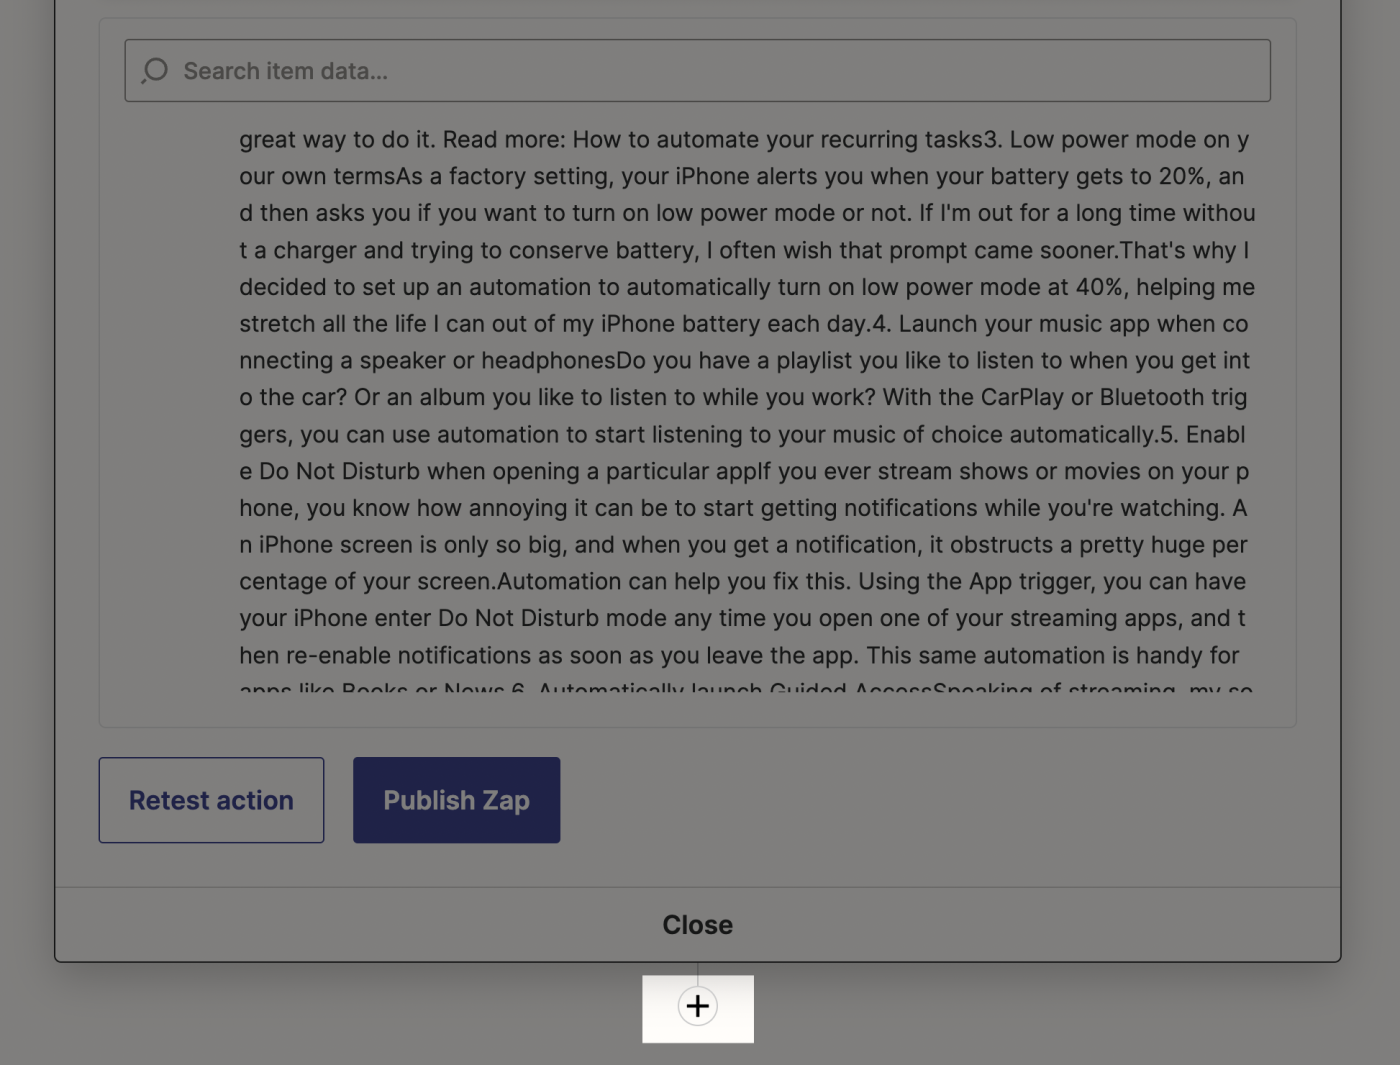
If everything looks good, click the + button at the bottom of your screen to add a new step to your Zap.
Send your prompts to OpenAI
Now, it's time to set up action steps for OpenAI to write our social copy. In my example editorial calendar in Airtable earlier, I created LinkedIn Post Copy and Twitter Post Copy fields. We'll create an OpenAI step for both of those, so OpenAI writes posts that are optimized for each platform. If you want to add any other platforms, like Instagram or Facebook, you'll want to add steps for those as well.
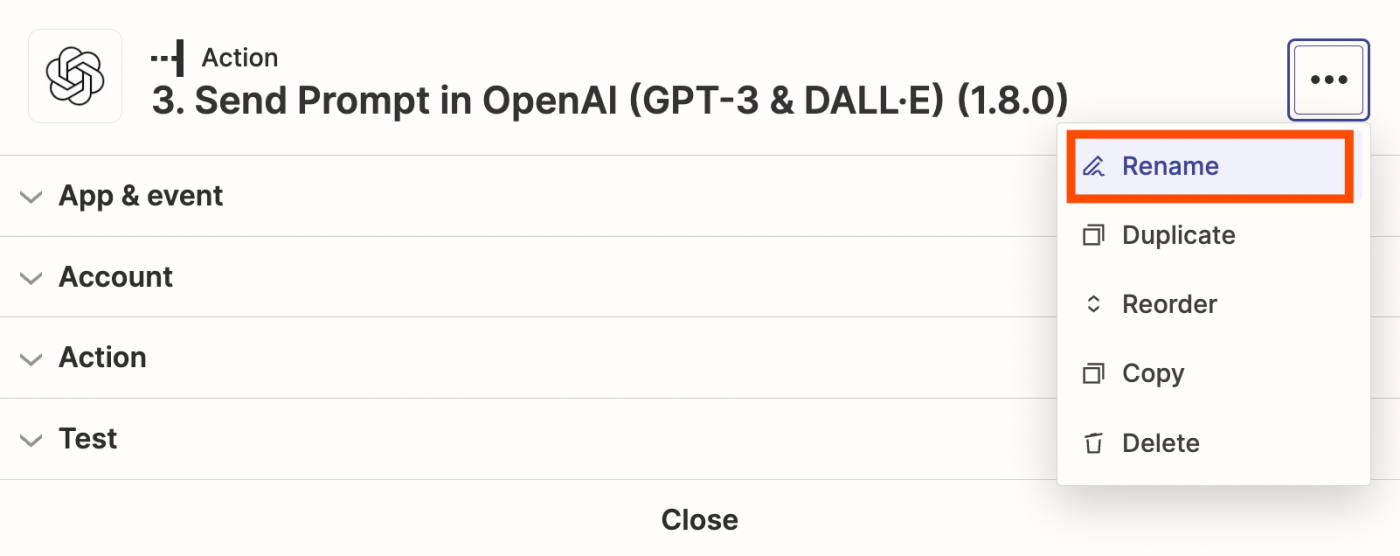
To start, select OpenAI as your app and Send Prompt as your action. Since we're making multiple OpenAI steps, it's also helpful to label each one with which social channel you're creating copy for. To do so, click … in the top right corner of your Zap setup window, then click Rename and name your step.
Click Continue.
A pop-up window will appear asking for the OpenAI API key that you copied earlier. Paste it into the API Key field, and click Yes, Continue to OpenAI.
Next, you'll customize your prompt to OpenAI. In the Prompt field, give OpenAI whatever instructions you'd like for writing your social media post.
For the prompt in my example, I wrote:
Read the following blog post and write a LinkedIn post promoting the article and inviting your audience to read it. Make sure to include the link to the blog post, {published link from the Airtable step}.
The blog post copy:
{content from the Web Parser by Zapier step}
Include your blog post copy to make sure OpenAI reads your post before it generates the social copy. You can pull in data from your web parser step by clicking inside the Prompt field and selecting Content from the Insert Data dropdown.
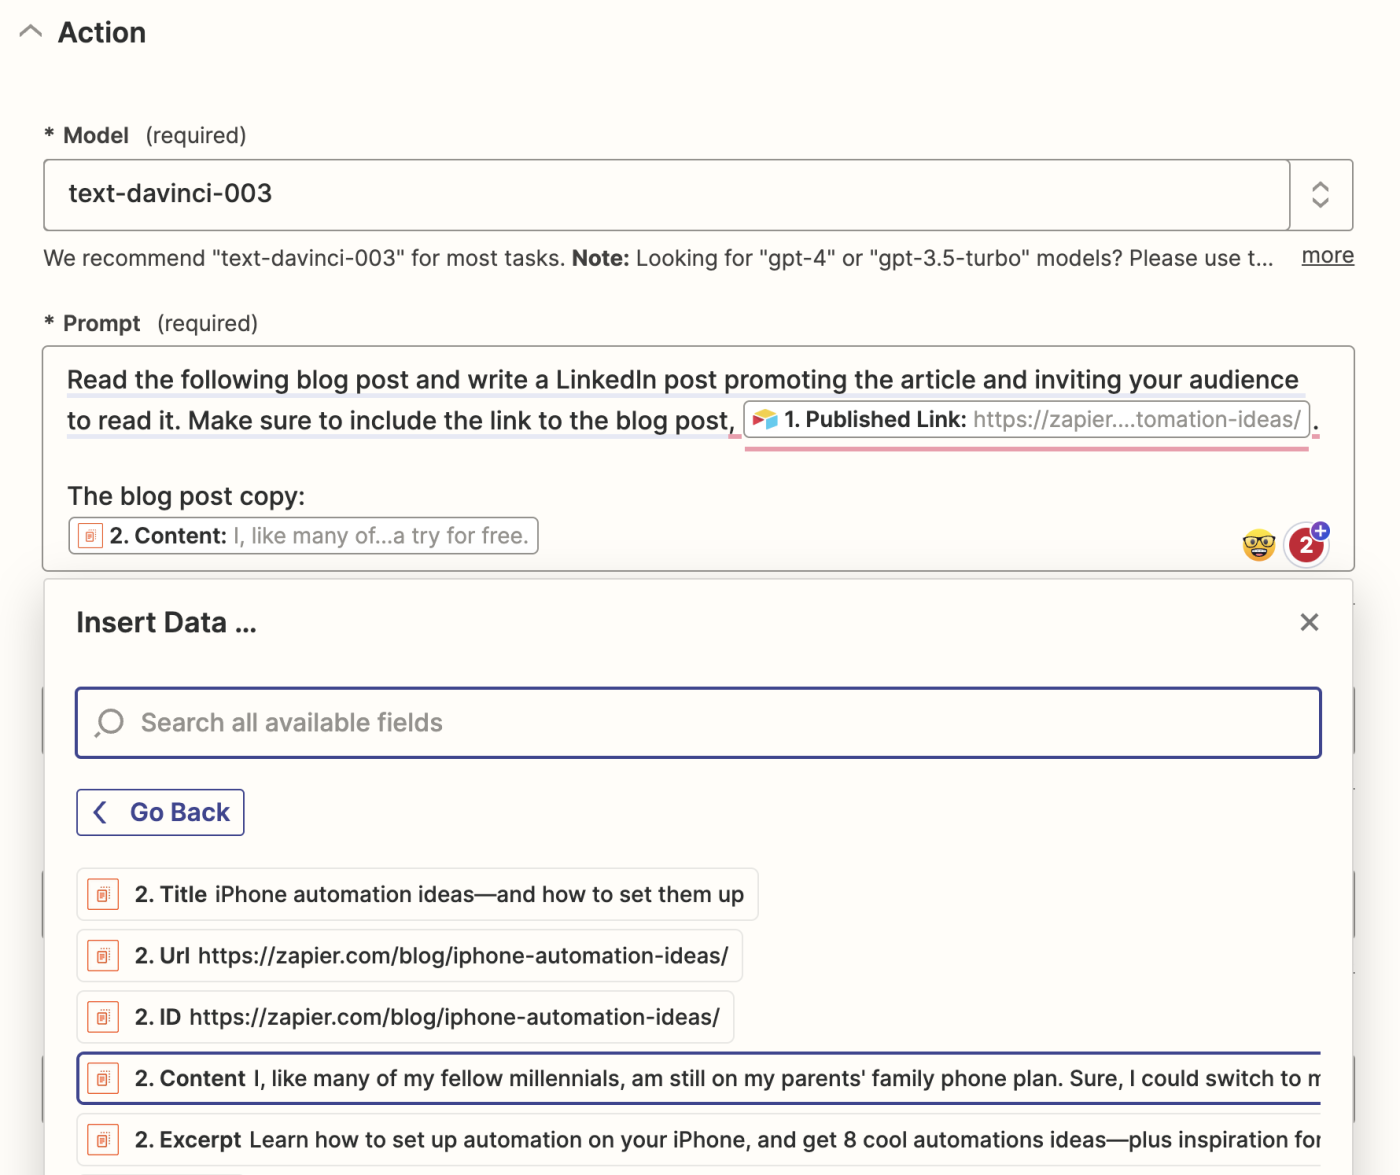
Note: The text-davinci-003 model is now deprecated and has been replaced with the default gpt-3.5-turbo-instruct model.
After you customize your prompt, you can adjust the temperature (creativity level) of the writing, as well as the maximum length.
Now, test your action. If you're unhappy with your social media post from OpenAI, tweak your prompt until you're happy with your results.
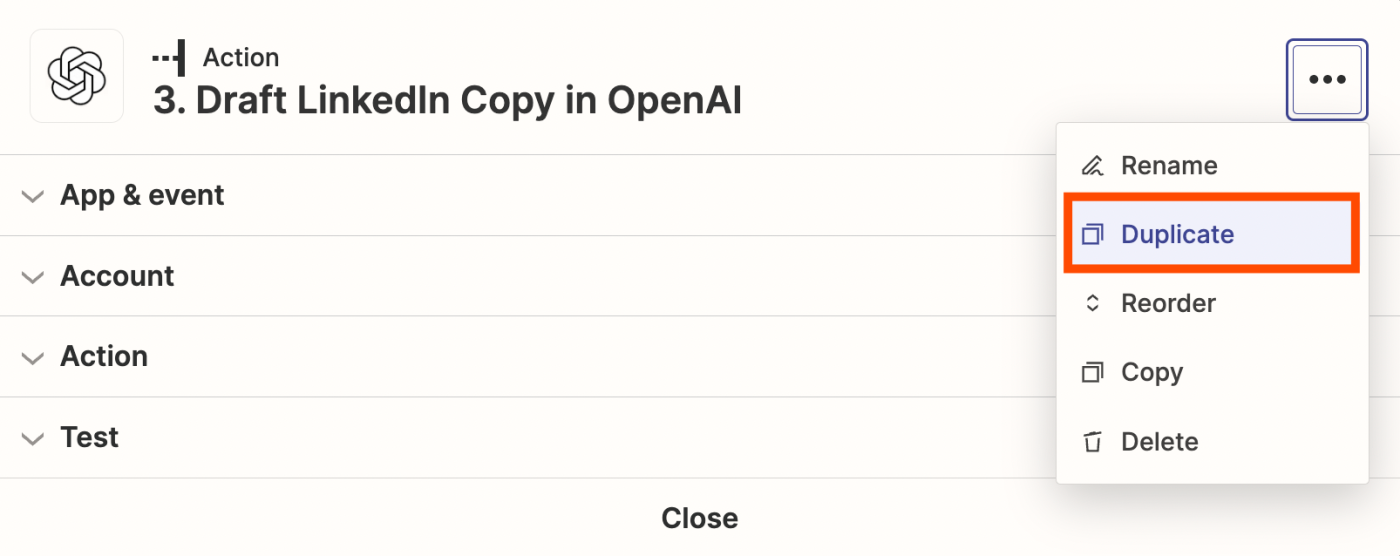
Once you're done customizing your prompt, duplicate this step by clicking … > Duplicate.
Then, set up your OpenAI step similar to the last one, but for Twitter instead.
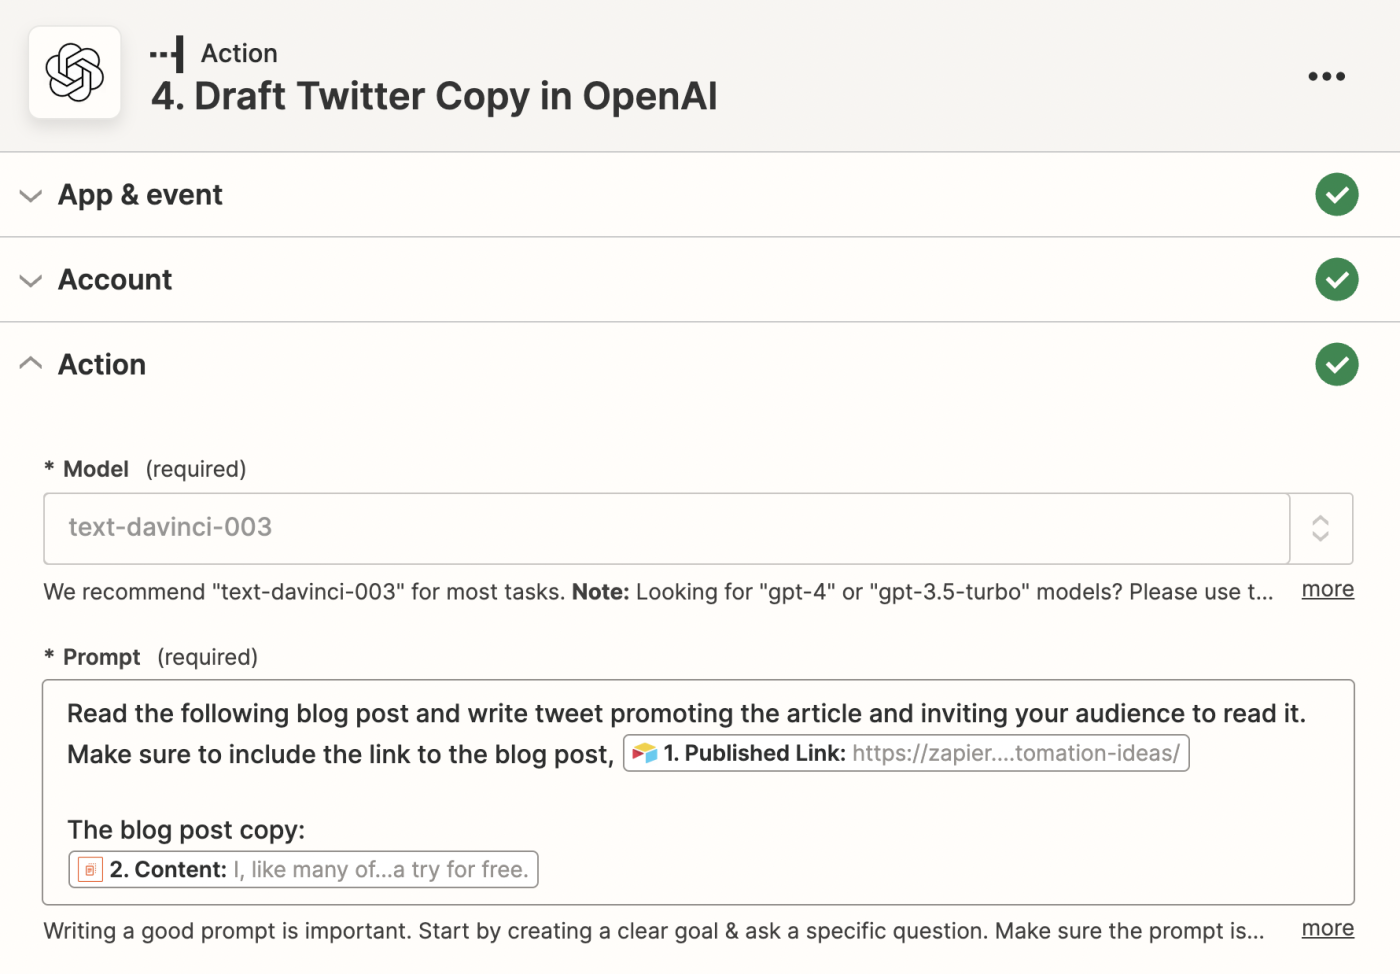
Once you've customized your prompt and your test looks good, click the + button and move on to your last step.
Add your AI-generated social media posts to your Airtable record
It's time to get OpenAI's social media copy back to Airtable. Pick Airtable as your action app and Update Record as your action event. Click Continue.
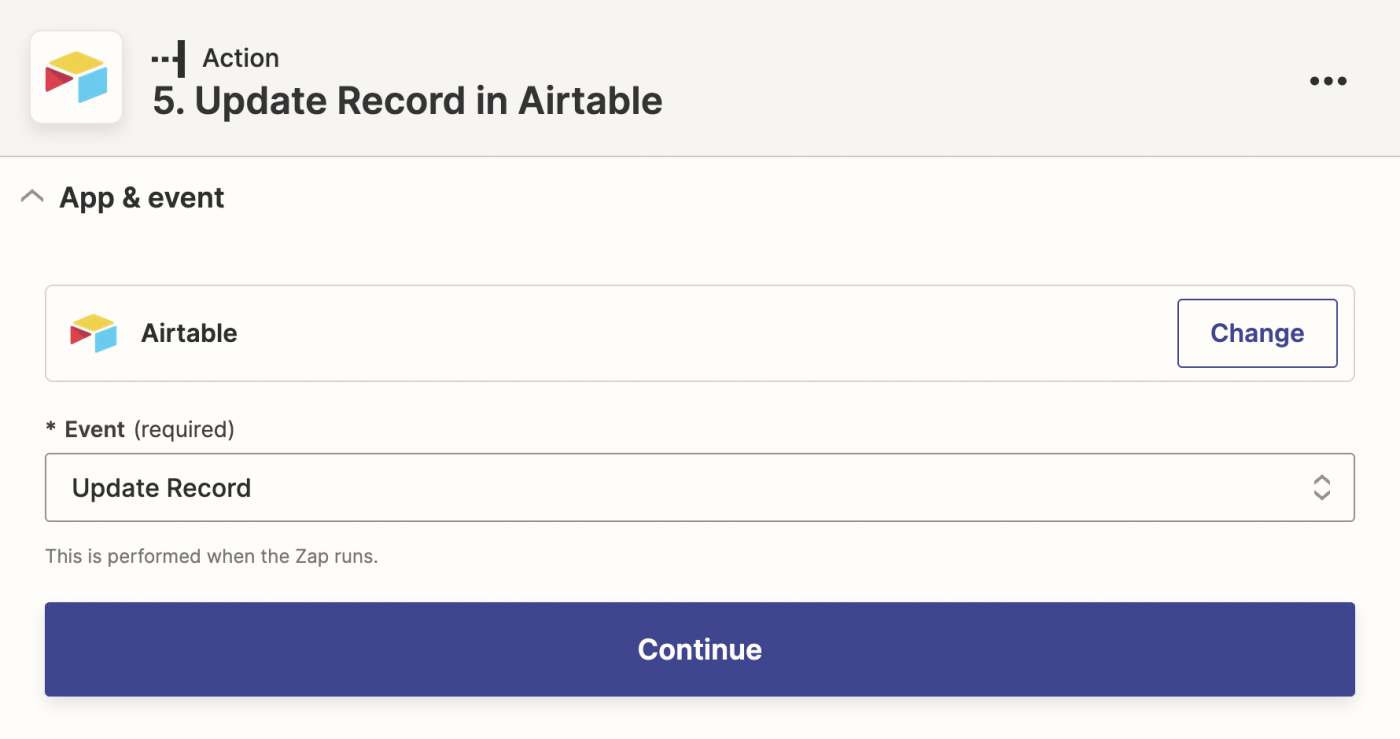
Again, you'll be asked to connect your Airtable account. Choose the same one you connected earlier and click Continue.
Now, to customize your action step. Start by selecting the same Base and Table as your first Airtable step.
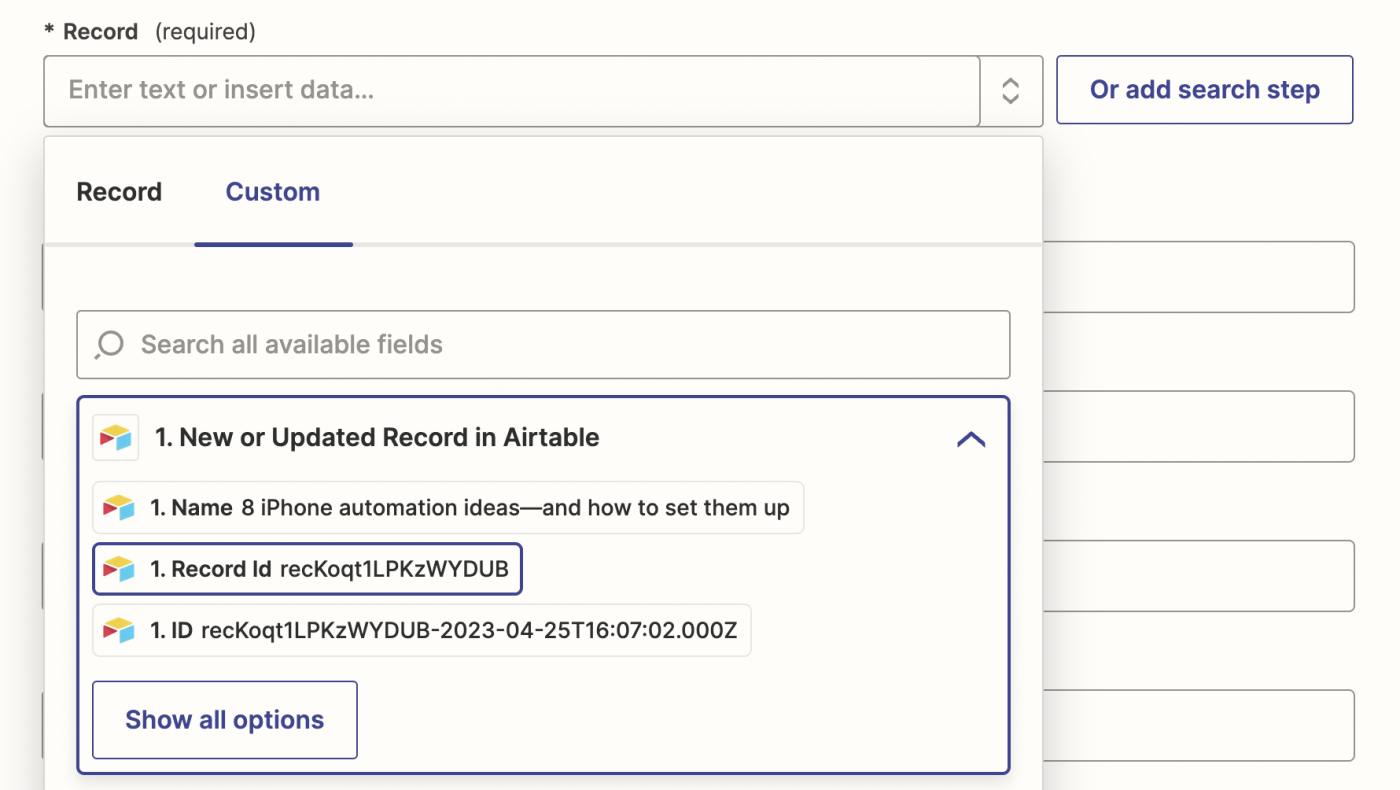
When you click into the Record field, click on the Custom tab of the Insert Data dropdown and select Record ID.
Next, click in the field you want to add your social copy to, and select Choices Text from the Insert Data dropdown.
Note: Choices Text has now changed to Response in the dropdown menu.
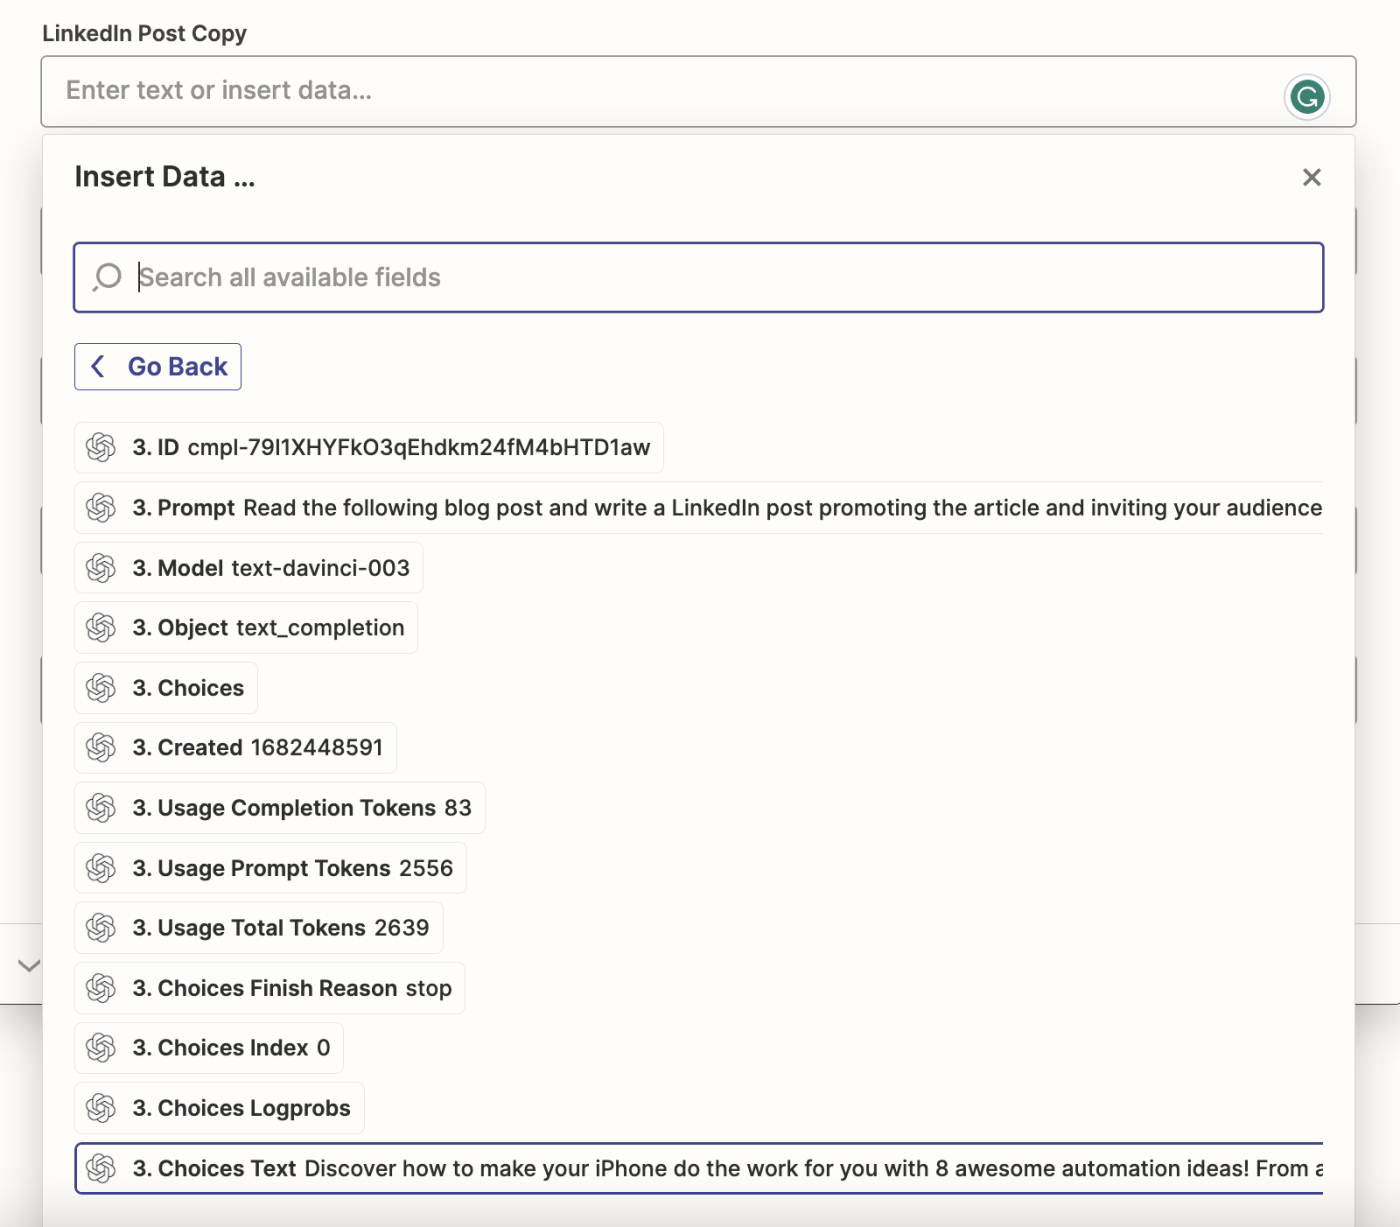
Make sure you grab the Choices Text (now Response) from the OpenAI step that corresponds with each social media channel, so that the LinkedIn copy appears in your LinkedIn column, and vice versa.
Click Continue.
Next, test your action. Zapier will add the social media copy to Airtable automatically.

If everything looks right in Airtable, you're ready to publish your Zap.
Use OpenAI to write social media posts
Now, whenever you publish an article, you don't have to worry about writing corresponding social media posts to promote it. Zapier and OpenAI will do all of the heavy lifting for you, giving you social media-ready copy without you having to do a thing.
You could even take things a step further and, with a little more setup, use Zapier to automatically post your social media posts after you approve the copy in Airtable. We integrate with Twitter, Instagram, Facebook, LinkedIn, Pinterest, and Reddit, so there's no shortage of possibilities for how you can automate your social media activity. Here are a few Zap templates to get you started:
Create Facebook posts from new Airtable records in view
Create LinkedIn company updates from new or updated Airtable records
Related reading:
