
The last time I opened a Google Form, I was just trying to RSVP to a cooking class. Instead, I was hit with a 50-question marathon that asked everything from dietary restrictions to the last time I felt joy. And despite selecting "plant-based" as my dietary preference, I was still prompted to rank my favorite animal proteins.
This is where sections and conditional questions in Google Forms would've helped. Sections break your questionnaire down into bite-sized pieces, while conditional questions let respondents skip questions that don't apply, no matter how much you want to know if they prefer beef to lamb.
Here, I'll show you how to create sections and make conditional questions in Google Forms to create a better form-filling experience.
For a more comprehensive overview of Google Forms, check out our Google Forms guide.
Table of contents:
How to create sections in Google Forms
Adding sections to your Google Forms helps to visually break up your questions. Here's how to add sections in Google Forms.
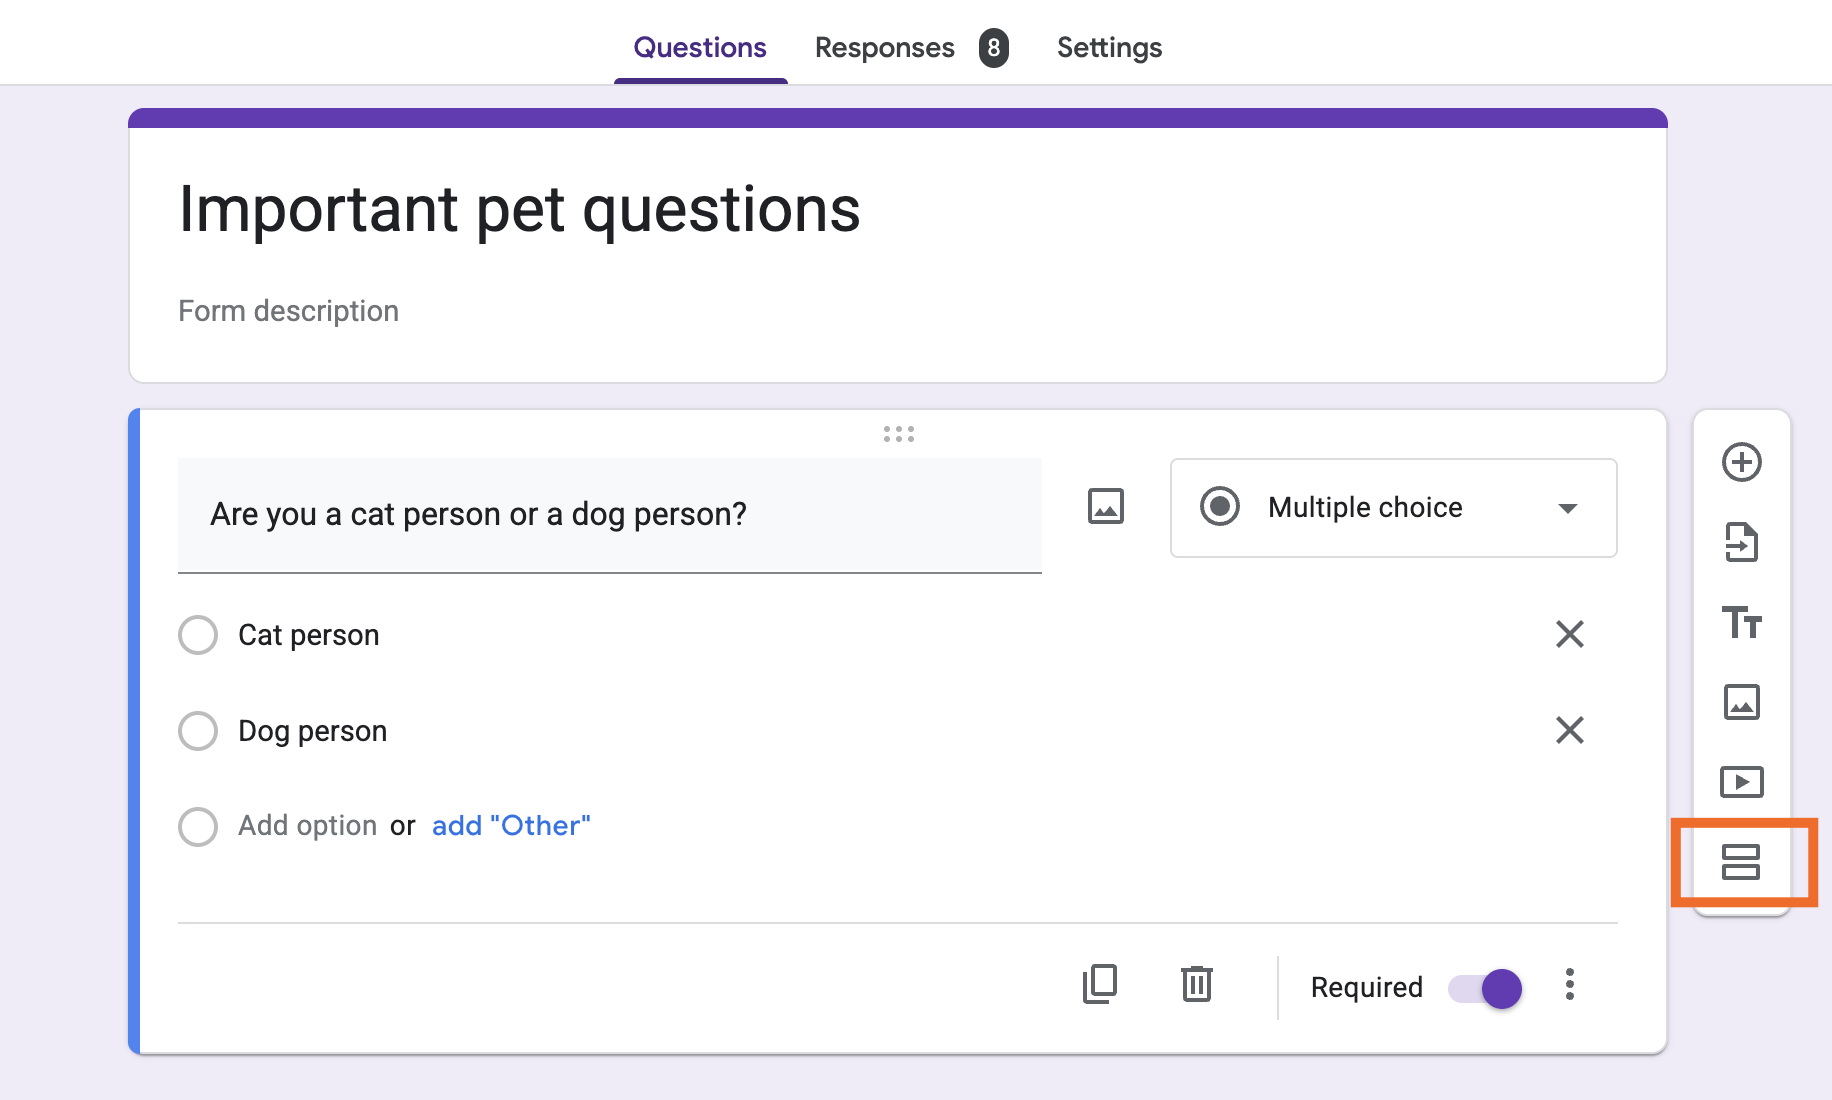
Open your Google Form.
Click the Add section icon, which looks like an equal sign, in the floating toolbar next to your form.
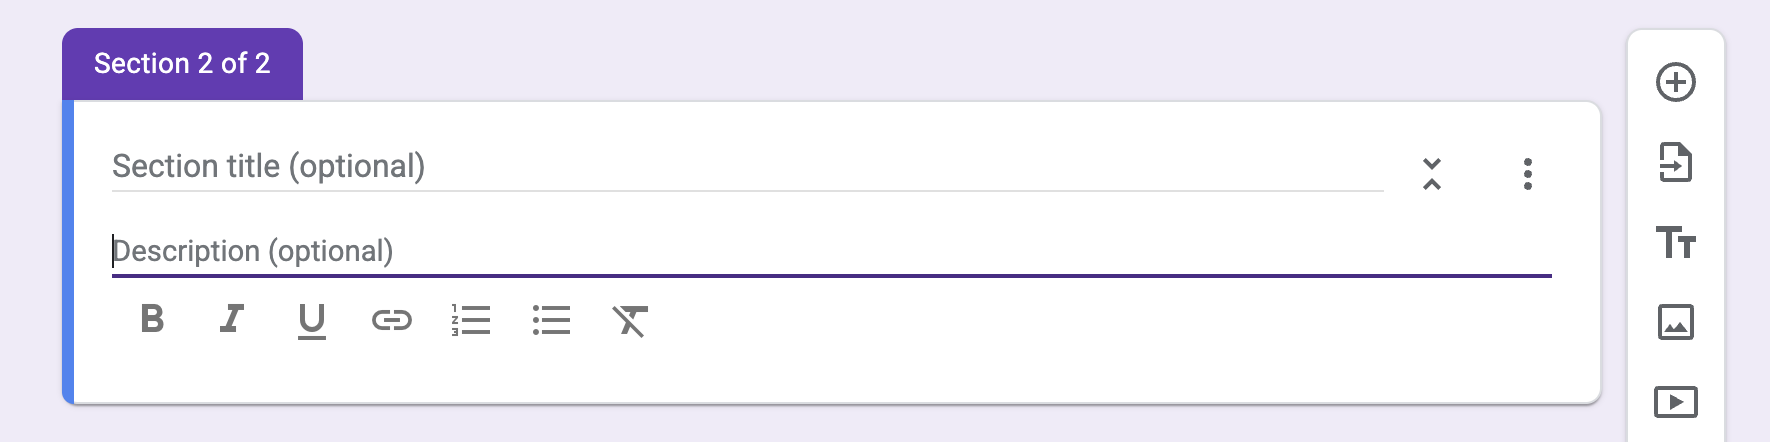
In the new section that appears, enter a section title and, if you want, a description.
Click the Add question icon, which looks like a plus sign (
+), in the floating toolbar.Enter a question for that section.
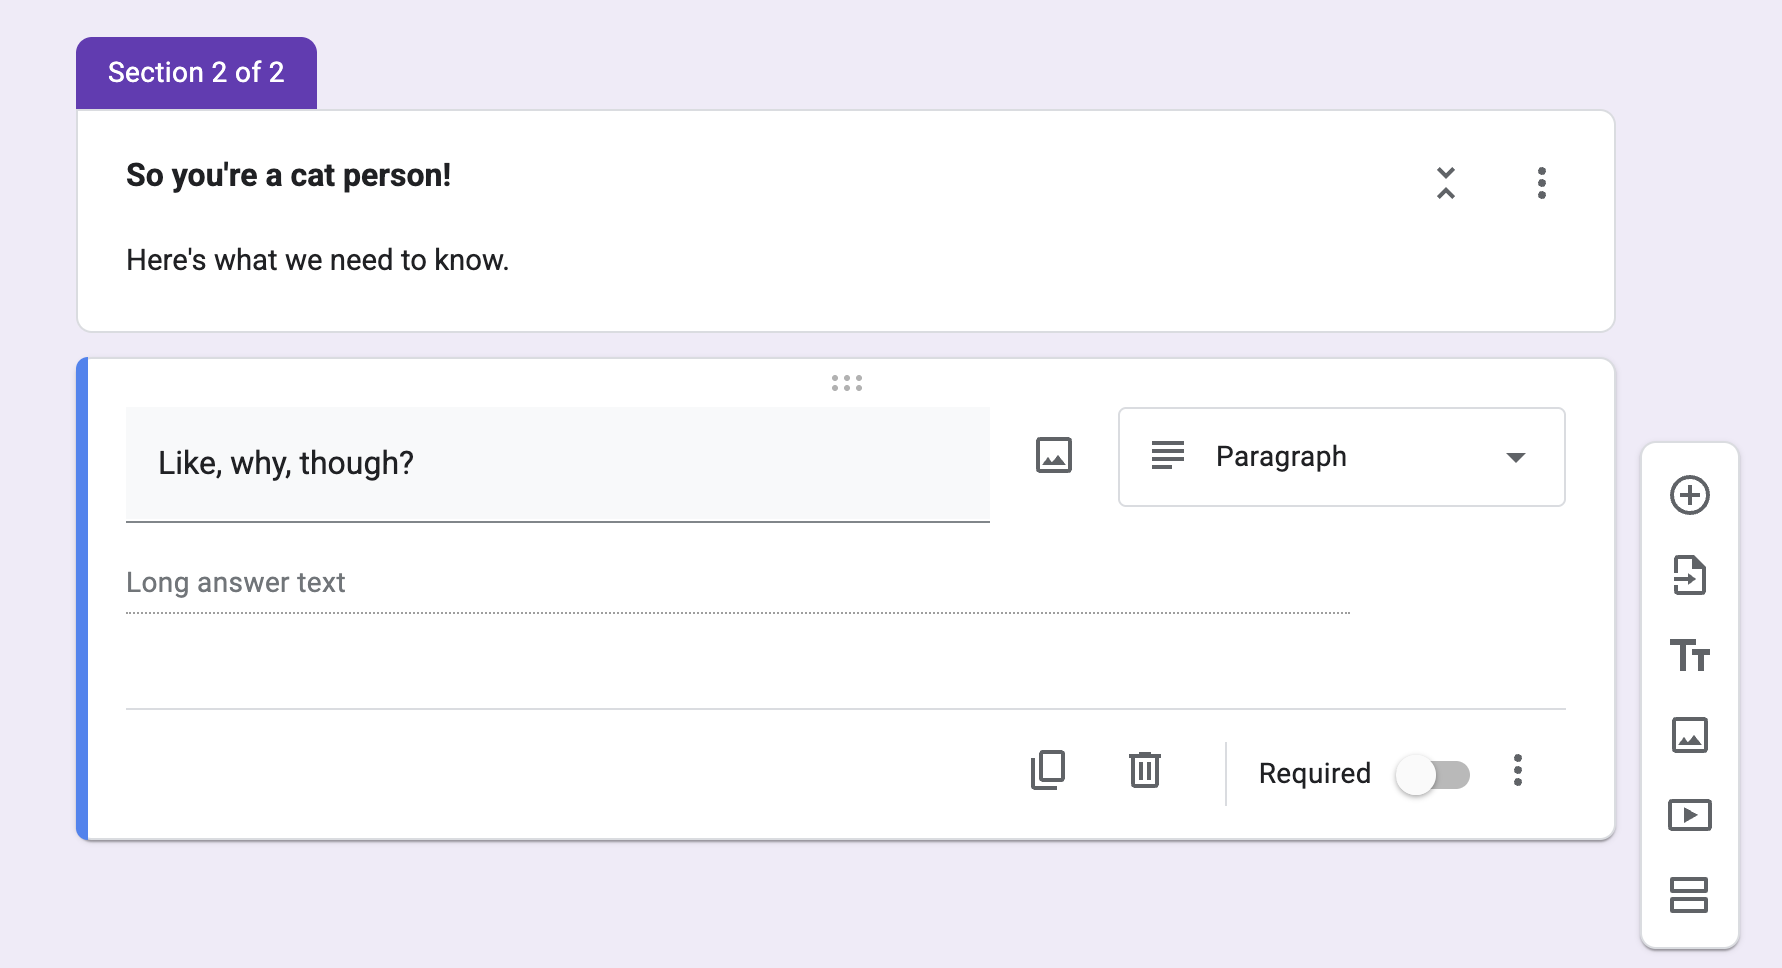
Repeat creating new sections and questions as many times as needed.


As you create the form, every section will appear together on one page for easier editing. But on the survey taker's end, every form section will appear on its own page like this:

By default, people will proceed through every section of the form in order each time they click Next. But you can change that, too.
How to make conditional questions in Google Forms
Using our example survey, let's say you want cat lovers to explain why they are the way they are. It would make sense for them to go to the next question ("Like, why, though?"). But it wouldn't make sense for someone who selected that they're a dog person.
That's where conditional questions in Google Forms come in—they allow you to send people to certain sections of your form based on their responses.
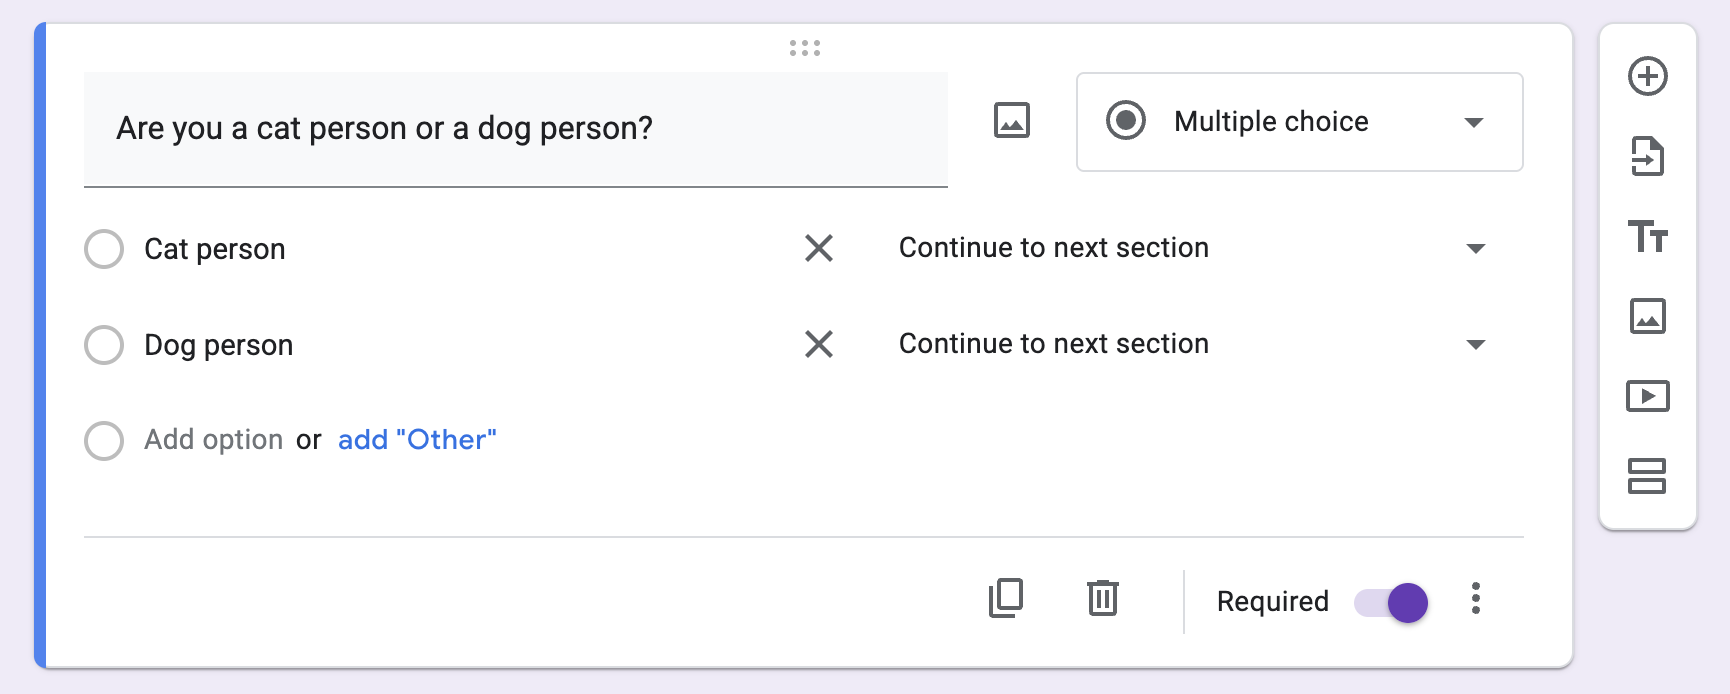
Click the Add question icon (
+) in the floating toolbar.By default, the question style is set to Multiple choice, but this also works with Dropdown questions. Create the question as you normally would.
Click the More options icon, which looks like three dots stacked vertically (
⁝), in the question box, and then select Go to section based on answer.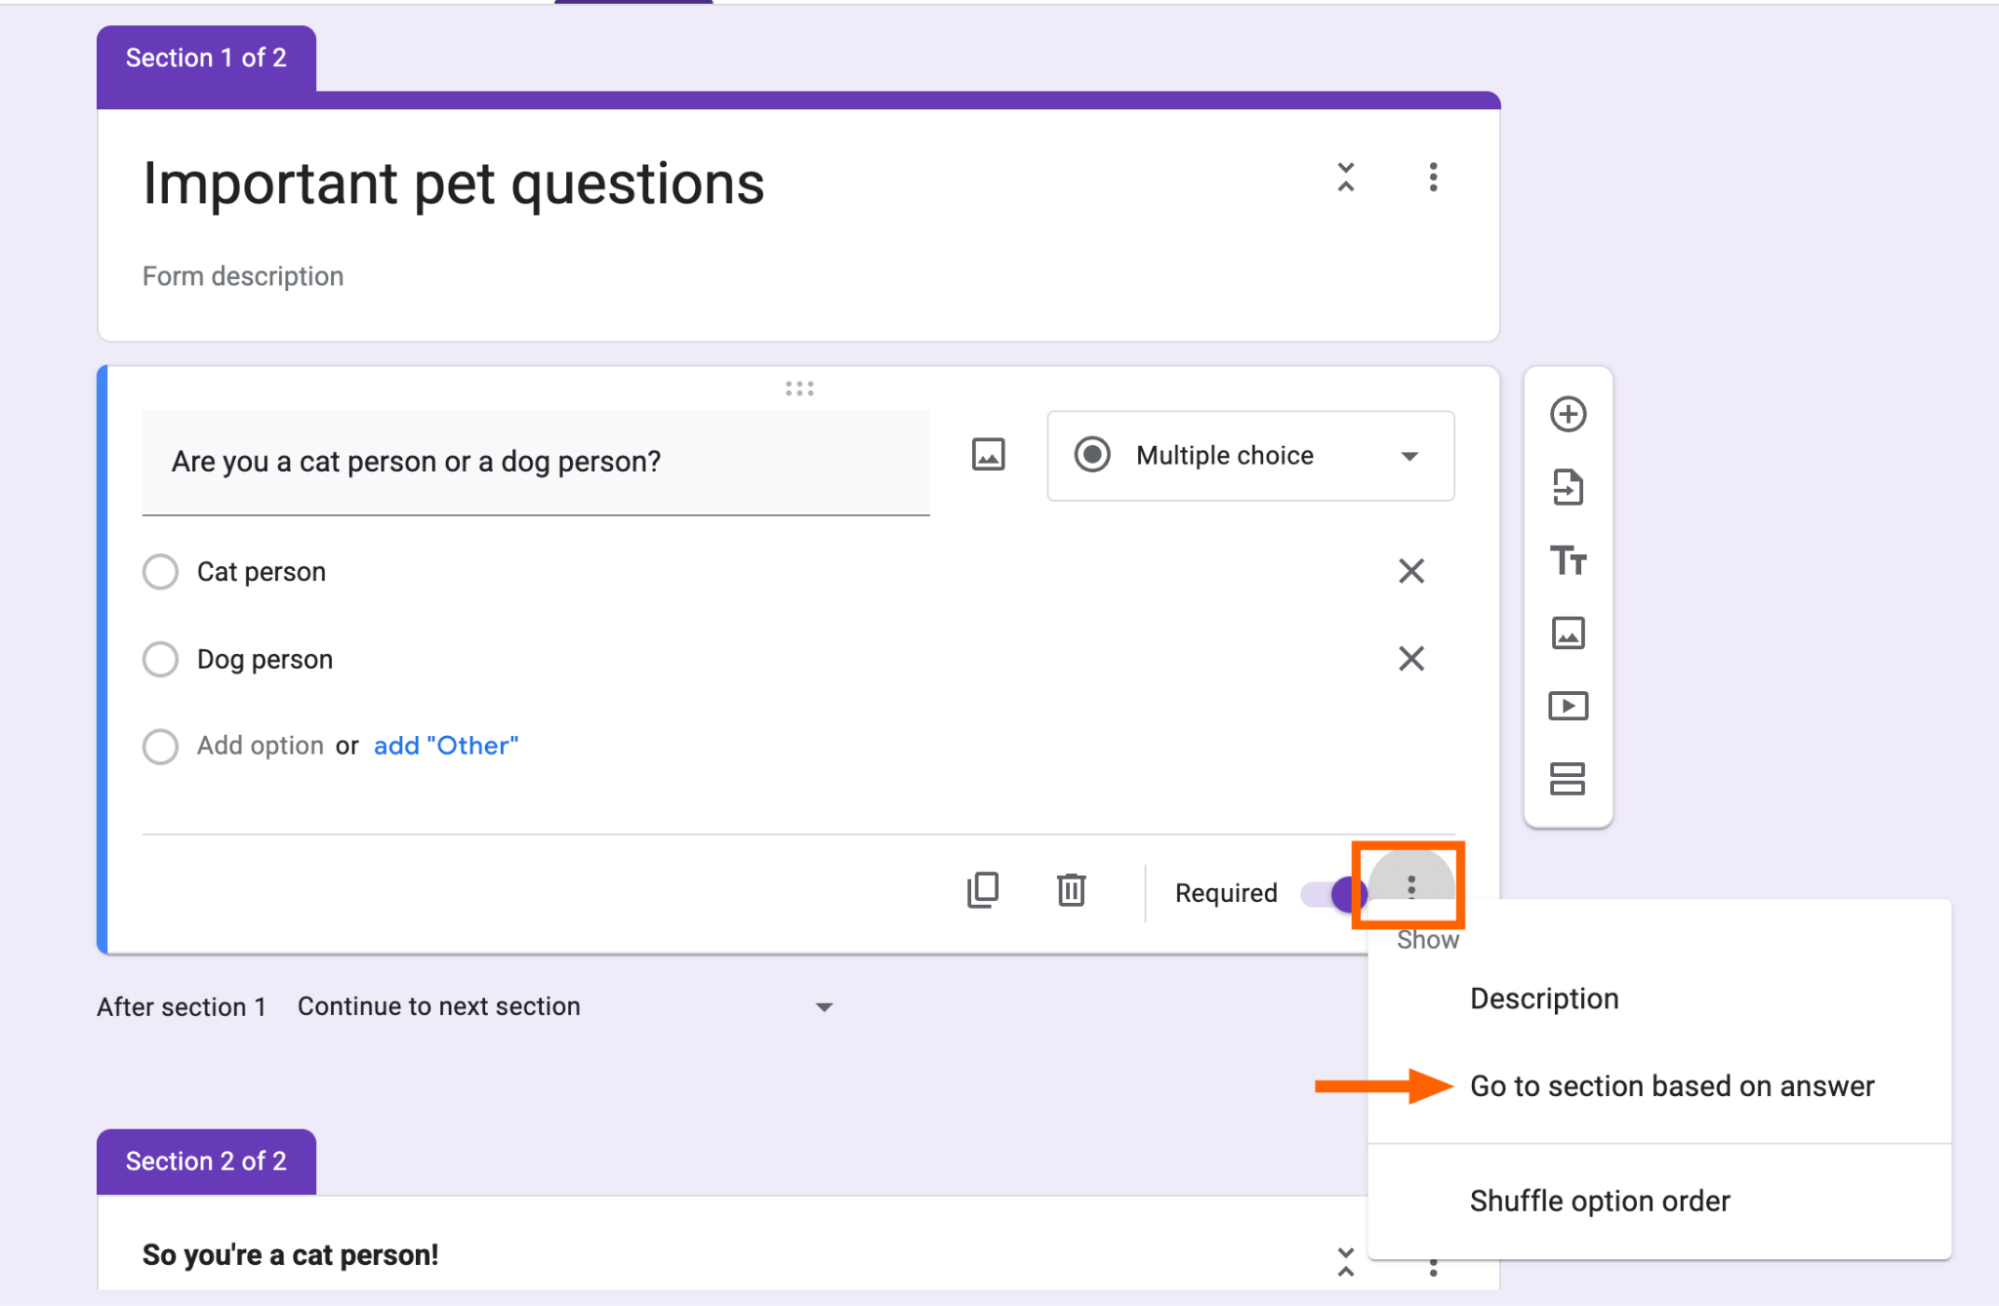
Next-step options will automatically appear beside each answer, which, by default, directs respondents to Continue to next section.
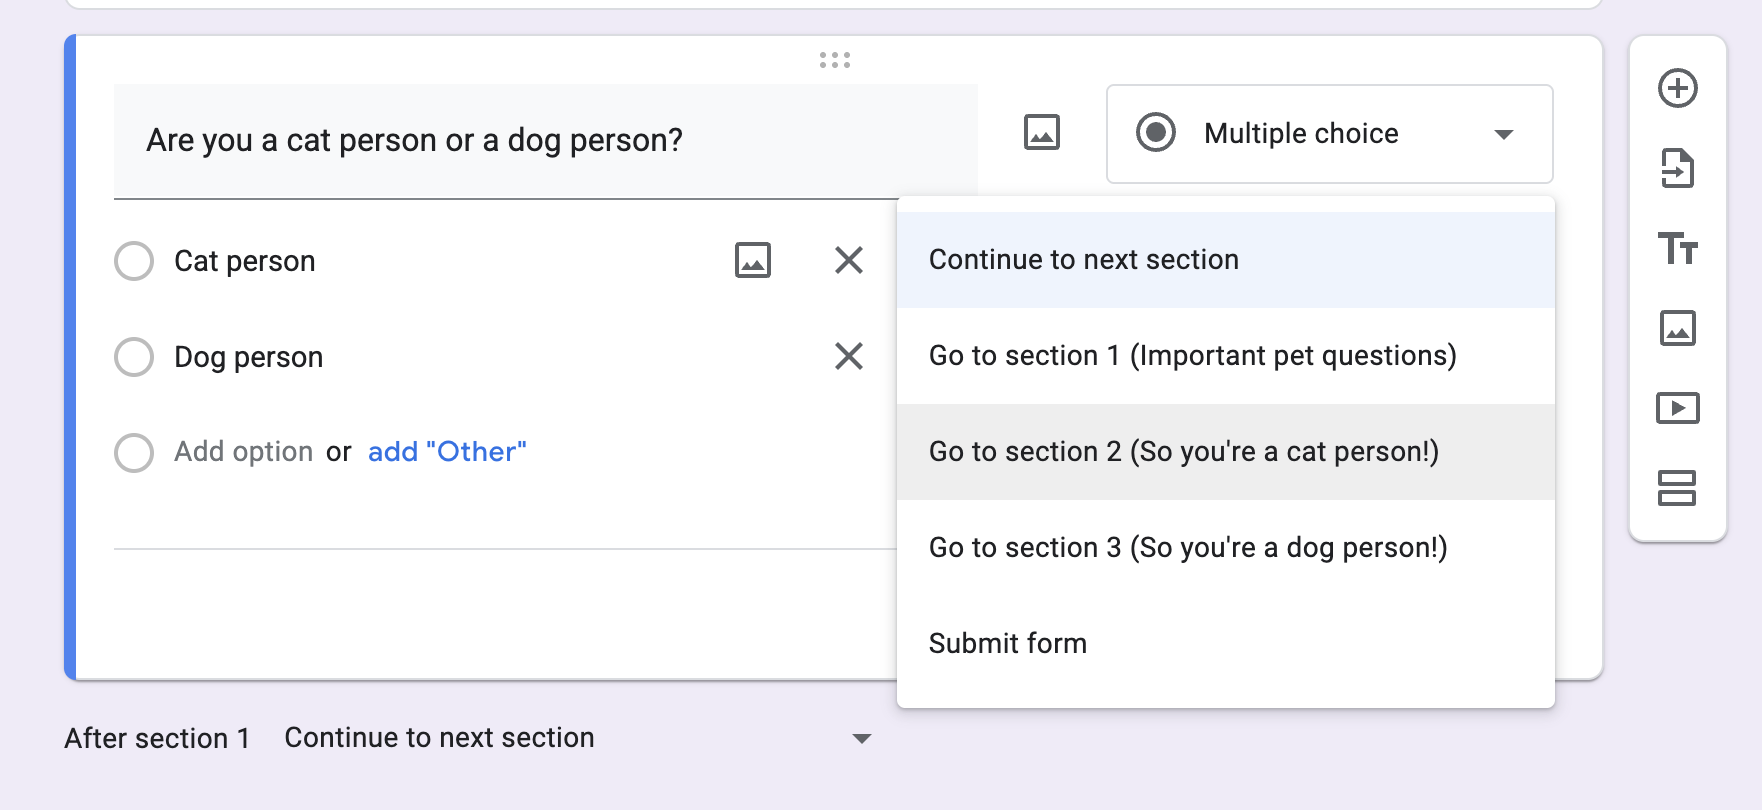
Click the dropdown next to any available answer, and click which section of the form the answer should direct the survey taker to.


How to add logic in Google Forms
Let's say your question isn't in the multiple-choice or dropdown format. Instead, it requires the respondent to write a short answer or to choose an item from a list. This brings us to another way you can add logic in Google Forms.
Click the down caret (
⋁) at the bottom of a section (it appears under every section except for the last one).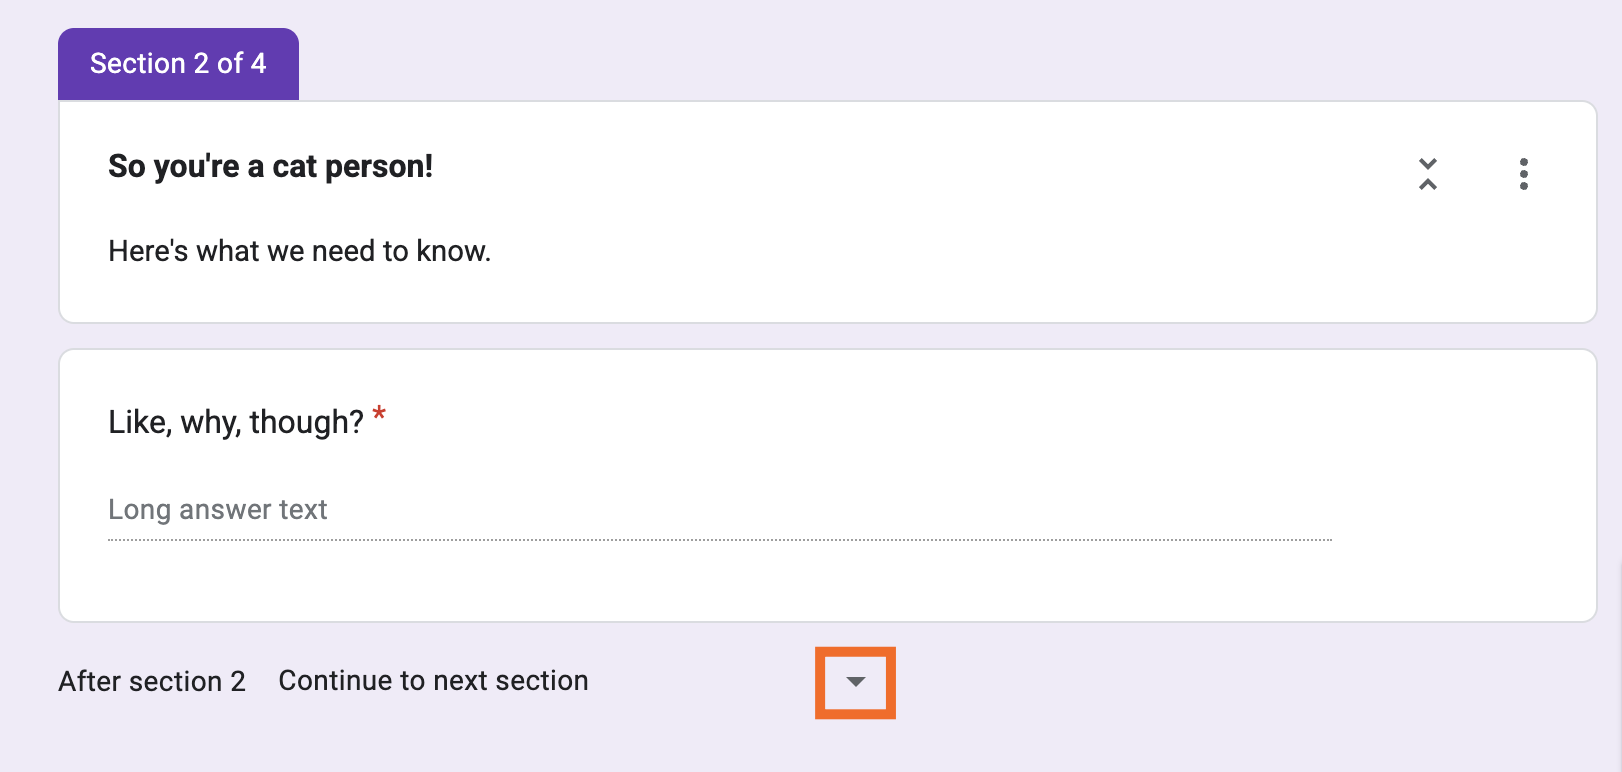
Select what happens after the user completes that section: Continue to next section, Go to section [number], or Submit form.

Beneath each form section, Google Forms will indicate where the user will go after they complete that section.

Automate Google Forms
Now that you know how to create forms that people want to complete—or, at least, won't send them into a 50-question spiral of existential dread—let's talk about how to get your forms to pull double duty. With Zapier, you can connect Google Forms to thousands of other apps so you can automatically do things like turn form responses into tasks or fill in Google Docs templates based on form details.
Learn more about how to automate Google Forms, or get started with one of these pre-made templates.
Send email via Gmail for new Google Forms submissions
Create Trello cards from new Google Forms responses
Zapier is the most connected AI orchestration platform—integrating with thousands of apps from partners like Google, Salesforce, and Microsoft. Use interfaces, data tables, and logic to build secure, automated, AI-powered systems for your business-critical workflows across your organization's technology stack. Learn more.
Related reading:
This article was originally published in April 2019 by Justin Pot. The most recent update was in May 2025.


