
Confession time: I read episode recaps for every show I watch prior to watching it. Somewhere along the way, however, these recaps became so long that it was taking me almost the same amount of time to read about the episode as it was to watch it. Thankfully, ChatGPT is helping me rectify this. (Sort of. We'll get into the limitations later.)
Full disclosure: ChatGPT's ability to summarize articles—or any other text, really—is hit or miss. But I've spent many hours modifying my prompts and experimenting with different article lengths to test the limits of what it can (and can't) do.
If you're looking to use ChatGPT to summarize an article, book, or research paper, here's how.
Table of contents:
How to use ChatGPT to summarize an article
Here's the short version of how to use ChatGPT to summarize any text (but keep reading for a deeper dive):
Find a digital article to summarize and copy the URL.
Log in to chat.openai.com.
Paste the URL of the source material in the message box, and ask ChatGPT to summarize the contents of the link.
Now for the details.
Find an article to summarize
Find the body of text you want ChatGPT to summarize, and keep it open in a separate tab. You'll need this later.
I'm using this episode recap on the series finale of The Good Place. (Warning: spoilers ahead!)
Log in to OpenAI
Go to chat.openai.com, and log in to your account.

Don't have an OpenAI account yet? Here's how to set one up.
Ask ChatGPT to summarize an article
Copy and paste the URL of your source material into the message bar of ChatGPT. Or, if your ChatGPT is still powered by GPT-3.5 Turbo, copy and paste the entire text directly into the message bar.
Add "Summarize the article linked below" to the end of your query.
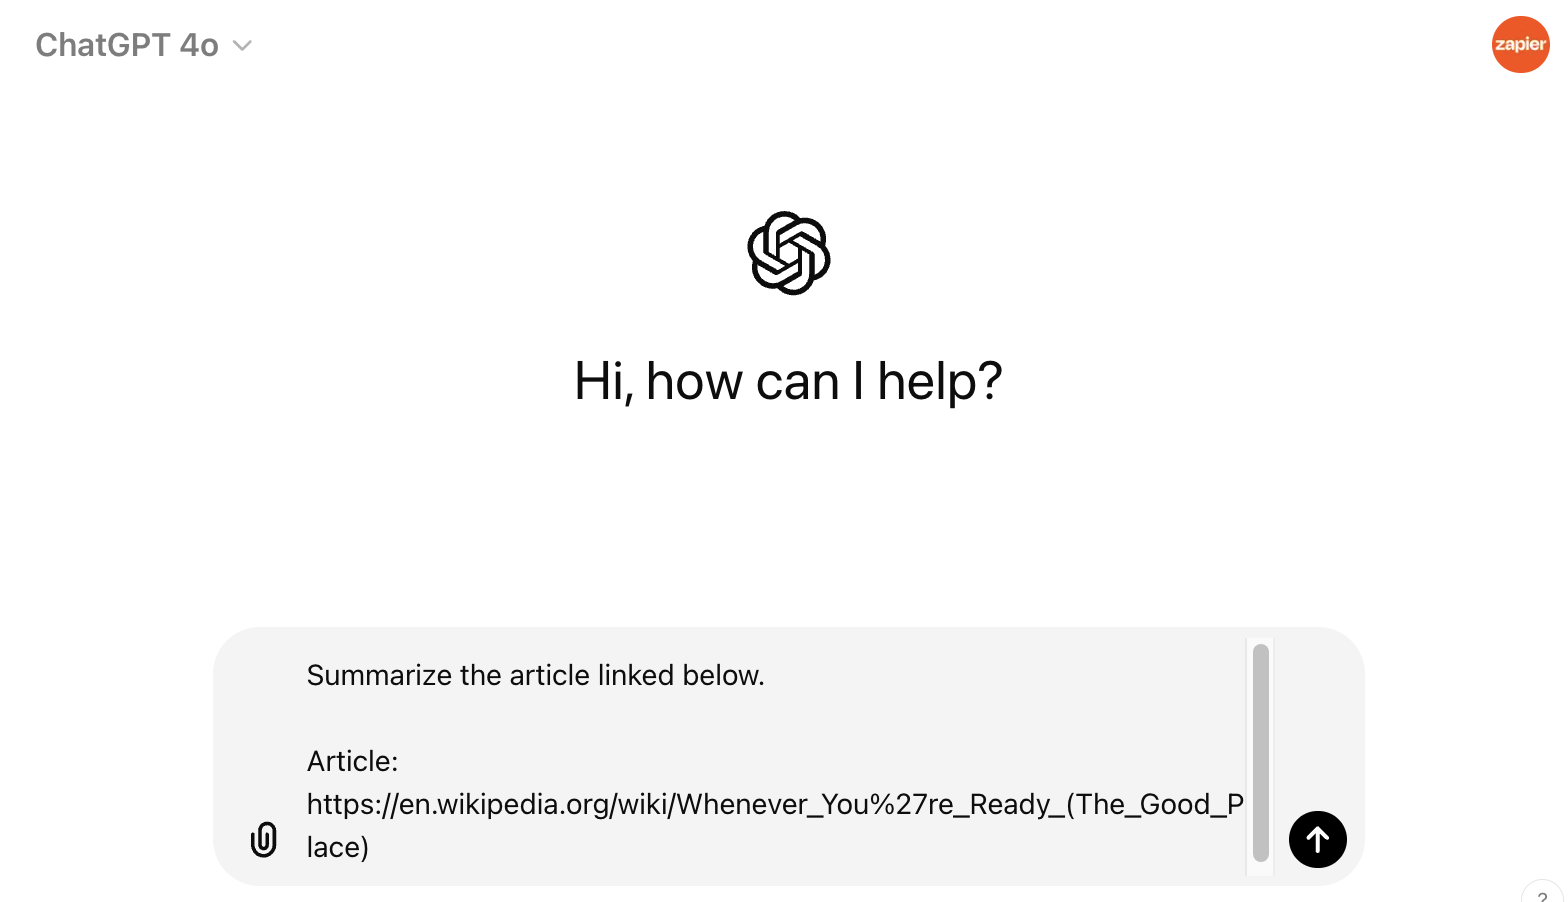
Click Send.
If you're not satisfied with the response, you can click Regenerate response to get a ChatGPT to try again. Or you can modify your prompt.

Need to extract text from webpages to use in ChatGPT? You can try a free tool like this, which converts HTML—the standard markup language for webpages—to plain text.
How to write an effective ChatGPT article summary prompt
When it comes to getting ChatGPT to give you the article summary you actually want, here are two key ways to refine your prompt.
1. Tell it how long the response should be
To ensure the summary is short and sweet, add a character limit or a range of acceptable lengths to your prompt. For example, "The summary should be 125 characters max" (this is equivalent to roughly a half page of text, double-spaced, using 12-point font) or "Write a 150- to 300-word summary of this article."
It's worth noting that sometimes it's helpful to include the desired length of ChatGPT's response in your initial prompt. Other times, it's not. (Remember how I said ChatGPT's ability to summarize text is hit or miss?) Here's an example from the first time I asked it to summarize the final episode of The Good Place using a maximum of 125 characters.

Technically, ChatGPT did exactly what I asked it to do—but it took "summarize" to the extreme. In this case, I modified the prompt and removed the character limit, which gave me a slightly better response. (But there aren't nearly enough specifics for my liking.)

At the end of the day, you'll have to play around with what details work for each prompt.
2. Specify what to include in your article summary
A clear prompt with sufficient detail is key to getting the response you want from ChatGPT.
Let's say I want to know what happens to each main character in the series finale of The Good Place. For that, I'd prompt ChatGPT with, "Try again, but tell me what happens to each main character."

Now that's the kind of spoiler summary I'm looking for.
Limitations of summarizing articles with ChatGPT
ChatGPT is still working out some kinks, so there are a couple of things you should keep in mind when using it to summarize articles.
Token limits. GPT-4, GPT-4o, and GPT-4o mini can all hold 128,000 tokens (roughly 50 pages of text) in their "memory." For most news articles, this token limit gives you more than enough to work with. But if you want ChatGPT to summarize a hefty research paper, for example, you may need to break it up. Also, while these models can take in an impressive amount of information, they can output only a maximum of 4,096 tokens (roughly three pages) at a time.
"Plausible-sounding but incorrect" responses. ChatGPT's been known to produce less-than-accurate answers, so take its responses with a grain of salt (read: fact check, fact check, fact check).
Oversimplification. Since ChatGPT lacks critical-thinking skills, it has a tendency to strip away important details and subtle nuances presented in the source material, leaving you with a less-than-complete understanding. For something trivial like getting summaries of spoilers for pure entertainment, this isn't a huge concern. But if you're using ChatGPT to summarize an article that you'll reference in, say, a college dissertation, I strongly recommend reading the article in its entirety so you don't miss out on crucial details or nuance.
How to use ChatGPT to summarize an article: FAQs
OpenAI is constantly updating existing features and adding new functionality, so it's understandable if you're confused about what ChatGPT can and can't do. Here are answers to the most common questions about how to summarize with ChatGPT.
Can ChatGPT summarize a pdf?
ChatGPT (powered by GPT-4, GPT-4o, or GPT-4o mini) can summarize a PDF and answer questions about the PDF.
It's worth noting, though, that in my experience, the quality of ChatGPT's responses varies depending on the length, complexity, and formatting of the file. For example, when I asked ChatGPT to summarize a PDF that contained headings, it generated a formatted list of key talking points along with a one-sentence summary of each point. When I asked ChatGPT to summarize a PDF with the same content, but no headings, it generated only a vague, one-paragraph summary.
Can ChatGPT summarize videos?
ChatGPT doesn't have the functionality to watch or analyze video content. There are workarounds, though. For example, if you have access to the video transcript, you can upload that into ChatGPT and ask it to analyze the transcript. Or, if you're a ChatGPT Plus or Enterprise user, there are custom GPTs you can use to summarize videos.
With the introduction of the new multimodal AI models, GPT-4o and GPT-4o mini, this answer may change—but it's too new to say for certain.
Can ChatGPT summarize a website?
Yes, but there are limitations. If you ask ChatGPT to summarize a website containing content that requires a subscription—for example, an article from the New York Times—ChatGPT won't be able to summarize it. This feature is also available only to paid users.
Automate your AI article summaries
You can take the manual process out of summarizing articles you come across on the web. With OpenAI and Zapier, you can automatically generate AI summaries in just two clicks—directly from your browser. Click on the Zap template below to get started.
Create article summaries with OpenAI from the Zapier Chrome extension
To get started with a Zap template—what we call our pre-made workflows—just click on the button. It only takes a few minutes to set up. You can read more about setting up Zaps here.
Related reading:
This article was originally published in May 2023. The most recent update was in July 2024.


