
Raise your hand if you've scrambled to prepare for a meeting, webinar, or interview after the event got buried under your mountain of other tasks for the week. It's easy to lose track of administrative chores like these—but fortunately, you can leave this one to Zapier.
All you have to do is set up a Zap (what Zapier calls an automated workflow) that creates a new note in Microsoft OneNote for upcoming Google Calendar events. Since this Zap works with upcoming events, you can set it up to run far in advance for meeting agendas or right before the event for notes.
In this article, I'll show you how to create this Zap. I'll share some Zaps you can add to this workflow to further automate your work events, too.
Zapier is the most connected AI orchestration platform—integrating with thousands of apps from partners like Google, Salesforce, and Microsoft. Use forms, data tables, and logic to build secure, automated, AI-powered systems for your business-critical workflows across your organization's technology stack. Learn more.
Add notes to OneNote from Google Calendar events
You can start building this Zap by creating a new one in the Zap editor or by clicking the template below. The template will save you some work by automatically populating your apps, trigger step, and action step.
Add notes on Microsoft OneNote for upcoming Google Calendar events
Do you use Microsoft apps exclusively? Use the Zap template below to connect OneNote to Outlook instead. To explore other possible triggers, check out our complete list of calendar integrations.
Create Microsoft OneNote notes for new Microsoft Outlook calendar events
Set up your Google Calendar trigger
First, you'll need to tell the Zap to activate in response to a Google Calendar event by setting an upcoming event as your trigger—the event that begins your Zap. The template will enter this information for you. But if you're starting from scratch, click the Trigger step, choose Google Calendar as your app, and pick Event Start as your trigger event.
Here, you'll also connect your Google account if you haven't yet. Click Continue when you're done.

Now, it's time to configure your trigger. Choose the calendar you want to pull events from in Calendar, then choose how long before the event you want to create your note. When you work with the latter setting, Time Before (Unit) defines the unit of time you want to use, and Time Before determines the number of that unit. For example, if you set Time Before to 15 and Time Before (Unit) to Minutes, you'll instruct the Zap to run 15 minutes before the event starts.
In this step, you can also add a Search Term, so the Zap will only work for events that include that term. So, let's say you want to make notes only for your "Wednesday Webinar" series. All you do is add that name as the search term, and your Zap will make notes only for those webinars.
After you complete all of your desired fields, click Continue.

After you configure your trigger, Zapier will prompt you to test it. Click Test step. Zapier will then pull recent events from your calendar (or a test event if it can't find a real one). Choose a record that you want to test your Zap with, then select Continue with selected record.

Set up your OneNote action
Once you have your trigger and its test data ready, you can move on to the action—the event that happens in response to your trigger. In this case, your action will be a new note in OneNote, so choose OneNote as your app and Create Note in Section as your action event if they aren't already populated. Connect your OneNote account if needed, then click Continue.

Now you can set up your OneNote notes. Choose your notebook and section in their corresponding fields, then fill out the Title and Content fields to create a note template. Click the + button or enter / while typing to insert fields from your event dynamically. For instance, I added the fields Description and Event Begins (Pretty) to my note title to mark each note with the event name and date. If you have an intricate layout in mind for your note template, you can switch to HTML in the Content Type field.
After you're happy with how everything looks, click Continue.

Click Test step to create a OneNote note using your sample data. It should look something like this:

If you'd like to change something, you can click the Setup, Configure, or Test steps in your action and trigger to edit them, then click Test step again to make another note. When you have the template you envisioned, click Publish on the action's Test step to publish your Zap.
More Zaps for your event notes
Since there's no limit to the number of Zaps you can build on any plan, you can add more Zaps to your event workflow to do even more with your notes. If you need a little inspiration, check these two use cases out.
Keep the momentum going with automatic transcription
If transcribing or summarizing meetings, webinars, or other online conversations is a part of your event workflow, you can auto-add those transcripts to the same notebook where your event notes live. From there, you can copy and paste the transcript into your meeting notes or give it a separate section. Zapier has templates to import transcripts from all of your favorite apps, including Otter.ai, tl;dv, and Plaud.
Create Microsoft OneNote notes from new Otter.ai recordings
Create notes in Microsoft OneNote for new recordings added in tl;dv
Add new PLAUD transcripts & summaries to Microsoft OneNote as notes
Follow up on your event
You can also create a follow-up task for every note you make using the Zap I walked you through in this guide. Choose one of the Zaps below to create a task in your favorite productivity app when a new note appears in OneNote. Then, when you configure your OneNote trigger, choose the notebook and section where your automatic event notes will appear.
Create tasks on Microsoft To-Do from new Microsoft OneNote notes
Create tasks in ClickUp for new notes in Microsoft OneNote sections
Add Miro cards for new notes added to a section in Microsoft OneNote
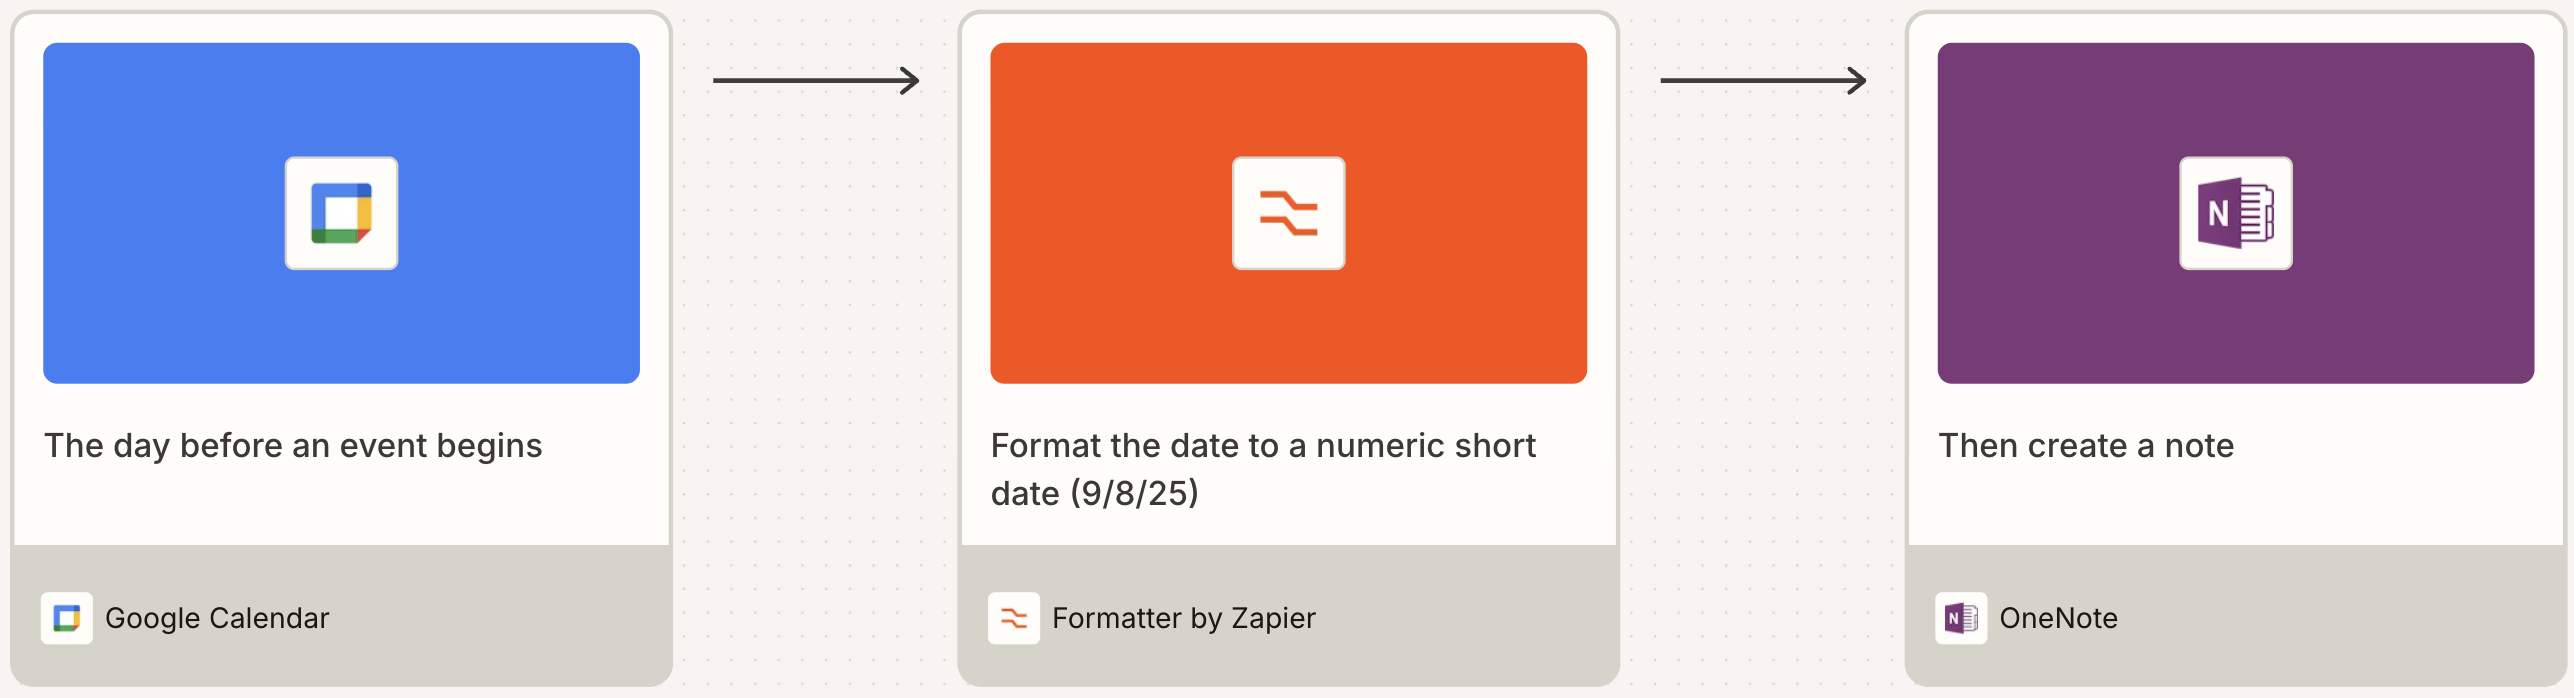
Pro tip: Want the date to appear differently in your note? Add a Formatter by Zapier step to transform the way dates get structured. Read our guide to using Formatter.


