Publishing audio versions of your blog posts is a great way to grow your readership. Some people prefer listening to content so they can multitask, while others need audio to be able to access your content at all.
And hey, great news—you don't need to spend loads of money or time recording audio manually when tools like ElevenLabs can generate natural-sounding recordings from text alone.
The trick is creating and saving that audio file somewhere without creating more work for yourself. I'll show you how to do that in this tutorial. In addition to RSS by Zapier and ElevenLabs, I'll be using Google Drive to store the audio files—but you can swap in whatever apps are in your stack, since the setup will be similar no matter what you use. Let's get started.
Zapier is the most connected AI orchestration platform—integrating with thousands of apps from partners like Google, Salesforce, and Microsoft. Use forms, data tables, and logic to build secure, automated, AI-powered systems for your business-critical workflows across your organization's technology stack. Learn more.
Automatically create audio versions of blog posts
Zapier is an AI orchestration platform that lets you streamline your work by connecting your work apps into automated workflows. These workflows are called Zaps, and they can do lots of tasks for you—including automatically converting your blog posts into audio files and storing them. You can create your own Zap from scratch without any coding knowledge, but there are also lots of pre-built templates to help you get started quickly.
You can build an audio generation Zap from scratch in the Zap editor or click the template below to get started. The template will save you some clicks by automatically populating your trigger and action steps. If you don't already have a Zapier account, you'll need to create one. Then just follow the directions below to set up your Zap.
Create and store audio versions of your blog posts
Set up your RSS trigger
Your blog's RSS feed shows every post you publish, so we're using that as the trigger action. That way, the automation will kick off for any new post.
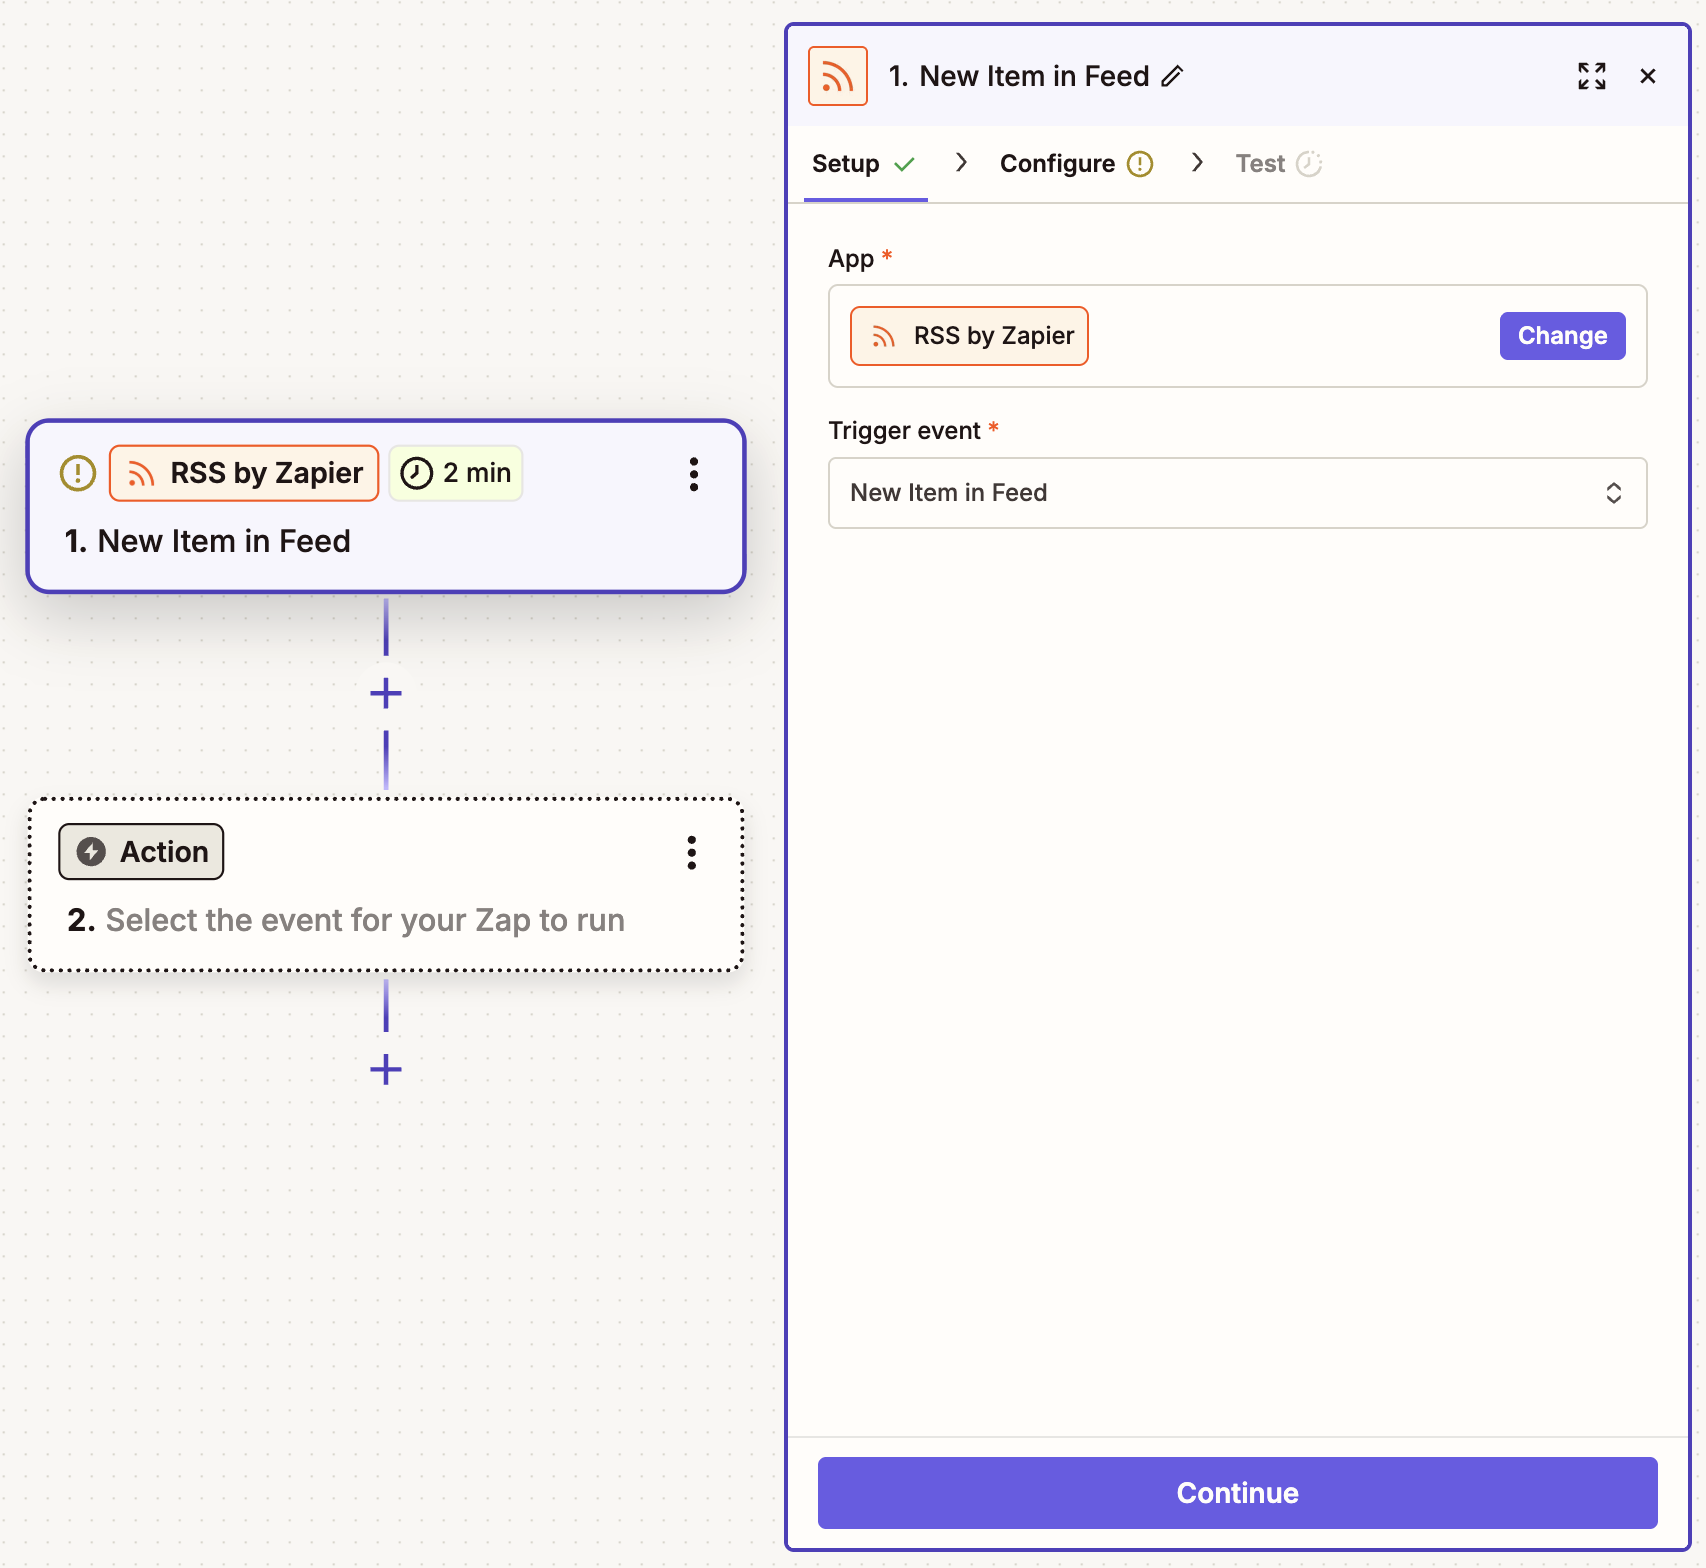
Create your trigger, choosing RSS as your app and New Item in Feed as your trigger event. If you started with the template, this will already be done for you. Click Continue.
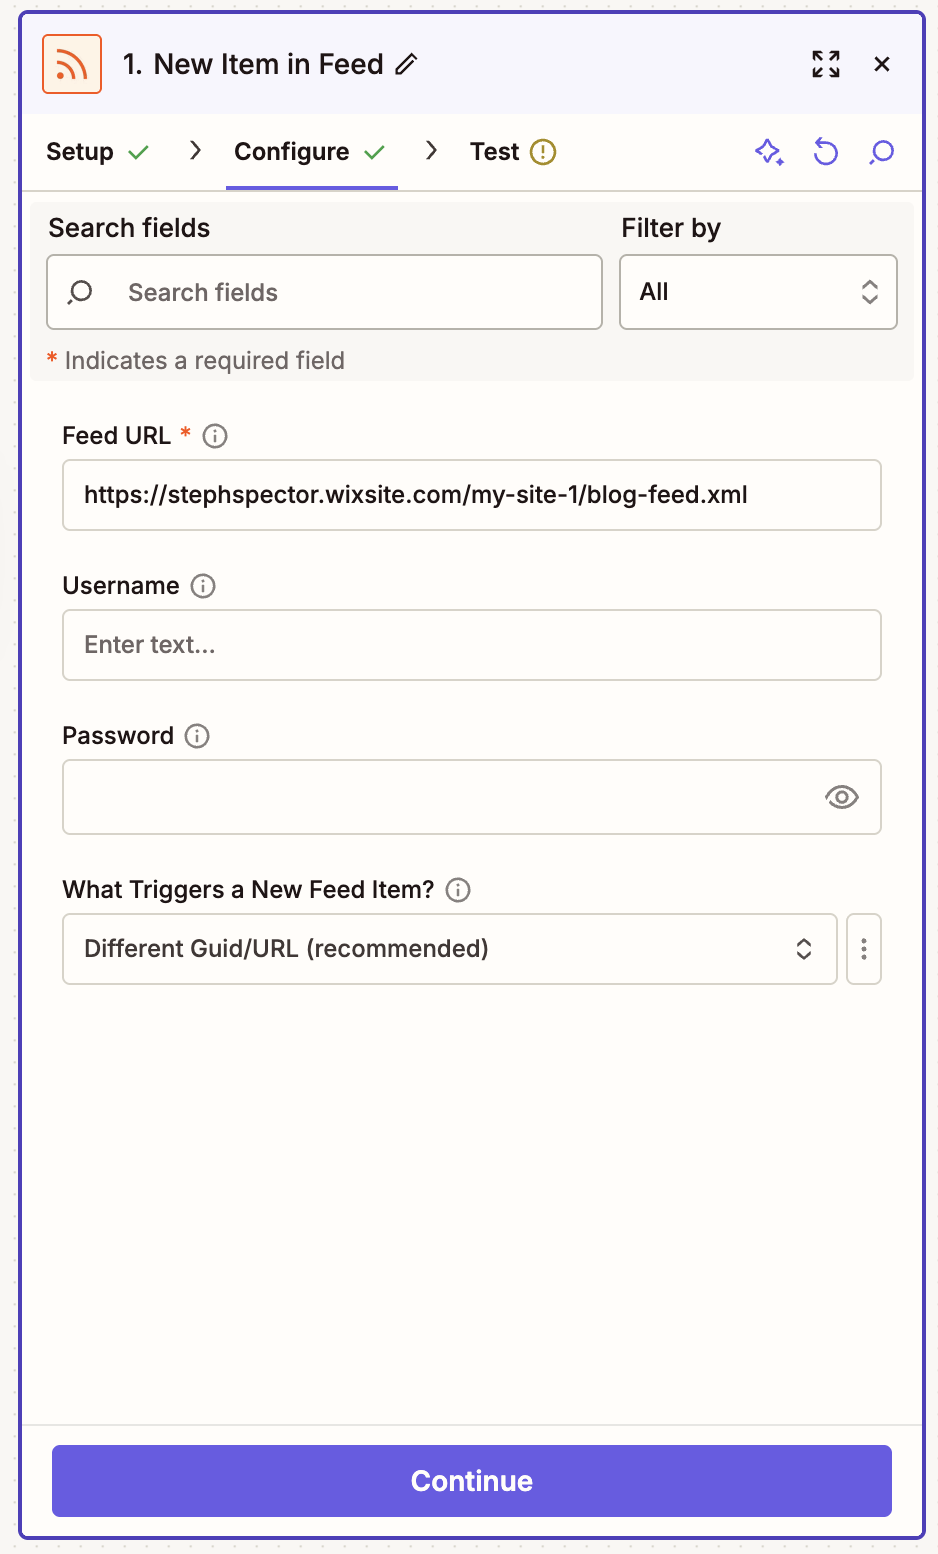
In the Configure tab, paste your blog's RSS URL (here's how to find it)—and if password protected, enter your login credentials. I'll use a blog published to Wix as my example. When you're done, click Continue.
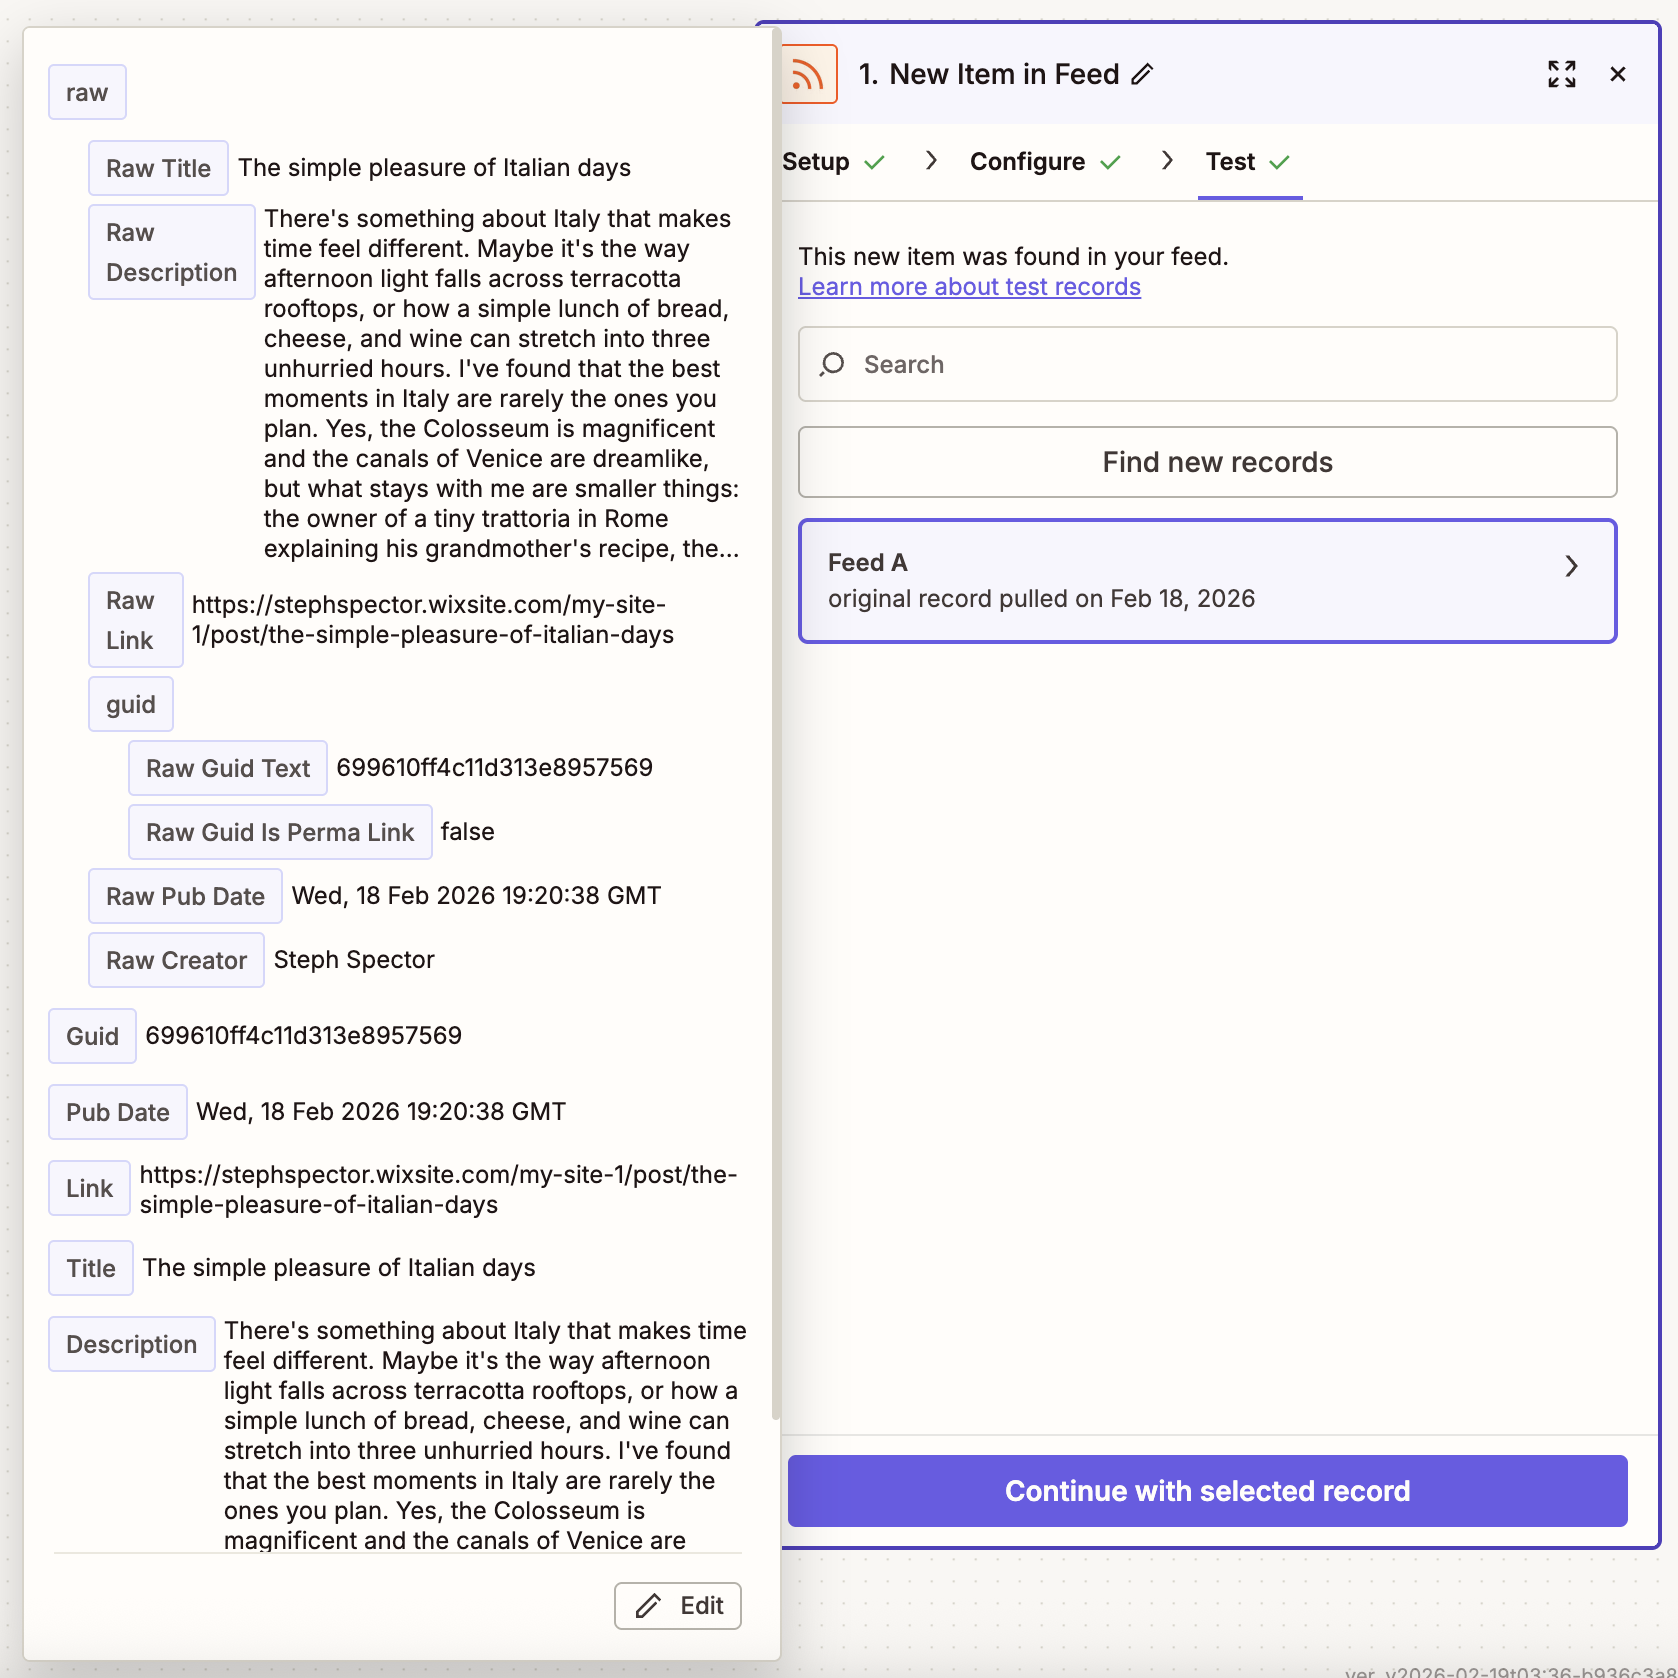
Make sure you have at least one published post. That way, you can test this step. Pick a record, then click Continue with selected record.


Set up your ElevenLabs action
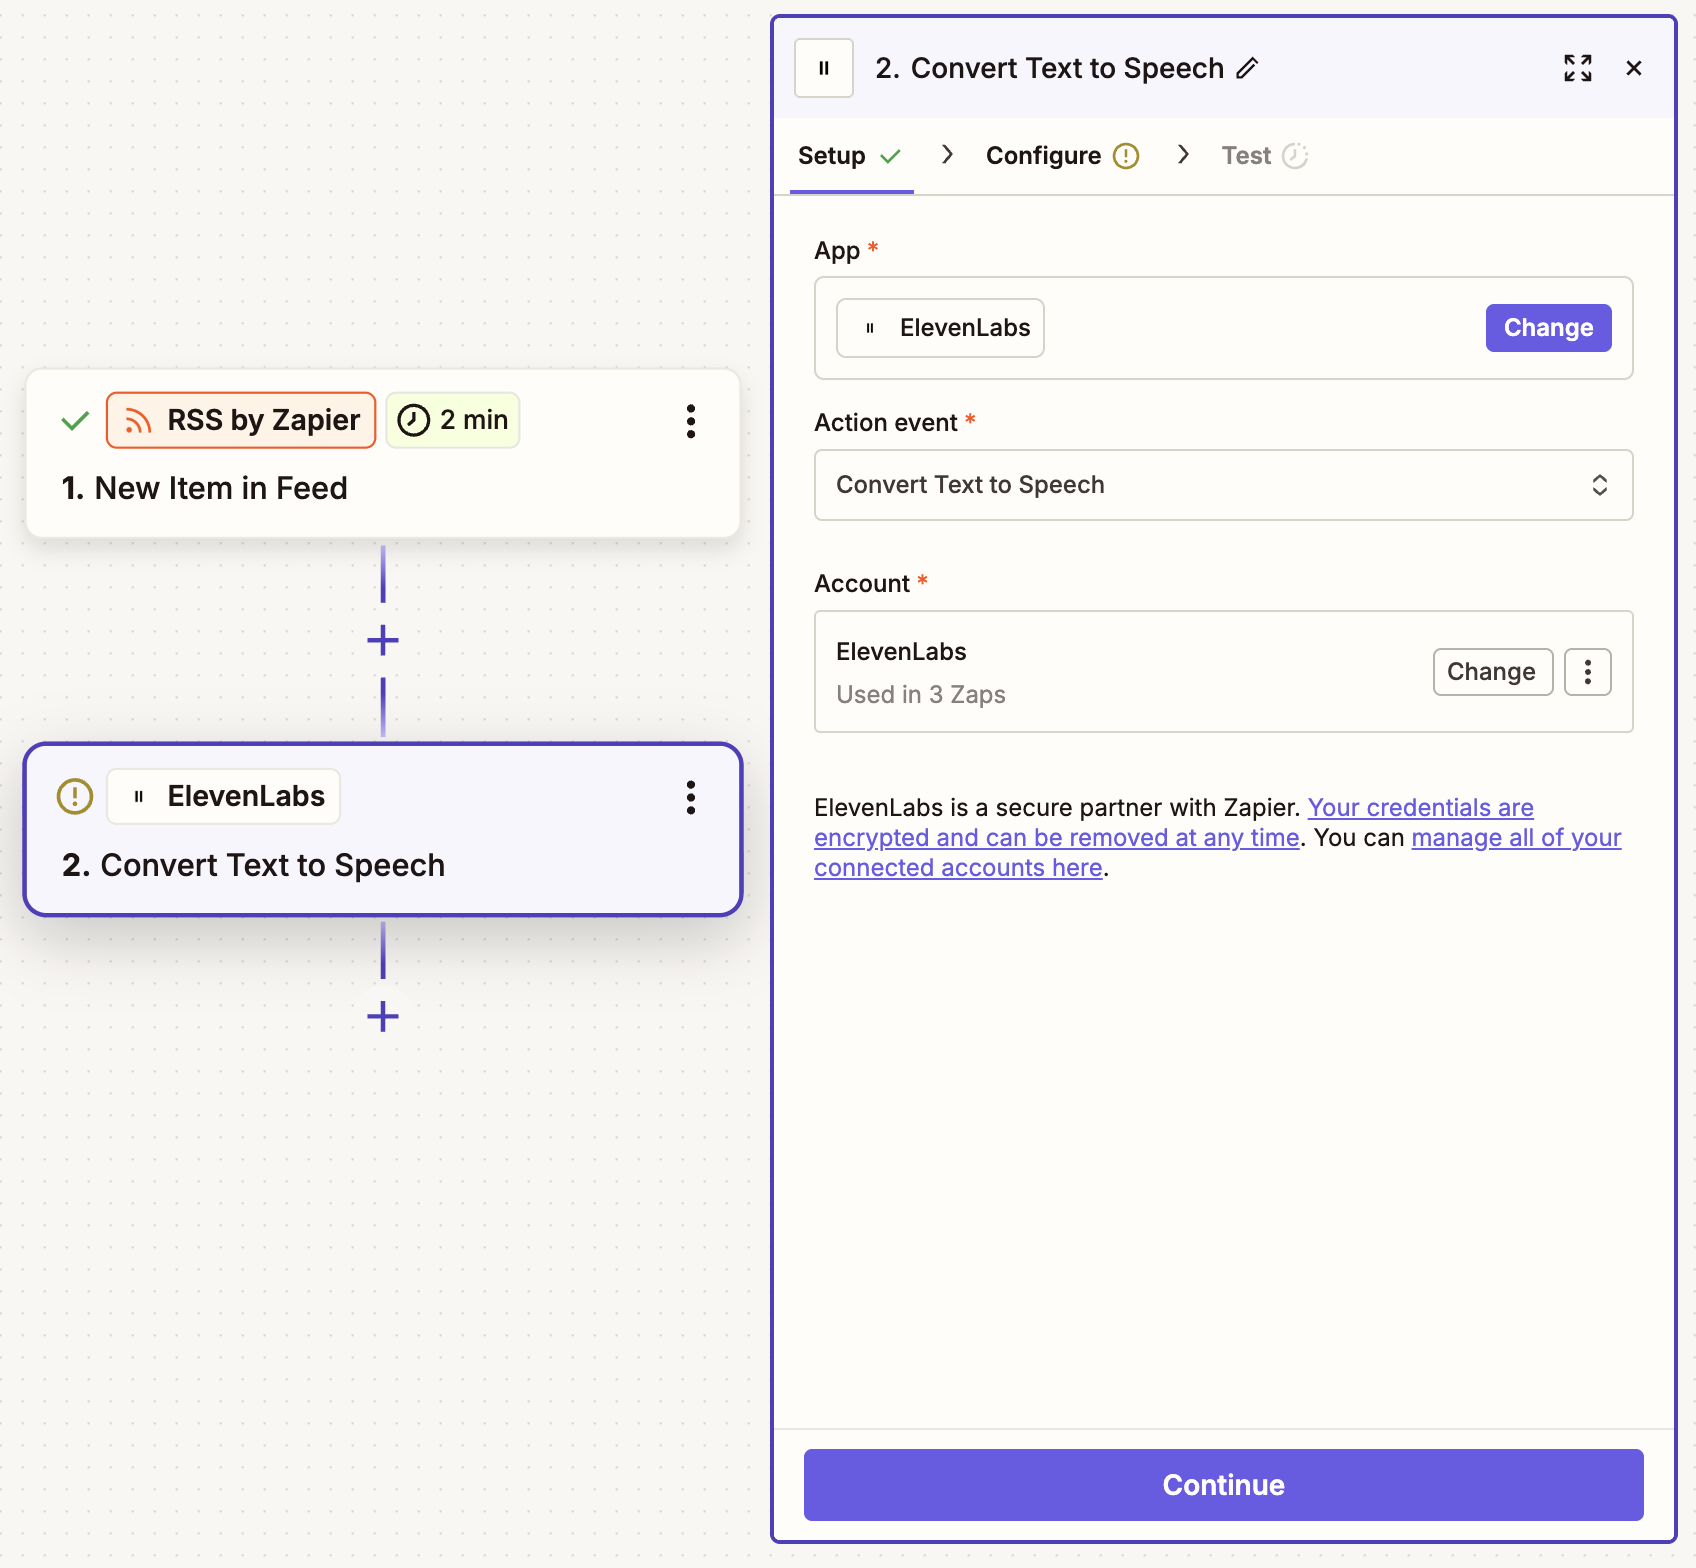
In your next step, choose ElevenLabs as your app and Convert Text to Speech as the action event. Then connect your account and click Continue.
In the Configure tab, select your desired voice, then map the Text field to your blog post. To map data, click on the plus sign (+) in the field and select Raw Description, which contains your blog post text. You can include other text for your AI voice to read, too. For example, I wrote up a short intro that mentions my blog post title and my name.
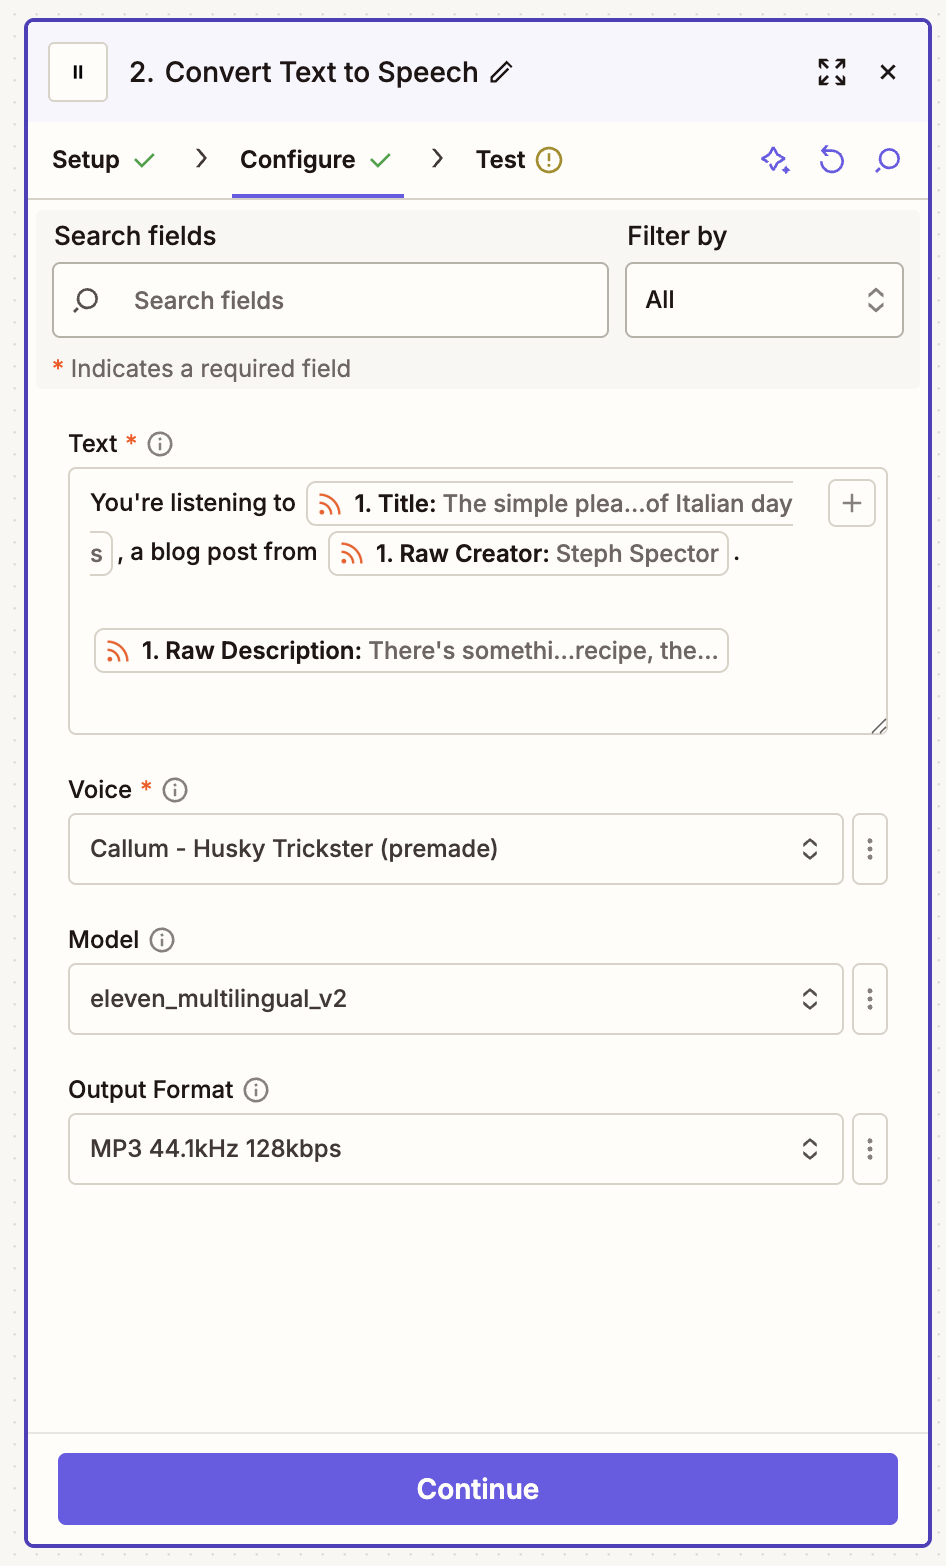
Now click Continue and test your step. Use the Audio File URL in the test record to listen to your generated audio and change the voice or your text as needed.


Set up your Google Drive action
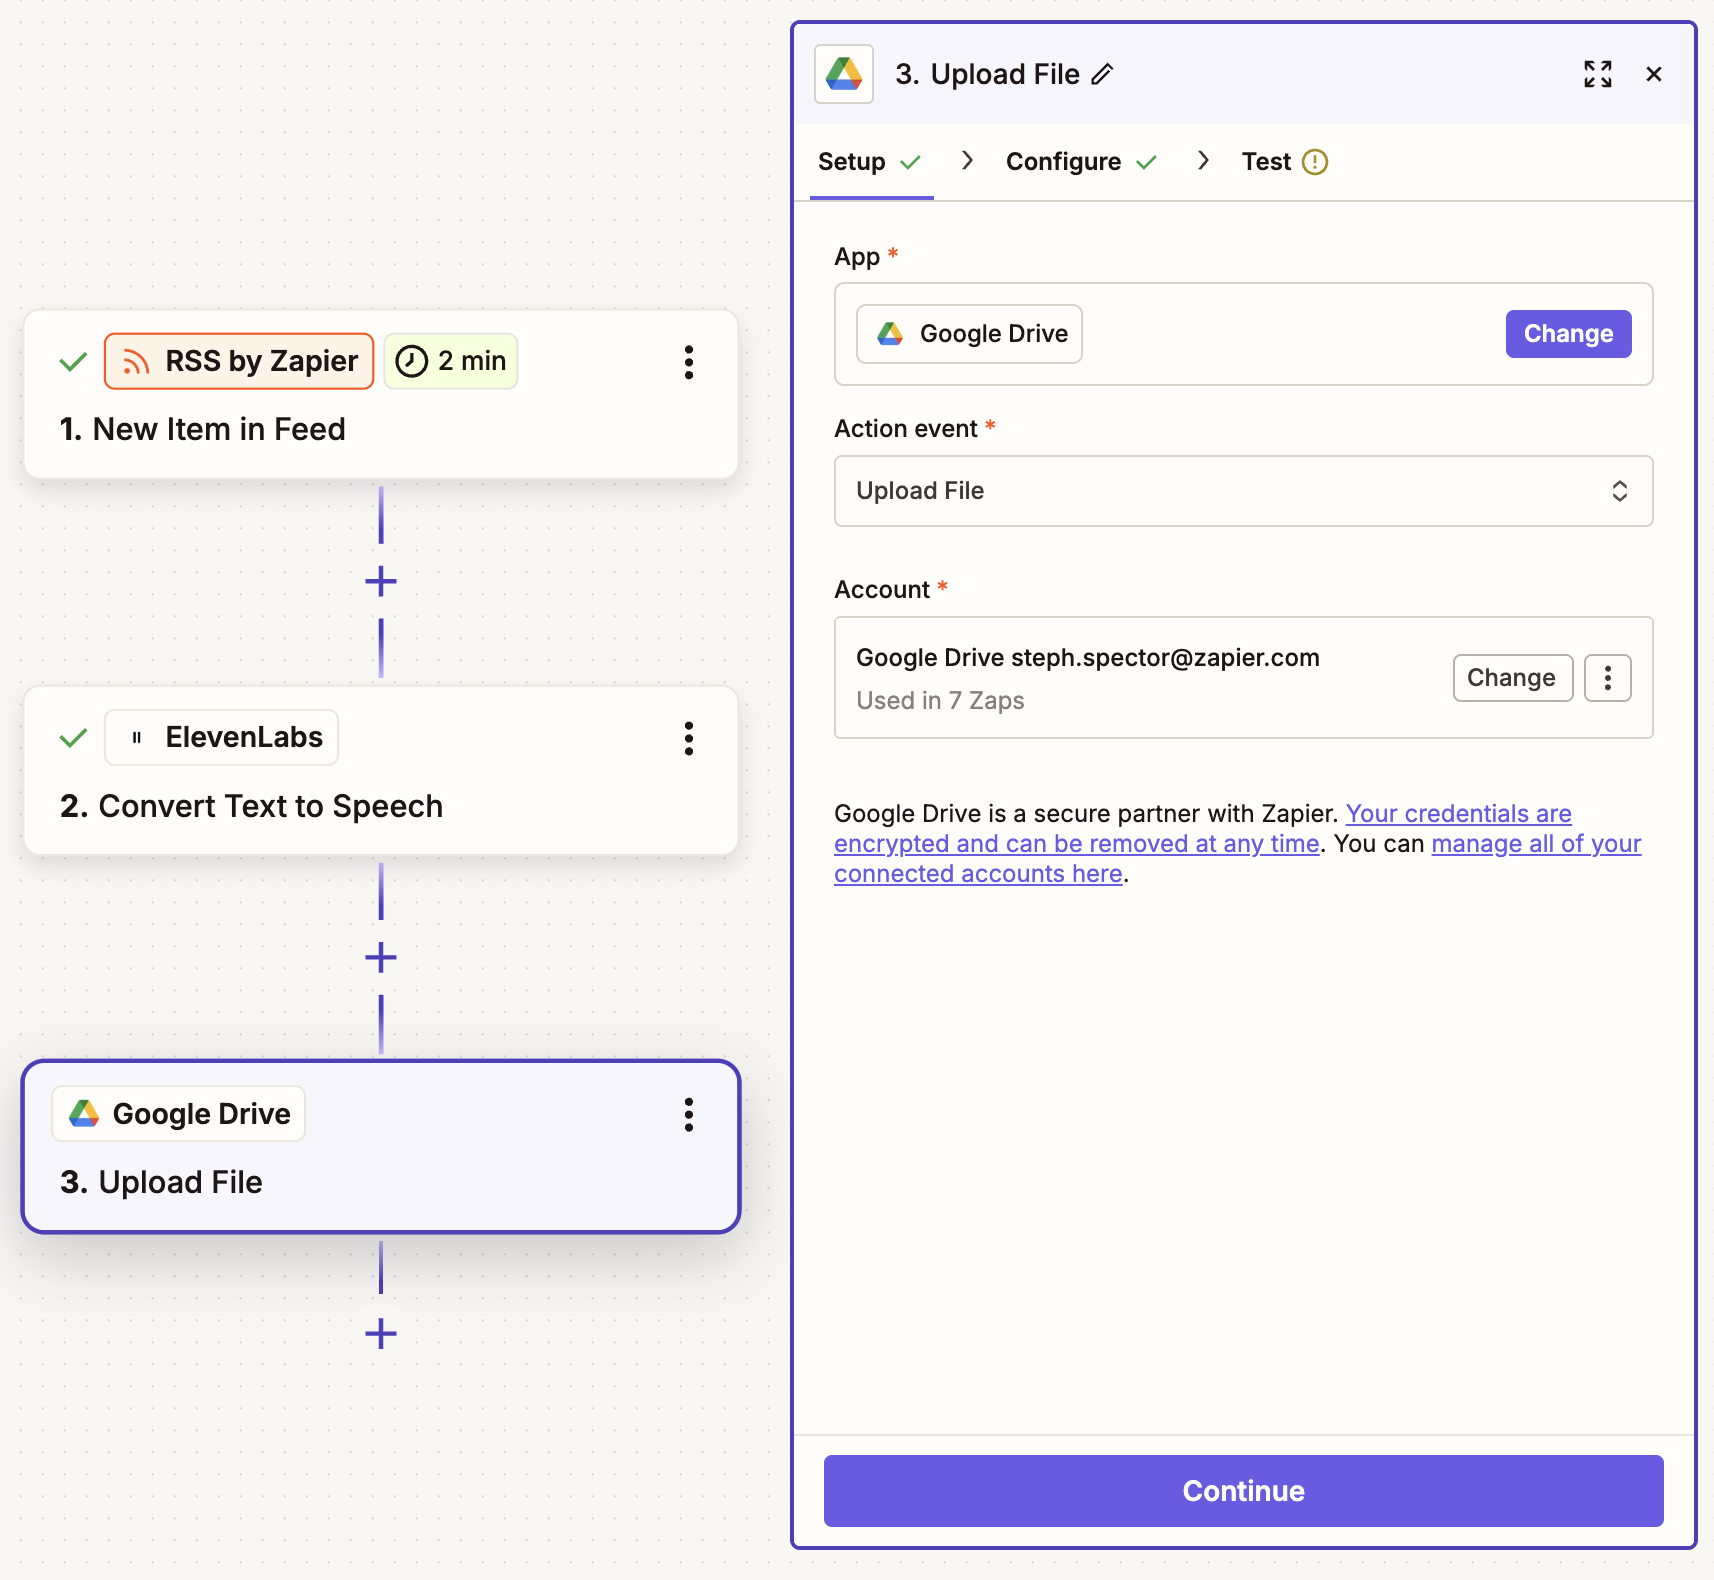
Now let's store the audio files, so you can easily access and upload them to your blog posts. In your last step, choose Google Drive as your app and Upload File as the action event. Connect your account, then click Continue.
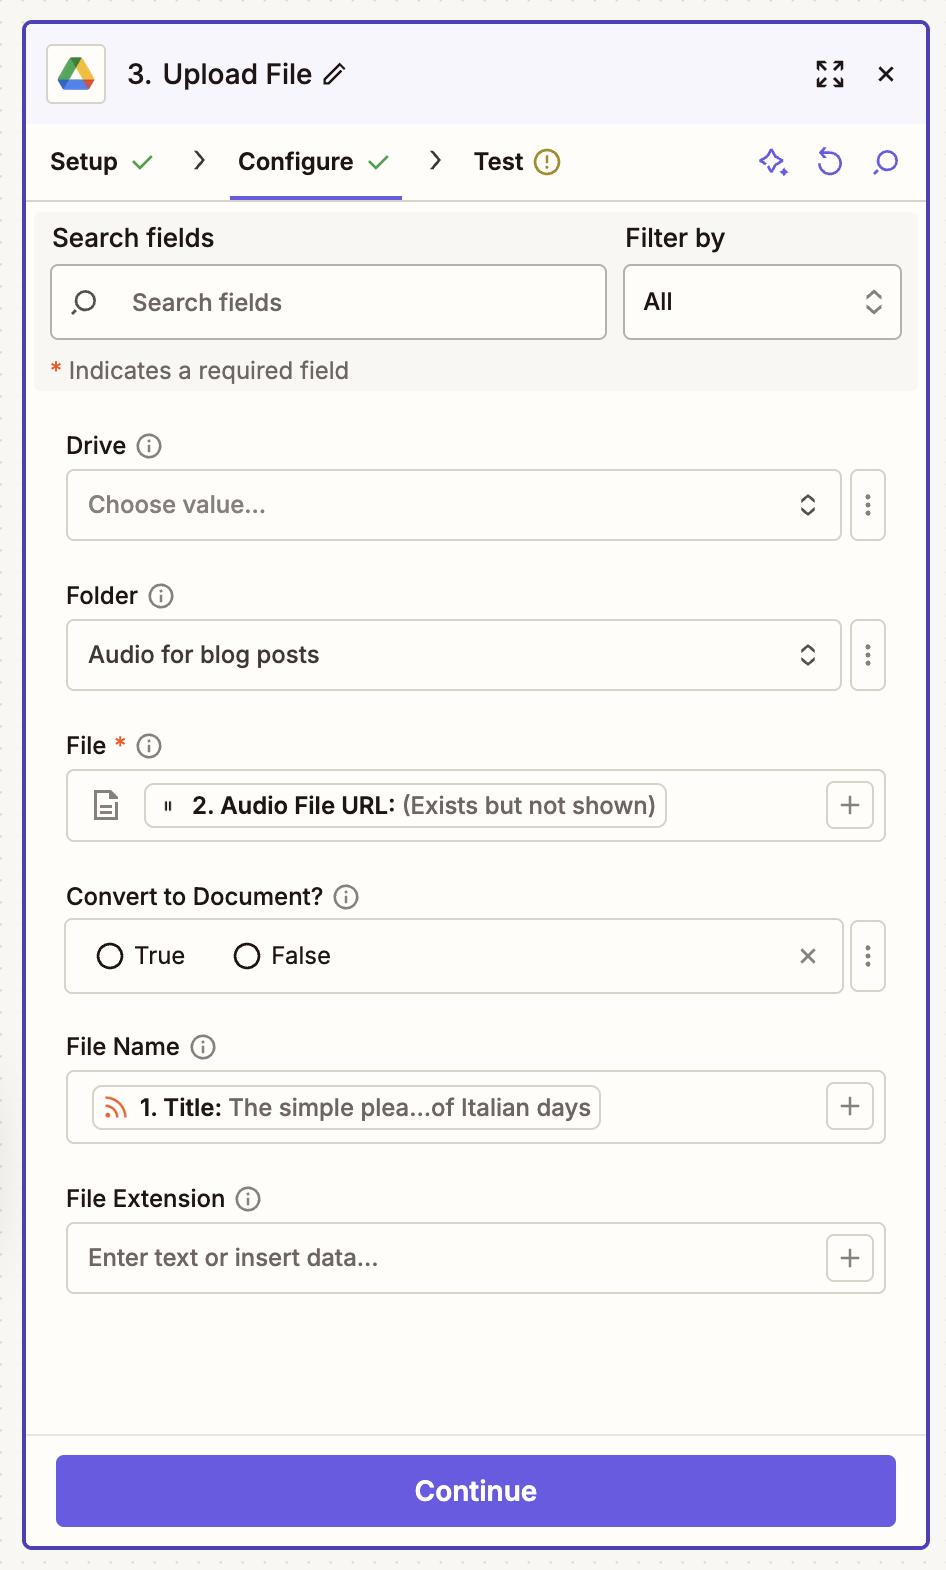
In the Configure tab, you'll need to specify which file to upload. To do this, map the Audio File URL from your ElevenLabs step in the File field. You can also map data to your File Name field—like the name of your blog post, for example—if you'd like to enforce a tidy file naming convention. When you're done, click Continue.
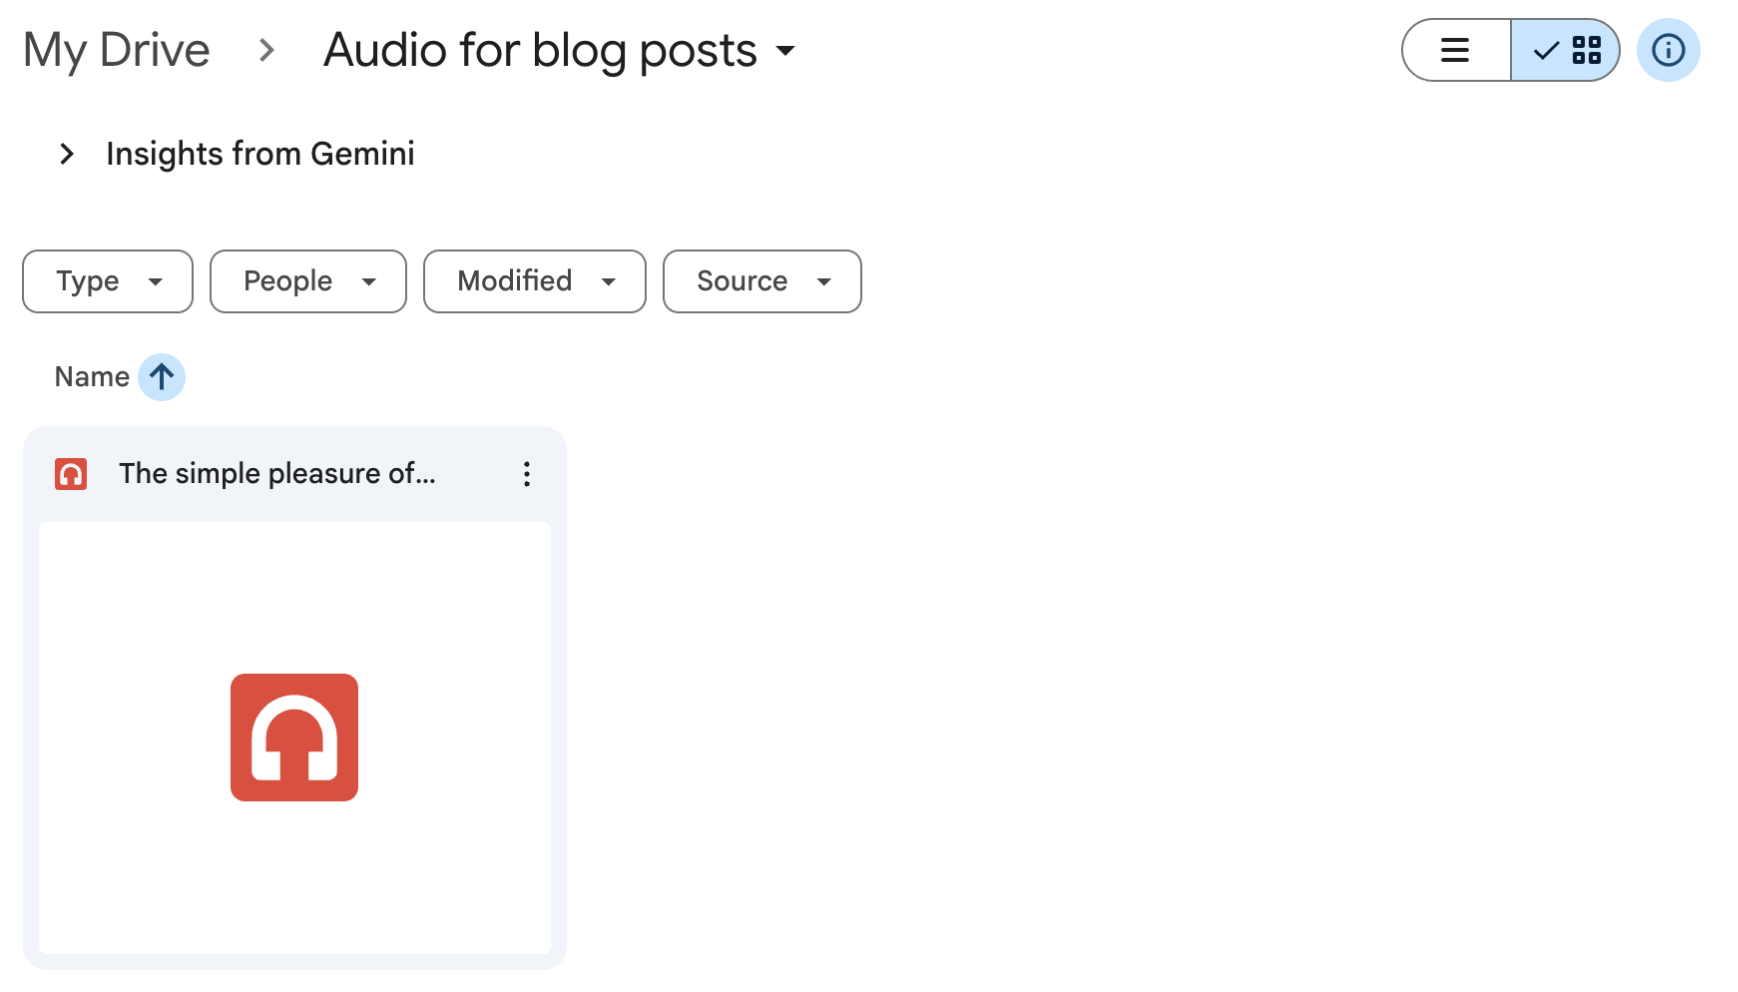
In the next tab, click Test step. Check your Google Drive—your audio file should now be there.
If everything worked as expected, just remember to click Publish to turn your Zap on.


Pro tip: Are you a Zapier power user? You can automatically update your blog post with the audio version using a webhook. Learn more about webhooks.