Typeform lets you easily collect customer data for almost any use case you can imagine. But gathering information is just the first step. What you do with that data is even more important.
If you want to easily share responses with your team, collect a database of user information, or create an archive of form responses, you likely want to move your Typeform entries to another tool. With a Zap—Zapier's automated workflows—you can create a new record in Airtable for new Typeform responses. Seamlessly share data across your company and make sure important information is backed up automatically.
Zapier is the most connected AI orchestration platform—integrating with thousands of apps from partners like Google, Salesforce, and Microsoft. Use forms, data tables, and logic to build secure, automated, AI-powered systems for your business-critical workflows across your organization's technology stack. Learn more.
Before you begin
You'll need to set up your Airtable database and Typeform form before you start.
First, if you haven't already, create your form in Typeform. You'll also want to make sure you have at least one response to your form to properly set up and test your Zap. If you don't have any responses yet, submit one or two dummy responses.
You'll also want to make sure your Airtable database has fields set up that match the form data you want to store.
For example, we're collecting responses on a mindfulness training session, so we'll collect the following responses: Name, Address, and Questions. Here's what that looks like in Airtable.
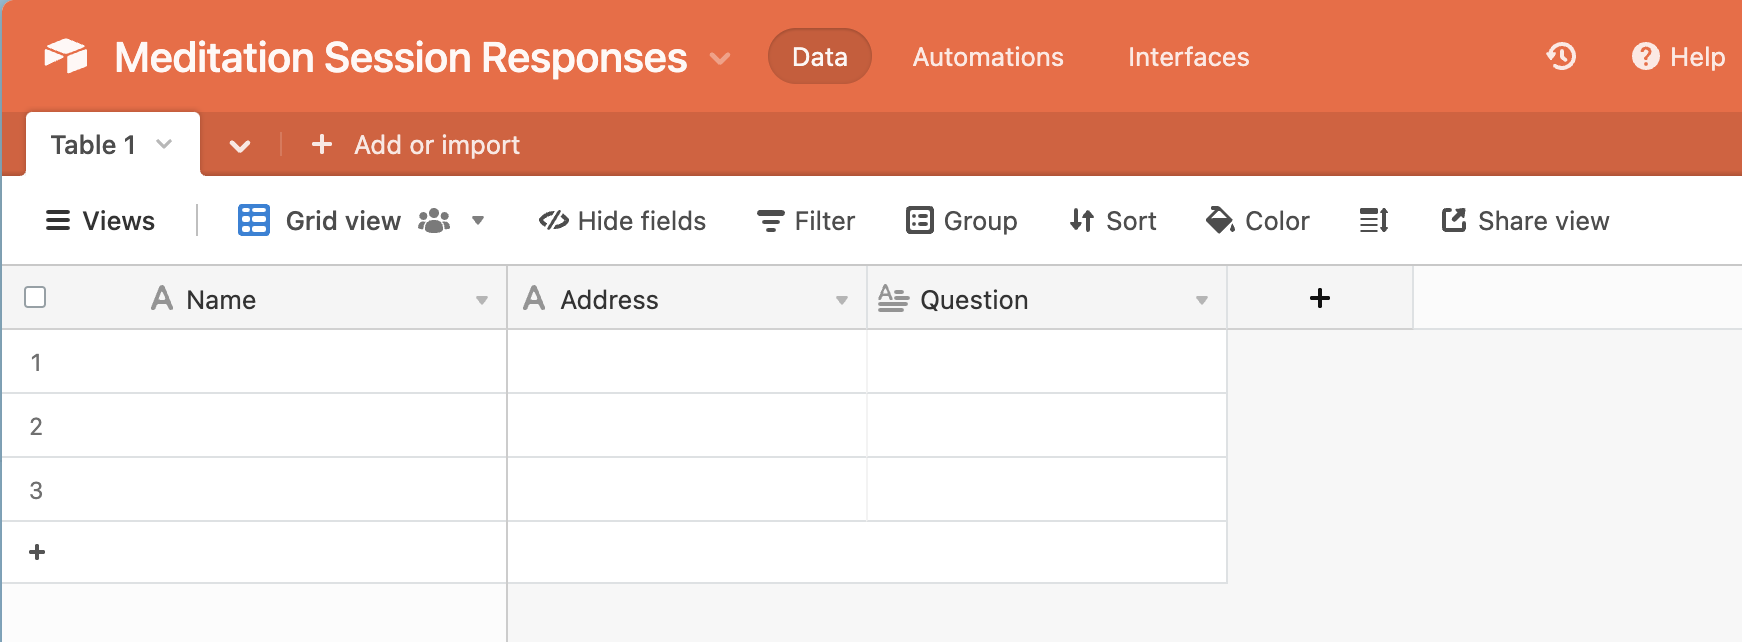
The data will depend on your use case. Before you get started, take some time to customize the column headings.
Add new Typeform entries to Airtable
Zapier lets you create automated workflows called Zaps, which send your information from one app to another. You can create your Zap from scratch without any coding knowledge, but we also offer quick templates to get you started.
If you'd like to start with a template, click on the Zap template below, and you'll be taken to the Zapier editor. You'll need to create a Zapier account if you don't already have one. Then, follow the directions below to set up your Zap.
Set up your Typeform trigger
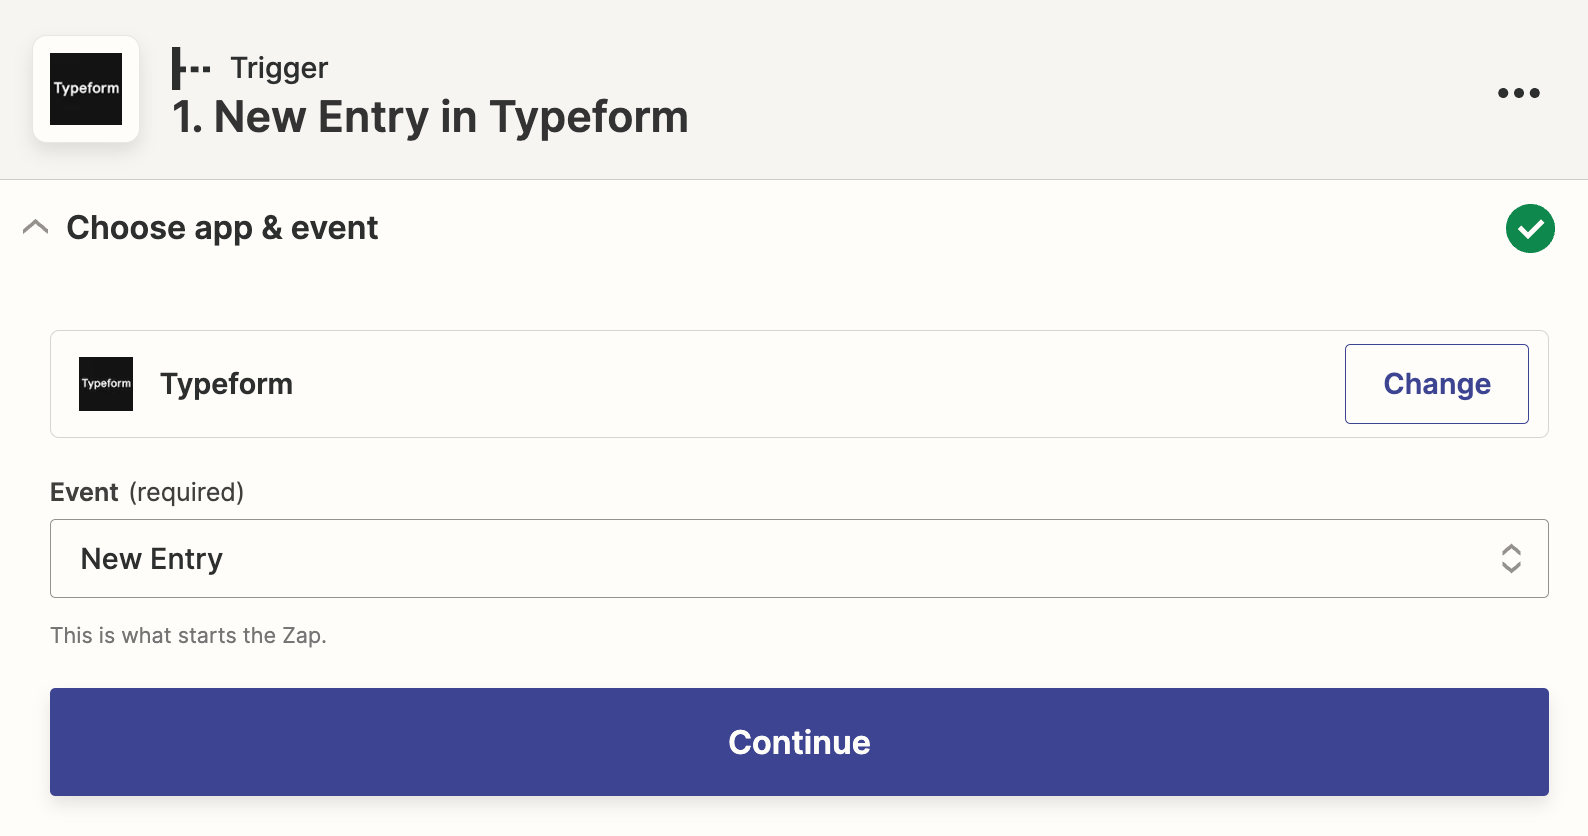
Let's start with the trigger—the event that starts your Zap. If you're using the Zap template, this will be selected for you. Otherwise, search for and select Typeform as the trigger app and New Entry as the trigger event, then click Continue.
Next, connect your Typeform account. Click on Choose an account… and either select an account from the dropdown menu (if you've connected Typeform to Zapier before) or click + Connect a new account. If you haven't connected your account before, you'll need to click the Accept button to give Zapier access to your Typeform data.
Once you've connected your account, choose your Typeform account from the dropdown, and click Continue.
Now you'll need to select the form where you're collecting the responses you want to store in Airtable. In the Form dropdown, select the appropriate form, and click Continue.

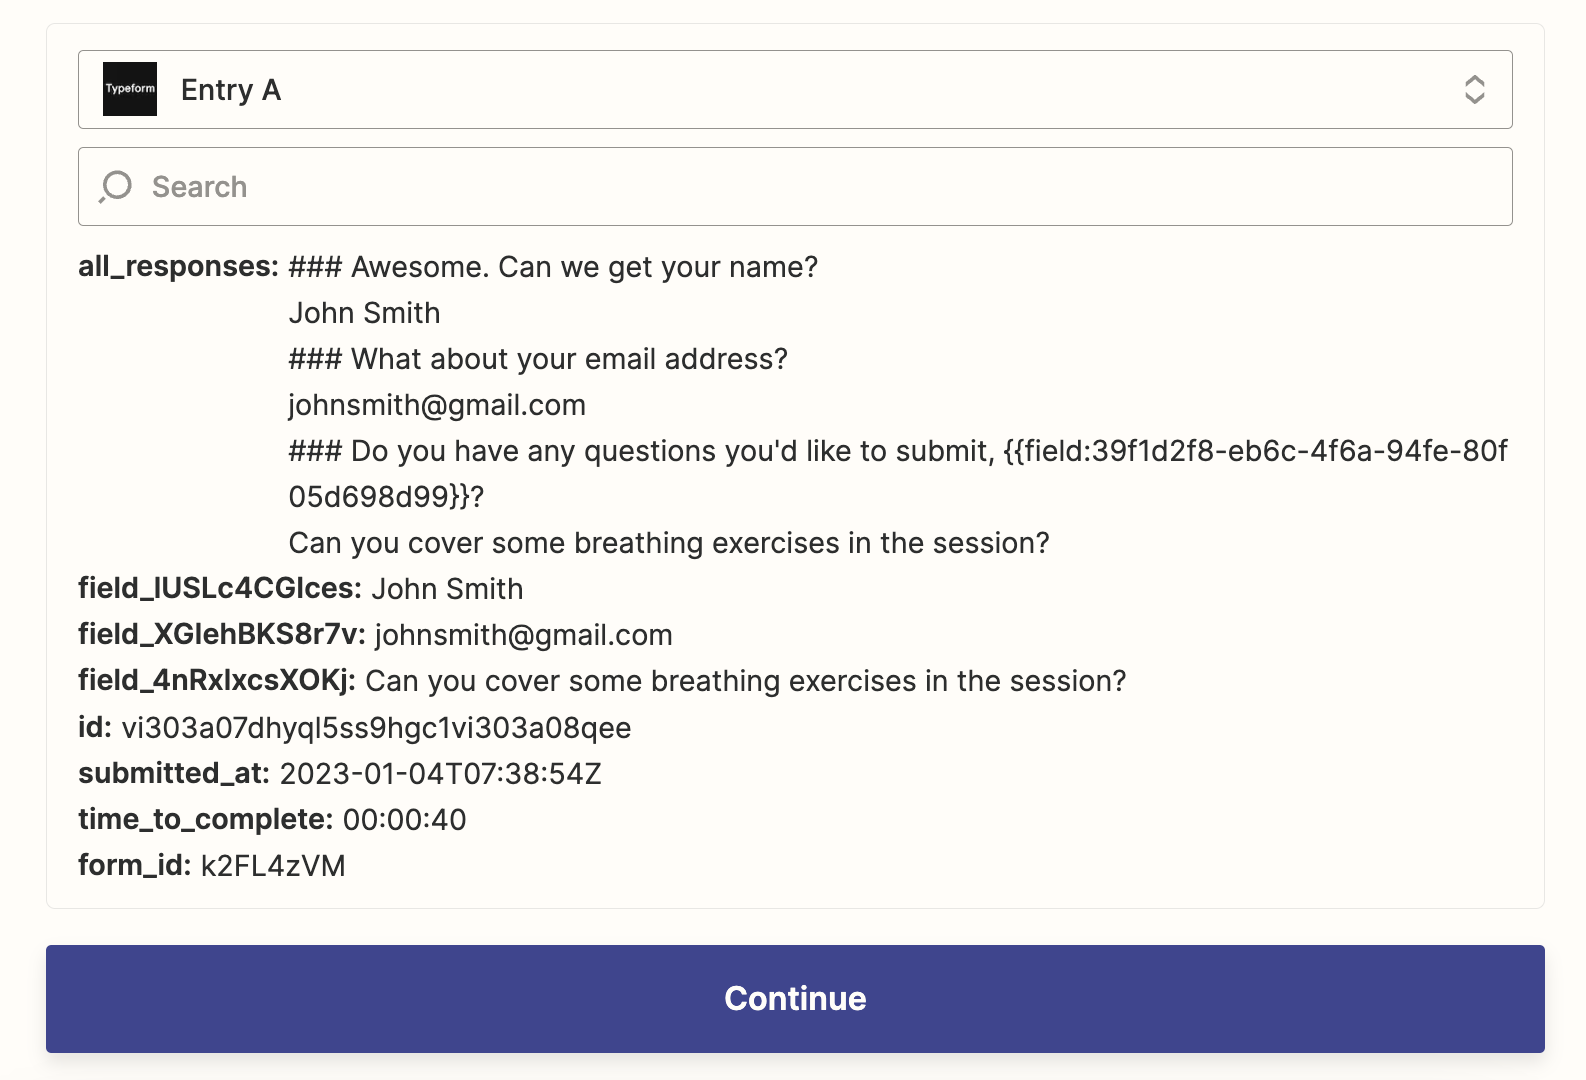
Now you need to test your trigger. Zapier will find a recent response to your Typeform. This will be used to set up the rest of your Zap. If you don't have any responses to your Typeform, you should submit a dummy response before testing your Zap so you can make sure your Zap is working properly.
Click Test trigger. Once you see that your trigger is working properly, click Continue.
Set up your Airtable action
Now it's time to set up the action—the event your Zap will perform once it's triggered. If you're using the Zap template, these will already be selected for you. Otherwise, search for and select Airtable as your action app and Create Record as your action event. Click Continue.
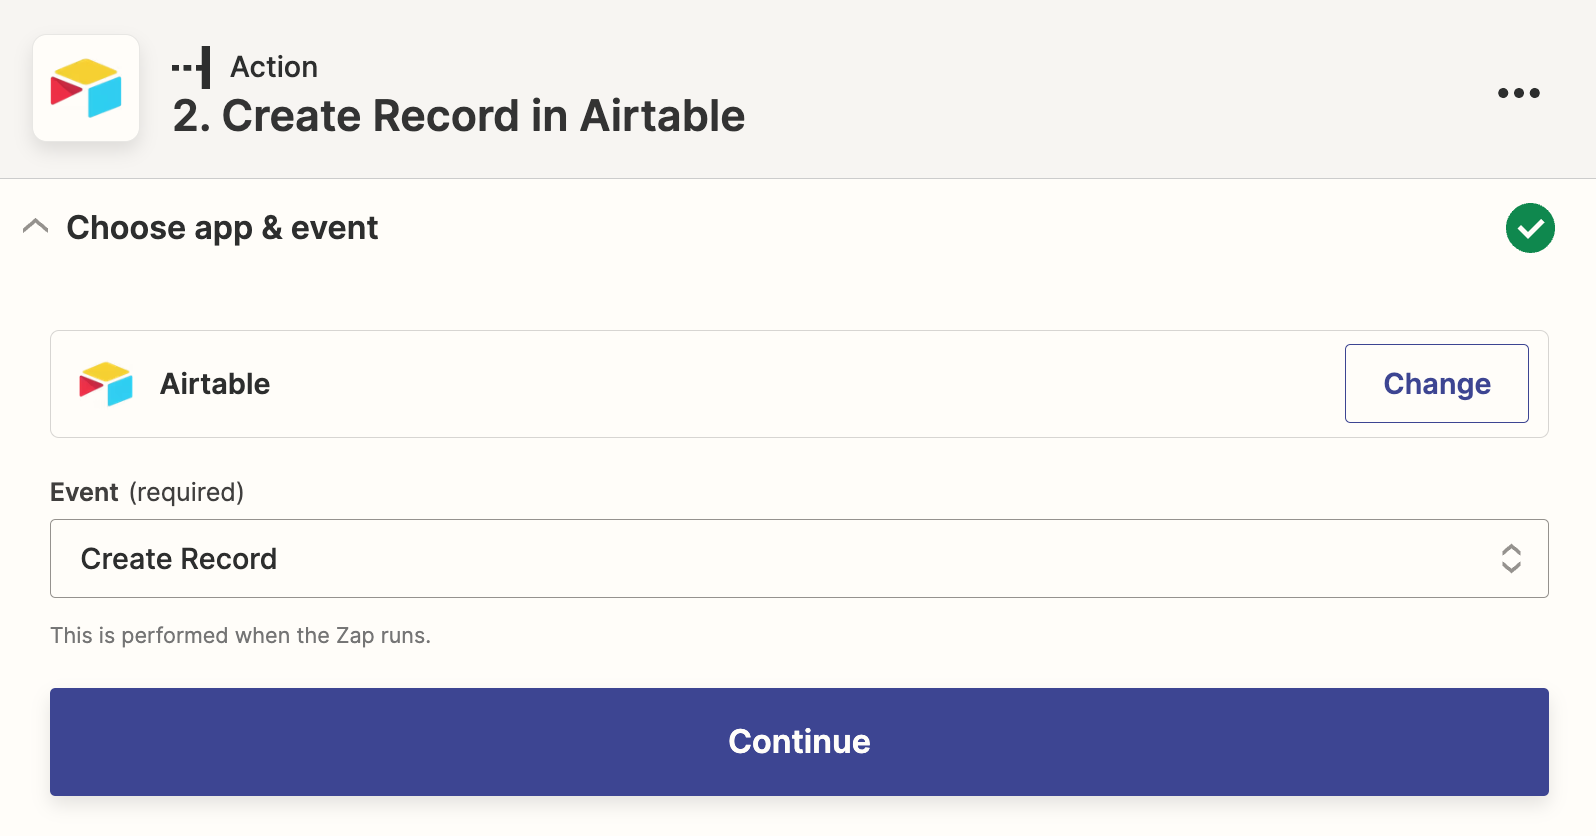
Next, connect your Airtable account. Click on Choose an account… and either select an account from the dropdown menu (if you've connected Typeform to Zapier before) or click + Connect a new account.
If you haven't connected your account before, you'll need to find the API key for your Airtable account. Open the Airtable website, click your Profile icon in the top-right, and go to Account.
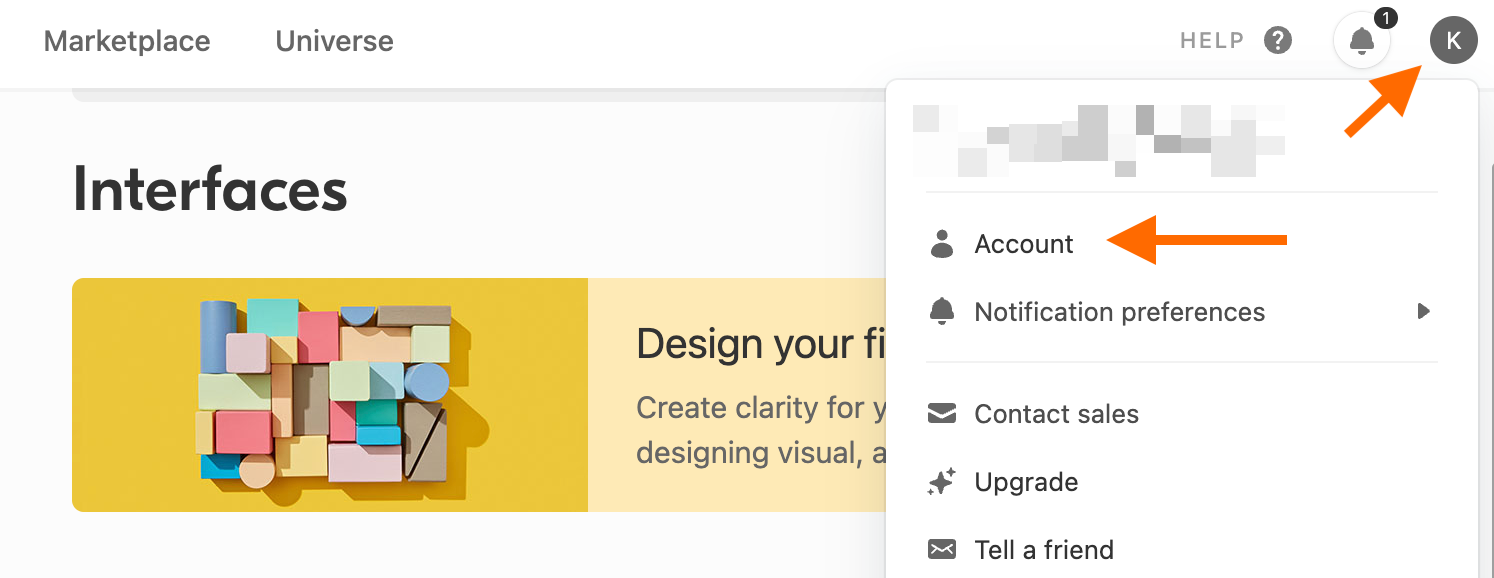
Click the Generate API Key button and copy the API key from the text field.
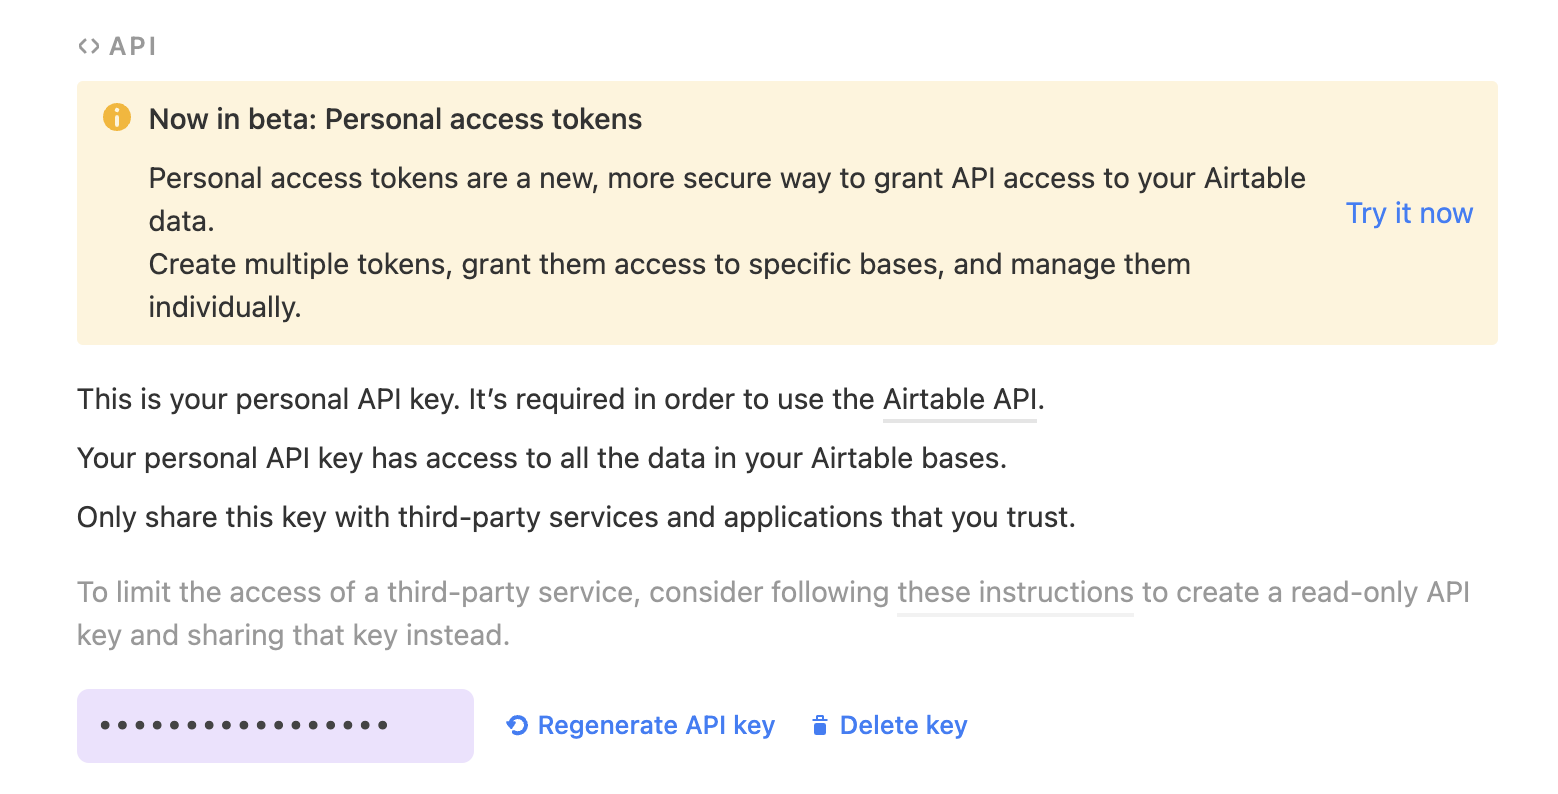
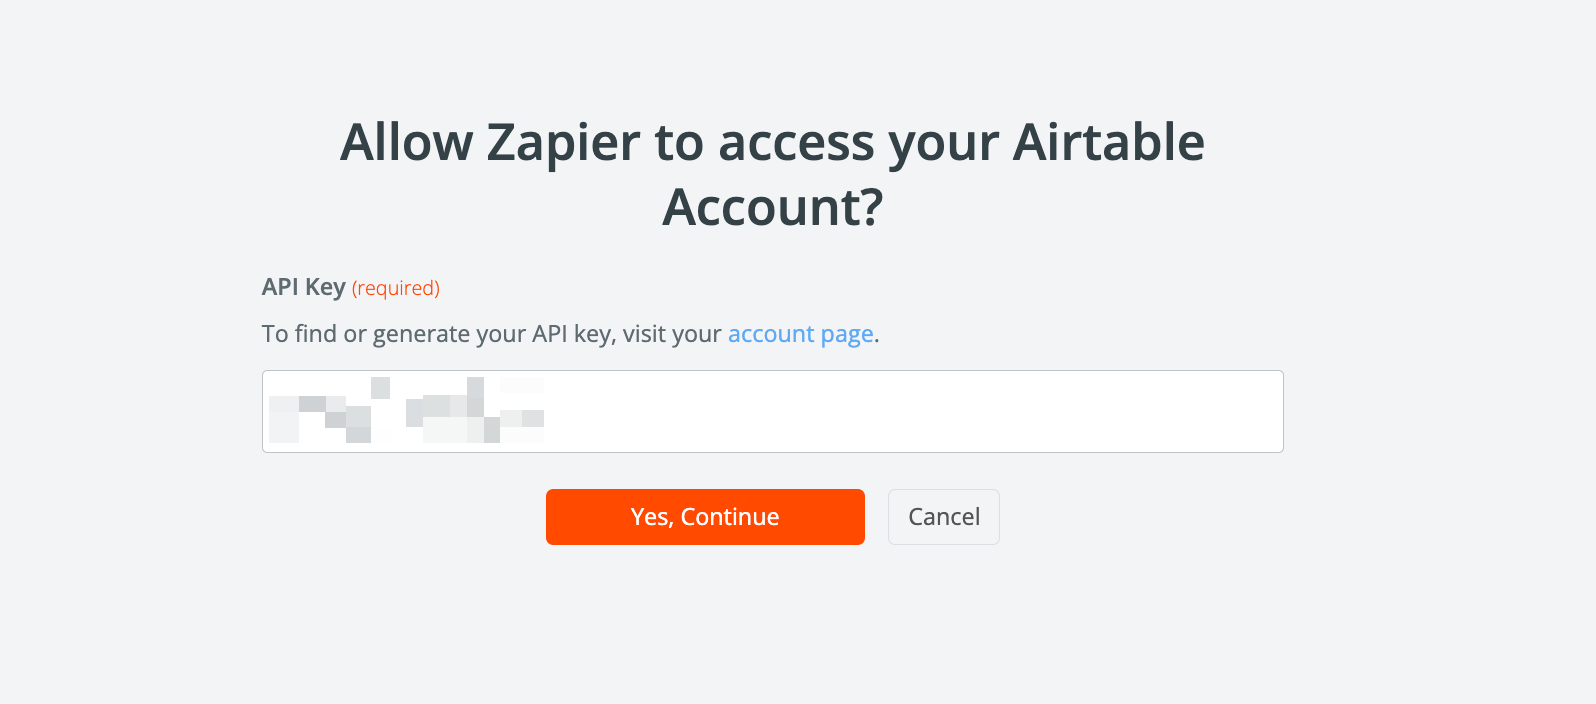
Back in the Zap editor, click the Sign In button next to the Airtable account. Paste the API key, and click Yes, Continue.
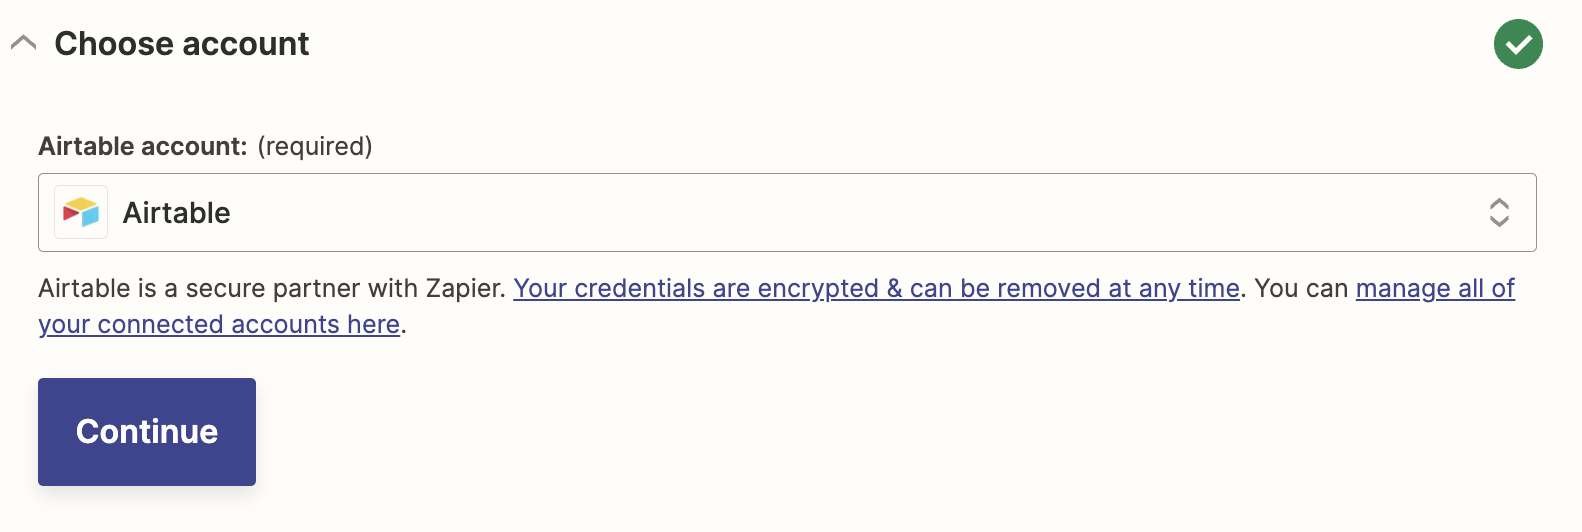
Next, select your Airtable account in the account dropdown, and click Continue.
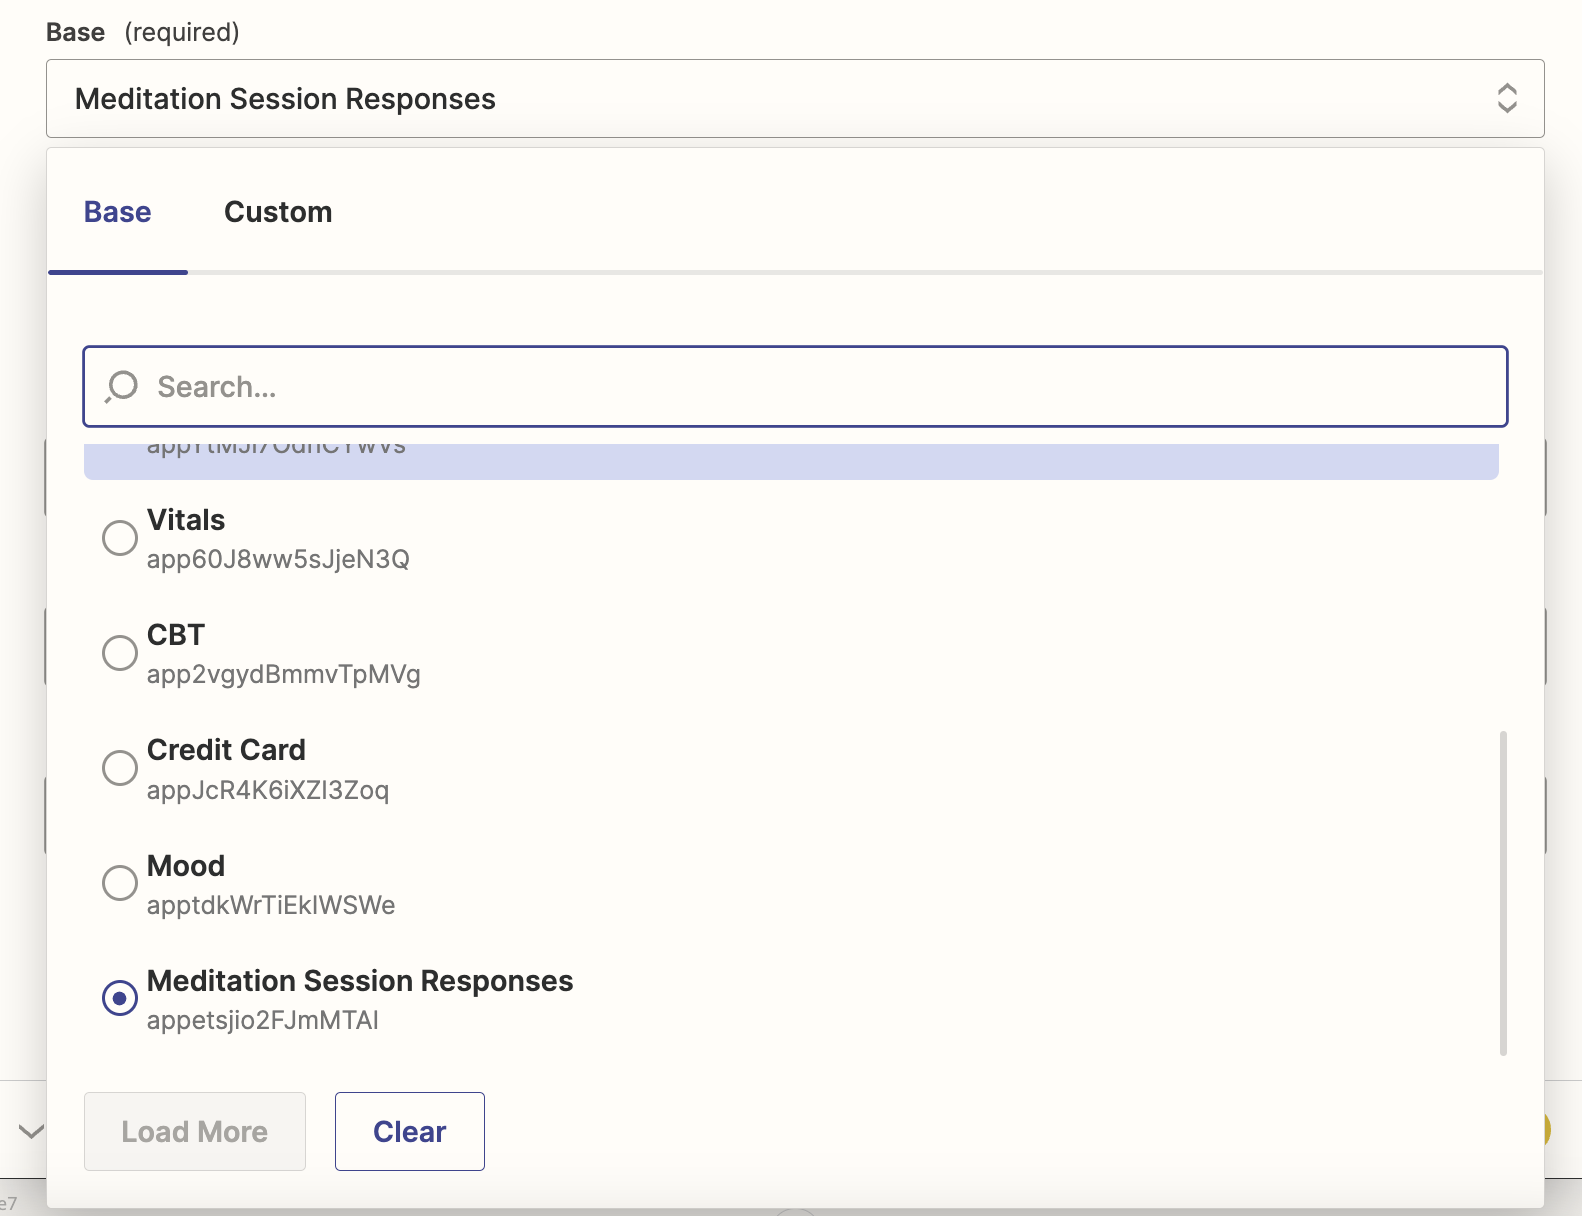
Now it's time to set up your action. First, select the Airtable base where you'll store your Typeform responses from the Base dropdown.
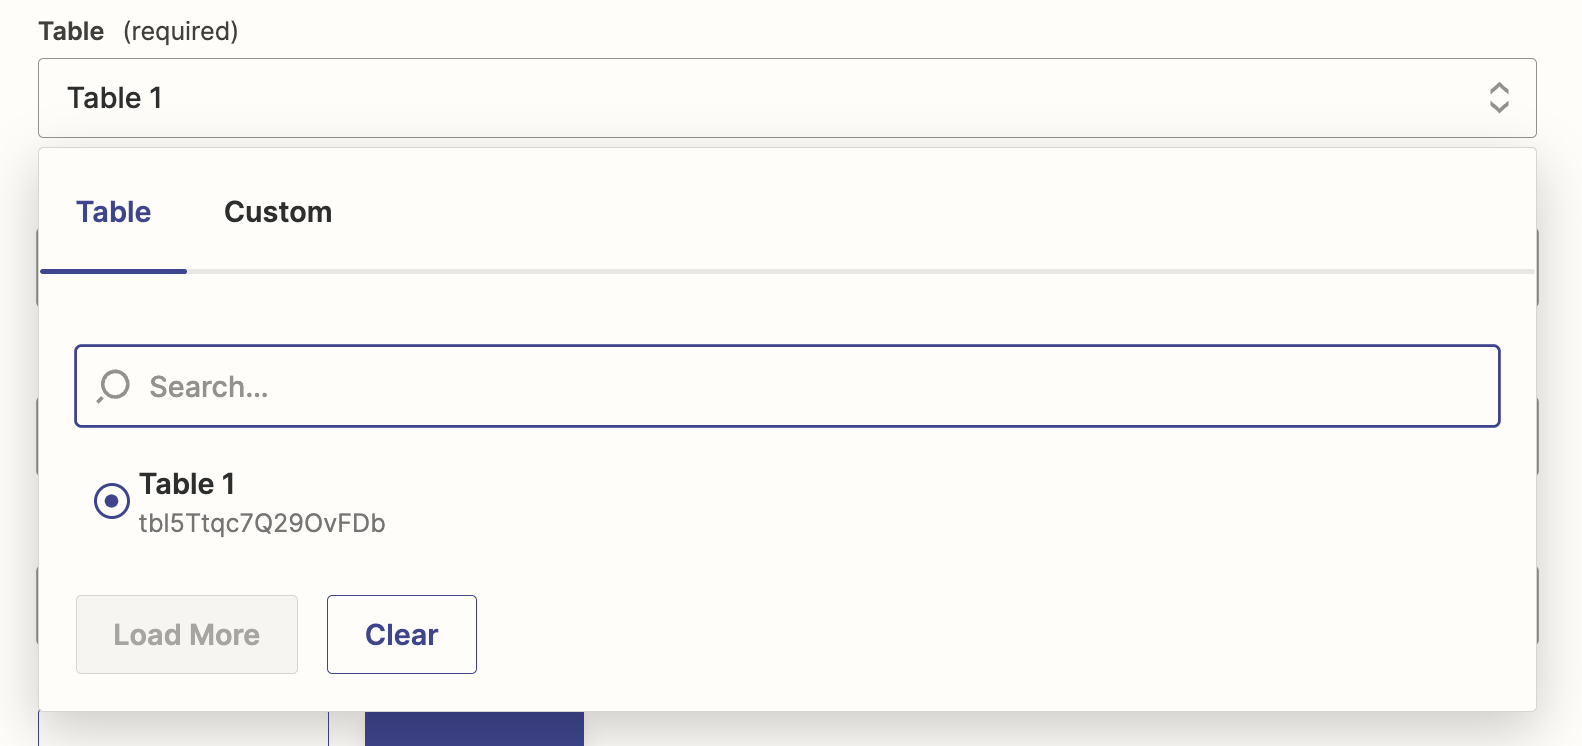
Next, choose the Table.
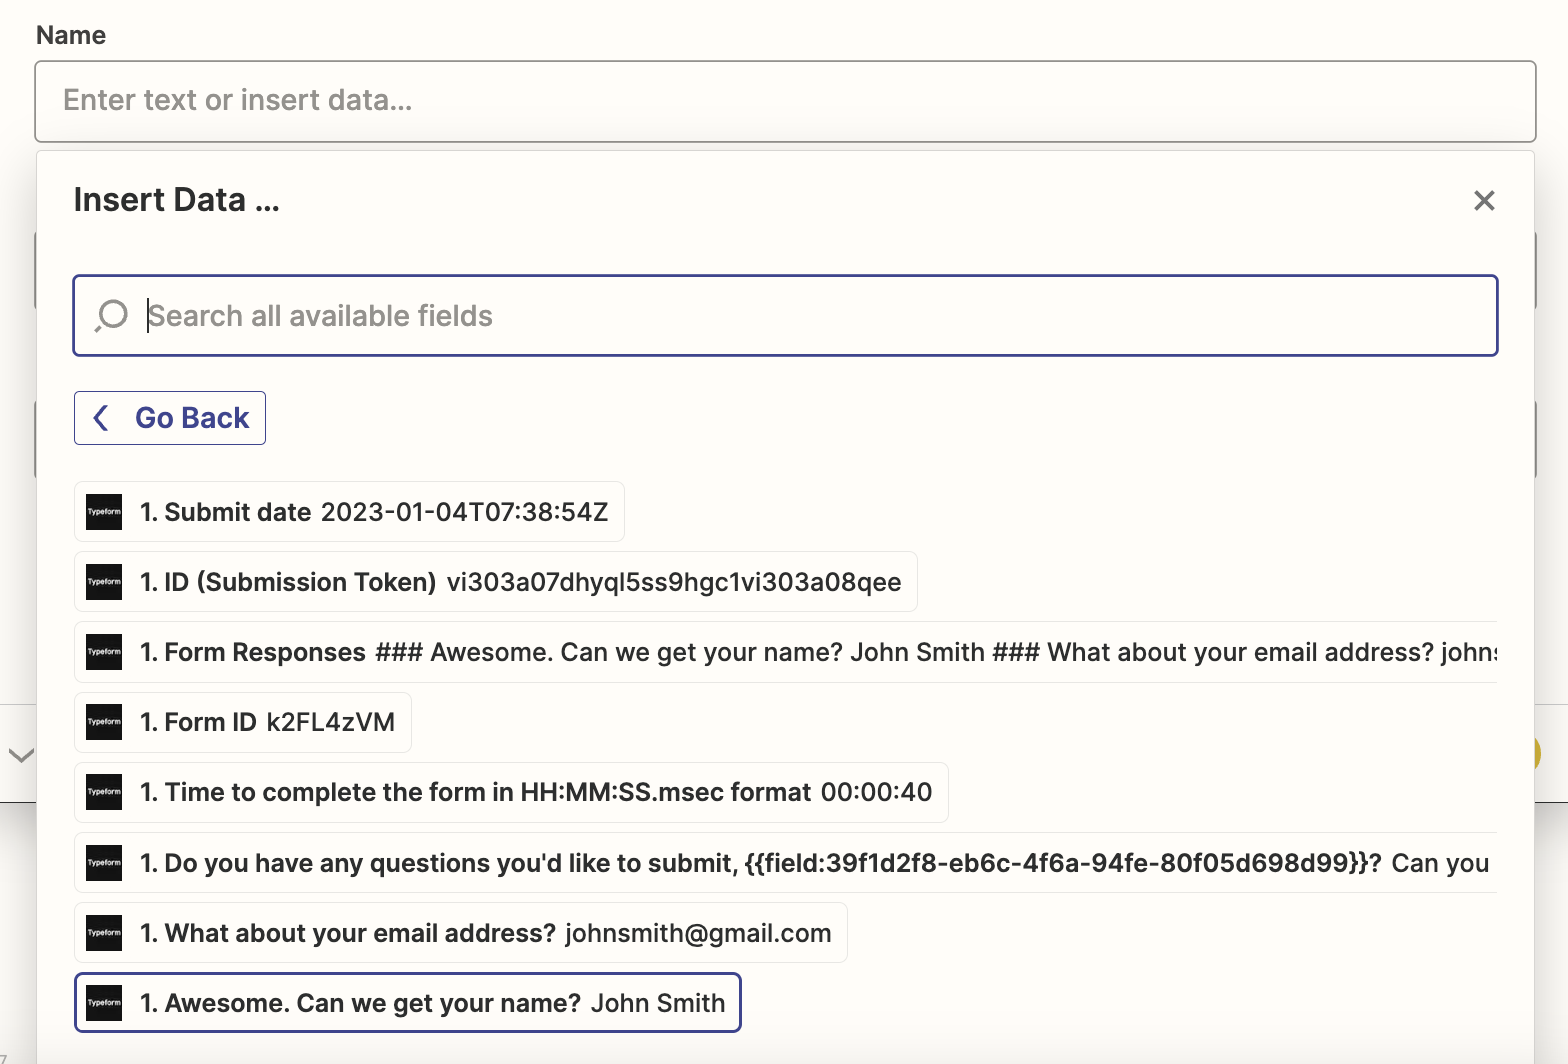
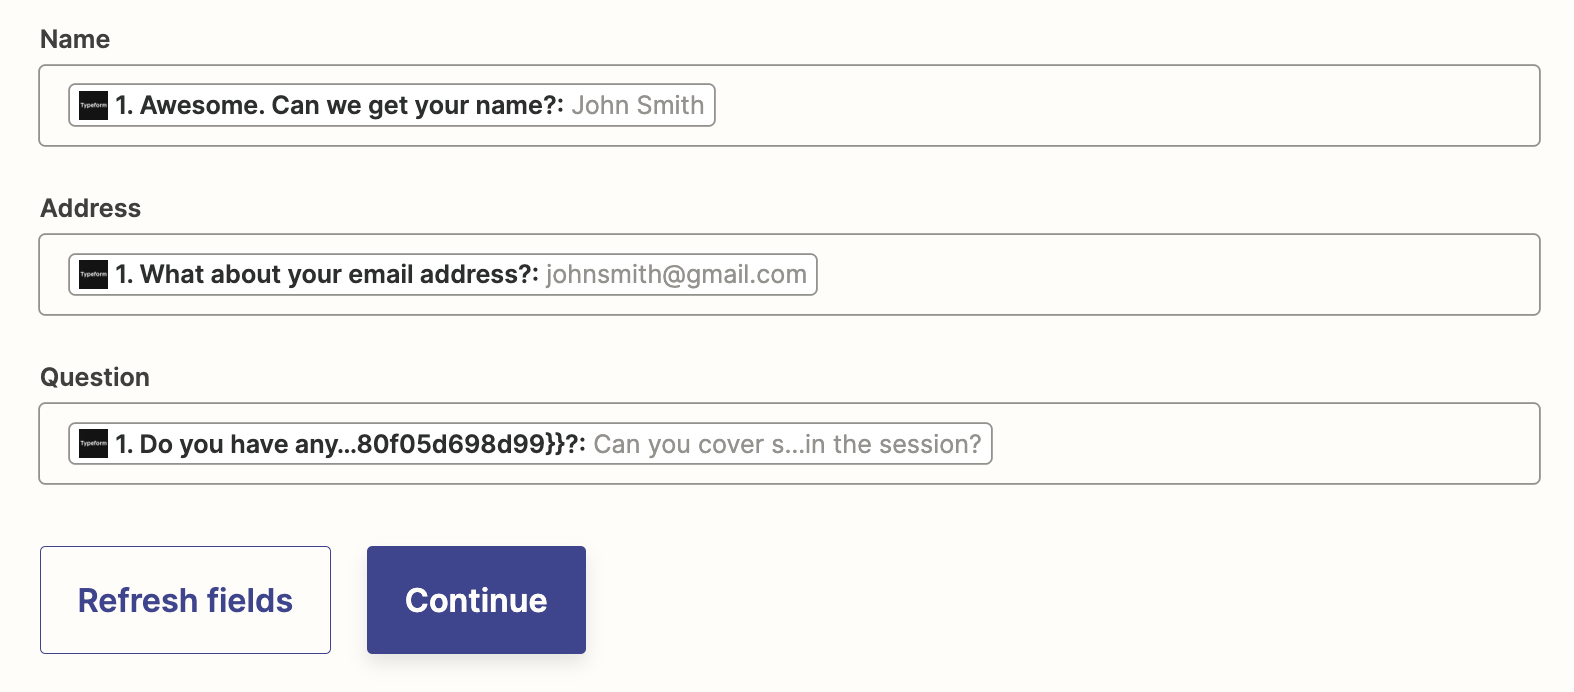
Once you've selected your table, Zapier will automatically load all the field titles from the database into the editor. For our example, we had fields for Name, Address, and Question. To map the responses from Typeform, click in each field to select data from your previous Typeform step.
For example, we clicked in the Name field and selected the Typeform question that will result in the answer we want to see in this field. In our example form, that's called "Awesome. Can we get your name?"
Do this for the rest of the fields as well. This is what it looks like after we've mapped all the fields. Once that's done, click Continue.
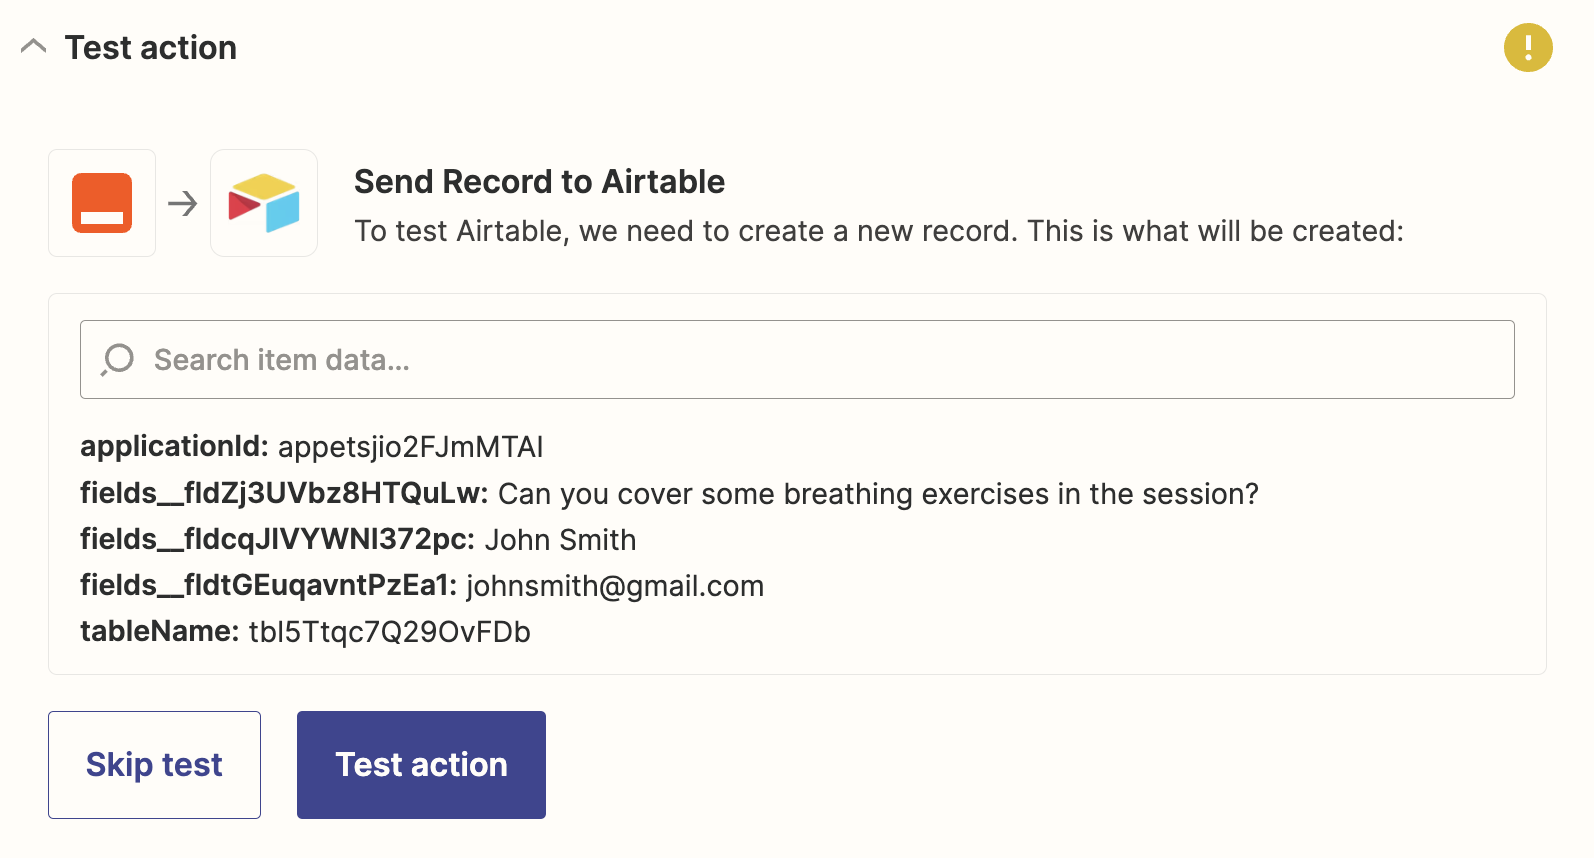
Now it's time to test your action. When you click Test action, Zapier will create a record in Airtable with your Typeform response according to how you set up your Zap. It's a good idea to test your Zap so you can check if your Airtable record is set up correctly.
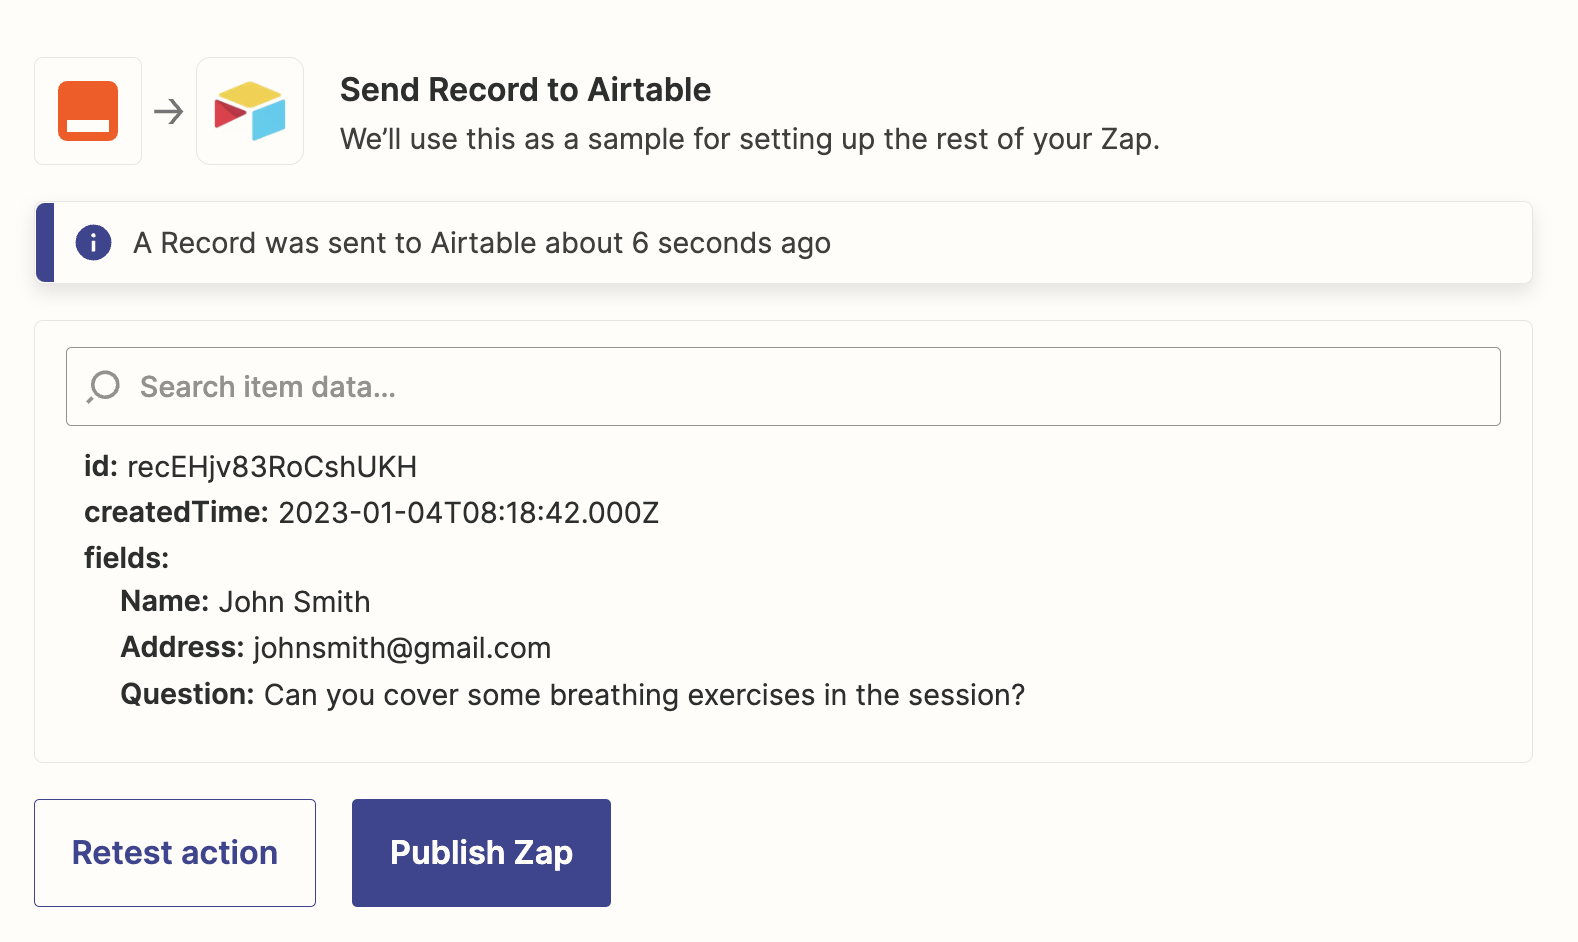
If your test is successful, you should see your Typeform response correctly added to the appropriate Airtable fields.
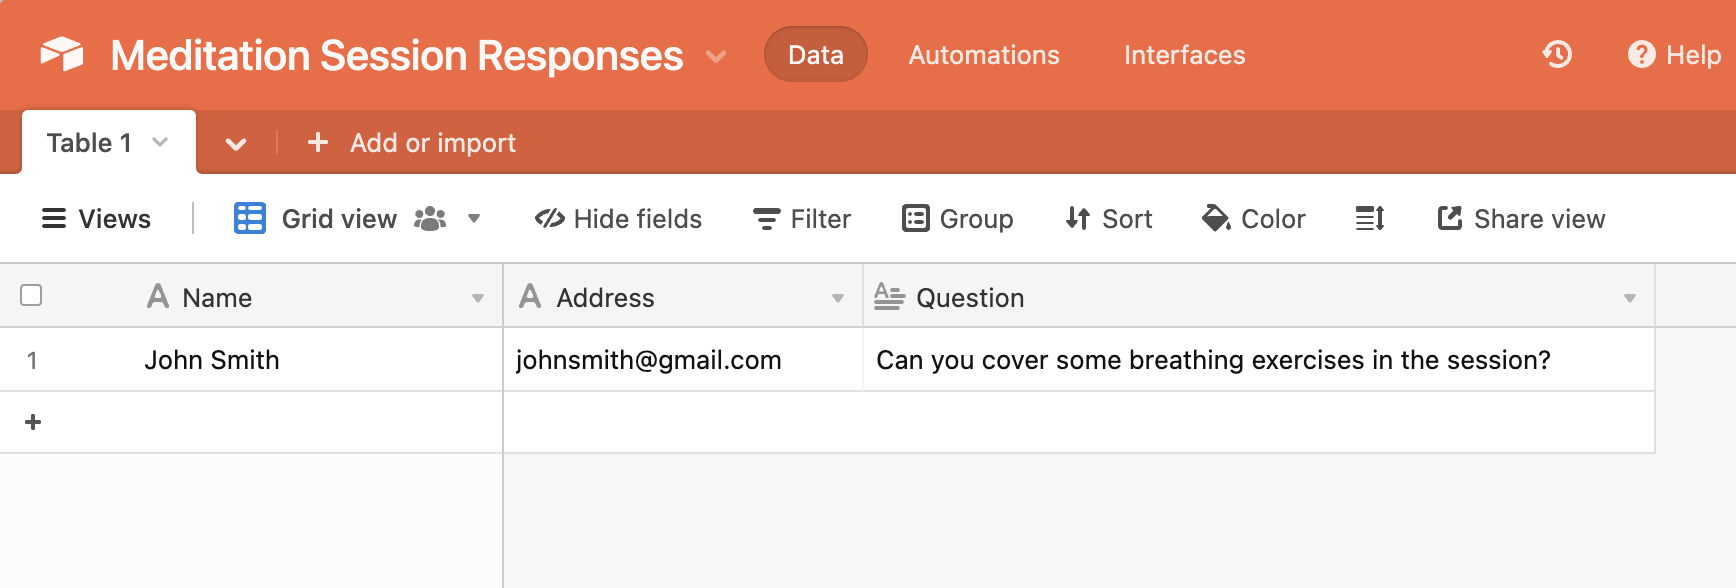
You can also check your Airtable base to see if it looks how you want it to.
Here's how our test looked in Airtable. A roaring success!
If everything looks right, your Zap is now ready to use. Now every time you get a response in Typeform, it will automatically be added to your Airtable database, making it even easier to review, track, and analyze your responses.


