Airtable is a great resource for teams big and small, from tracking individual to-dos to creating large enterprise databases. Every time a new record shows up in an Airtable, it can be an important event. Someone on your team may need to read about a project update. A salesperson may need to follow up on a new lead. Or a manager may need to review changes to an upcoming campaign.
That's where Zapier can help. With a Zap—Zapier's automated workflows—you can automatically send an email for new records added to your Airtable base. Create effortless, real-time communication to update everyone who needs to be in the know—without any extra effort. Here's how.
New to Zapier? It's workflow automation software that lets you focus on what matters. Combine user interfaces, data tables, and logic with 6,000+ apps to build and automate anything you can imagine. Sign up for free.
Before you begin
You can set up this workflow in a couple of different ways. If you want to receive an email for any record that comes into your Airtable table, you don't need to do any additional setup before you start building your Zap.
But if you only want to receive emails for some records, you'll need to create a view in Airtable that only includes those records.
In Airtable, go to the Views sidebar, and scroll down to the Create... section. Choose the type of view you'd like to create, then click Create new view. We'll go with a grid view, in our example.
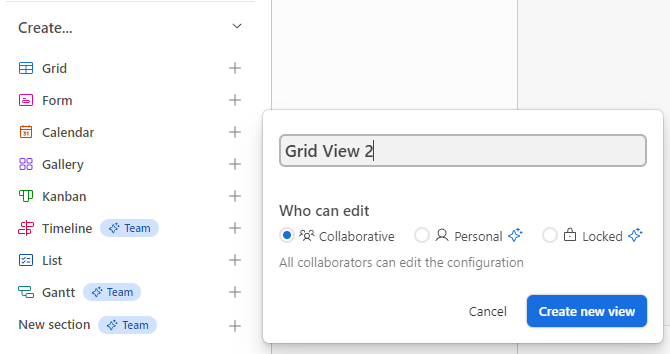
By default, your new view will contain all the records in your table. Use filters to limit the view so it only includes the type of records you'd want to trigger an email in your Zap.

Make sure you have at least one record in your view before you set up your Zap.
Send emails in Gmail from Airtable records
Zapier lets you create automated workflows called Zaps, which send your information from one app to another. You can create your own Zap from scratch without any coding knowledge, but we also offer quick templates to get you started.
If you'd like to start with a template, click the Use this Zap button below, and you'll be taken to the Zapier editor. You'll need to create a Zapier account if you don't already have one. Then, follow the directions below to set up your Zap.
Send Gmail messages for new Airtable records in views
Set up your Airtable trigger
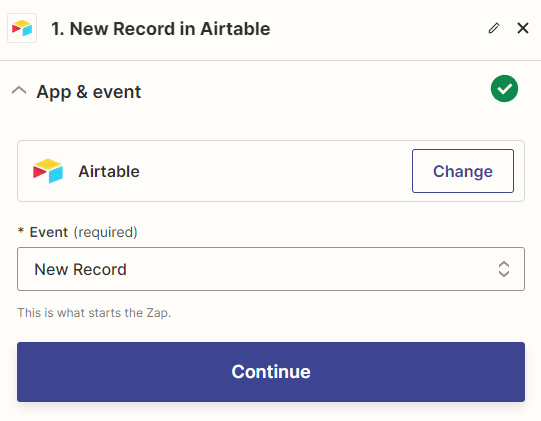
Let's start with the trigger, which is the event that starts your Zap. If you're using the Zap template, this will be selected for you. If not, search for and select Airtable for your trigger app and New Record for your trigger event. Then click Continue.
Connect your Airtable account, if you haven't already, then click Continue.
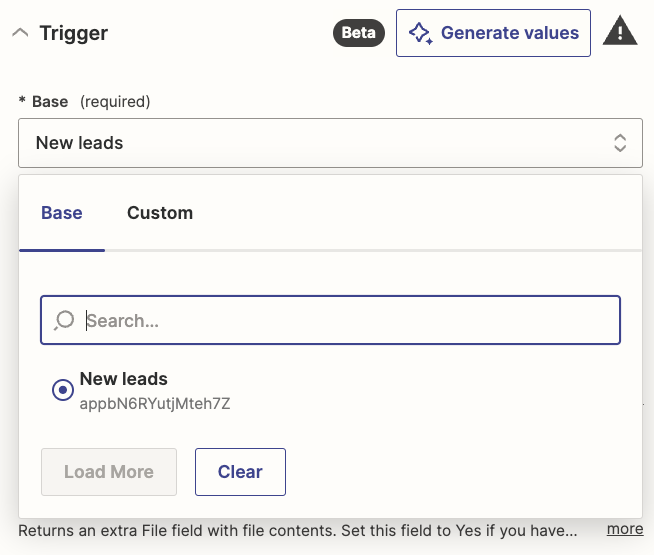
Next, select the Airtable base you'd like to use in your Zap in the Base field.
Next, select the specific table that includes the records you want to receive emails for.
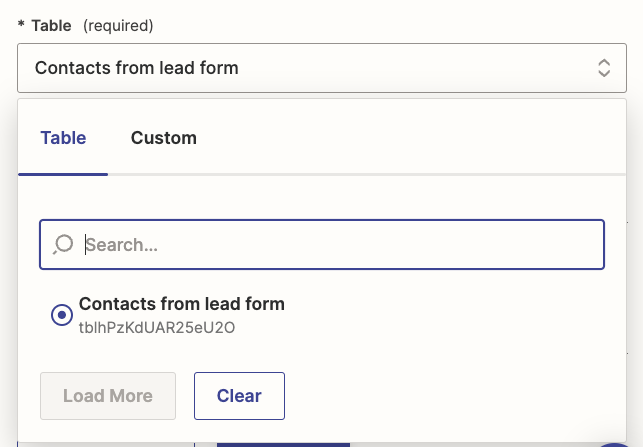
If you want to receive emails for all records in this table, you're done setting up your trigger and can click Continue.
But if you want to only trigger this Zap for a specific view, like we covered above, you'll need to select the view you set up earlier in the Limit to View field.
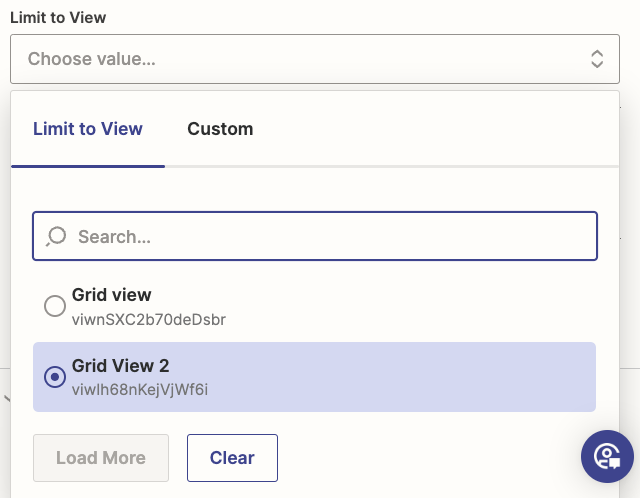
Once that's selected, click Continue.
Now it's time to test your trigger step. Click Test and Zapier will show you three recent records in your Airtable account. Click the record you'd like to use to set up the rest of your Zap, then click Continue with selected record.
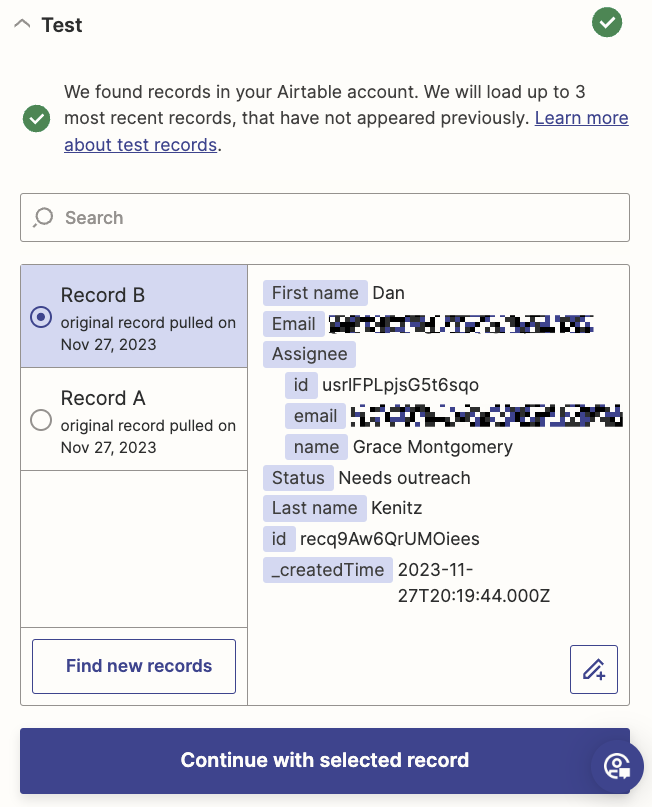
If everything looks right, it's time to move on to your action step.
Set up your Gmail action
Now it's time to set up your action, which is the event your Zap will perform once it's triggered. Search for and select Gmail for your action app and Send email as your action event, then click Continue. If you're using the Zap template, this will already be selected for you.
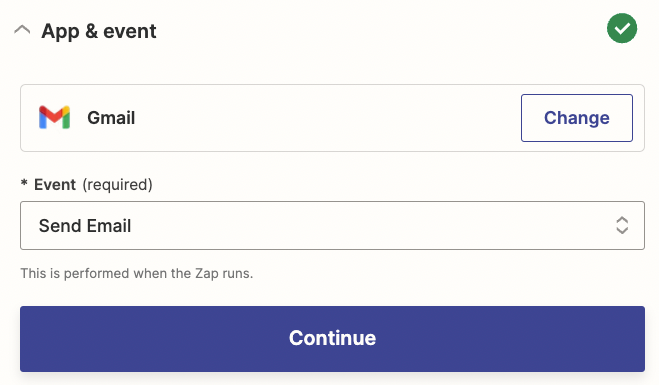
Connect your Gmail account to Zapier, just as you did with Airtable, then click Continue.
Now it's time to customize your action step. Add who you want to send the email to, who it's from (which will be the Gmail address associated with the account you connected to Zapier), and add any CCs or BCCs you'd like.
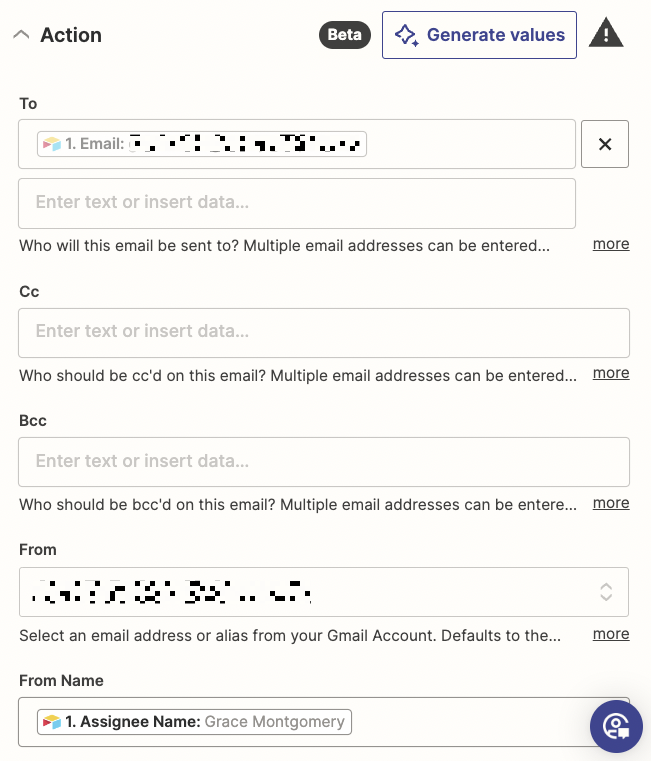
Fill in the Subject and Body fields. You can add data from your previous Airtable step by clicking in the field and selecting it from the Insert Data dropdown.
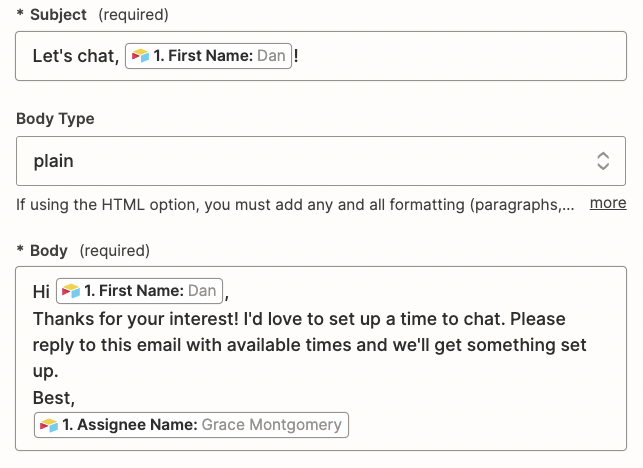
Once you're finished customizing your action step, click Continue.
Next, click Test step to test your Zap. Once the test runs, an email will be sent to the email address you specified in your action step. Double check the email to make sure it looks right. Here's what ours looked like:
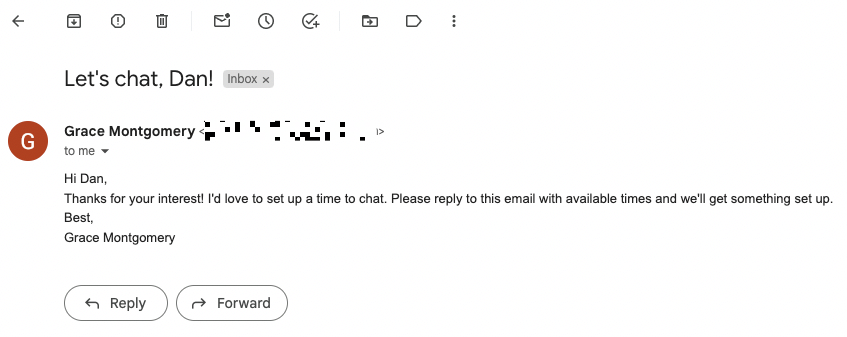
If everything looks right, you're now ready to use your Zap. Now every time a new record is sent to your Airtable view, Gmail will automatically send an email with the details you specified.
Send Gmail messages for new Airtable records in views
Related reading:
