There are countless ways to find leads, from website forms to digital ads. But they don't do you much good if they sit collecting dust in your lead generation app.
With automation, you can level up your email marketing game by automatically connecting your drip email tools like ConvertKit to your other business-critical tools. With a simple Zap—Zapier's automated workflows—you can add each new lead you collect in Typeform to the right email list with no extra effort. Here's how.
Editor's note: ConvertKit recently rebranded to Kit. The next time we update this article, we'll be sure to address this, but for now, we'll continue to call it ConvertKit since that's what most users will be doing until it settles in.
Before you begin
By default, ConvertKit has a double opt-in system for email subscribers. It’s an industry standard where the subscription is activated after the subscriber clicks a confirmation link from the email.
This is a great way to make sure that you have consent from the subscribers, and it’s also better for your data and analysis. The open rate from subscribers who double opt-in is higher, plus this process makes sure that you aren’t adding wrong emails or spammers to your database, which can create a misleading analytical picture.
If you wish to disable this option in ConvertKit for users you're collecting from Typeform, open the form in ConvertKit, and click the Settings icon in the top toolbar. Next, choose Incentive from the sidebar, and enable the Auto-confirm new subscribers option.

Add subscribers to ConvertKit forms from Typeform
Zapier lets you create automated workflows called Zaps, which send your information from one app to another. You can create your own Zap from scratch without any coding knowledge, but we also offer quick templates to get you started.
If you'd like to start with a template, click on it below, and you'll be taken to the Zap editor. You'll need to create a Zapier account if you don't already have one. Then, follow the directions to set up your Zap.
Add subscribers to forms in ConvertKit for new Typeform entries
New to Zapier? It's workflow automation software that lets you focus on what matters. Combine user interfaces, data tables, and logic with thousands of apps to build and automate anything you can imagine. Sign up for free.
Set up your Typeform trigger
Let's start with the trigger—the event that starts your Zap. If you're using the Zap template, this will be selected for you. Otherwise, search for and select Typeform as the trigger app and New Entry as the trigger event, then click Continue.
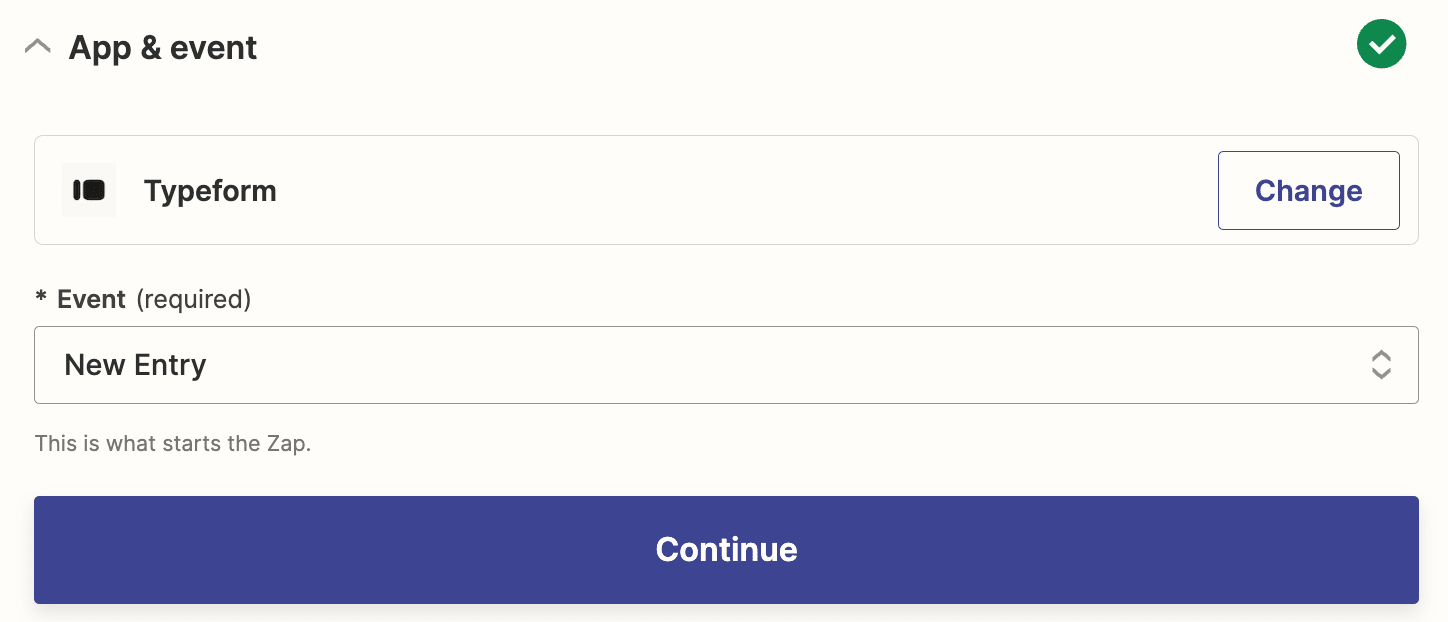
Next, connect your Typeform account, if you haven’t already, then click Continue.
Now you'll need to select the form where you're collecting the responses you want to add to ConvertKit. In the Form dropdown, select the appropriate form, then click Continue.

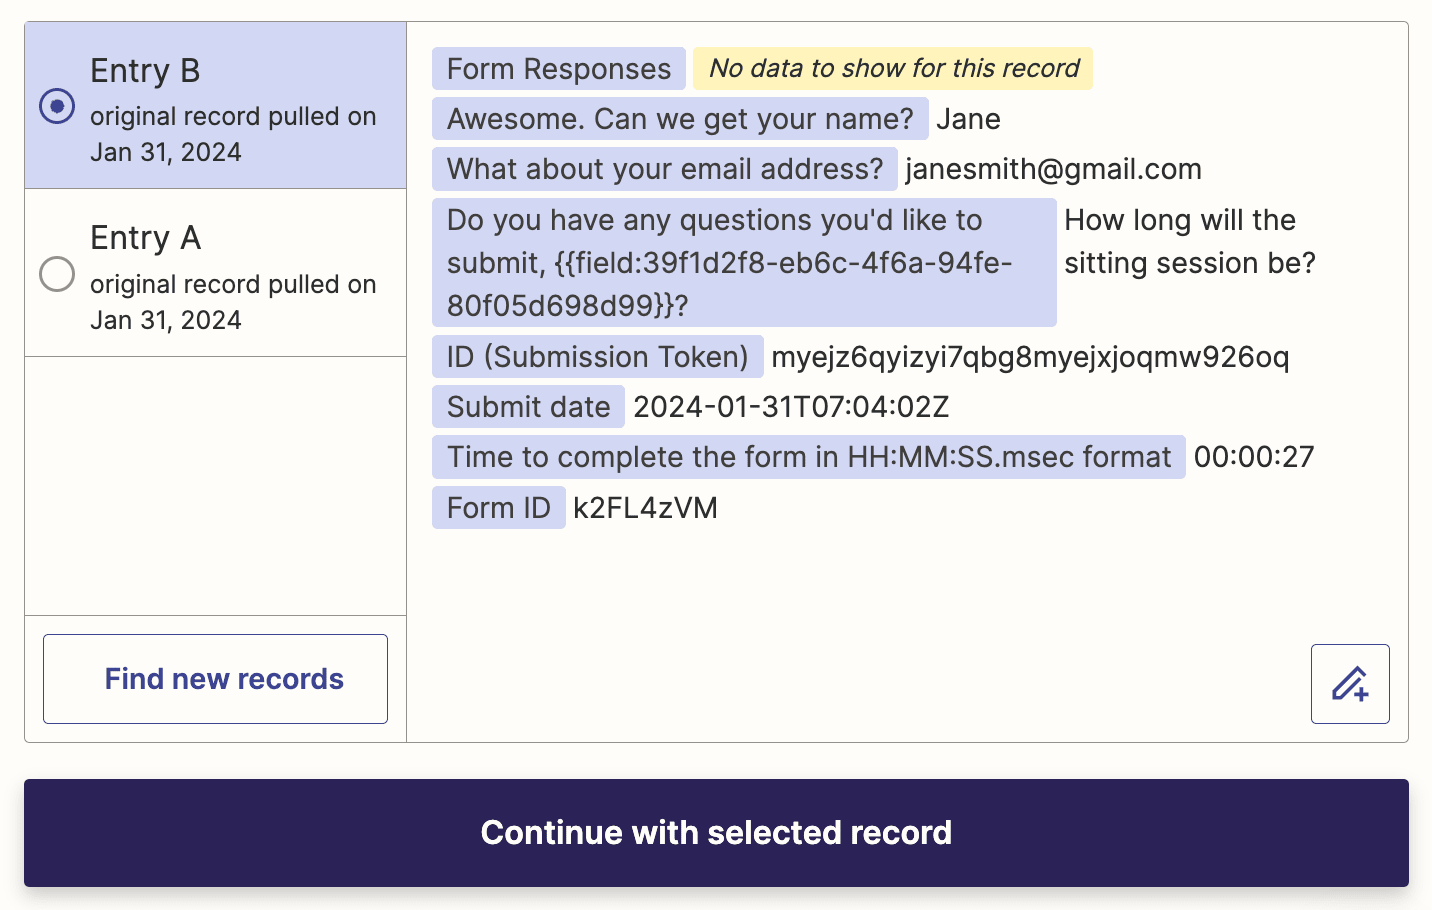
Now you need to test your trigger. Zapier will find a recent response to your Typeform, which will be used to set up the rest of your Zap. If you don't have any responses to your Typeform, you should submit a sample response before testing your Zap so you can make sure your Zap is working properly.
Once you have at least one response to your form, click Test trigger, select a record, then click Continue with selected record.
Set up your ConvertKit action
Now it's time to set up your action—the event your Zap performs once it's triggered. If you're using the Zap template, this will be selected for you. Otherwise, search for and select ConvertKit as the action app and Add Subscriber to Form as the action event, then click Continue.
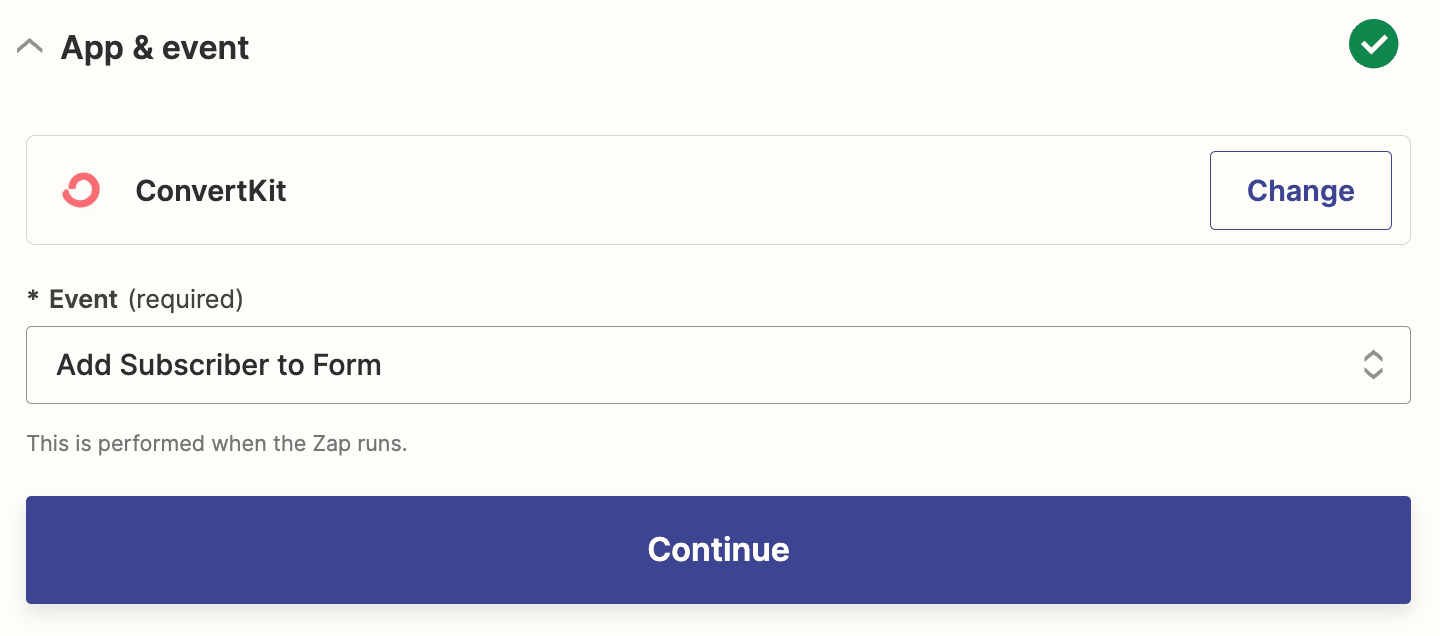
Now it’s time to connect your ConvertKit account. If you’re doing this for the first time, you’ll need to add ConvertKit’s API key to Zapier.
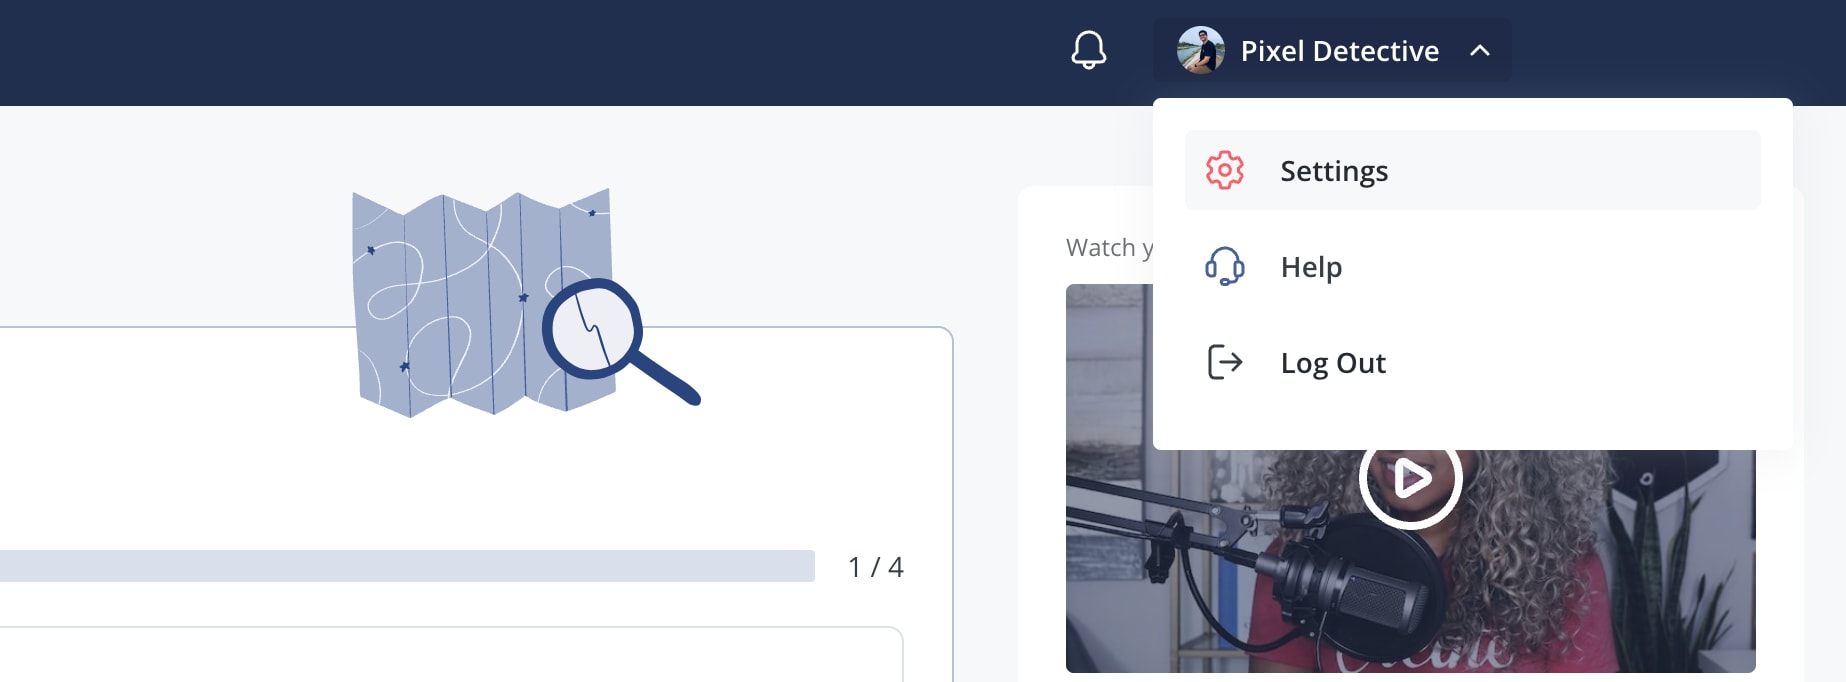
To find this, open your ConvertKit account, click your profile name in the top-right corner, then select Settings.
Select Advanced in the Settings menu. Then, under the API section, click the show icon under API Secret to reveal the secret API key. Finally, click the Copy button to copy the API key to your clipboard.
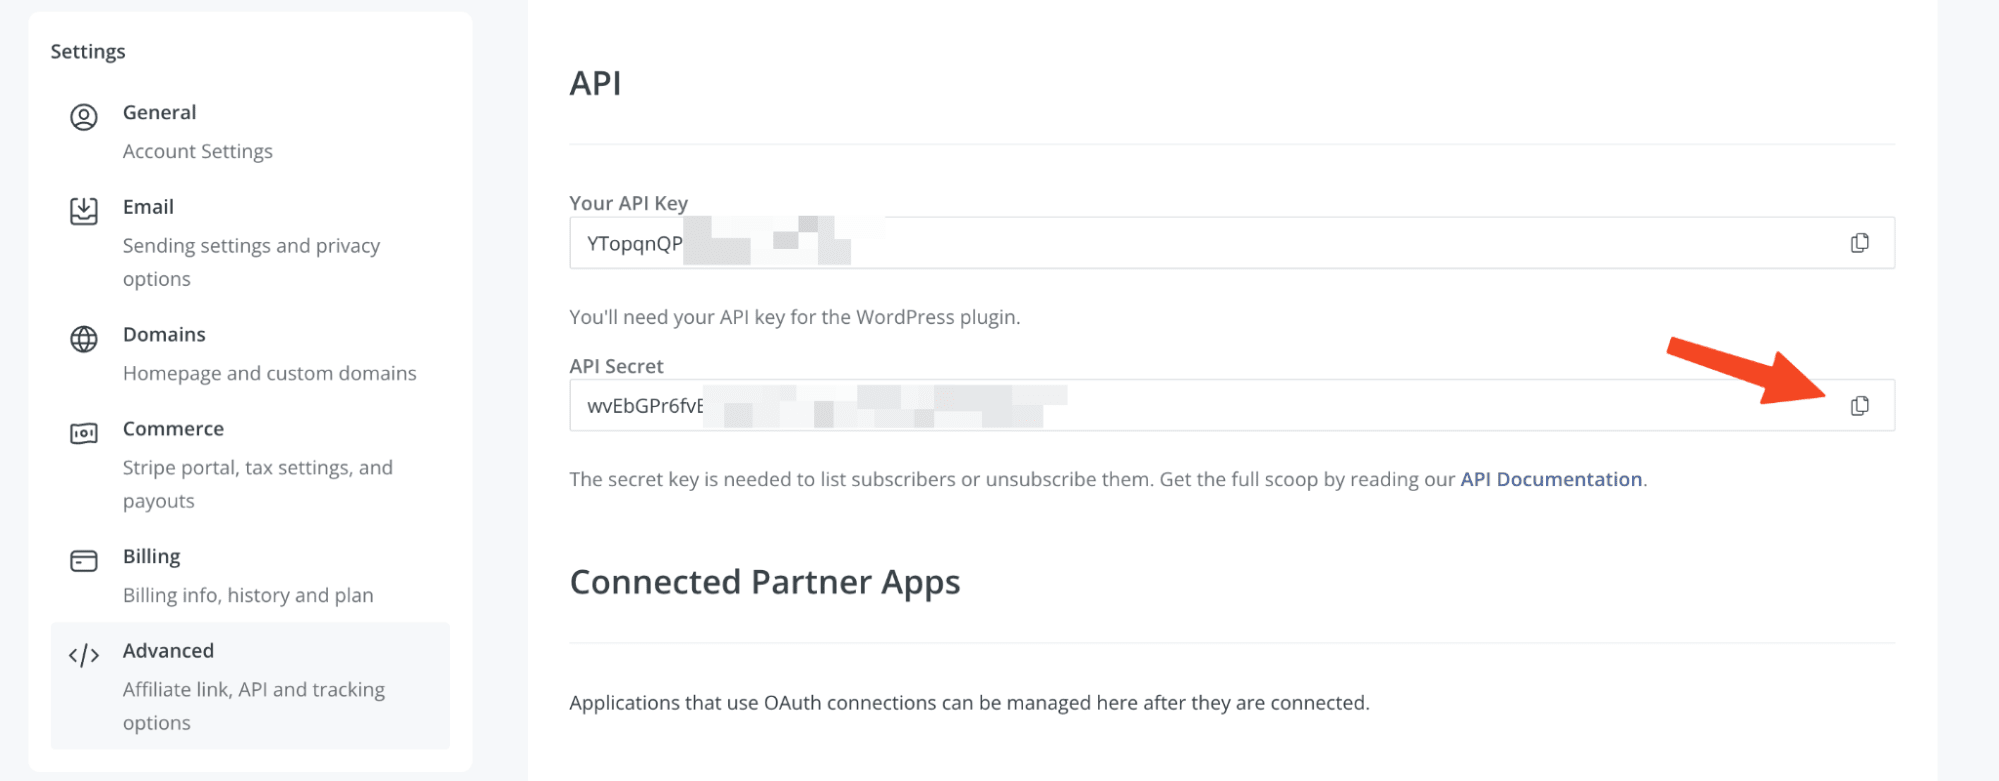
Back in the Zap editor, click Sign In. In the new tab, paste in the API you just copied, then click Yes, Continue to ConvertKit.

This will bring you back to the Zap editor, and you’ll see that your ConvertKit account will be connected. Click Continue.
Now, it's time to set up your action step. First, select the Form in ConvertKit where you want your lead data to go.
Next, map the data from Typeform that you want to add to ConvertKit. For example, we'll click in the Email field and select the email address we collected from Typeform in the Insert Data dropdown. We'll do the same in the First Name field. Once you're done mapping your fields, click Continue.
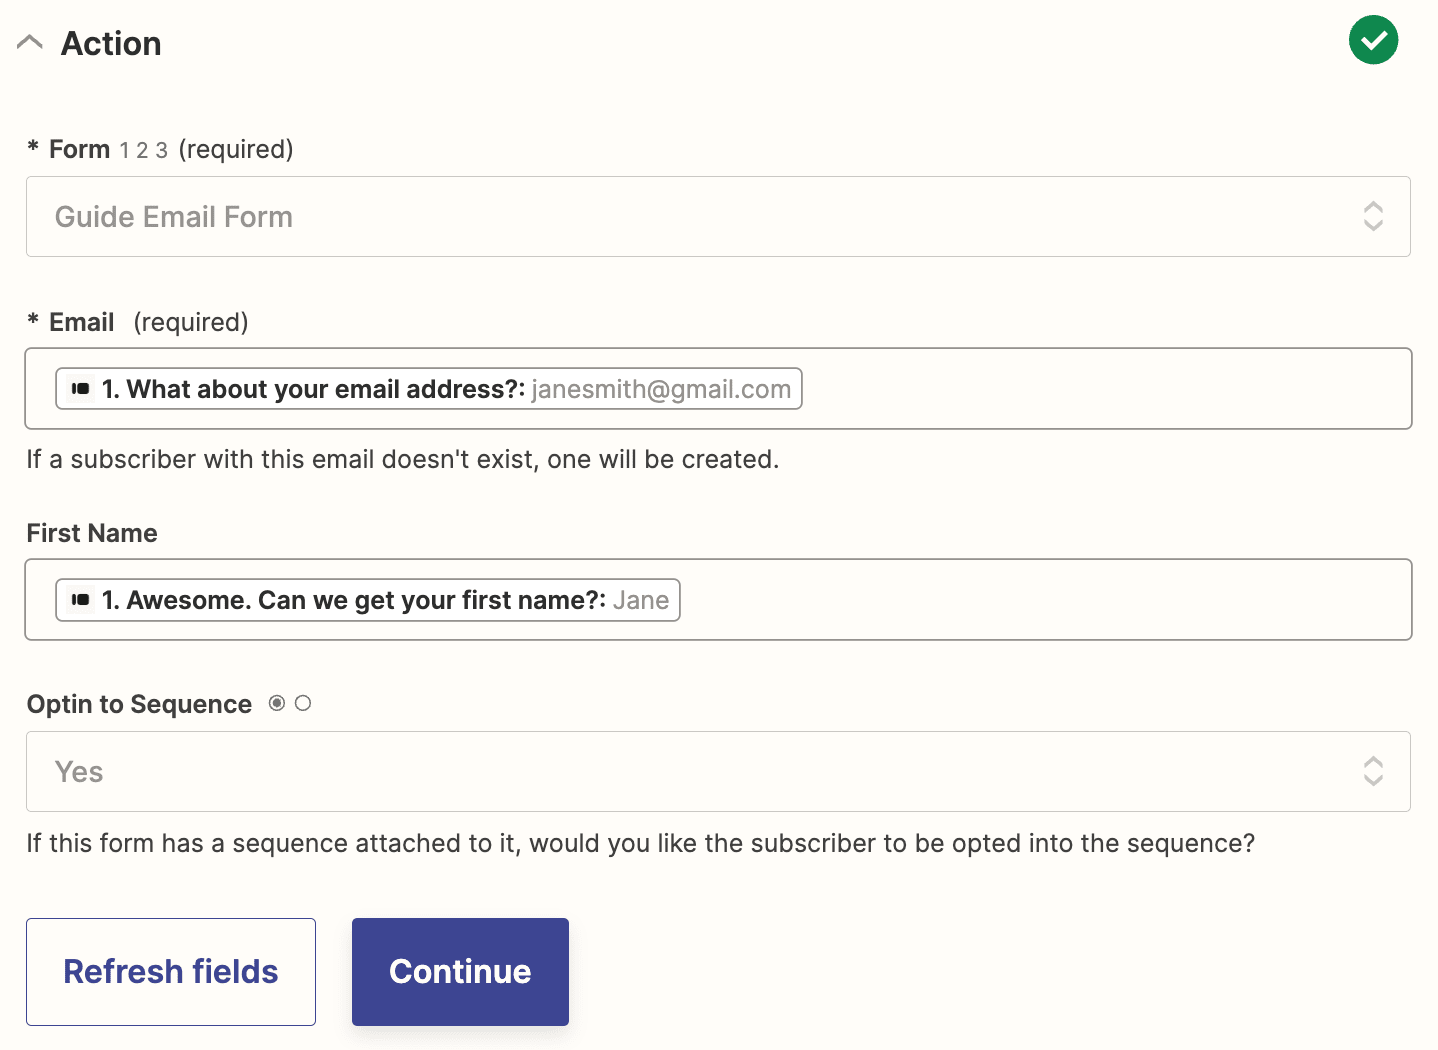
Now, click Test Step to test your Zap. If you have the double-opt feature enabled, go to the email Inbox you used for testing this workflow, open the email from ConvertKit, and click Confirm your subscription.
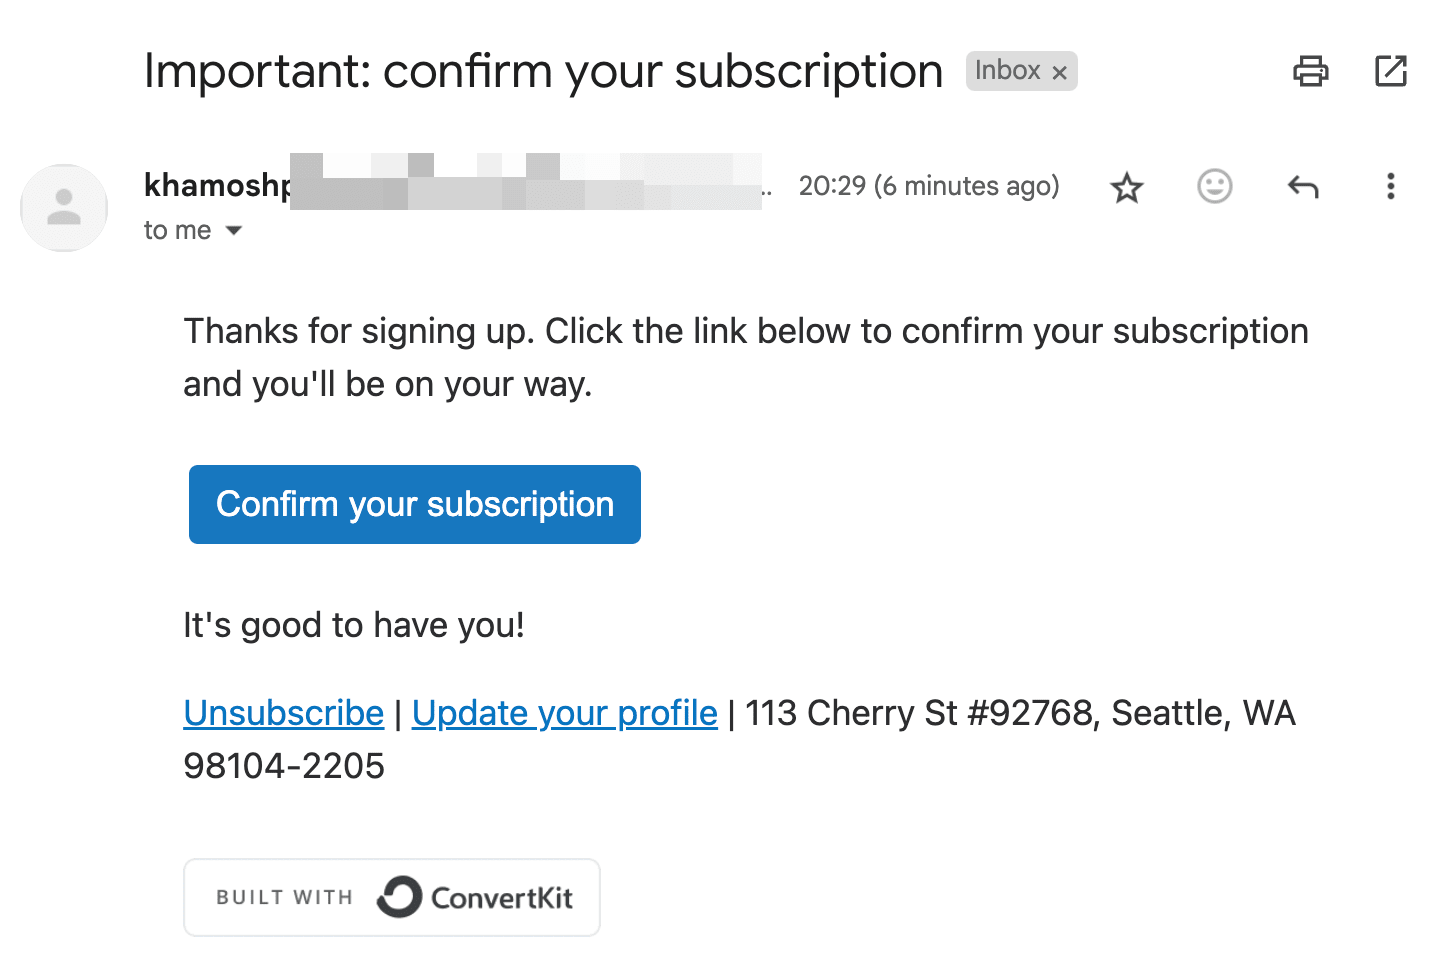
Once you've confirmed your subscription or if you've skipped the double-opt option, you can double check your lead information made it to ConvertKit. Here's what ours looked like:

If everything looks alright, you're ready to use your Zap. Now every time you get a new Typeform submission, the email address will get added to your ConvertKit form, just like that.
