You probably collect leads from a variety of sources, like a form on your website and through social platforms like Facebook Lead Ads. But trying to keep your leads straight across multiple platforms can be a hassle and lead to potential customers slipping through the cracks.
Fortunately, tools like LeadConnector make it easy to add all of your prospects and customers to one tool. But manually moving that important data from one app to another is inefficient and doesn't scale.
With a Zap—Zapier's automated workflows—you can automatically add new leads from Facebook Lead Ads directly to LeadConnector as soon as they enter your pipeline. Here's how.
Facebook Lead Ads is a premium app—available on Zapier's paid plans. Learn more about premium apps.
Add or update LeadConnector contacts for new leads in Facebook Lead Ads
Zapier lets you create automated workflows called Zaps, which send your information from one app to another. You can create your own Zap from scratch without any coding knowledge, but we also offer quick templates to get you started.
If you'd like to start with a template, click on the Zap template below to go to the Zap editor. You'll need to create a Zapier account if you don't already have one. Then, follow the directions below to set up your Zap.
Add or update LeadConnector contacts for new leads in Facebook Lead Ads
Set up your Facebook Lead Ads trigger
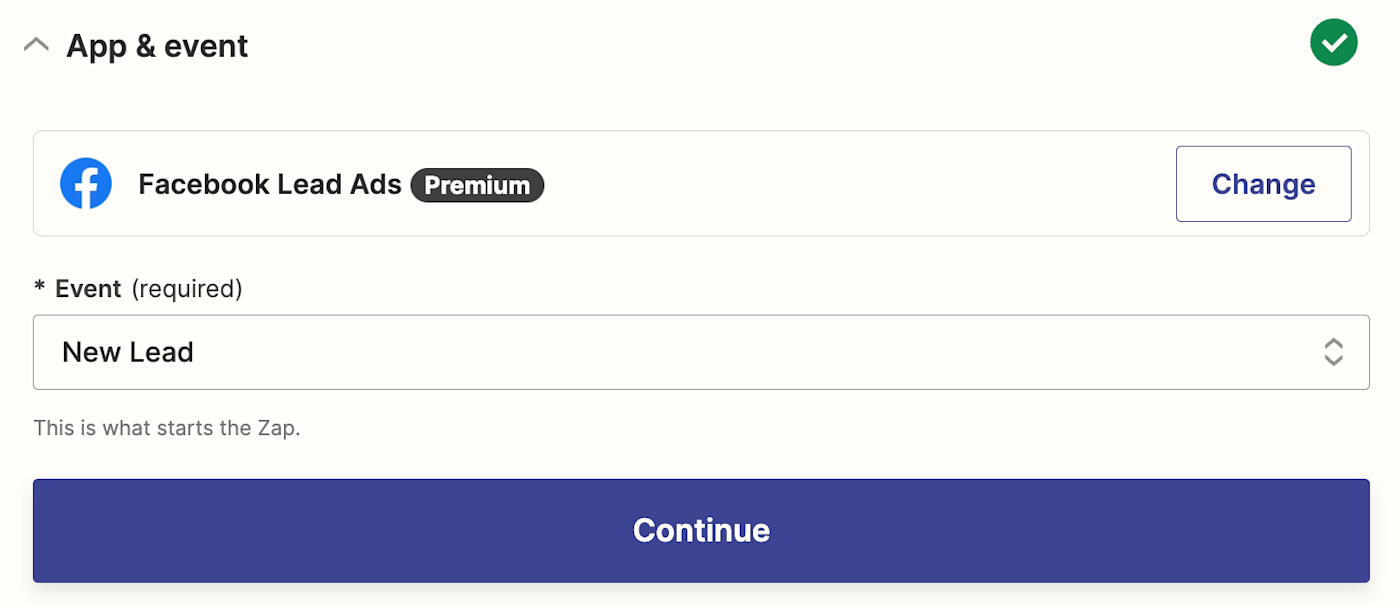
Let's start with the trigger—the event that starts your Zap. If you're using the Zap template, this will be selected for you. Otherwise, search for and select Facebook Lead Ads as the trigger app and New Lead as the trigger event, then click Continue.
Next, connect your Facebook account, if you haven't already, then click Continue.
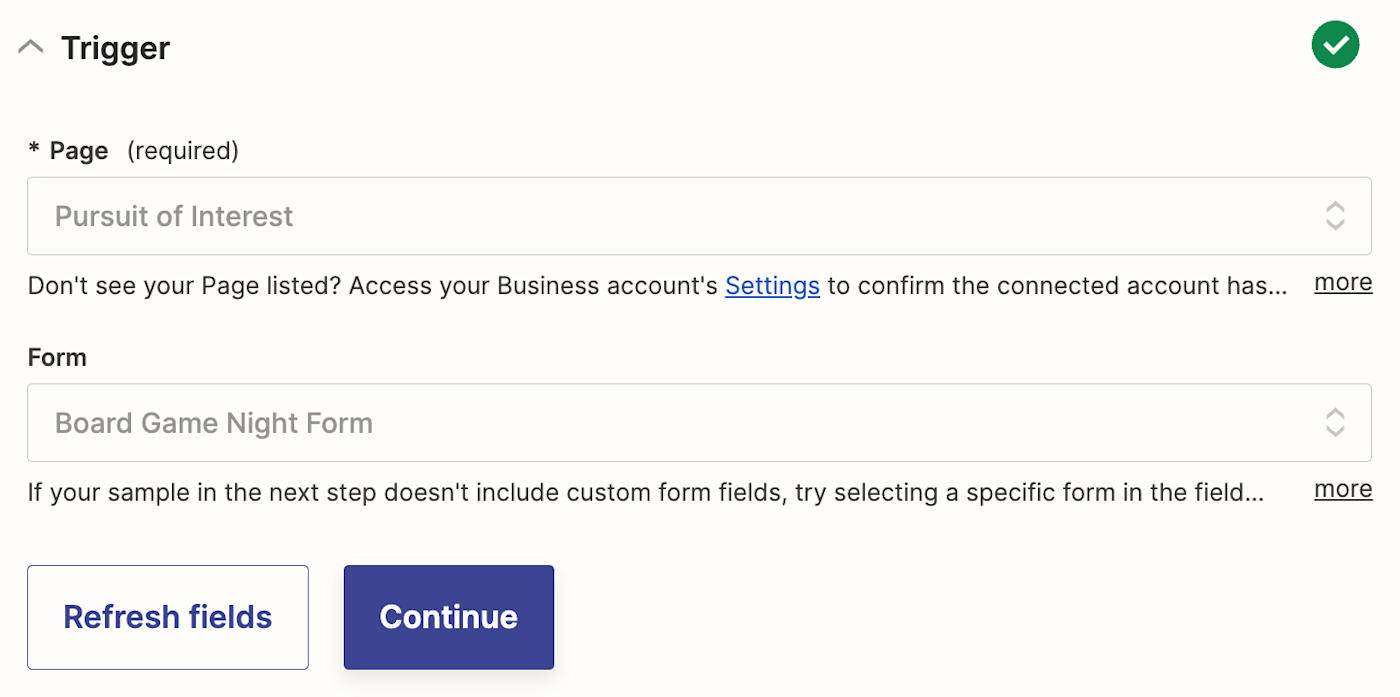
Now, let's customize our trigger step. Select the Facebook Page and Form you'd like to use in this Zap. Then, click Continue.
Now, it's time to test your trigger step. This will gather information from the Facebook Lead Ads form that will be used to set up the rest of your Zap. Before clicking Test trigger, make sure there's at least one submission in your form (you can add a sample lead if you don't have any submissions).
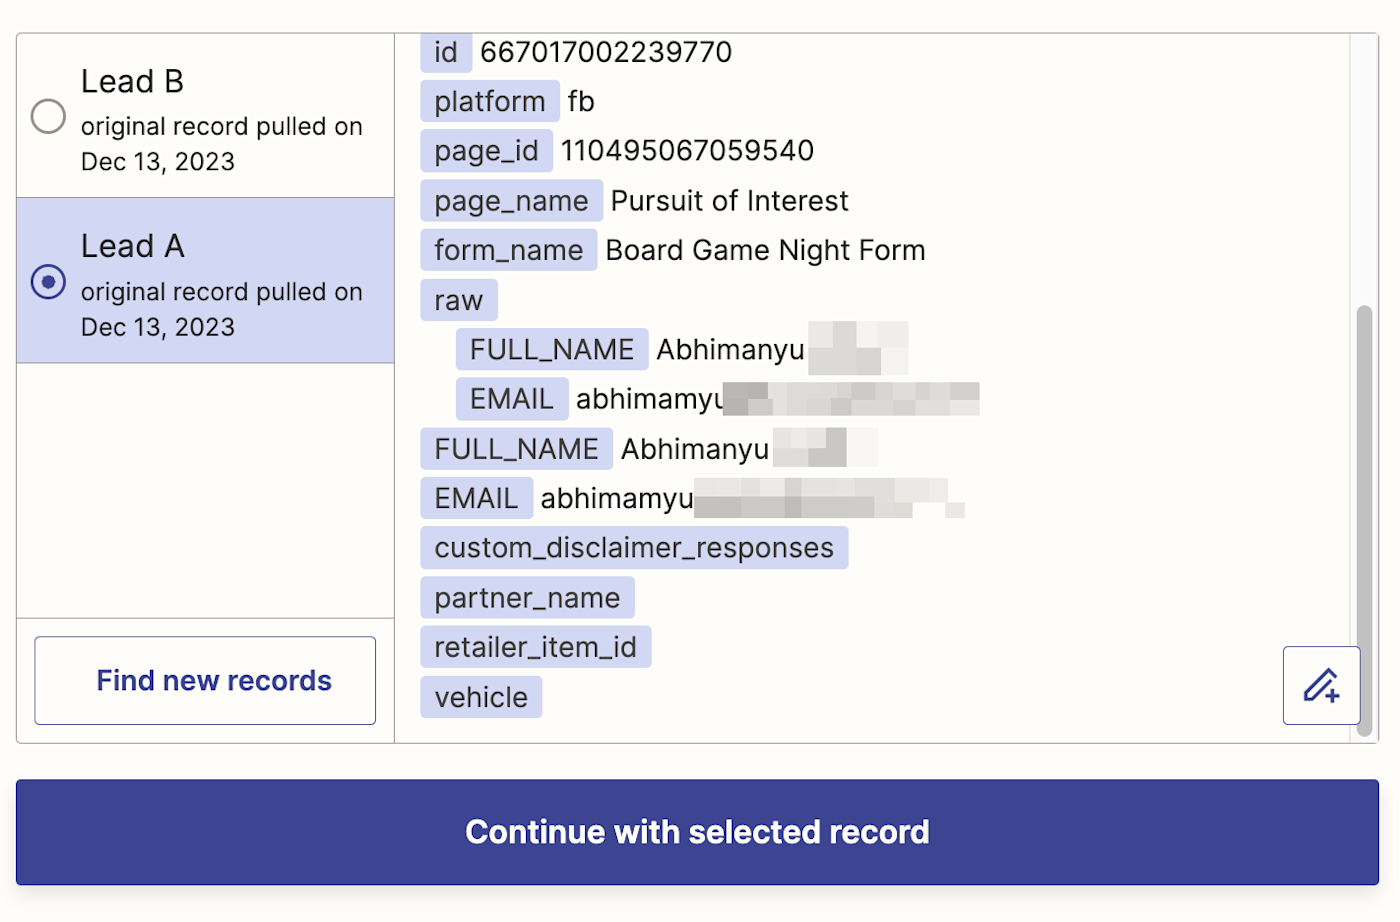
Zapier will show you the most recent data from the ad form. Select which data you'd like to use to set up your action step, then click Continue with selected record.
Set up your LeadConnector action
Now it's time to set up the action, the event your Zap will perform once it's triggered. In this case, that's adding or updating a contact in LeadConnector.
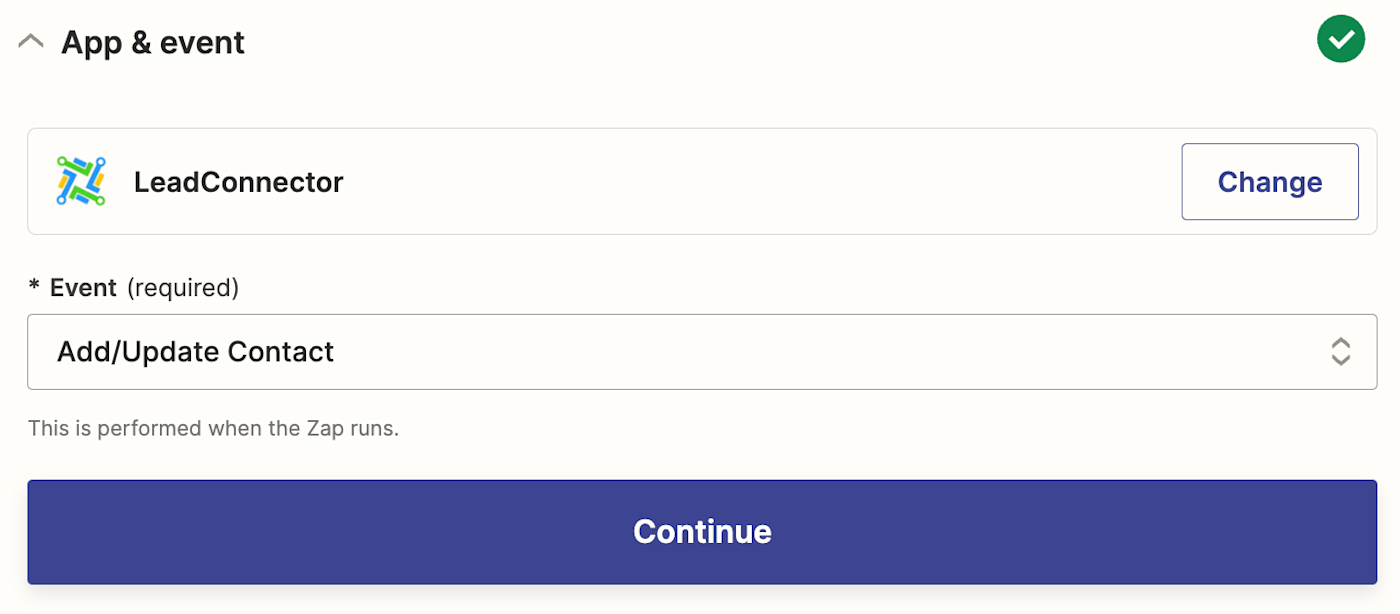
If you're using the Zap template, these will already be selected for you. Otherwise, search for and select LeadConnector as your action app and Add/Update Contact as your action event. Click Continue.
Note: For this action event, Zapier will add a new lead to LeadConnector for any new leads from Facebook Lead Ads. But if you submit a duplicate lead—one whose information has already gone through before—the Zap will find and update that existing lead in LeadConnector instead of adding a duplicate entry. Just note that any new information submitted through the lead (like if you change the contact's email address or other info), will overwrite any previous information saved in LeadConnector.
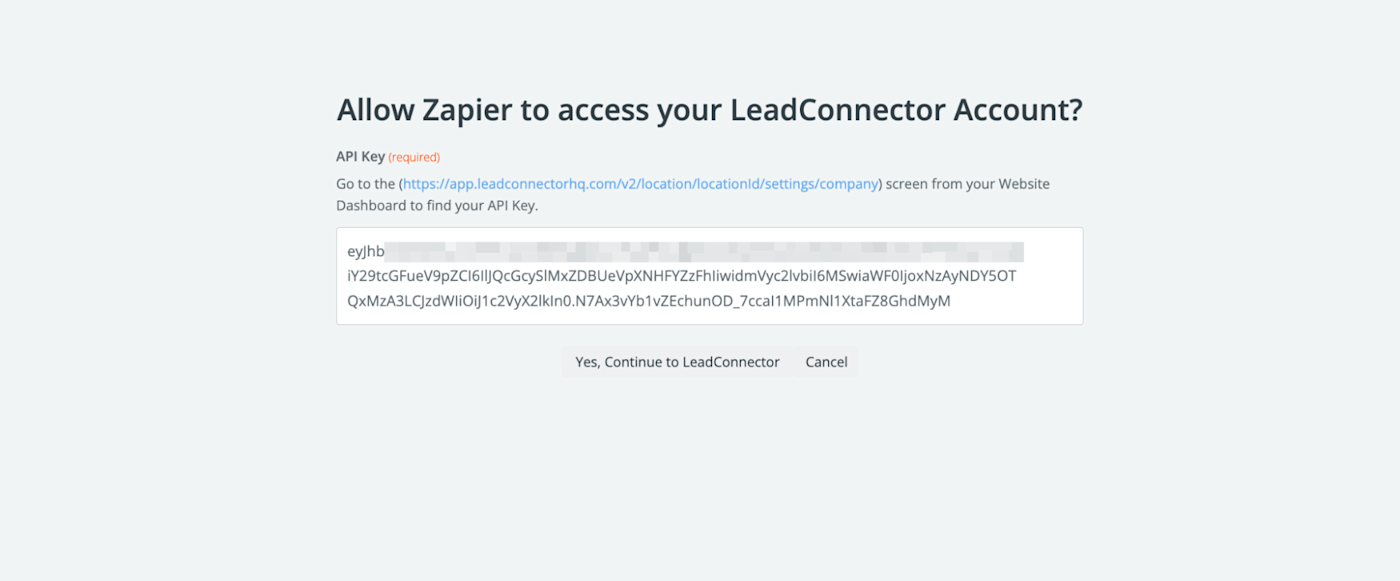
Next, connect your LeadConnector account with Zapier, if you haven't already. To connect your account, you'll need an API key.
LeadConnector generates a unique API key for every sub-account (client account) that's on your agency list. To find it, open your Agency view, then click on the Settings icon in the sidebar and select API Keys.
Here, you'll see a list of your clients and the API keys. Hover over an API key and click the Copy icon.

Back in the Zap editor, click Connect. On the new popup page, paste the API key you copied above. Then, click Yes, continue to LeadConnector.
Finally, click Continue after connecting your LeadConnector account.
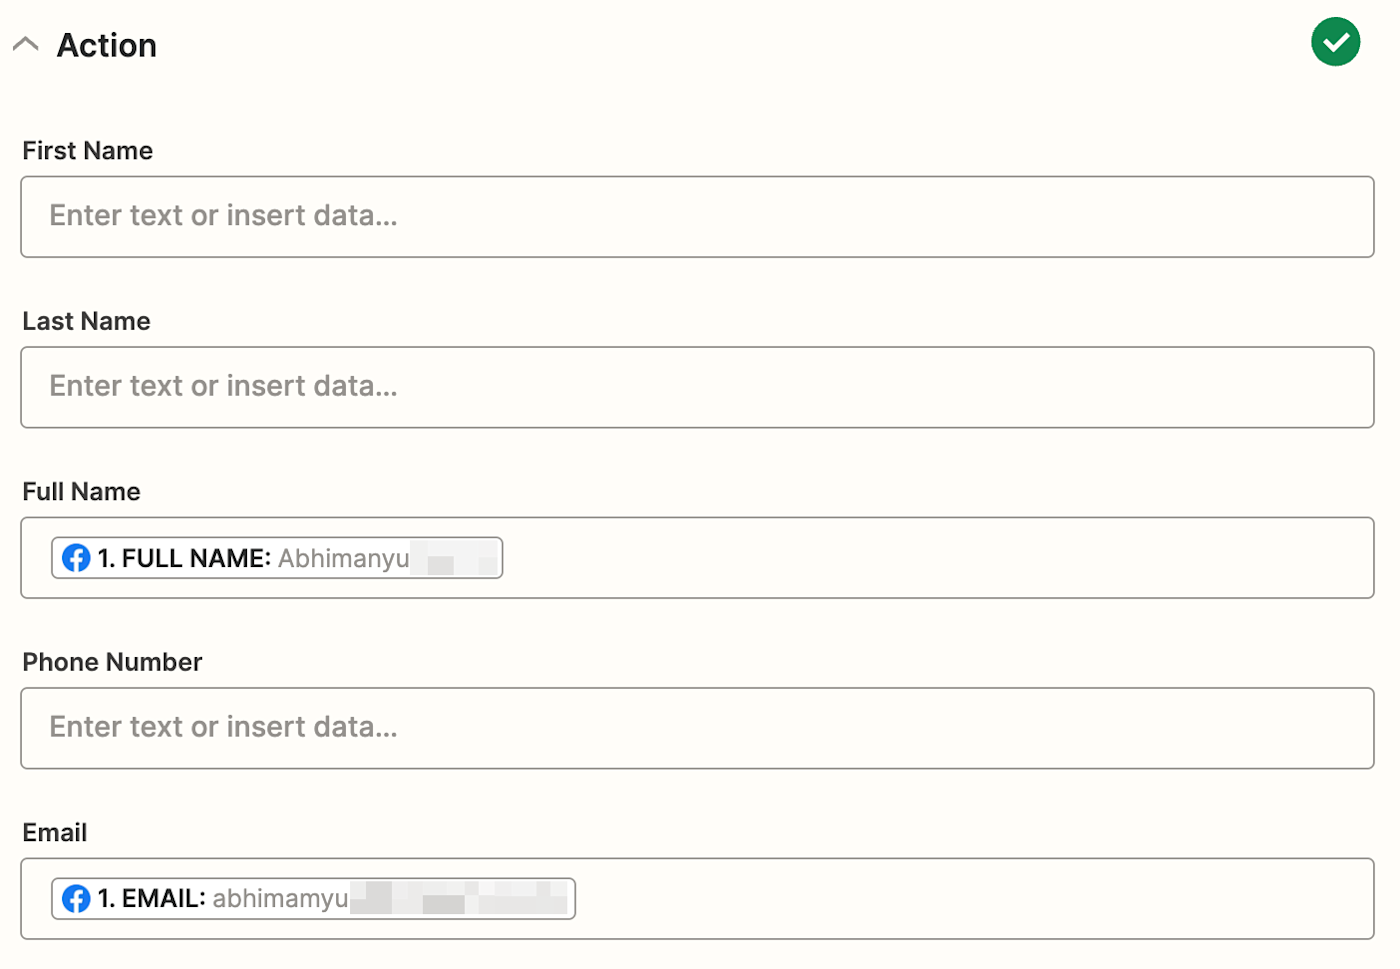
Now it's time to customize your action step. Here you'll map the data you've collected in your Facebook lead form to the appropriate fields in LeadConnector. Depending on what info you collect or need, you'll fill in different fields.
To add data from Facebook Lead Ads, just click in the appropriate field and select the data you want to map from the Insert Data dropdown.
In our example, we'll add our leads' full name and email.
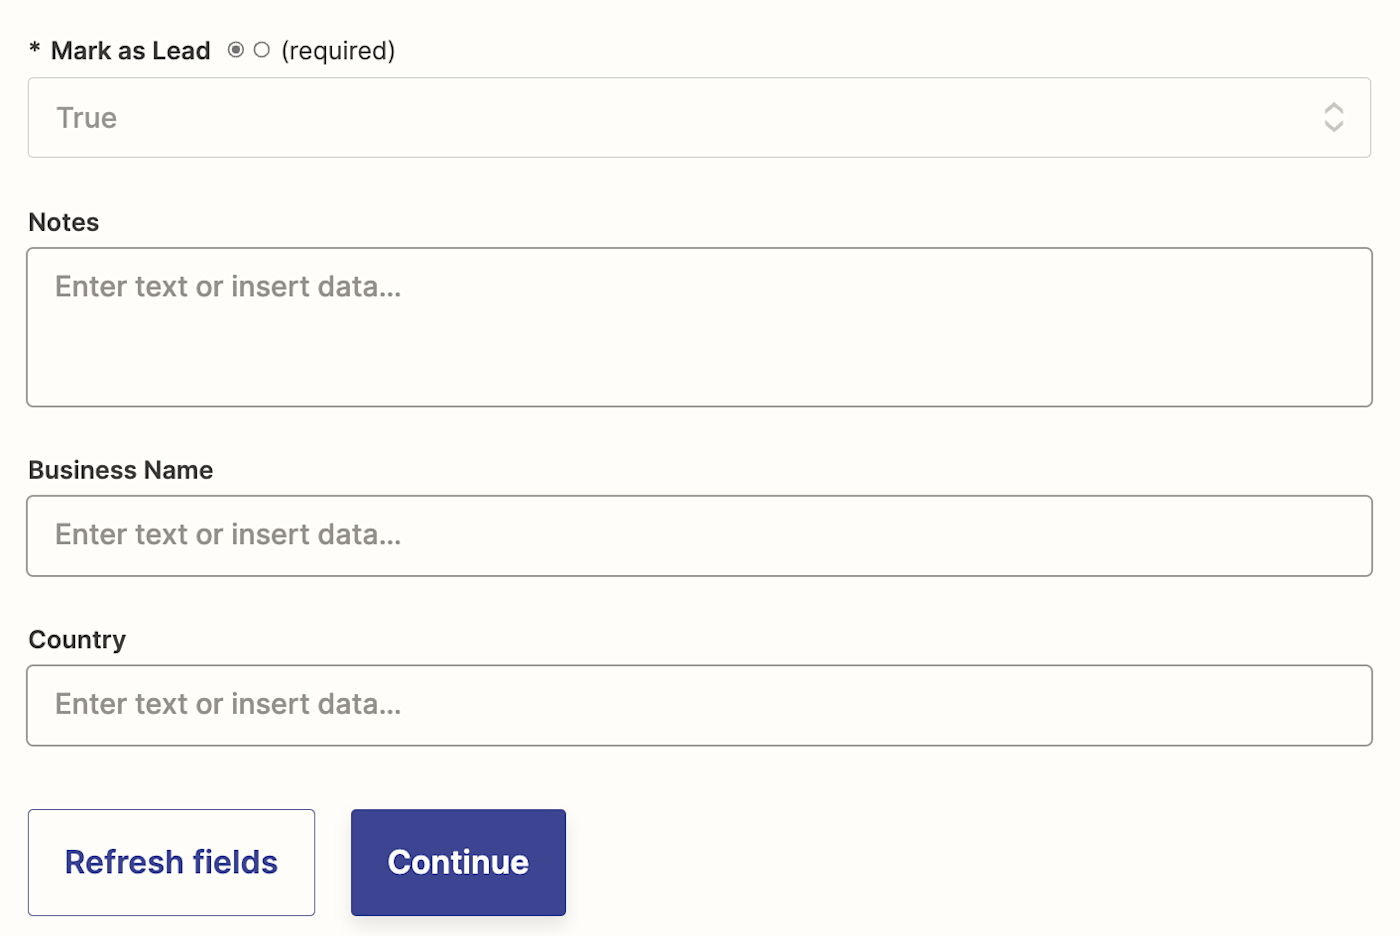
Next, in the Mark as Lead field, select True. This will flag the contact as a lead in your LeadConnector database. If you don't select True here, the Zap won't move forward.
When you're finished filling in the fields you need, click Continue.
Now, click Test step to run the Zap using your sample data. You should see your sample lead in your LeadConnect account.
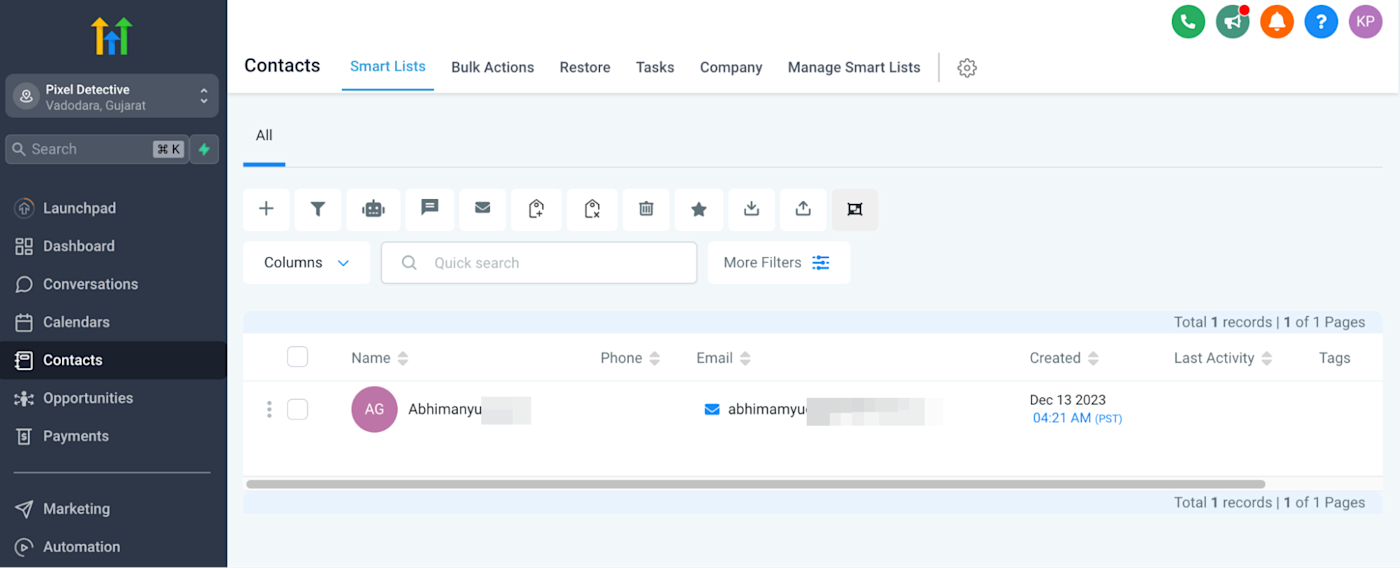
To check, open your LeadConnector account, and switch to the Sub Account (client account) you connected. From the sidebar, go to Contacts, and you should see the sample contact data.
Here's what our test data looked like.
If everything looks right, you're ready to use your Zap. Now all of your incoming Facebook Lead Ads data will go to your LeadConnector database automatically.
