You've set up a Facebook lead ad, but how will you know when new leads come in? You can download your leads at the end of your campaign, giving you a comprehensive list of all those leads in one place. But if you want real-time updates, send yourself (and anyone else) a customized email notification when a new lead comes in.
Here's how to set up an email alert with your Gmail account when you get a new lead from Facebook Lead Ads. If you're not a Gmail user, scroll down to see other options.
Note: A business Gmail account can connect with any other app on Zapier. If you're a free Gmail consumer user, there are some limitations.
Send an email with Gmail when a new lead comes in
Zapier lets you create automated workflows called Zaps, which send your information from one app to another. You can create your own Zap from scratch without any coding knowledge, but we also offer quick templates to get you started.
If you'd like to start with a template, click the button below, and you'll be taken to the Zap editor. You'll need to create a Zapier account if you don't already have one. Then, follow the directions below to set up your Zap.
Send emails in Gmail for new leads in Facebook Lead Ads
Zapier is the leader in workflow automation—integrating with 6,000+ apps from partners like Google, Salesforce, and Microsoft. Use interfaces, data tables, and logic to build secure, automated systems for your business-critical workflows across your organization's technology stack. Learn more.
Set up your Facebook trigger
First, set up your trigger—the event that starts your Zap. If you've started from the Zap template, Facebook Lead Ads—your trigger app—and New Lead in Facebook Lead Ads—your trigger event—will already be selected for you.
If you haven't already, you'll be asked to connect your Facebook account. Click on Choose an account… and either select an account from the dropdown menu (if you've connected Facebook to Zapier before) or click + Sign in to connect a new account.
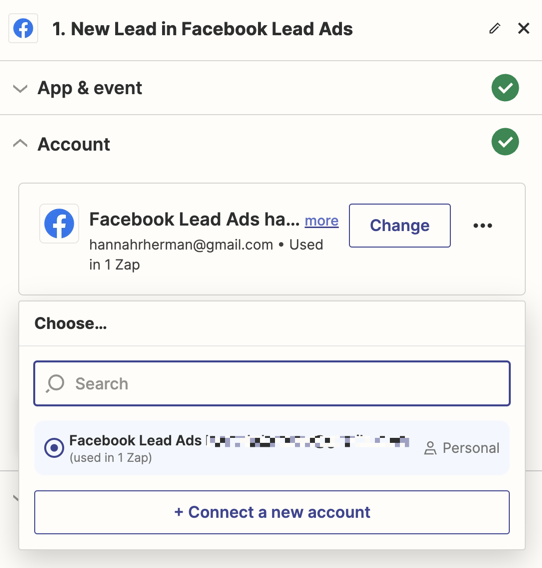
For each app you connect, Zapier will ask for a general set of permissions which allows you to be flexible with your Zaps. The only actions Zapier takes on your app accounts are those a given Zap needs to accomplish what you've set up.
Click Continue.
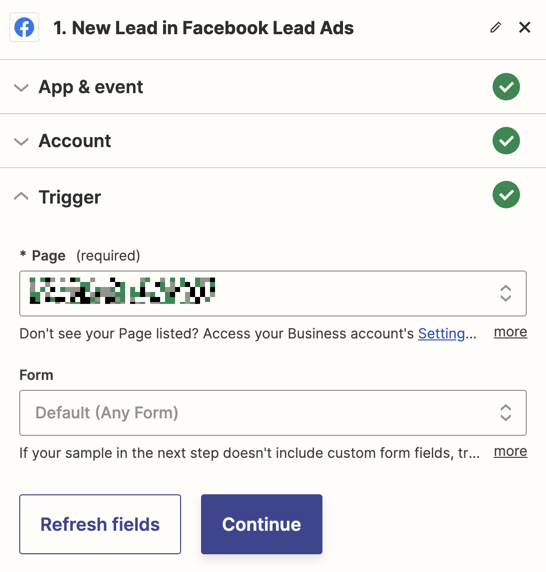
Next, select which page your lead ad is running on and which form is collecting the responses.
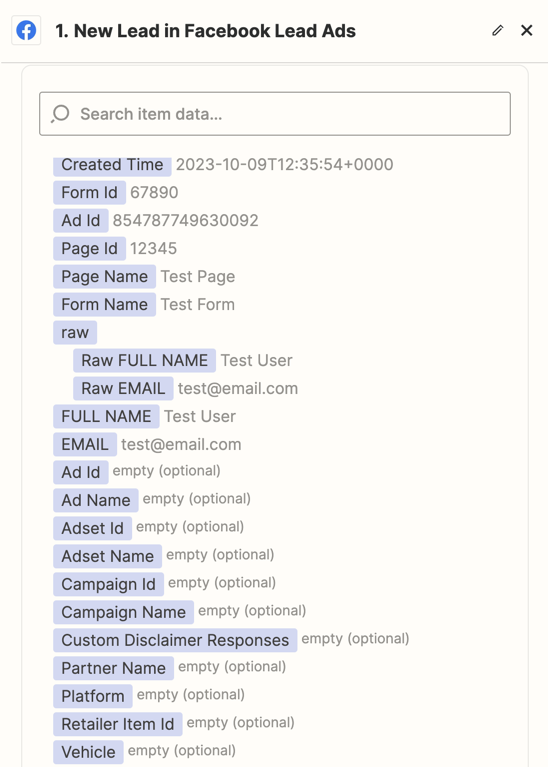
Now you need to test your trigger. Zapier will find a recent result in your Facebook Lead Ads account for the lead ad and form you selected earlier. This will be used to set up the rest of your Zap.
Now, it's time to test your trigger step. Zapier will pull in the most recent leads in your account to set up the rest of your Zap. If you don't have any lead data, you'll need to create a sample lead to test your Zap.
Once you have at least one lead, click Test trigger. Choose a lead for this test, then click Continue with selected record.
Once you see that your trigger is working properly, click Continue.
Set up your Gmail action
Now let's set up the action—the event your Zap will perform once it's triggered.
If you've started from the Zap template, Gmail—your action app—and Send Email—your action event—will already be selected for you.
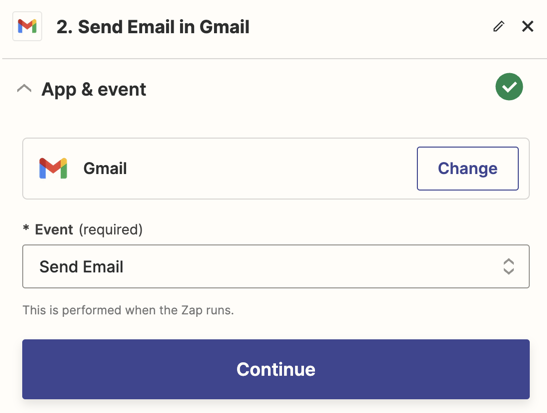
If you haven't already, you'll be asked to connect your Gmail account. Click on Change… and either select an account from the dropdown menu (if you've connected Facebook to Zapier before) or click + Sign in to connect a new account.
Click Continue. Now you can customize your email notification.
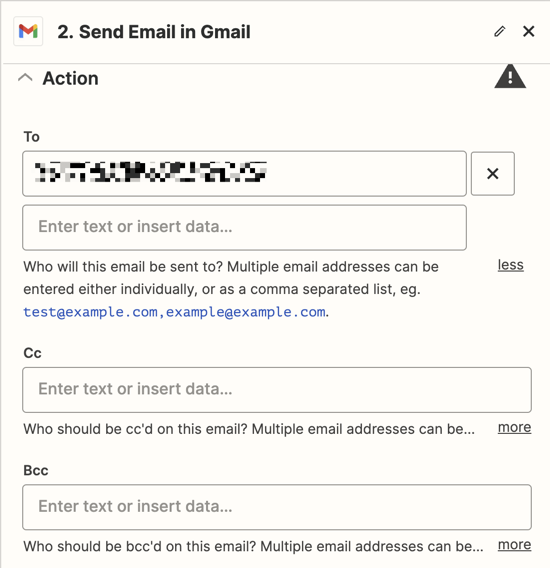
First, add your email address to the To field. If you want other emails to get this email alert, be sure to add their email addresses in either the To, Cc, or Bcc fields.
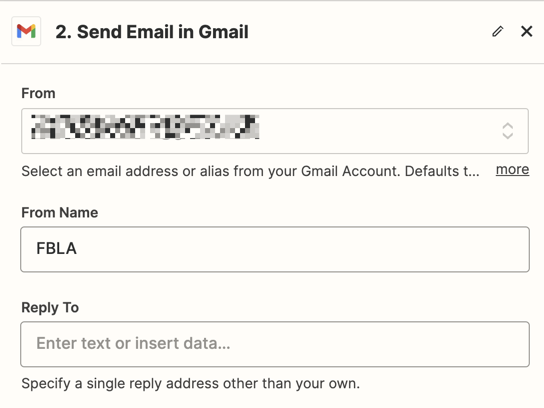
Now set up who the email will be from. Select your email in the From field. You can change the "From Name" to whatever will be most helpful for you—maybe "FBLA" so you know where your lead is coming from.
Next, it's time to customize your alert email by pulling in the lead data you want to see.
Enter the email subject line you want to see for your alert email. If you want to add data from your previous Facebook Lead Ads step—like the lead name or Ad ID—you can click in the email subject line field and select the data you'd like to use from the dropdown.
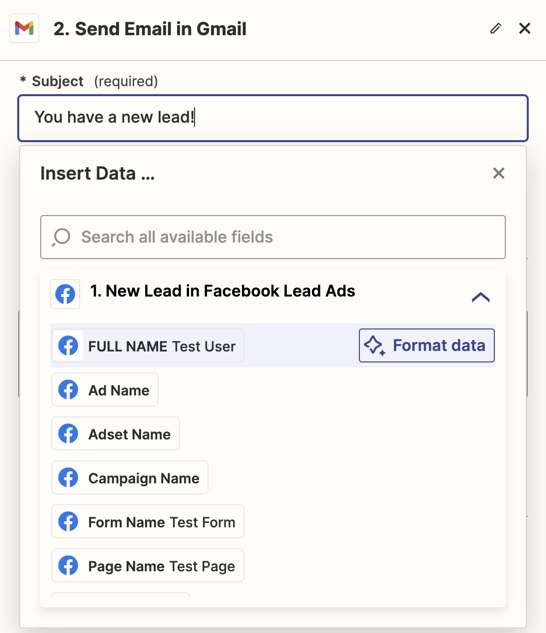
Keep the Body Type "plain". This will make sure there's no special formatting, like different fonts, font sizes, bold font, or italics.
Now set up the body of your email. Click in the Body field to enter your own text. You can also pull in data from your previous Facebook Lead Ads step and add it to your body copy. Click inside the Body field and select the data you want to use from the dropdown—such as the lead ID or date it was created.
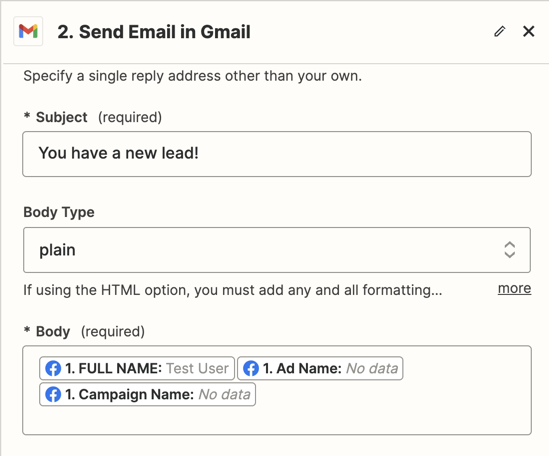
After you've customized the body of your new lead alert email, choose if you want to add your email signature. It will automatically pull up based on what you have set up in your Gmail account.

Pro tip: Create a label in your Gmail account for this FBLA campaign and then select it here. This will help keep your inbox organized.
Now it's time to test your action. When you click Test & Review or Test & Continue, Zapier will send an email to your Gmail account according to how you set up your email earlier.
It's a good idea to test your Zap so you can check if your email looks ok.
If you'd rather skip the test, just click Skip Test in the top-right corner. Here's how our email looks:

Once everything looks good, you're now ready to use your Zap. Now, you'll get emails every time a new lead rolls in!
Don't have a Gmail account? Here are other options.
We used Gmail in our example above, but that's not your only option! If you don't have a Gmail account, you can use Email by Zapier instead. Use this Zap template to get started:
Email by Zapier can send only 10 emails per hour. If that's a deal-breaker, you can set up a digest email instead. This will send you all of your new leads on a daily, weekly, or monthly basis.
Want to get lead ad notifications in other apps, like Slack or SMS? You can. Here are some Zap templates to get you started:
Send SMS messages for new leads from Facebook Lead Ads
Get Slack messages with new Facebook Lead Ads leads
Stay on top of new leads from Facebook Ads
With automation, you can set up notifications that ensure no lead slips through the cracks ever again. That way, you can make the most of each lead you generate by turning prospects into sales.
Related reading:
This article was originally published in April 2019, written by Justin Pot. It was previously updated by Ellie Huizenga, and most recently updated in January 2024 by Hannah Herman.
