Like superheroes, social media platforms are much more powerful when they work together. But unlike the Avengers, the platforms themselves have little motivation to do so. This is where automation tools like Zapier come in.
With a single automated workflow, you can connect two—or even three—competing social media platforms, creating your own super group! If you use Instagram as a storefront or a way to promote your products, cross-posting to Pinterest can truly help expand your reach. We'll show you how to do it—automatically.
Note: To use the Instagram for Business integration, you'll need a Business or Creator account.
How to pin your new Instagram posts on Pinterest
Zapier lets you create automated workflows called Zaps, which send your information from one app to another. You can create your own Zap from scratch without any coding knowledge, but we also offer quick templates to get you started.
If you'd like to start with a template, click on it below, and you'll be taken to the Zap editor. You'll need to create a Zapier account if you don't already have one. Then, follow the directions below to set up your Zap.
Pinterest is a premium app—available on Zapier's paid plans. Learn more about premium apps.
Set up your Instagram trigger
Let's start with the trigger—the event that starts your Zap. If you're using the Zap template, this will be selected for you. Otherwise, search for and select Instagram for Business as the trigger app and New Media Posted in My Account as the trigger event, then click Continue.
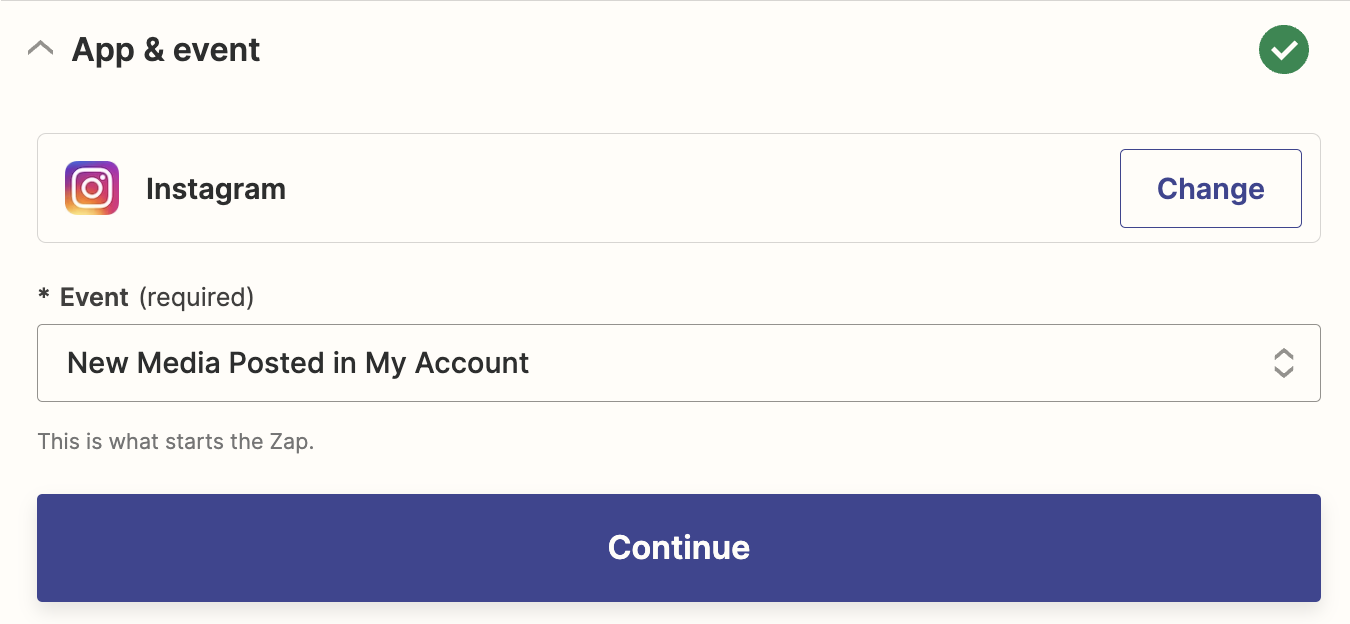
Connect your Instagram account, if you haven't already, then click Continue.
Now it's time to test the trigger. Zapier will automatically show you your three most recent Instagram posts for the test. If you have a brand new account, you should add at least one post to your Instagram account so you can properly test your Zap.
Click Test Trigger, and choose from one of the three most recent posts. Then, click Continue with selected record to run your test.

Once the test is successful, you're ready to set up your action step.
Set up your Pinterest action
Now it's time to set up the action—the event your Zap will perform once it's triggered. If you're using the Zap template, these will already be selected for you. Otherwise, search for and select Pinterest as your action app and Create Pin as your action event. Click Continue.
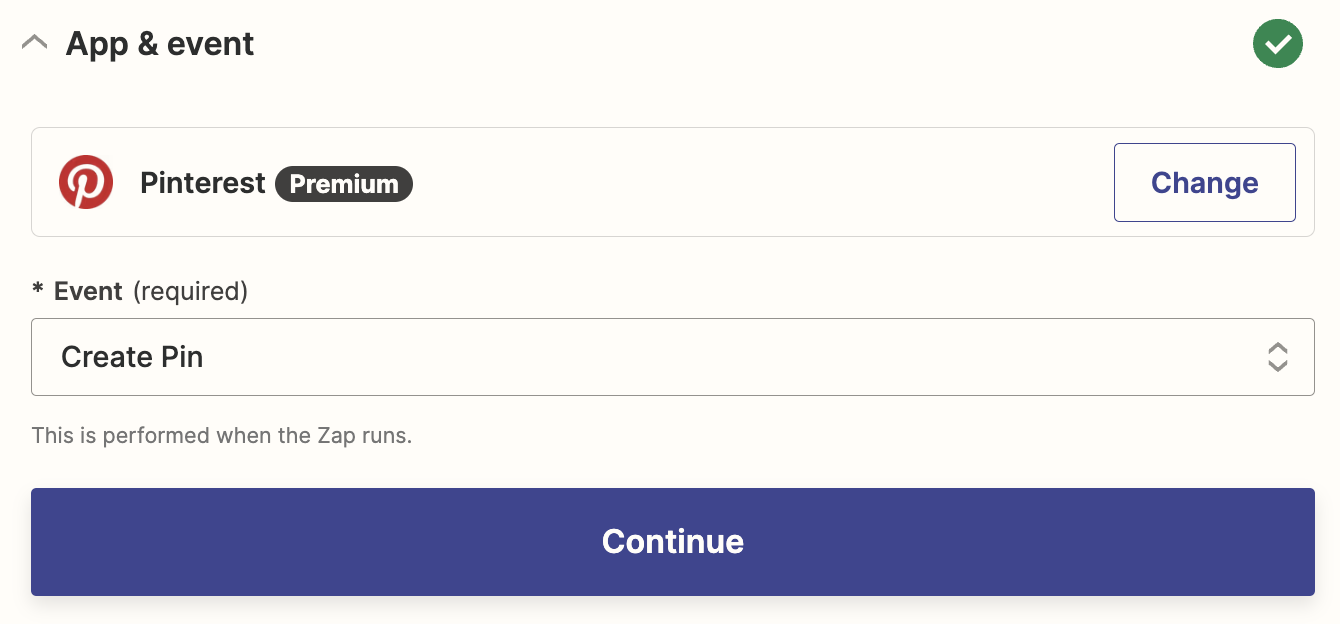
Next, connect your Pinterest account, if you haven't already. Then, click Continue.
We now come to the exciting part. Your action will let you customize everything about your pin on Pinterest.
First, choose which Board you want your Instagram post to go to.
If you're using the Zap template, the Image field will already include the image from your Instagram post, which you can find by clicking in the Image field and selecting Media URL from the Insert Data dropdown.
You can also customize the Link field. If you've used the Zap template, the field will include the Instagram post's Permalink.

You should also customize the Title for your new Pins. By default, it will include "New Media Posted in My Account in Instagram," but it can say something like "here's the latest post from my pottery Instagram page" or something personalized to your account.
This will be needed because there's no title section in an Instagram post.
If you're using the Zap template, Zapier will automatically map your Instagram caption to the Description field, so you don't need to do anything there. If you're starting from scratch, just click in the Description field and select Caption from the Insert Data dropdown.
Once you're happy with the setup, click Continue.

Next, test your action step by clicking Test step. If your test is successful, you should see your latest Instagram post correctly pinned to the Pinterest board you selected.
You can double check everything looks just right by looking at your Pinterest board. Here's what our Pinterest pin looked like.

If everything looks right, your Zap is now ready to use. Now every time you post something new on Instagram, it will be pinned automatically to your Pinterest board!
This article was originally published in September 2019. It was most recently updated in October 2023 by Khamosh Pathak.
