If you're looking to start your own online business, you've probably stumbled upon Shopify. I've been there. When I started my online gift shop business with my mom, Shopify was my first choice. It's incredibly easy to use and has a very low cost to get started.
With Shopify, anyone can create their own storefront in a few hours for as little as $1 for your first month. You can reach customers all over the world—hence why it's a popular choice for online business owners who want to sell products online.
But if you're unsure on how to use Shopify or overwhelmed by the sheer possibilities it offers, you're in the right place. I'll walk you through a beginner's tutorial on how to get to grips with Shopify and use it to start your own business.
Table of contents:
What is Shopify?
Shopify is an eCommerce platform that allows anyone to sell online. Shopify dominates the eCommerce market because it can manage the end-to-end process of starting an eCommerce business, so you won't need a mix-match of apps or tools to handle each aspect. Shopify covers the process of:
Creating your eCommerce website
Selling on other sales channels, such as social media or YouTube
Showcasing physical products and managing inventory
Collecting payments from your customer
Tracking shipping, including international parcels
Shopify also offers its own point-of-sale (POS) software that you can use to sell in person from the same admin that powers your online store. If you're hoping to build a physical presence—be that a pop-up shop or a full-blown retail store—you can manage it alongside your online sales without leaving Shopify.
What can I sell on Shopify?
Shopify lets you sell (almost) anything on your own eCommerce website. It's most commonly used by businesses that sell physical products—think cosmetics, furniture, or apparel.
But Shopify products don't have to be physical items like most people would assume. You can use Shopify to sell digital products, gift cards, or services. Snowboard Addiction, for example, built its Shopify store as a way to sell snowboarding courses online.

One particularly compelling part about Shopify is that it also supports dropshipping. This type of eCommerce means you don't touch the products you're selling. Instead, you integrate your backend with a dropshipping company who will pick, pack, and ship orders to your customers whenever they're placed through your Shopify website—no intervention required on your part.
How to use Shopify to sell products online
1. Create your Shopify account
The first step in opening a Shopify store is to create a free account. Don't worry about a miniscule (or non-existent) budget just yet—you can get a free 3-day Shopify trial, which is enough time to set up your storefront and decide if it's the right platform for you.
To get started, head over to Shopify's signup page and complete the questionnaire. It'll ask you what stage your business is in, as well as where (and what) you'd like to sell.

Then choose the location your store is based in and create your login credentials.
2. Add sales channels
Shopify is an omnichannel eCommerce platform, which means you can sell from different channels using the same backend. It treats each of these sales channels as an app.
To find these sales channels, click Sales channels in the left-hand menu and browse available options. Popular channels include:
Social media platforms like Instagram, Facebook, Pinterest, YouTube, and TikTok
Marketplaces like Amazon and Faire
In-person with Shopify POS

Any product or pricing data loaded into the platform will automatically update on any sales channel you're using.
For example: if you're selling a $19 t-shirt on your online store but change the price to $24 and update the product description, both details will be updated across any integrated sales channels—be that your Facebook Shop or YouTube channel—with no extra legwork required on your behalf.
3. Upload products
The Products tab is where you'll store information about each item you're selling.
There's a lot of data you can add to each individual product on Shopify, and not all fields are absolutely essential if you're just starting out.

Here's a quick checklist of bases to cover when uploading your first product:
Product title. What's your product called? Think of something catchy, like Magic Spoon does with the title for its cereal bundle: "Sweet Summer Bundle." A sense of intrigue could convince someone to click through to the product page when they see it.
Description. This is your chance to sell the product. Talk about its best features, the problems it solves, and why a customer needs it.
Imagery. Show your product from different angles or in different contexts. Consider user-generated content, such as TikTok videos you've made about the product, to stand out.
Pricing details. How much is the product selling for? Is the price inclusive of tax? Enter these details on the product page in Shopify. Detail your cost per item to see how much gross profit you're making.
Inventory data. Keep track of how many units you have to sell by entering the amount in the Inventory tab, and decide whether you'll show your product as "sold out" if you have no inventory left.
Weight. Use a small scale to measure how heavy your product is. Shopify will pull this data to recommend a shipping rate at checkout.
Tip: Shopify's artificial intelligence tool, Shopify Magic, can do most of this for you. It can write product descriptions, replace the background image for stock photos, and answer FAQs based on your prompt.
4. Create categories
Categories make it easy for potential customers to find items they're looking for. They're also great for browsers who want to shortlist products they're interested in.
Shopify categories can be rule-based, so you won't need to go back in and assign each new product to a collection—it'll happen automatically.
To do this, go to Products in the sidebar, and choose Collections from the dropdown menu. Click Create collection, and choose Automated. You can set the criteria for products that match this category and have new inventory automatically added.

Instead of limiting your categories to "type of product," experiment with other filtering systems, such as:
Bestselling products
Price filtered (e.g., gifts under $50)
Use case (e.g., hair curling)
Recipient (e.g., for children)
YETI, for example, has Shopify categories that allow people to shop by activity. Fishing, camping, and fitness enthusiasts can easily browse products that best match their sport without having to wade through its entire product collection.

5. Customize your online store
Now that you've loaded your products into the platform, it's time to customize your Shopify storefront.
Choose a Shopify theme (a free one if you're on a budget!) to give yourself a foundation to work on. Don't worry if the theme doesn't have everything you want out of the box; Shopify makes website design easy with its block-based website builder.
From the theme customization page, choose the thing you want to add (like an image banner or call-to-action button) and select it from the Add block option in your website structure sidebar.

Your goal is to make the user experience as seamless as possible, so when designing your Shopify store, think about elements like:
Navigation: How easy is it to find products, categories, or policy pages? Customize your main and footer menus by going to Online Store and choosing Navigation from the dropdown menu.
Visuals: Is your site visually appealing? Use the same color scheme and add visual elements like social proof, videos, or product imagery to break up walls of text.
Responsiveness: Is the website just as visually appealing and functional on a mobile device? Double-check by selecting the device options in the top menu.
6. Set up payments
Shopify has its own payment gateway that lets you take digital payments (credit/debit card, mobile payments, PayPal, etc.) from customers without any third-party software.
To configure Shopify Payments, go to Settings and find Payments. Submit details about your business, enable two-factor authentication, and add your banking information.
(It's always worth doing a test order to check that these settings are working as intended. The last thing you want is to receive a new order from a first-time customer, only to go back and tell them their order didn't actually go through. Awkward.)
Fees for this payment processing service depend on the Shopify plan you've chosen—more on that later.
Alternatively, skip the Shopify Payments setup process and choose an additional payment method. Shopify has a list of approved gateways, including PayPal and Afterpay, which you can configure from the same Payments tab.

7. Configure shipping, duties, and taxes
Taxes aren't the most fun part of opening a Shopify business, but they're an important part.
I can't give blanket advice on exactly how to configure this part of Shopify—your tax position will be different from the next reader's. Your best bet is to check your country or state rules for tax, or contact a professional who can help you with this part of the Shopify setup process.
If you do need to charge sales tax on your products, configure this in the Shopify admin. It will automatically add and display taxes where appropriate.

As for getting your products into a customer's hands: Shopify has its own shipping service, appropriately named Shopify Shipping, that can help you secure discounted labels. You can either pass these savings onto your customers or take it as profit.
To configure this, go to Shipping and delivery in the Settings tab and save package sizes. You can also set up shipping rates here to show accurate posting fees to your customers at checkout.

Once you receive a new order, use Shopify Shipping to buy discounted shipping labels (which you can print using any receipt printer), then attach it to your parcel.
Plan on selling globally? Shopify supports international eCommerce and shipping. From the Shipping and delivery tab, list which countries you want to sell in and set custom shipping rates (including any duties or charges) for each one. The shipping service will automatically generate the paperwork you need to ship globally.
8. Consider Shopify apps
One of Shopify's biggest advantages is its ecosystem of 10,000+ apps that integrate with the software. They allow you to customize the platform and cover any gaps in the features that Shopify has available.
Popular Shopify app categories include:
Marketing
Store design
Finding products
Orders and shipping
Store management
The best part: you can manage each of these third-party apps without leaving the Shopify admin.
Say you wanted to start a customer loyalty program that awards points to customers who make purchases through your Shopify store. You could install Smile from the Shopify App Store and configure the new program in your Shopify admin—without having multiple tabs or login credentials for the new software.
9. Add a custom domain
A custom domain adds an extra layer of credibility to your eCommerce website, "Yourbrand.com" is much more professional than the default "myshopify.com" add-on, and when you're diverting people to your site, there's less room for them to make a spelling error and end up on the wrong page.
You can buy a custom domain on Shopify without leaving the admin. It's especially handy if you want to manage everything all in one place.
Check whether your desired domain name is available (and that nobody's already claimed it!) with Shopify's free domain name checker.

If you're out of luck, Shopify will suggest some domain variations that are available. This might mean changing the top-level domain (.com) to something like .org, .co. or .us, or adding variations—like LEIF does with its "leifshop.com" website address.
If you're in luck and the domain is available, you can buy it through Shopify, and follow the steps to attach it to your site.
10. Choose a Shopify plan
Shopify requires a monthly subscription to power your storefront. It also charges an extra fee for payments you process using its payment gateway.
Its Basic plan costs $29/month and supports global selling in three markets, but its payment processing fees aren't the most generous. Basic is a good starting point if you're getting to grips with Shopify for the first time—just be aware that you'll probably need to upgrade once you start earning consistently through your eCommerce website.
The next plan up, named simply "Shopify," costs $79 per month. Payment processing fees for online orders made through Shopify Payments start at 2.7% + $0.30 (versus 2.9% + $0.30 USD for the Basic plan).

For context: If you were processing $50,000 per month from around 5,000 online sales, you'd save around $100 in payment processing fees on the Shopify plan. Minus the $79 cost of the subscription, that's an extra $21 in your pocket each month—and that's before you account for savings on Shopify Shopping and in-person payments.
11. Go live with your new Shopify store
You've reached the most exciting part of learning how to use Shopify: going live with your new online storefront.
Now's the perfect time to do one final check of your site. Check that your links are working, that product images display correctly, and that there are no spelling mistakes in sight. Those minor details could sabotage a potential customer's first impression of your new Shopify store.
For extra peace of mind, Shopify allows you to run test orders on your own store. You won't be charged for any items you checkout, but it'll confirm that your order processing, shipping, taxes, discounts, payment methods, and email notifications are set up correctly.
When you're happy, remove the password protection by going to Online Store > Preferences and unticking the Restrict access to visitors with a password box.

Then publish your store and start promoting your website.
How to use Shopify for dropshipping
The dropshipping business model gives you extra flexibility when selling on Shopify. You don't need to spend thousands developing new products, nor splash the cash on storage space to house inventory. It's your supplier's responsibility to develop, test, and fulfill orders placed through your Shopify website.
Shopify is popular among dropshippers because its app integrations make it easy for suppliers to fulfill your orders. Here's how to set it up:
Create a Shopify account. Follow the steps I've outlined above to create your Shopify account and design your online storefront.
Find a dropshipping supplier and connect it with Shopify. Search the Shopify App Store for dropshipping companies with positive reviews and items that you want to resell. Popular choices include DSers, Spocket, and Zendrop.
Choose products to dropship. Once you've made an account with the dropshipping supplier, choose which items you want to resell. Play around with profit margins here—you don't want to outprice the competition who are selling comparable products, but you also don't want to price too low and make minimal profit on each order.
Upload the products to Shopify. Each app will have its own tutorial on how to add dropshipping products to your Shopify storefront. Generally speaking, you should be able to customize the product listing in the app section and import it as a Shopify product.
Customize your storefront. Because dropshipping has a low barrier to entry (it's free to start), a strong brand is what will set your Shopify business apart from others. Use free Shopify themes or design apps to customize your storefront before going live.
Tips to get your first Shopify sale
Creating your Shopify storefront is the first step in selling online. Now that you're ready to spread the word about the products you're selling, here are five bonus tips to make Shopify sales.
Create extra pages
Online shoppers will likely look for validation that your store is legit, especially if it's new and you don't yet have any reviews.
Help them trust your site with extra pages, such as:
"About us" page
Contact information
Shipping/returns policies
FAQs or help docs, like this one from The Citizenry
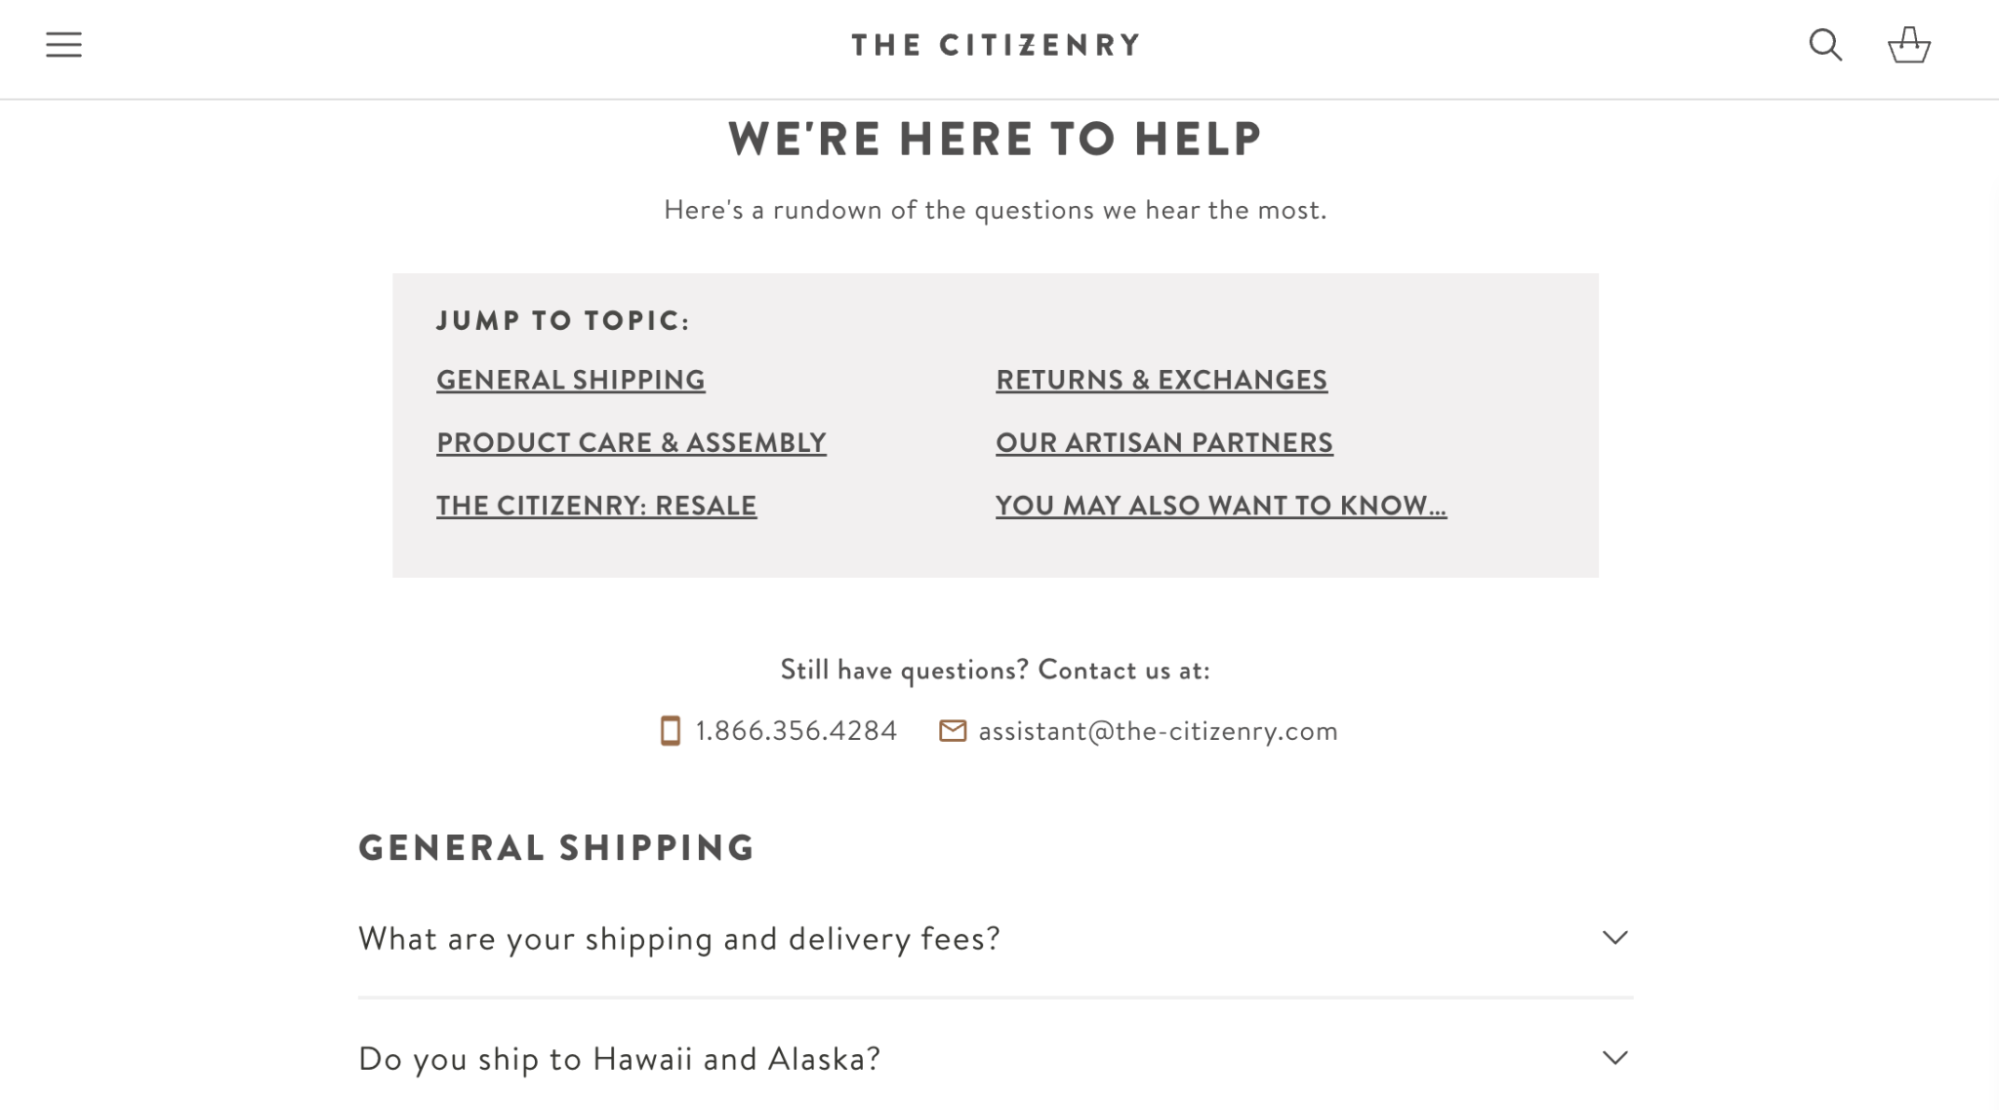
If you want more control over how these pages look, consider a Shopify page builder app like Shogun or PageFly. Both have prebuilt templates and drag-and-drop features that let you design Shopify pages without code.
Optimize your Shopify store for SEO
You can't neglect Google Search as a marketing channel, especially if you're looking for a more sustainable way of promoting your products in the long term. Search engine optimization (SEO) increases the odds of people finding your eCommerce website when they're searching for products you sell.
To do this for your Shopify store, find which phrases your target audience is Googling with keyword research tools like Moz or Semrush. Then use SEO apps to optimize your Shopify site, including your shortlisted keywords in places like:
Meta title and descriptions
Product titles and descriptions
URL paths
Image file names and alt text
Anchor text for internal links (e.g., using the phrase "hair straighteners" when you're linking to a hair straightening tool, rather than something generic like "click here")
Add email and SMS pop-ups
Not everyone who visits your Shopify store will place an order. By collecting your visitors' details, you can run retargeting campaigns that convince them to come back—rather than losing them forever (or hoping that they'll eventually find their way back to your online store).
Get the wheels turning on your email campaigns with Shopify apps like Klaviyo or Mailchimp. Give people an incentive to opt in, such as a discount code on their first order or early access to new products, then configure automated campaigns that remind people of the items they were interested in.
Blume, for example, offers 20% off for first-time customers in exchange for their email address. It also asks for their main skin concern—data that Bloom can use to personalize any future campaigns.

Create discount codes and gift cards
Potential customers might visit your site but not feel ready to buy just yet. Help on-the-fence shoppers decide to buy with an incentive. Named Discounts in the Shopify admin, you can choose from the following coupon code types:
Amount off products
Buy X, get Y
Amount off order
Free shipping

Discounts work best when they're combined with email or SMS marketing. It becomes a win-win for everyone involved: the potential customer gets the discount, and you get their email address or phone number for future retargeting.
You can also make Shopify gift cards for people who are shopping for gifts and are unsure on what the recipient would like. Go to the Gift cards tab (under Products) and choose Add gift card product. Name the new gift card, and choose the denominations you'd like to offer.

Customers can add this to their cart like they would with any other product, but instead of being levied with a shipping fee, they'll get the custom gift card code to their inbox after checking out.
Lean on Shopify automation tools
There are lots of plates that you'll need to spin when operating an online business, from processing orders to reconciling transactions in your accounting software. Not all of them are fun—but a lot of them don't actually require manual work.
eCommerce automation takes care of repetitive tasks and frees up time to spend on higher impact activities, like developing new products or planning a new marketing campaign. Zapier lets you connect Shopify store with other apps like Google Sheets, Salesforce, and Pinterest, taking care of all that tedious work.
Learn more more about how to automate Shopify with Zapier, or get started with one of these pre-made workflows.
Add new Shopify customers to Google Ads Custom Lists
Zapier is a no-code automation tool that lets you connect your apps into automated workflows, so that every person and every business can move forward at growth speed. Learn more about how it works.
How to use Shopify FAQs
How does Shopify work for beginners?
Shopify is great for beginners. It's an easy-to-use eCommerce platform that allows beginners to create their own online store. Anyone can use it to upload products, create a website, process payments, and manage inventory. While it has a lot of advanced features, you can quickly set up a store and get into the weeds after the fact.
How do I use Shopify successfully?
Here are some tips for using Shopify successfully:
Add multiple sales channels
Choose high-performing products to sell
Customize your Shopify storefront
Add a custom domain
Configure shipping and taxes
Set up payment processing
Add social proof and product imagery
Create product categories
Optimize the navigation
Is Shopify worth it for beginners?
Shopify is worth it for beginner entrepreneurs who want to create their online store without the hassle that typically comes with setting up a website. Shopify's website builder is easy to use, the interface is intuitive, and it comes with 10,000+ apps that you can plug into your eCommerce platform for greater customization.
How do I use the Shopify website?
Go to the Shopify account registration page.
Answer the questionnaire.
Create your login details.
Configure sales channels.
Add products and collections.
Set up payments.
Configure shipping.
Add a custom domain.
Remove the password and go live.
Need more details? Scroll up and read the rest of the article.
Is Shopify hard to sell on?
It isn't hard to sell on Shopify. The eCommerce platform gives new users a checklist on how to get started, and with free themes and apps to customize your storefront, it's a quick and easy way to start selling online. I'm speaking from experience!
Related reading:


