Maintaining a relationship with your customers often means spending a lot of time and energy after making that initial sale. Making good use of a customer relationship management (CRM) application like Salesforce can help build a loyal customer base for your business more easily.
Using Zapier, you can create automated workflows called Zaps to automatically add new customers from Shopify to Salesforce, so you can save time and focus on the work that really matters.
Salesforce and Shopify are premium apps—available on Zapier's paid plans. Learn more about premium apps.
How to add Shopify customers to Salesforce
Zapier lets you create automated workflows called Zaps, which send your information from one app to another. You can create your own Zap from scratch without any coding knowledge, but we also offer quick templates to get you started.
If you'd like to start with a template, click on it below, and you'll be taken to the Zapier editor. You'll need to create a Zapier account if you don't already have one. Then, follow the directions below to set up your Zap.
Create Salesforce contacts from new Shopify customers
Set up your Shopify trigger
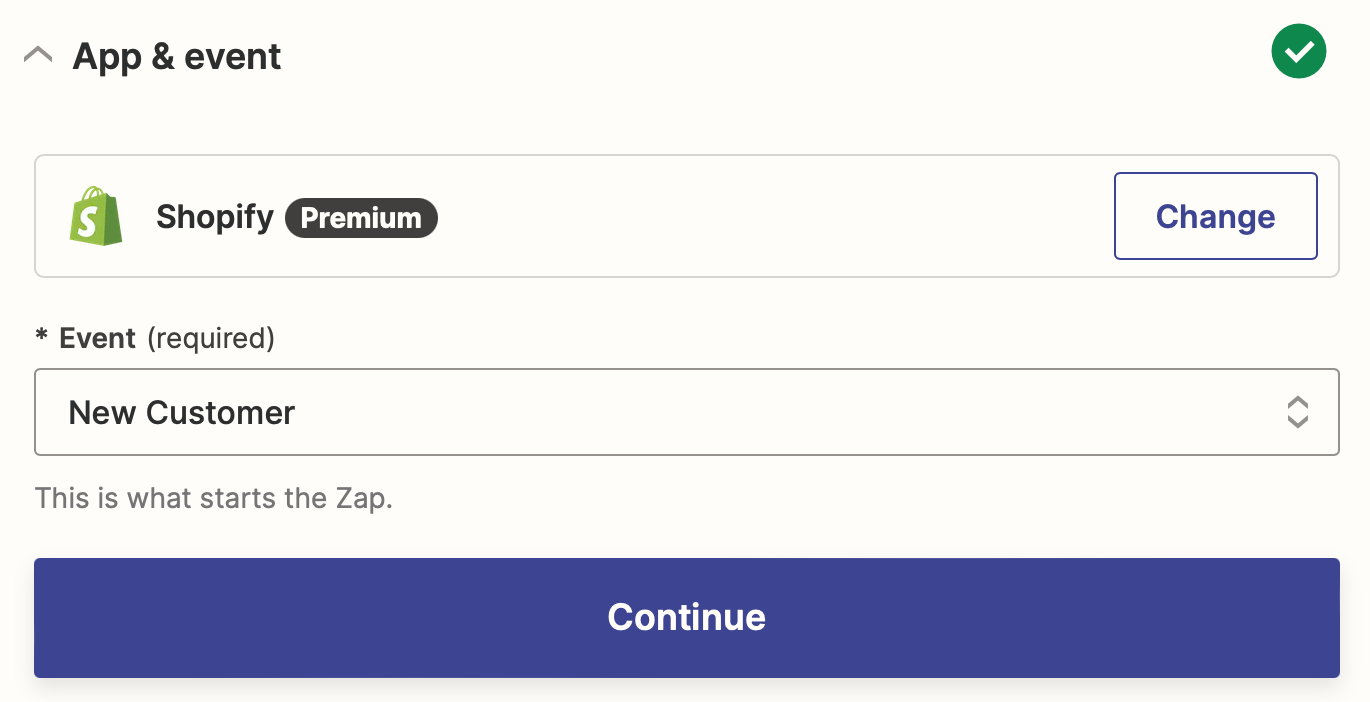
Let's start with the trigger—the event that starts your Zap. If you're using the Zap template, this will be selected for you. Otherwise, search for and select Shopify as the trigger app and New Customer as the trigger event, then click Continue.
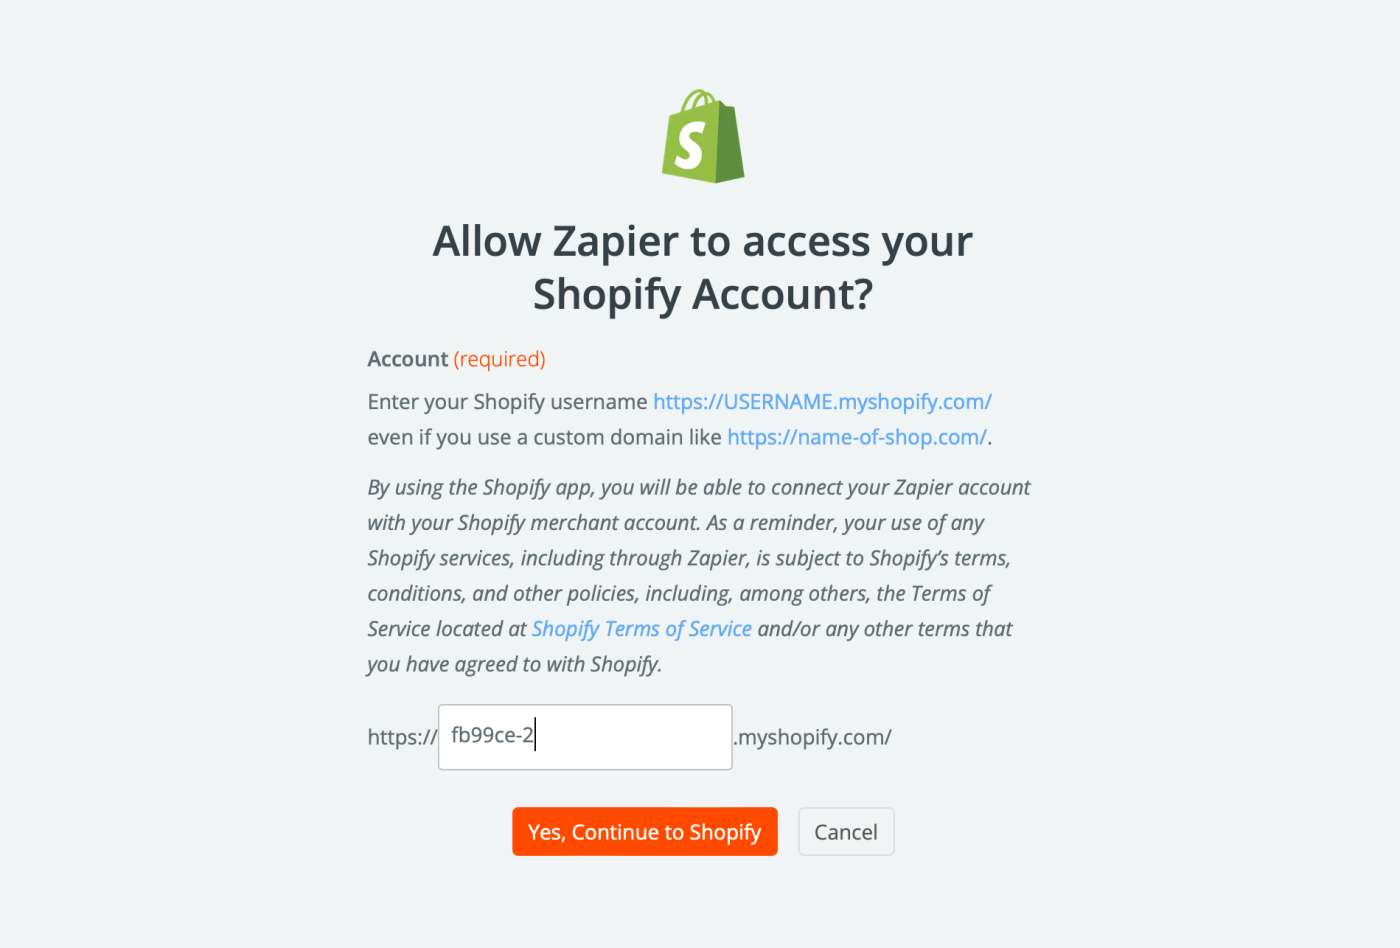
Next, connect your Shopify account, if you haven't already. If you're connecting your account for the first time, you'll need to provide the custom Shopify URL that's assigned to every Shopify page (it's something like www.custom-part.shopify.com).
Go to your Shopify settings and find the Shopify Store URL right underneath the store name. Add the custom part of the URL, and then click Yes, Continue to Shopify.
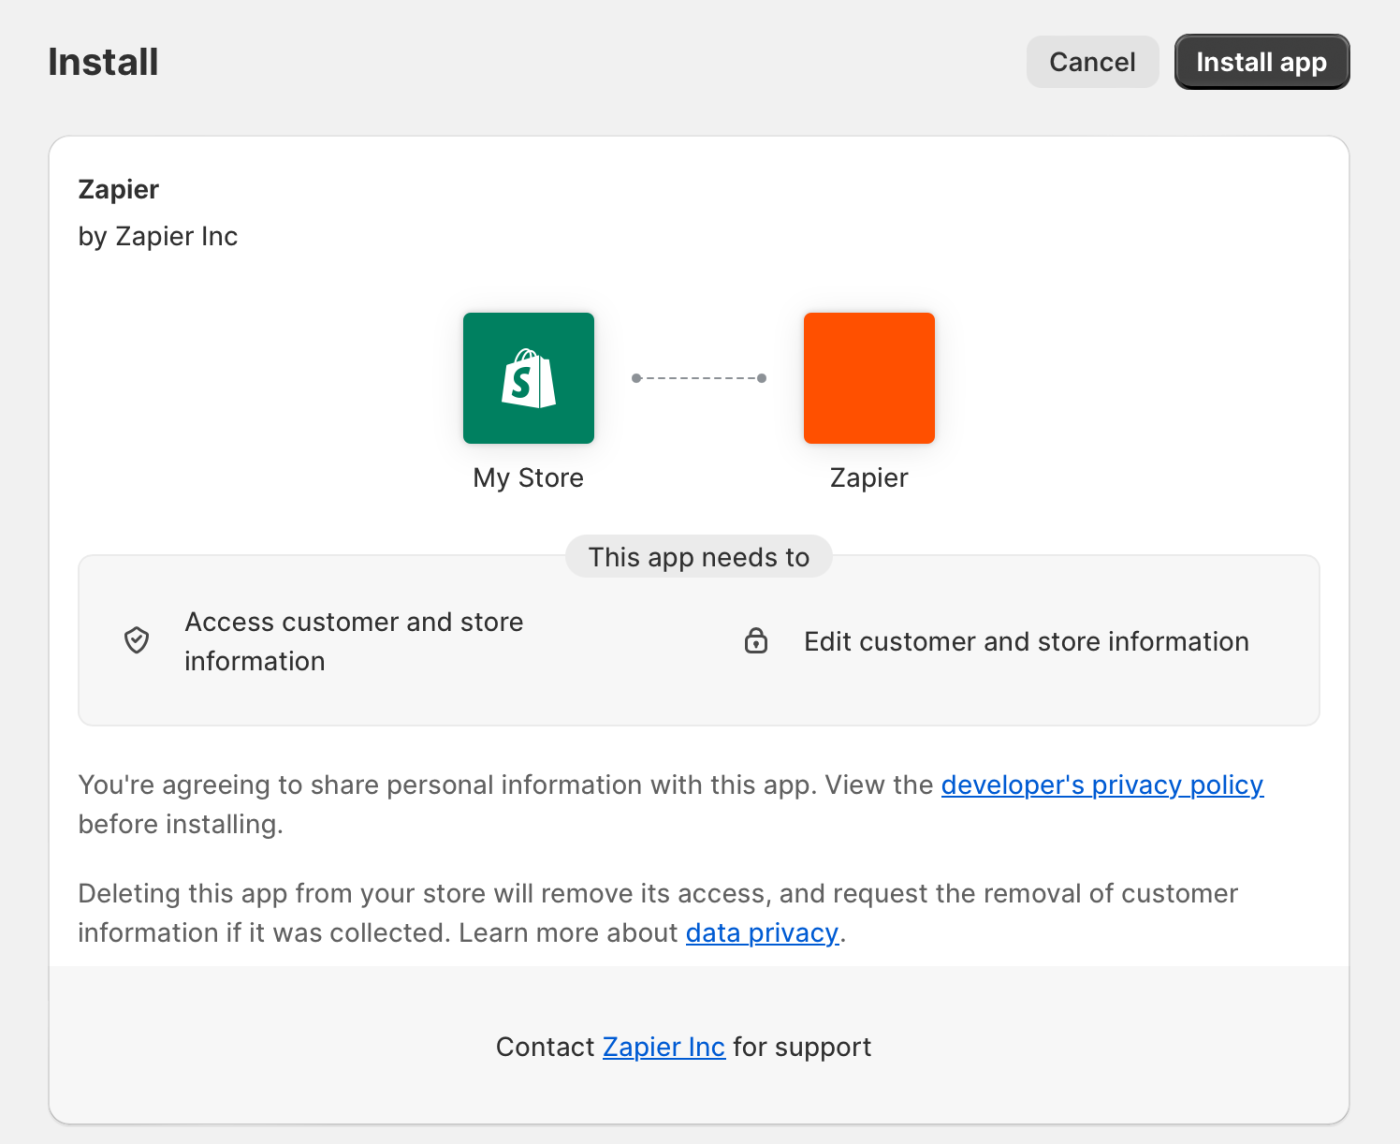
Once you do that, Zapier will open your Zapier integration page in Spotify. Click Install app on your Shopify dashboard to connect your Zapier account.
Once that's done, click Continue.
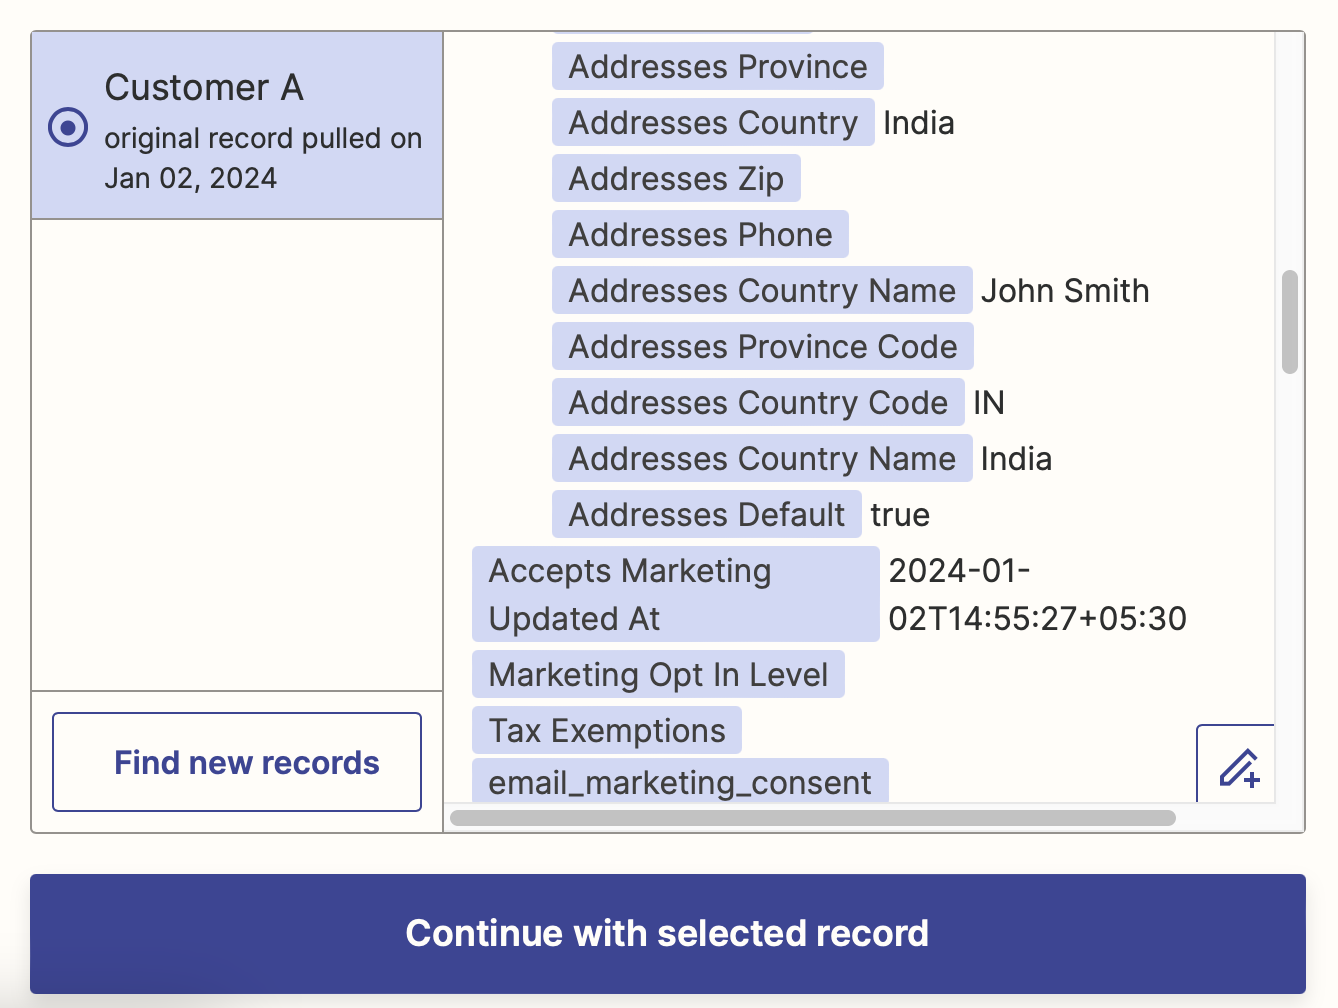
Now it's time to test your trigger step. Zapier will automatically show you your three most recent Shopify contacts, which will be used to set up the rest of your Zap. If you don't have any contacts listed in your account, add a test one now to your Shopify account so you can properly set up your Zap. Once you have a contact listed, click Test trigger.
Choose a sample contact, then click Continue with selected record to run your test.
Set up your Salesforce action
Now it's time to set up the action—the event your Zap will perform once it's triggered. If you're using the Zap template, these will already be selected for you. Otherwise, search for and select Salesforce as your action app and Create Record as your action event. Click Continue.
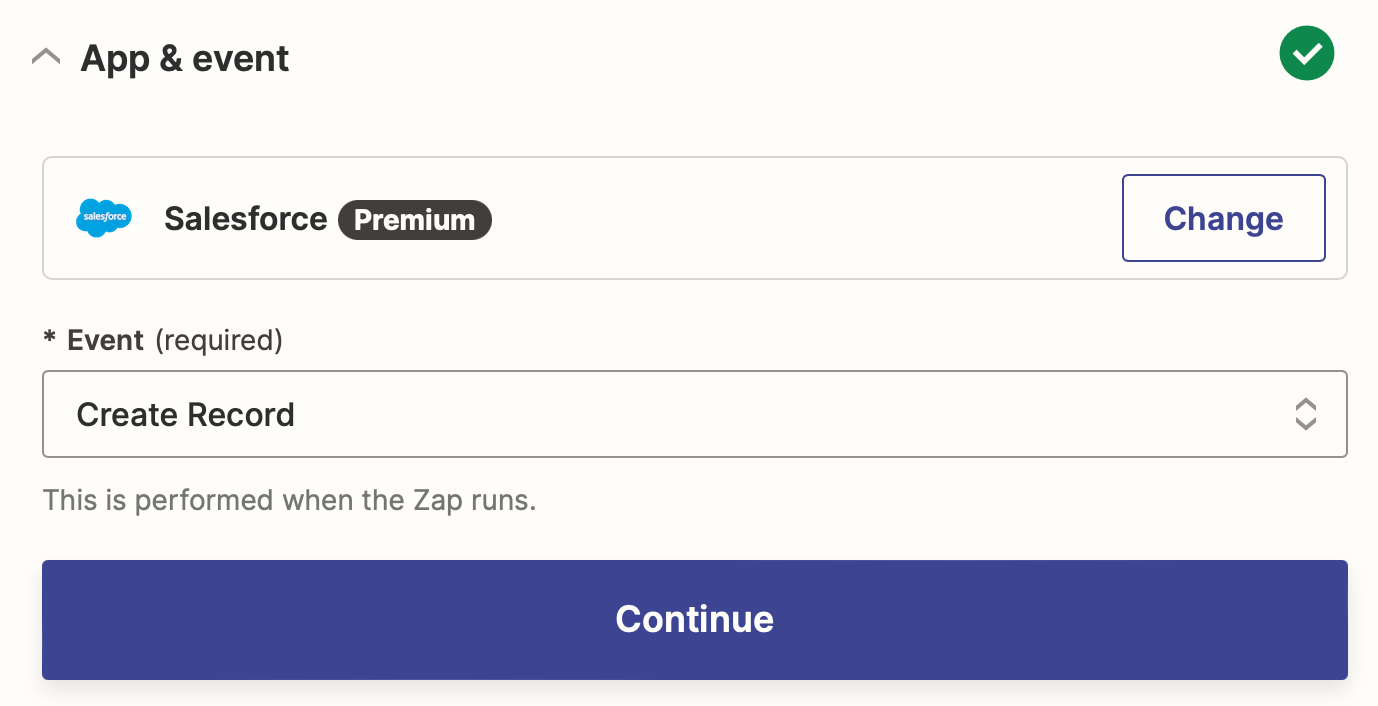
Next, if you haven't already, connect your Salesforce account to Zapier, and click Continue.
Now it's time to customize your action step. Because Salesforce gives you a lot of personalization options, you might see a lot of different fields in your Zap. Don't get overwhelmed! You only need to fill in the fields that include information you want to send from Shopify to Salesforce, like basic contact requirements.
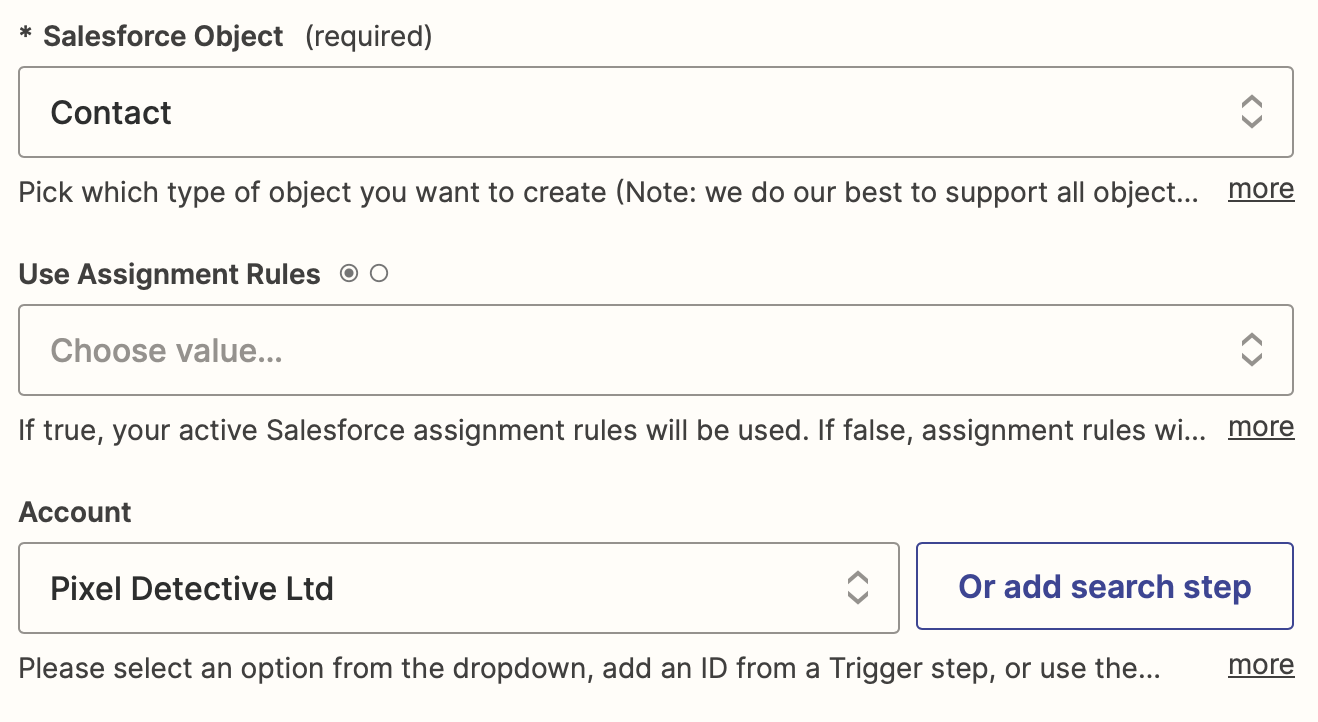
To get started, first select Contact in the Salesforce Object field, then choose the client or team Account where you want this contact to be added.
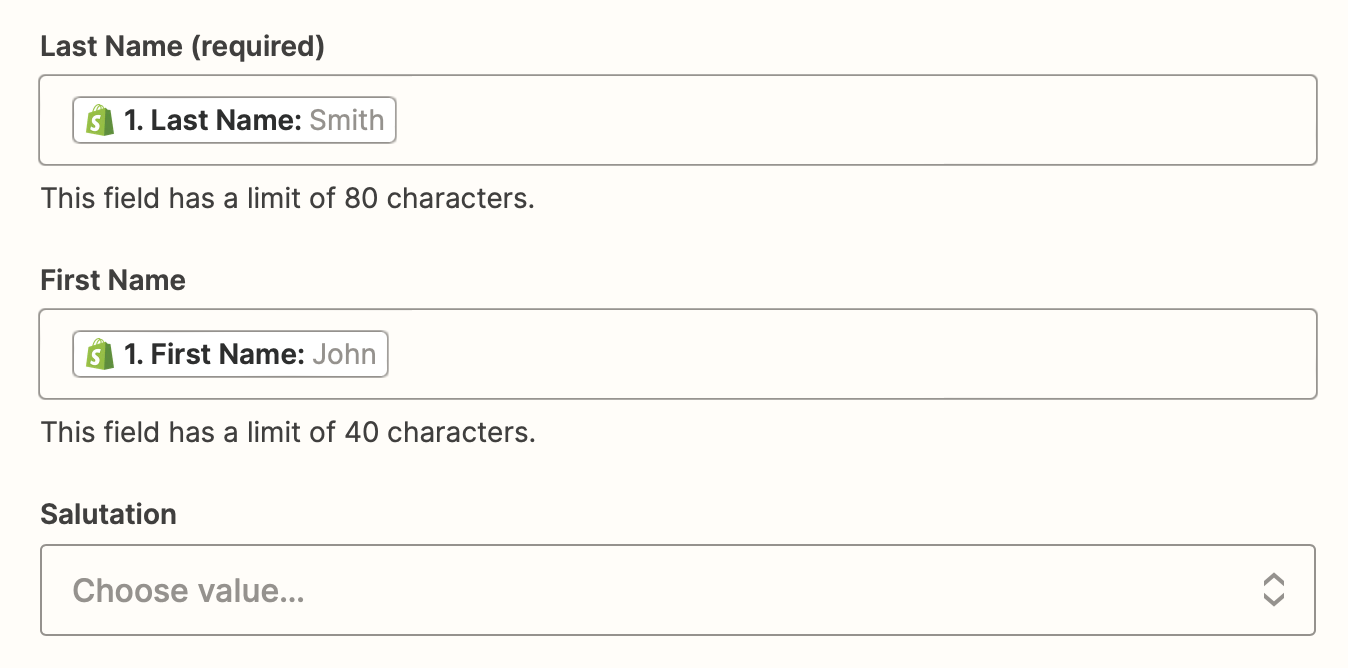
Now you can add whatever customer data you want to add to Shopify. To map information from Shopify to Salesforce, click in the field where you want to add that data and select it from the Insert Data dropdown.
For example, we'll add our customer's last name and first name in those respective fields.
If you like, you can also map data like addresses, business phone numbers, and more.

Once you're happy with the setup, scroll to the bottom, and click Continue.
Now it's time to test your Zap. Click Test step, and Zapier will send the contact data to your Salesforce account. Open your Salesforce dashboard, navigate to the Contacts tab, and you'll find the sample contact details right there.
Here's what our test results looked like.

If everything looks right, you're now ready to use your Zap. Now, every time you make a new sale in your Shopify account, their contact information will automatically show up in Salesforce.
Create Salesforce contacts from new Shopify customers
Saving data to other CRMs
If you'd like to automatically add Shopify customers to your CRM, but you use an app other than Salesforce, the steps we've outlined above should still help you set up your Zap. Use any of the Zap templates below to get started with the CRM of your choice.
Add new Shopify customers to Follow Up Boss as Contacts
This article was originally published in October 2020, with previous contributions from Tyler Robertson and Krystina Martinez. It was most recently updated by Khamosh Pathak.
