Keeping your calendar and to-do list in sync is important to keeping your day and week organized. If you only mark some events in your calendar and schedule others in your to-do list, it's easy to be late or completely miss important events. With Zapier, you can integrate your calendar with your to-do list so you're always in the know.
In this tutorial, we will cover how to build a no-code automated workflow that will add every new Microsoft Outlook event to your Todoist tasks. Together, Microsoft Outlook and Todoist will keep all of your scheduling information in sync, so you only have to look at one app to know what you need to do that day. Here's how.
New to Zapier? It's workflow automation software that lets you focus on what matters. Combine user interfaces, data tables, and logic with 6,000+ apps to build and automate anything you can imagine. Sign up for free.
How to add new Microsoft Outlook events to Todoist as tasks
Zapier lets you create automated workflows called Zaps, which send your information from one app to another. You can create your own Zap from scratch without any coding knowledge, but we also offer quick templates to get you started.
If you'd like to start with a template, click on the Zap template to go to the Zap editor. You'll need to create a Zapier account if you don't already have one. Then, follow the directions below to set up your Zap.
Add new Microsoft Outlook events to Todoist as tasks
Set up your Microsoft Outlook trigger
First, set up your trigger—the event that starts your Zap. If you're using the Zap template, the trigger app and event will already be selected for you. Otherwise, search for and select Microsoft Outlook as the trigger app and New Calendar Event as the trigger event. Click Continue.
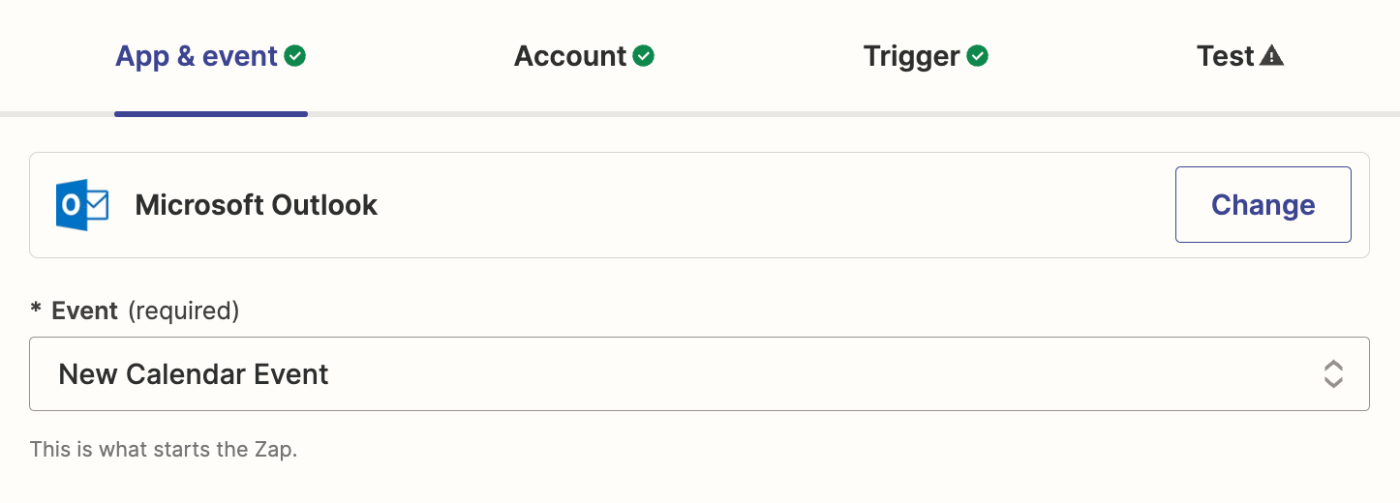
Next, connect your Microsoft Outlook account to Zapier, if you haven't already, then click Continue.
Next, select the Outlook calendar you'd like to use in this workflow in the Calendar field. If you'd like to use your default calendar, you can leave the field blank.

Then, click Continue.
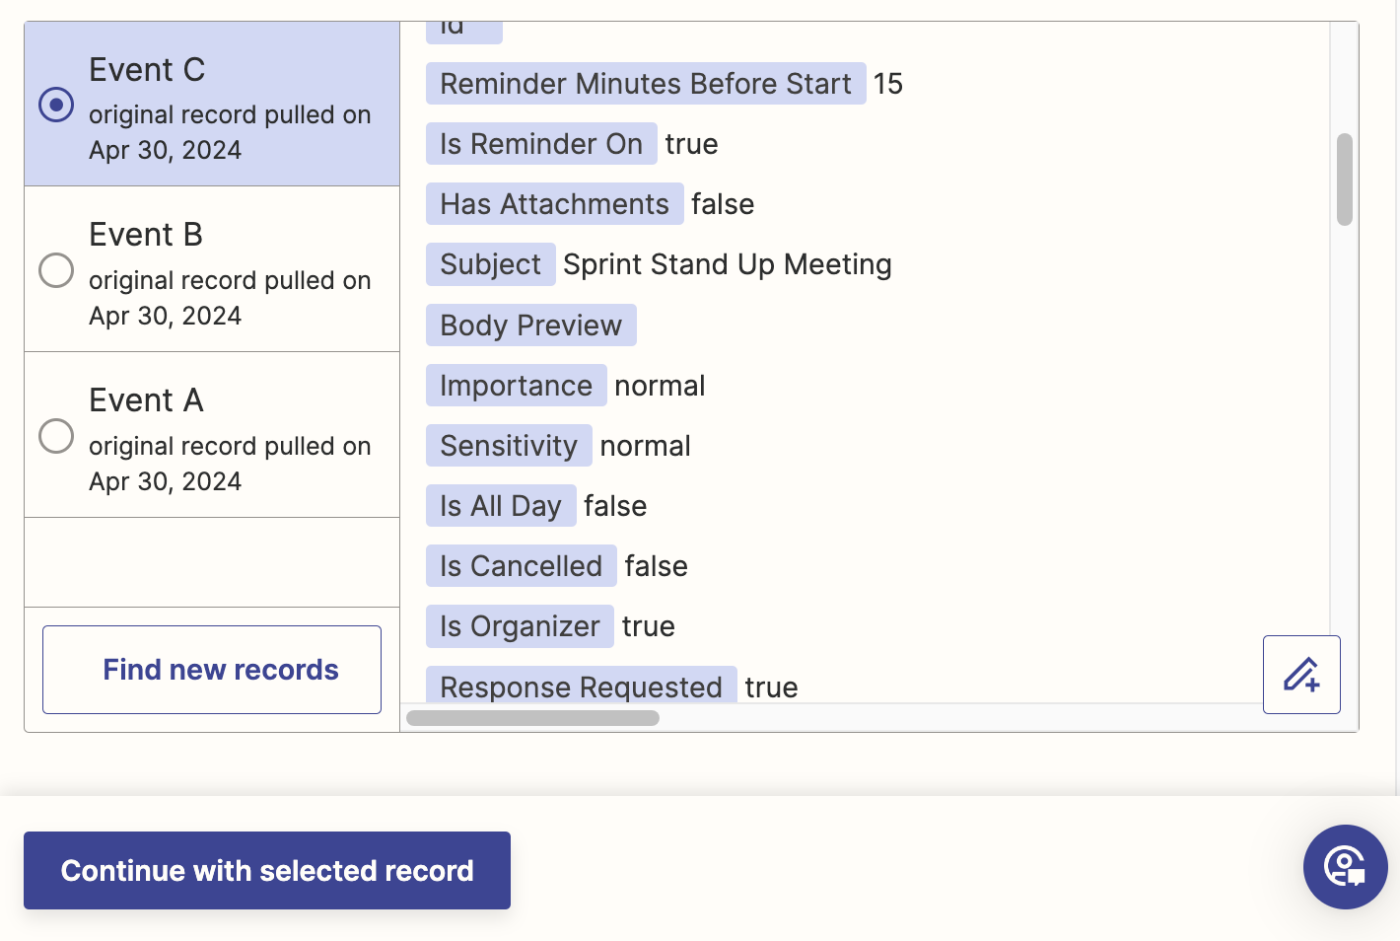
Now it's time to test your trigger step. Click Test trigger, and Zapier will show a selection of sample calendar events. Select one—which will be used to set up the rest of your Zap—then click Continue with selected record.
Set up your Todoist action
Now it's time to set up the action—the event your Zap will perform once it's triggered. If you're using the Zap template, these will already be selected for you. Otherwise, search for and select Todoist as your action app and Create Task as your action event. Click Continue.

Next, connect your Todoist account to Zapier, if you haven't already, then click Continue.
Now it's time to customize your action step. First, select the Todoist project where you want your task to go in the Project field. If you don't select a project, it will go to your Todoist inbox by default.
Next, fill in the Title and Note fields. If you're using the Zap template, the Subject from your Outlook event will be pre-filled in the Title field and the Body Preview will be in the Note field. But you can customize these fields with static text, other data from your Outlook step, or a combo of the two.
To add data from your Outlook trigger step, just click in any field and select it from the data dropdown.
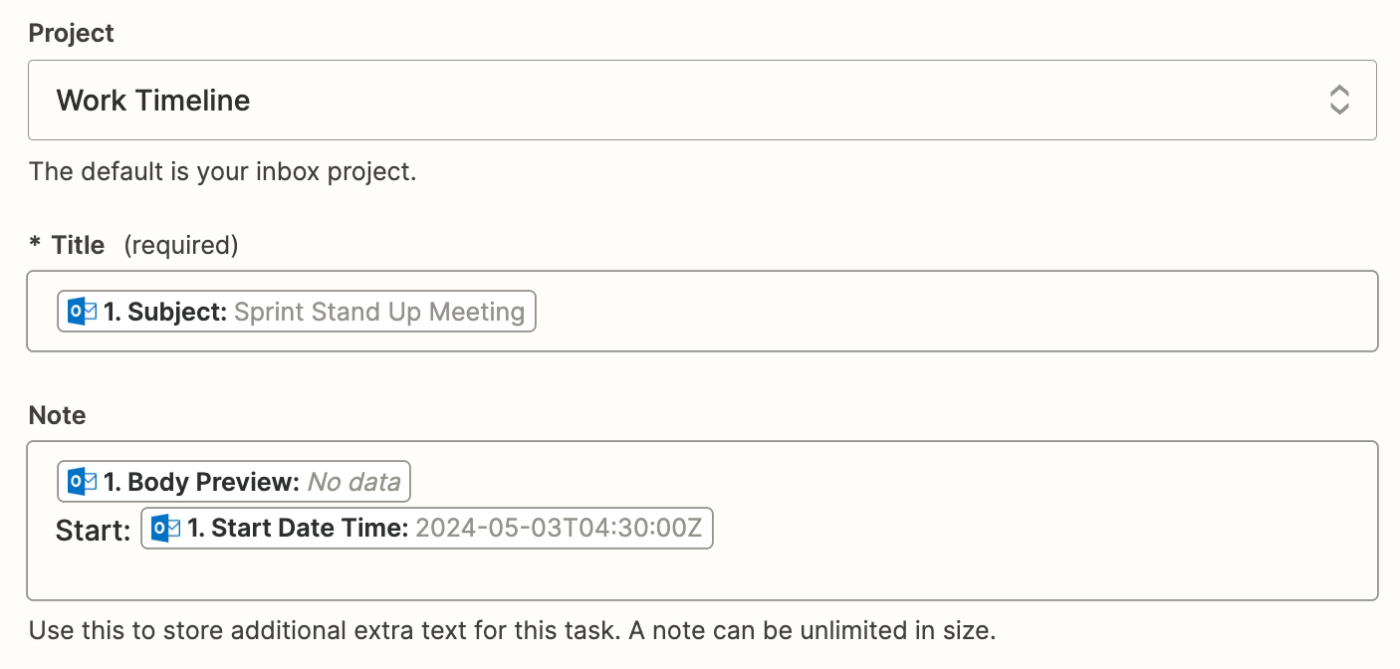
There are also a variety of other Todoist fields you can customize, like Section, Assigned To, and the Due Date. You can also add labels and a priority, if you'd like. Once you're done setting up your action step, click Continue.
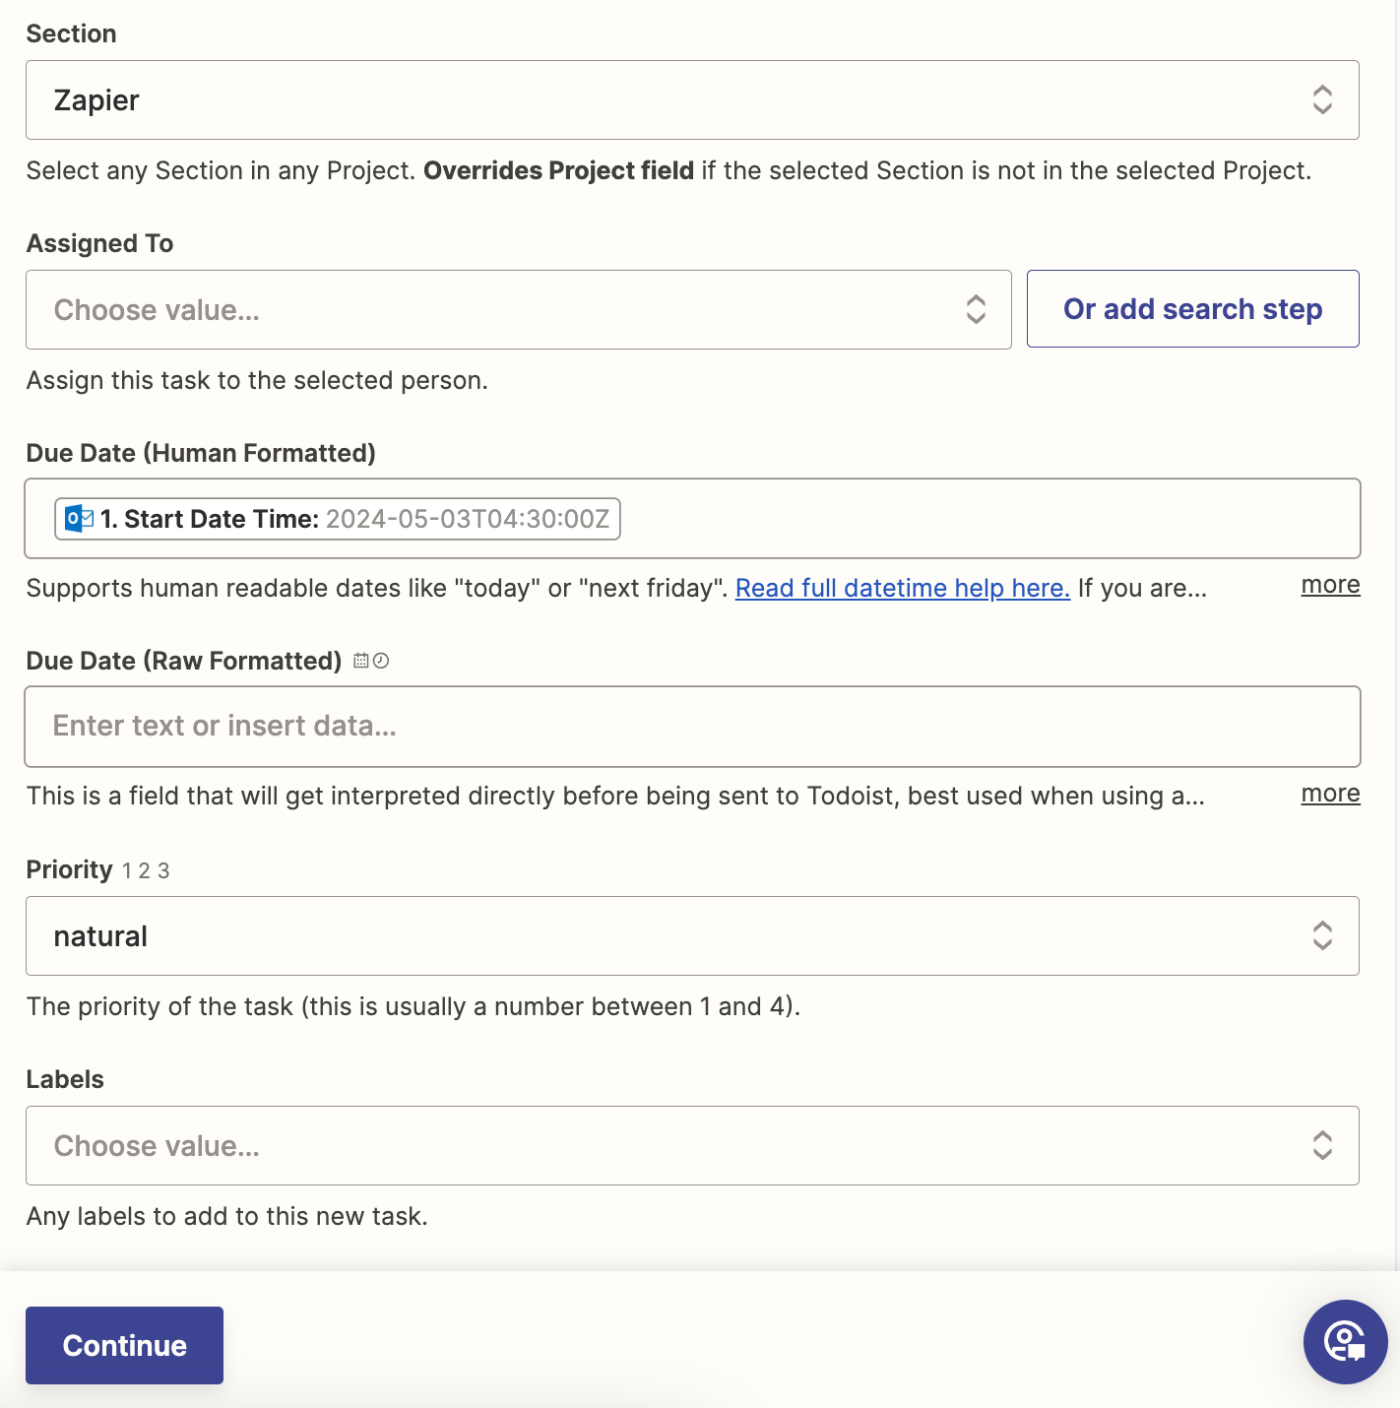
Click Test step to test your Zap. Zapier will create a task in your Todoist project. Here's what ours looked like:
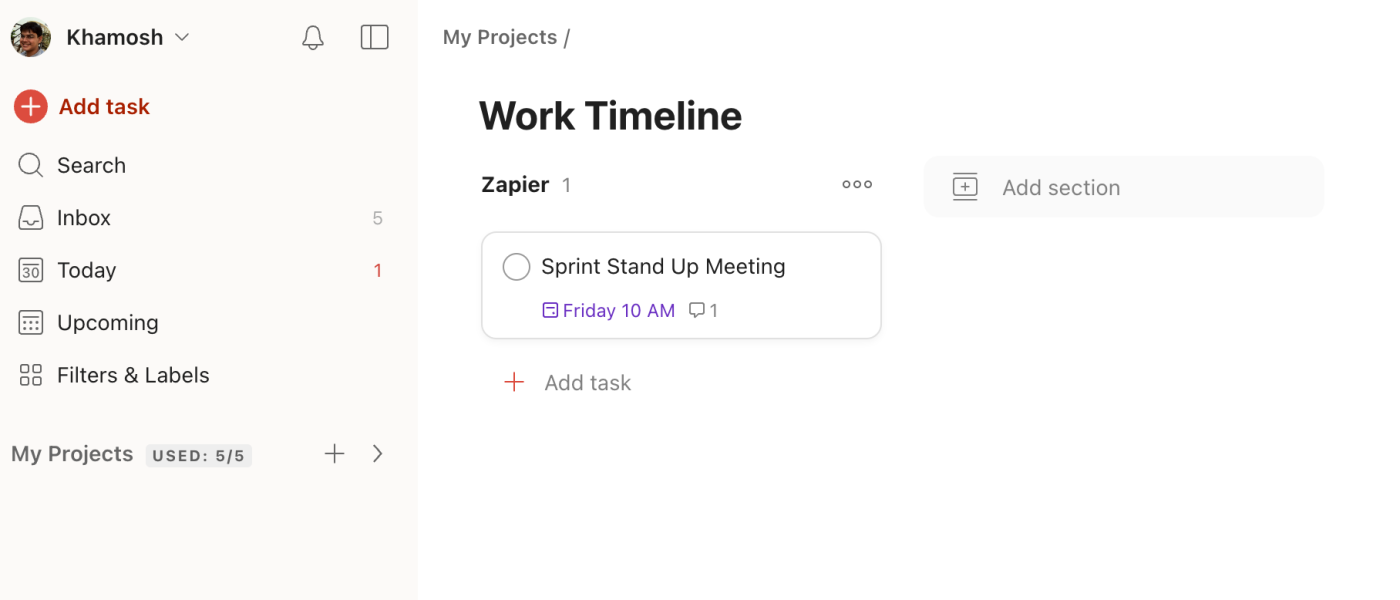
If everything looks good, you're ready to use your Zap. Now, every time you schedule a new meeting in that particular Microsoft Outlook calendar, it will automatically show up as a task in Todoist, so you never have to worry about missing your meetings!
Add new Microsoft Outlook events to Todoist as tasks
Related reading:
This article was originally published in December 2020, written by Kaylee Moser. It was most recently updated by Khamosh Pathak in May 2024.

