We independently review and test every app we write about. When you click some of the links on this page, we may earn a commission. Learn more.
No matter how organized you think your Gmail inbox is, there's usually something you can streamline even better. That's what happened to me when I discovered how to automatically labels in Gmail.
I realize this feature has been around for a long time, but I'd never looked into it before. And ever since that first email popped into my inbox with a pre-attached label, I've been hooked.
Here's how to automatically add labels to emails in Gmail. Plus, how to manually create, add, and delete them.
What are Gmail labels?
Gmail labels are tags that help you categorize your email messages. They work a lot like folders—you can even nest labels the same way you would subfolders on your desktop or cloud storage.
But there are a few key differences between Gmail labels and folders. For one thing, you can apply multiple labels to a single email, but you can't store the same email in multiple folders. For another, when you apply a folder to an email, Gmail automatically moves your selected email(s) to that folder. Gmail labels, on the other hand, don't relocate your emails.
How to create labels in Gmail
Before you can apply labels to emails in Gmail, you need to create them (unfortunately, Gemini for Gmail can't do it for you—yet, at least.). You can do this in one of three ways from your desktop.
Create a label from the Labels list
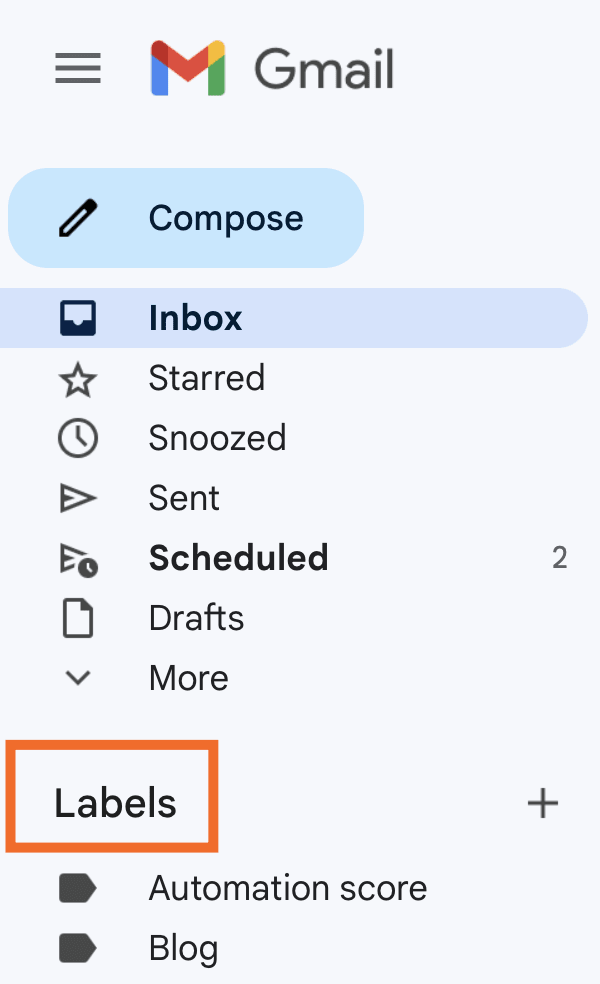
In the side panel of your Gmail, click the Create new label icon, which looks like a plus sign (
+) next to Labels.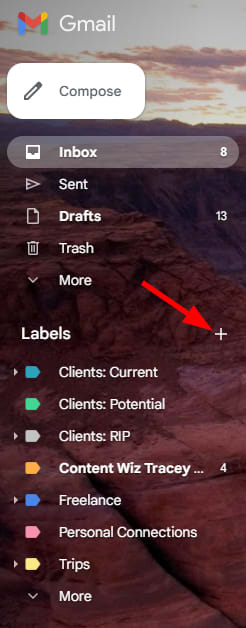
In the popup that appears, enter your new label name, choose a parent label to nest it under if applicable, and click Create.

Create a label from your Gmail settings
Click the Settings cog icon at the top-right corner of your screen.
Click See all settings.

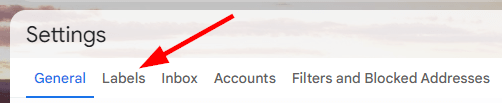
Click the Labels tab.
Scroll down to Labels, and click Create new label.
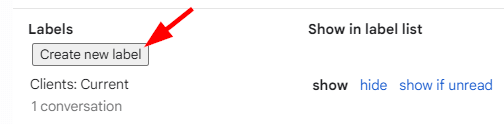
In the popup that appears, enter your new label name, choose a parent label to nest it under if applicable, and click Create.
Create a label from an email
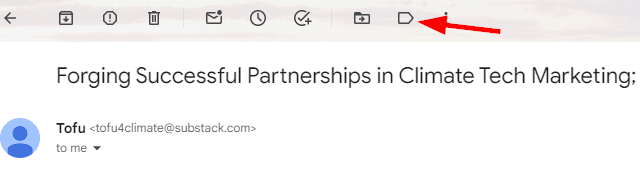
Open an email message that you want to apply a label to.
In the menu bar above your message, click the Labels icon (it looks like an arrow).
This will bring up a list of your current labels, as well as the option to create new ones. Click Create new.

Like in previous creation methods, enter your new label name, choose a parent label if applicable, and click Create.
Note: If you create a new label directly from an email, it'll automatically apply that label to the email you created it from. I generally save this method for when I know I'll be receiving lots of emails about the same topic and haven't already created a label for that topic. For example, if I just signed up for a newsletter about content marketing, I would open up the first email and create a new label called "Content marketing" that I could then apply to future emails as well.
How to automatically label emails in Gmail
Now that you've created labels, here's the easiest way to automatically label emails in Gmail.
In the Gmail search box at the top of your inbox, click the Show search options icon.

Start typing in the search criteria you'd like to apply your new Gmail filter to. You can refine your search using the other filter fields here as well, such as adding keywords to Has the words or Subject.

After you've added all your parameters, click Create filter.

In the window that reads When a message is an exact match for your search criteria, click the dropdown next to Apply the label and choose the label you want to apply.
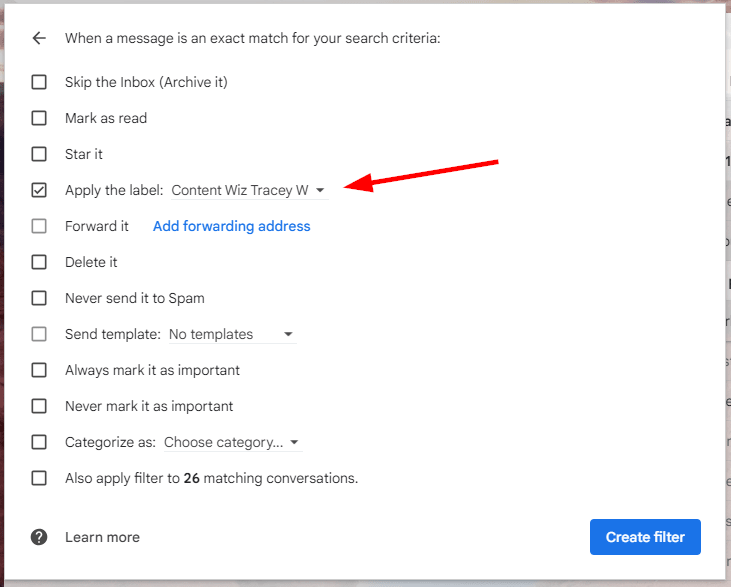
This is where you could also check, for example, Skip the Inbox (Archive it) if you wanted to auto-label an email and send it straight to a folder without it coming through your inbox.
Click Create filter.

Now, Gmail will automatically apply your chosen label to any email that matches your given parameters as soon as they hit your inbox.
How to manually label emails in Gmail
You can also manually add labels to emails in Gmail from your desktop or the Gmail mobile app.
How to manually label emails in Gmail from your desktop
From your inbox, select the email(s) you want to apply a label to.
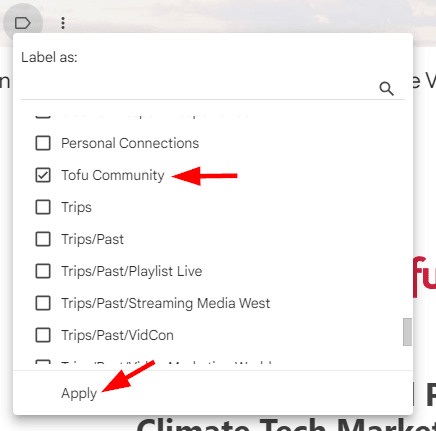
In the menu bar, click the Labels icon.
Select the label(s) you want to apply to your selected emails, and then click Apply.
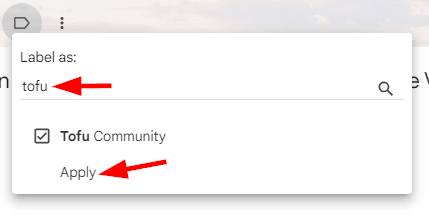
Alternatively, you can search for your preferred labels by entering them into the search bar at the top of the label list, and then checking them off from there.
How to manually label emails in Gmail from the mobile app
Applying labels to emails in the Gmail mobile app is similar to the method used on your desktop.
Open an email you want to apply a label to.
Tap the More icon, which looks like three dots stacked vertically or horizontally depending on your device (I'm using an Android).

Tap Change labels on Android or Label on iPhone.

Add or remove labels to that message by checking or unchecking the boxes.
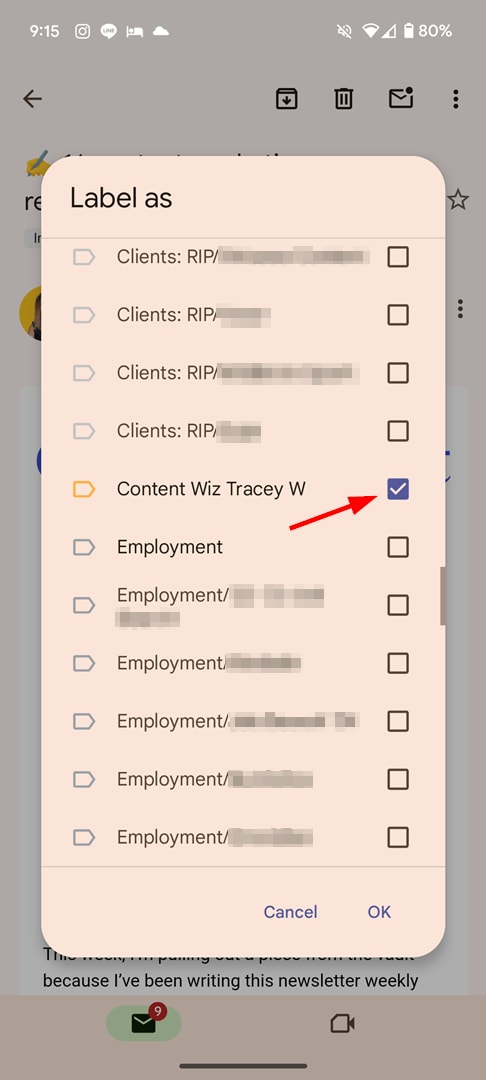
Tap OK on Android or the checkmark on iPhone to save your changes.
How to manage labels in Gmail
You can manage your labels in the Labels list found in the left-hand panel of your Gmail.
Click any label to display all the emails associated with it. To expand or minimize nested labels, click the Expand label icon, which looks like an arrow, next to the parent label.
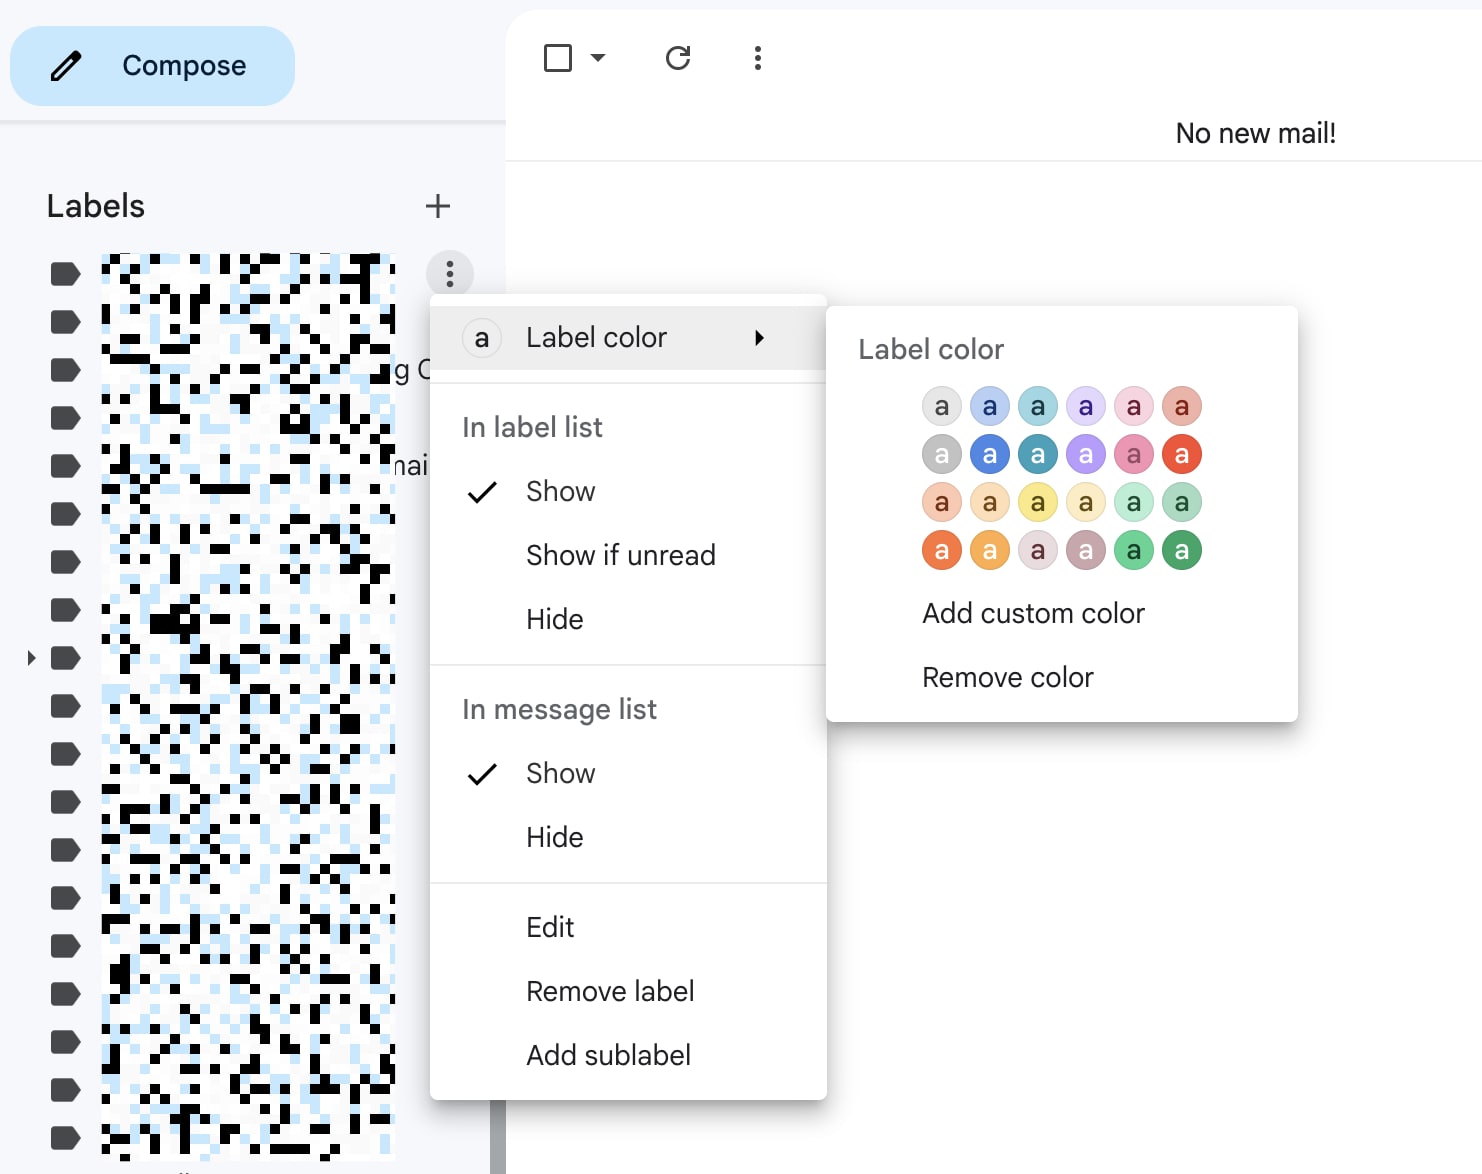
Hover over any of the labels, click the three dots stacked vertically (⋮), next to the name and you can do a number of things with it—for example, add a color, decide if your label appears in emails in your inbox, and add a sub-label. You can also choose to show or hide labels in this list, or only show them when there's an unread message.
To view all your hidden labels, click More at the bottom of your Labels list.
How to delete labels in Gmail
To delete a label in Gmail, you have two options.
Delete labels in Gmail from your inbox
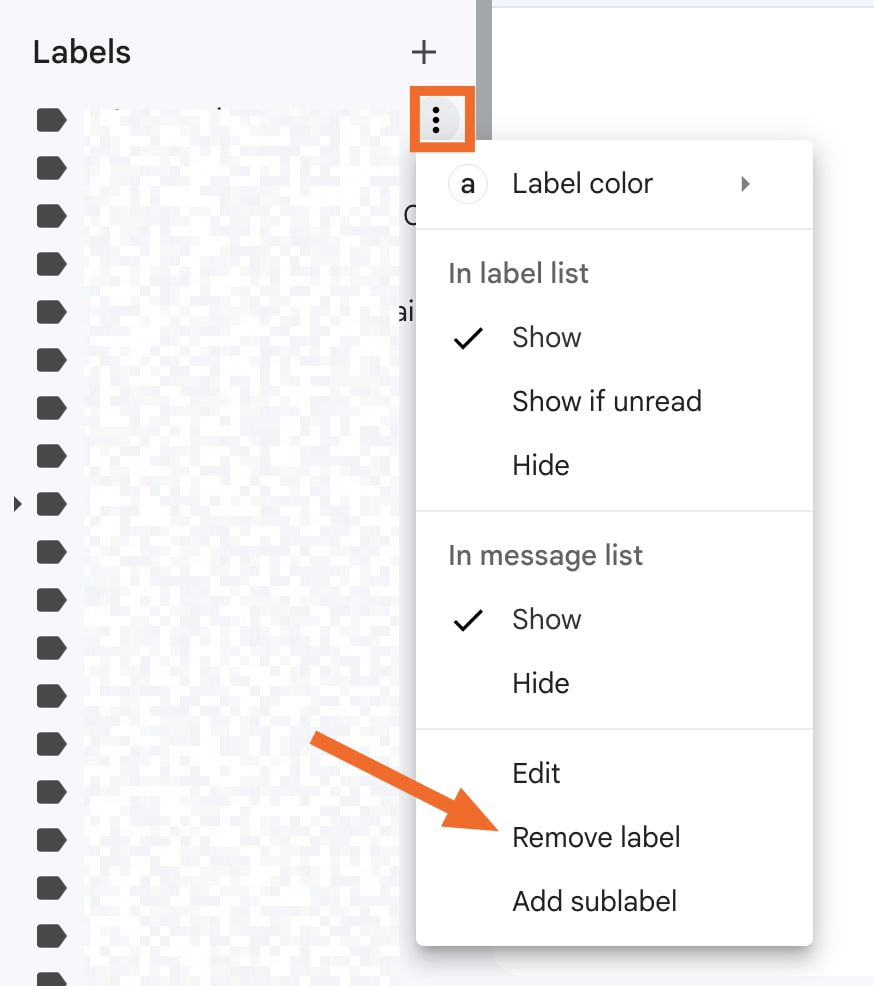
Hover over the label name in the Labels list, and click the three dots stacked vertically (
⋮) next to it.Click Remove label.
In the pop-up confirming that you want to delete the label, click Delete.
Delete labels in Gmail from your settings
Click the Settings cog icon, and click See all settings.
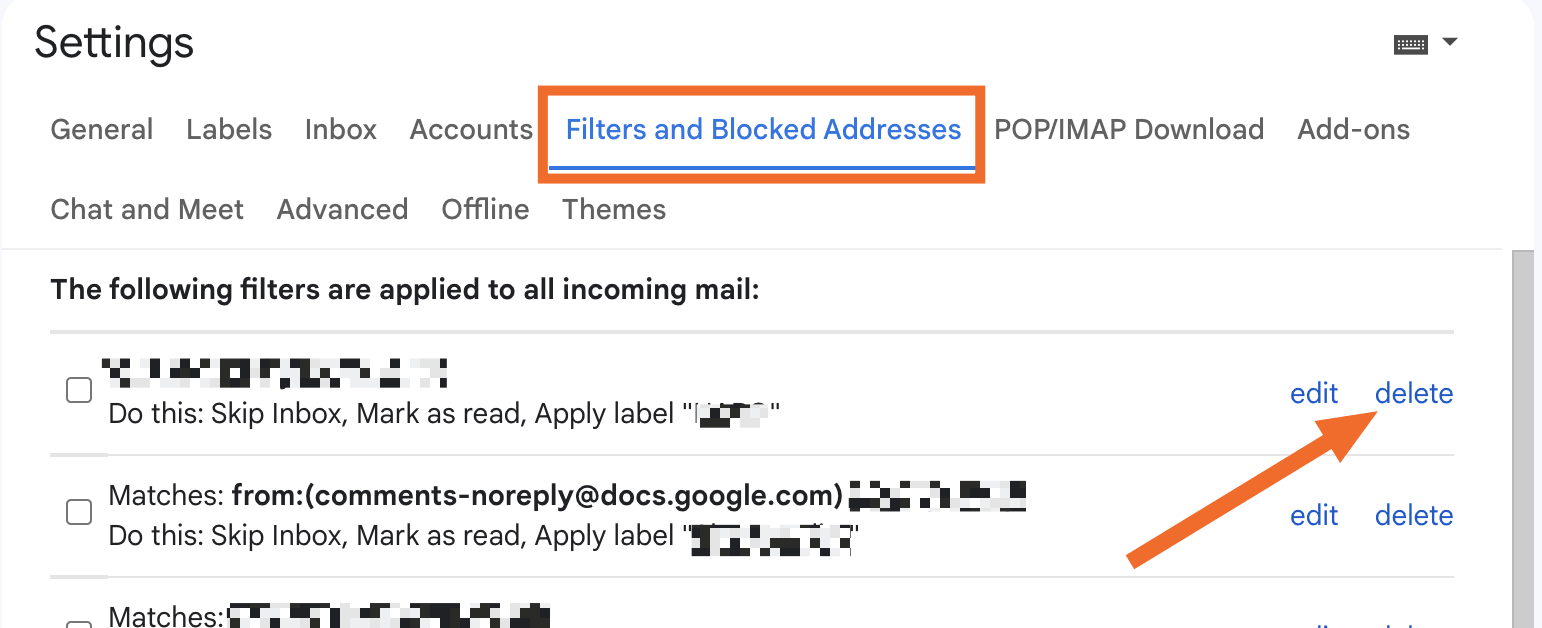
Click the Filters and Blocked Addresses tab.
Click Delete next to the label you want to delete.
Click OK to confirm.
Automate your Gmail even more
Now that you're in the automation game, why not automate your inbox even more? By connecting Gmail to Zapier, you can do things like create a to-do list from your inbox, automatically save email attachments, or even use AI to automatically label your emails. Learn more about how to automate Gmail, or get started with one of these pre-made templates.
Save new Gmail emails matching certain traits to a Google Spreadsheet
Get email notifications or send follow-ups to new Typeform respondents
Zapier is the most connected AI orchestration platform—integrating with thousands of apps from partners like Google, Salesforce, and Microsoft. Use forms, data tables, and logic to build secure, automated, AI-powered systems for your business-critical workflows across your organization's technology stack. Learn more.
How to automatically label emails in Gmail: FAQs
We've covered the basics of how to automatically label emails in Gmail, but you might still have a few lingering questions. Here are answers to some of the most commonly asked ones.
Can Gmail automatically label emails?
Once you've created labels in Gmail, you can set up filters that tell Gmail to automatically label messages that meet your filter's parameters.
Are labels applied to existing emails retroactively?
Labels created in Gmail aren't applied retroactively—they're applied only to incoming messages. Or, if you created a label directly from a message, it'll automatically apply to the message you created the label from.
To apply labels to existing emails, you'll have to manually label them.
Can I auto-label emails in Gmail on the mobile app?
You can manually apply labels to emails in the mobile Gmail app, but you can't automatically apply or create new labels in the app at this time.
Related reading:
This article was originally published in February 2024. The most recent update, with contributions from Jessica Lau, was in February 2025.