
If you're aiming to streamline your marketing workflows and ensure prompt responses to new leads, connecting HubSpot form submissions with Slack notifications could be a game-changer for you and your team.
With a Zap—Zapier's automated workflows—you can automatically send a Slack notification whenever a new form is submitted on HubSpot. Ensure every submission is immediately on your team's radar and unlock the full potential of your lead management process. Here's how.
New to Zapier? It's workflow automation software that lets you focus on what matters. Combine forms, data tables, and logic with thousands of apps to build and automate anything you can imagine. Contact sales to learn more.
How to get Slack notifications for new HubSpot form submissions
Zapier lets you create automated Zap workflows, which send your information from one app to another. You can create your own Zap from scratch without any coding knowledge, but we also offer quick templates to get you started.
If you'd like to start with a template, click on it below. You'll need to create a Zapier account if you don't already have one. Then, follow the directions to set up your Zap.
Get Slack notifications for new HubSpot form submissions
Set up your HubSpot trigger
Let's start with the trigger—the event that starts your Zap. If you're using the Zap template, this will be selected for you. Otherwise, search for and select HubSpot as the trigger app and New Form Submission as the trigger event, then click Continue.
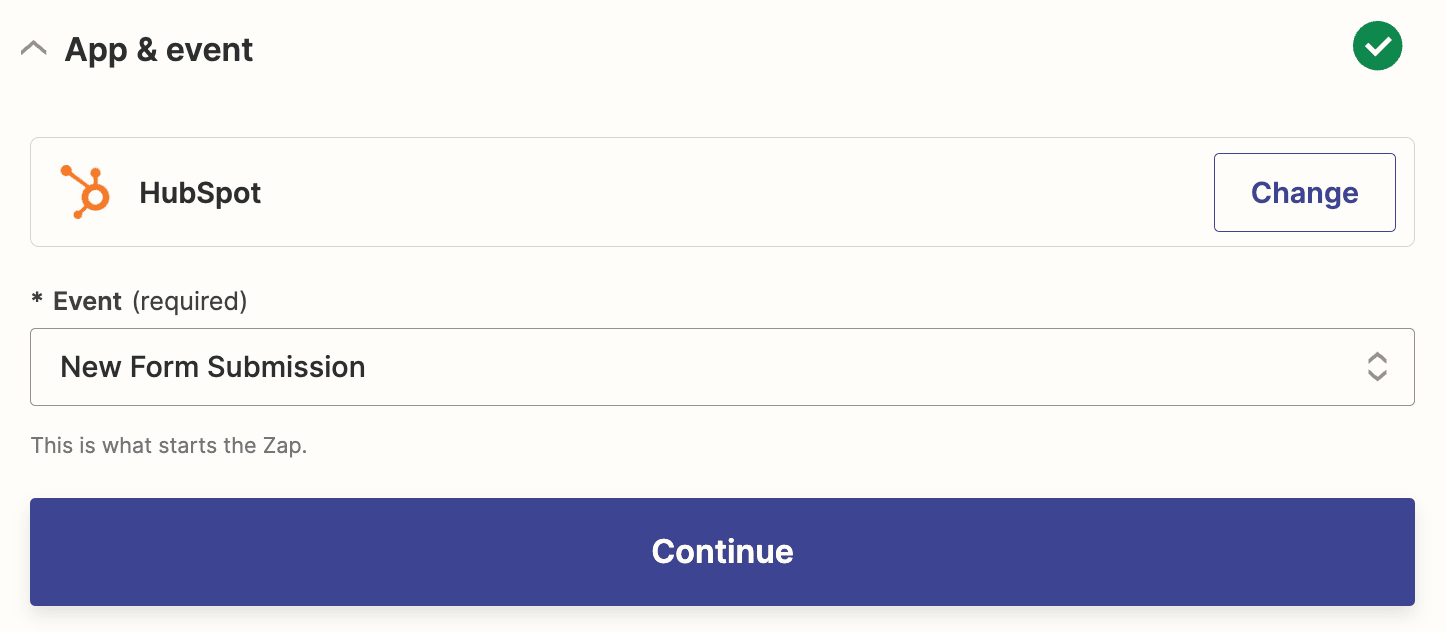
Next, if you haven't already, connect your HubSpot account, then click Continue.
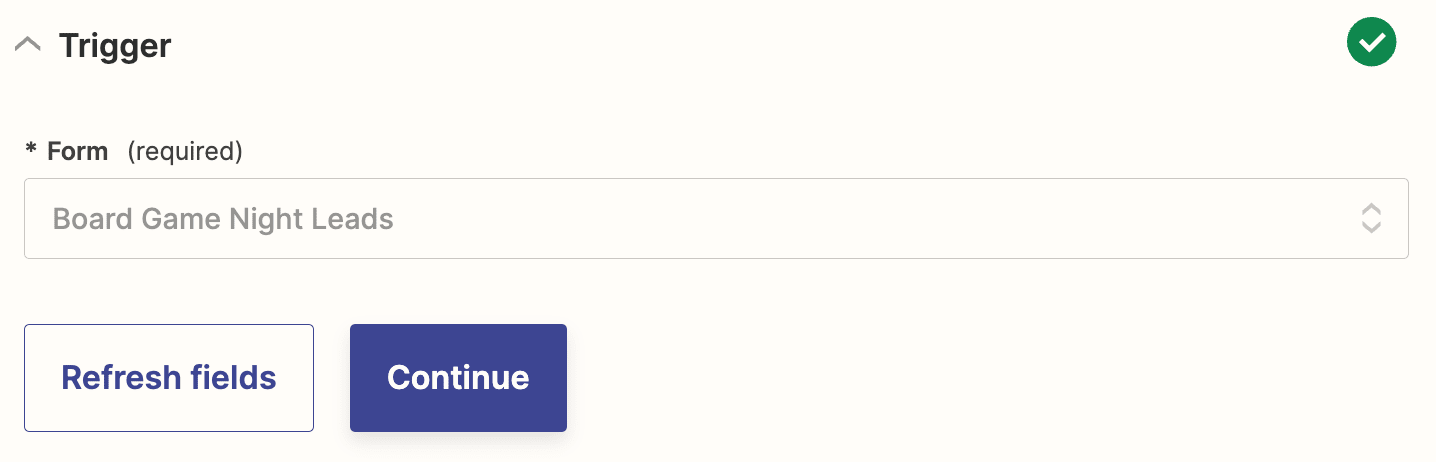
In the Form field, choose the HubSpot form where you're collecting your data. Then, click Continue.
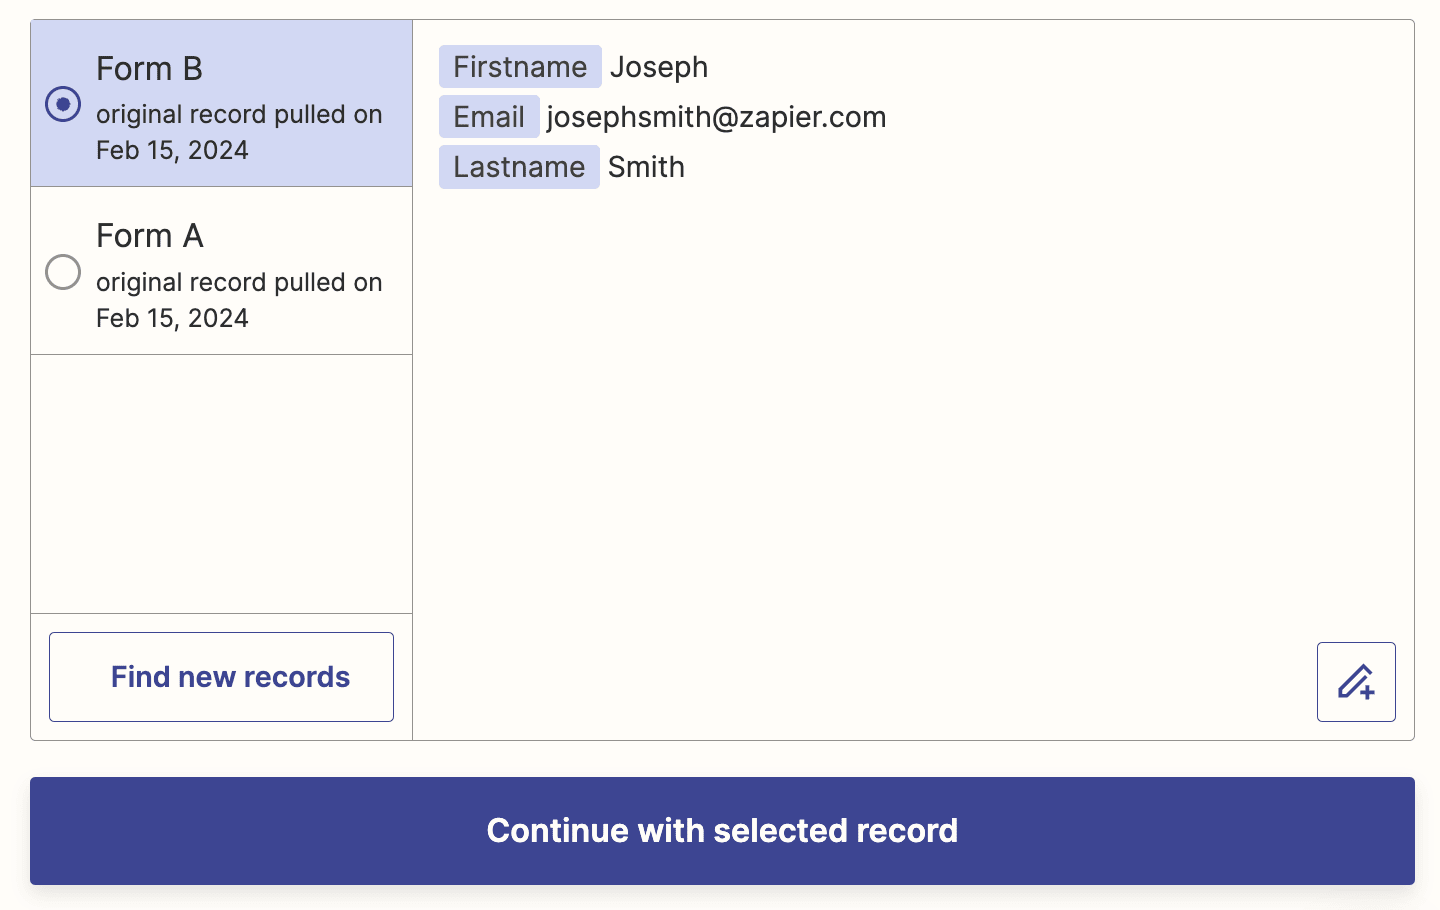
Next, test your trigger step. Zapier will collect data from your HubSpot trigger to set up the rest of your Zap. If your HubSpot doesn't have any form entries, add a test one now.
Once you have at least one form submission, click Test trigger. Zapier will pull in a few of your latest form submissions. Select the one you'd like to use, then click Continue with selected record.
Set up your Slack action
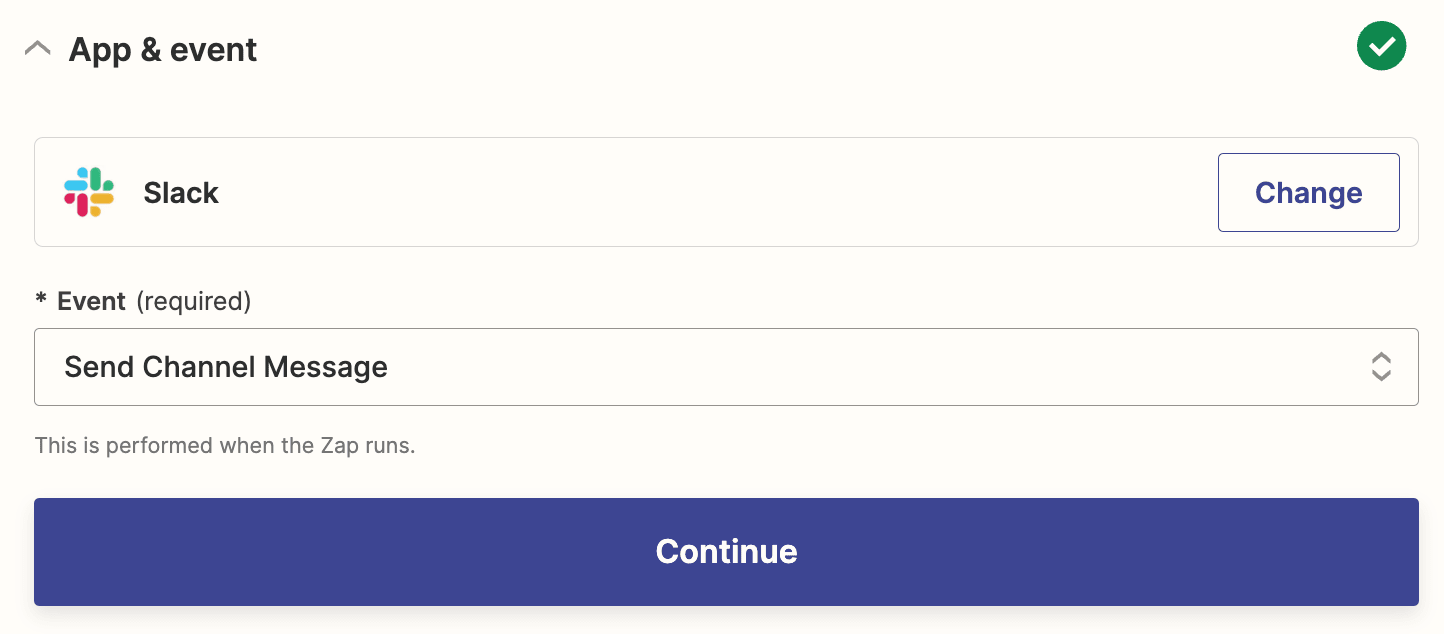
Now it's time to set up the action—the event your Zap will perform once it's triggered. If you're using the Zap template, these will already be selected for you. Otherwise, search for and select Slack as your action app and Send Channel Message as your action event. Click Continue.
Next, sign in with your Slack account, if you haven't already, and click Continue.
Now's the fun part—setting up your action. Here, we'll customize how the data from Hubspot will show up in Slack, with full control over every part of the message.
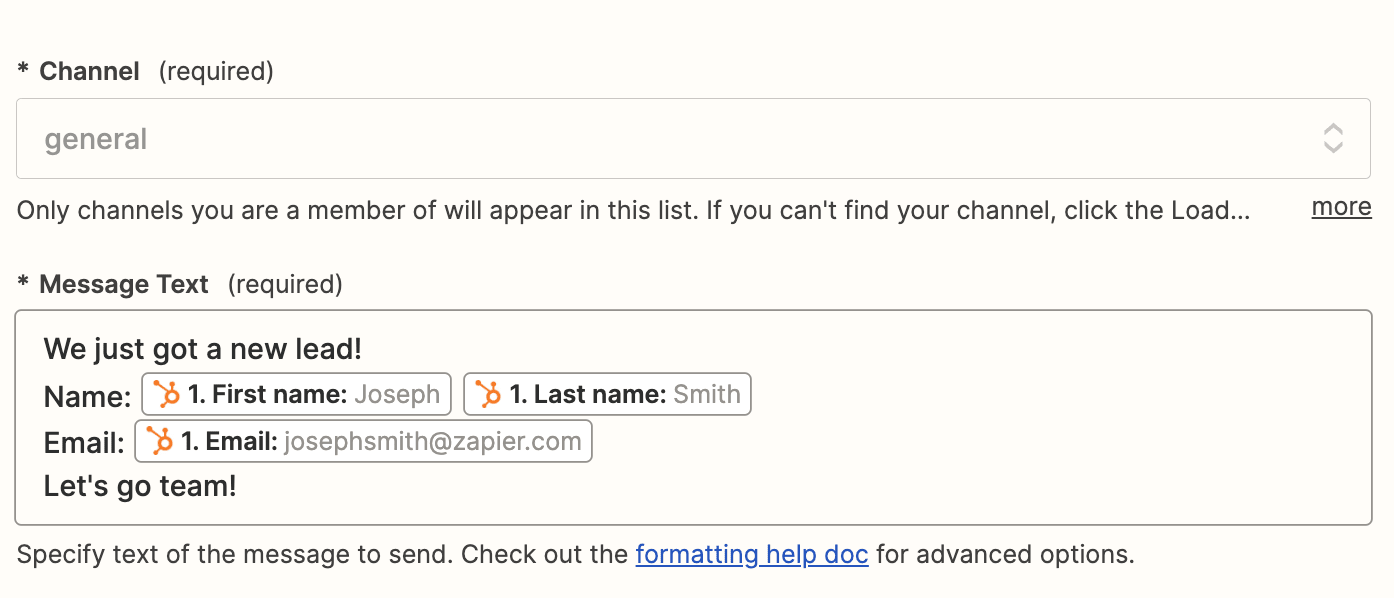
First, choose the Channel where you want the message to post.
Next, customize your message in the Message Text field. You can add static text here and data pulled from your previous HubSpot step.
For example, you can start with something like, "We just got a new lead!". Then add details from your HubSpot form by selecting them from the Insert Data dropdown. We've added First name, Last name, and Email, but you can add whatever you like.
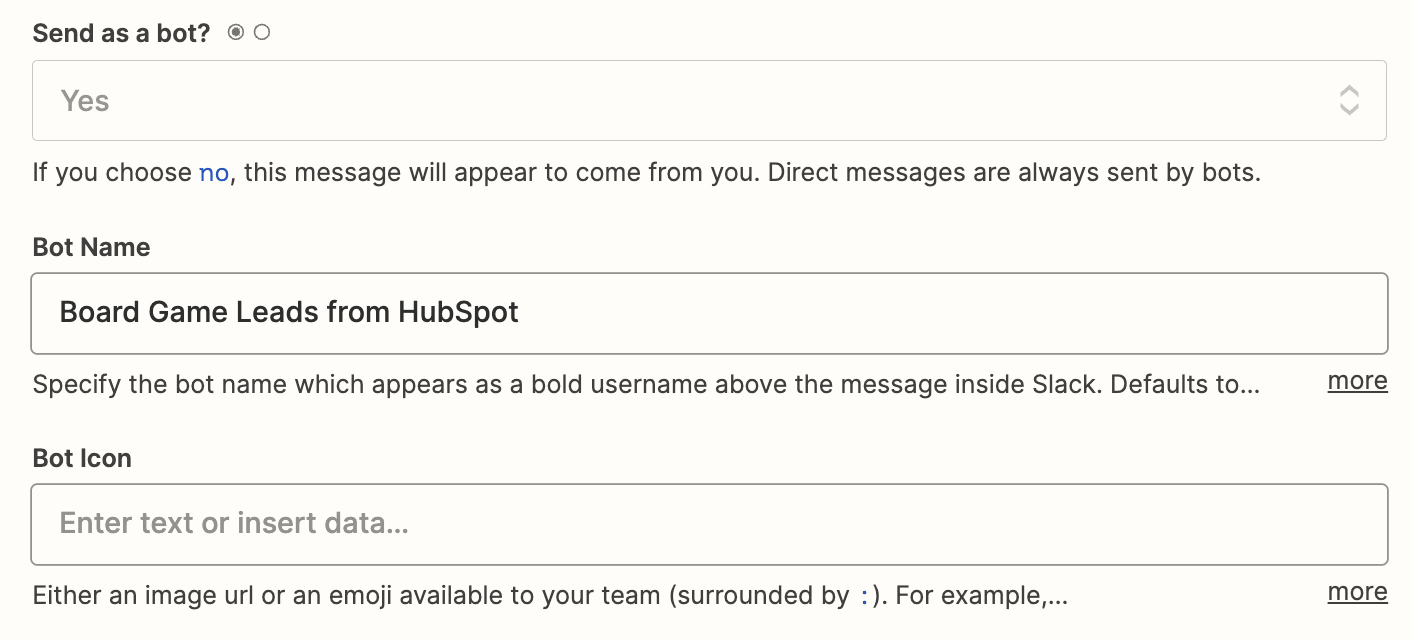
You can also customize the bot name and add an icon.
If you don't want a link to the Zap at the end of the message, choose the No option in the Include a link to this Zap? field. Once you're happy with the setup, click Continue.
Finally, test your Zap to make sure everything is set up how you like it. Click Test step, and the Zap will send a message to your Slack channel. Here's what it looked like for us:

If everything looks right, you're now ready to use your Zap. Now, every time you get a new form submission in HubSpot, it will automatically show up in Slack, so your whole team is in the know.


