If you work in sales, you probably deal with leads day in and day out. They are, after all, the bread and butter of your business.
And communicating with them is key. If you use a tool like Gmail to reach out to new prospects, chase down those who've expressed an interest in your business, or reply to queries directly, you still need a way to add them to your CRM. That way, your sales team gets a bird's eye view of where they are in the sales funnel.
But how do you do this automatically without letting anything fall through the cracks? Enter: automation.
In this article, I'll show you how to set up a HubSpot Gmail integration so you can automatically create records in HubSpot every time you receive a new Gmail email that matches a search query. I'll first cover how to do this natively and with the HubSpot Sales Extension. Then, I'll show you how to do it the easy way—by automating it with Zapier.
New to Zapier? It's workflow automation software that lets you focus on what matters. Combine user interfaces, data tables, and logic with 6,000+ apps to build and automate anything you can imagine. Sign up for free to use this app, and thousands more, with Zapier.
Table of contents
How to set up a HubSpot Gmail integration
If you connect HubSpot to Gmail natively, you'll be able to streamline email-related tasks directly within HubSpot. This integration helps you send Gmail emails and more directly inside the HubSpot interface without switching back and forth between your different apps.
Here are some step-by-step instructions for setting it up:
Log into your HubSpot account
Click the Settings icon
Navigate to the left sidebar and click General
Click the Email tab, then select Connect personal email
Click Connect your inbox and type in your email address
Select your email provider (in this case, Gmail)
Grant access to HubSpot by clicking Allow
You can now send emails directly from HubSpot, save and log emails in your CRM, and collect contact information from Gmail with this native integration. You can check out HubSpot's instructions for more information.
Note: Once you've granted HubSpot access to Gmail, you'll be asked if you want to download the HubSpot Chrome extension. This allows you to pull in HubSpot data directly within Gmail, but we'll go into more detail below.
How to use the HubSpot Sales Extension
The HubSpot Sales Chrome Extension allows you to pull HubSpot's CRM features into your Gmail inbox. With it, you can uncover leads, connect with them, sync emails, and access contact details more easily.
Here are some step-by-step instructions for setting it up:
Download the HubSpot Sales extension in the Chrome store
Click Add to Chrome
When prompted, log into your HubSpot account to finish setting up
When you next log into Gmail, you'll have access to features such as templates, email sequences, logs, and tracking. For more information about notifications and features, follow HubSpot's in-depth instructions.
Why you should use Zapier instead
While the above two options let you connect HubSpot and Gmail so you can work in either app, there are some limitations with personalization and tasks you can carry out. For example, the extension lacks the ability for users to choose which types of emails can be tracked.
Zapier, on the other hand, lets you create tailored workflows based on specific triggers, giving you more flexibility over the tasks you automate.
You can pull contacts from Gmail and add them to HubSpot, for example, or send templated emails in Gmail to new HubSpot contacts—all automatically and in real-time.
Plus, Zapier connects with 6,000+ apps, offering a comprehensive solution for diverse needs across multiple platforms. You can create customized, multi-step Zaps that align perfectly with your sales objectives. Let's dig into creating your HubSpot Gmail integration with Zapier.
Popular ways to integrate HubSpot with Gmail
Conversations don't just happen in your CRM. Your prospects might reach out via a form, for example, or via email. If you and your team regularly use Gmail to chat with new prospects, and they express interest in your product or services, you'll want to add them to HubSpot, so your team can react to each deal or opportunity in a timely manner.
These Zaps will watch your Gmail account for emails that match a specific search or label, then Zapier will update or create contacts and deals in HubSpot. That way, you'll keep your entire CRM in sync and organized.
To get started with a Zap template—what we call our pre-made workflows—just click on the button. It only takes a few minutes to set up. You can read more about setting up Zaps here.
Update HubSpot contacts from new Gmail emails matching searches [Business Gmail Accounts Only]
Add deals to HubSpot from newly labeled emails in Gmail
Now that you've got up-to-date lead information across your CRM, you'll want to send customized emails to leads. After all, personalized messages elicit higher conversion rates—especially if they're sent early on in the sales process.
With these Zaps, you can send automatic emails via Gmail every time a new contact is logged or when you receive a form response in HubSpot. That way, you can send along all the information you need to nudge leads early on—at scale.
Send emails through Gmail for new HubSpot contacts
Send Gmail emails when you receive new HubSpot form responses
How to connect HubSpot with Gmail with Zapier
Now, let's walk through the process of integrating HubSpot with Gmail using Zapier. In this case, we'll focus on one specific workflow—updating HubSpot contacts from new Gmail emails matching searches. But remember, there are various ways to connect these two apps based on your specific needs and goals.
You'll need to create a Zapier account to get started. Don't worry, creating an account is easy and free. Just head right here. You'll also need a HubSpot account and a Gmail account.
Before you begin
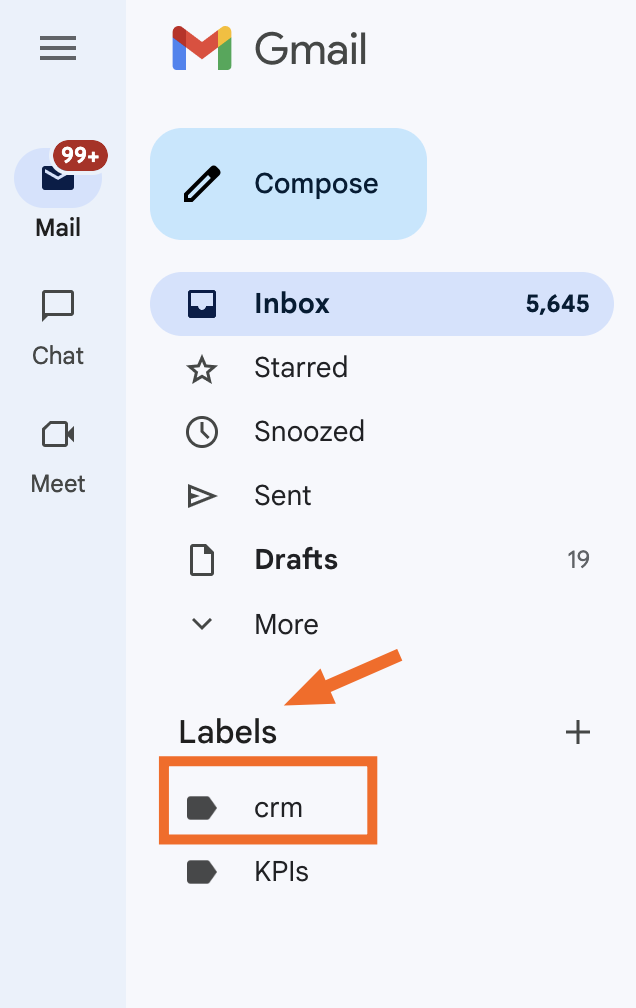
Before you get started, you'll need to create a specific "CRM" label in your Gmail account. Otherwise, by default, the Zap will trigger on emails in all folders, including sent emails.
You can call your label whatever you like, but doing this will ensure that every time you add this label to a new email, Zapier will know to trigger on those specific emails from leads. Here's what ours looks like:
Once you've created your label in Gmail, sign into Zapier. You can create new Zaps using the Create Zap button or by going to zap.new.
Set up your Gmail trigger
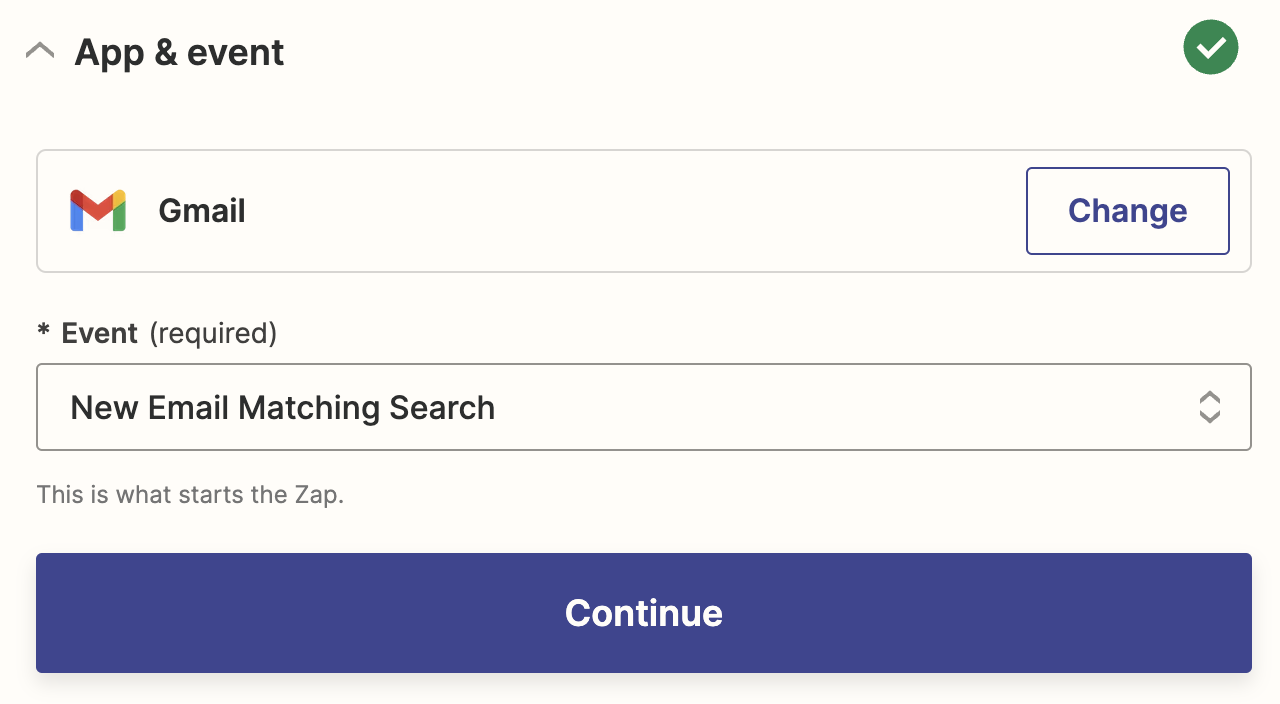
Once you're in the Zap editor, you'll first need to create the trigger, which is the event that will kick off your Zap. Search for and select Gmail as the trigger app and New Email Matching Search as the trigger event. Click Continue.
Next, connect your Gmail account to Zapier, if you haven't already, and click Continue.
Once you've connected your account, click Continue.
Next, you'll be prompted to add a specific search string. Otherwise, the Zap will trigger on all your emails, which isn't ideal. In my case, I'll add label:crm, so it matches the label we previously set up in Gmail.
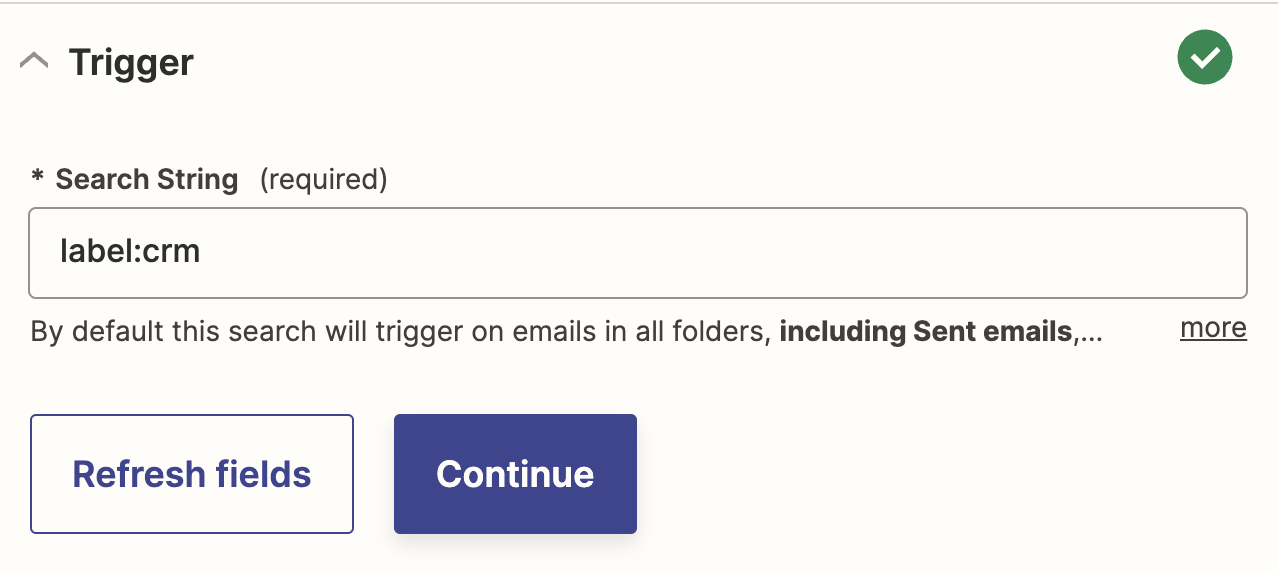
Click Continue.
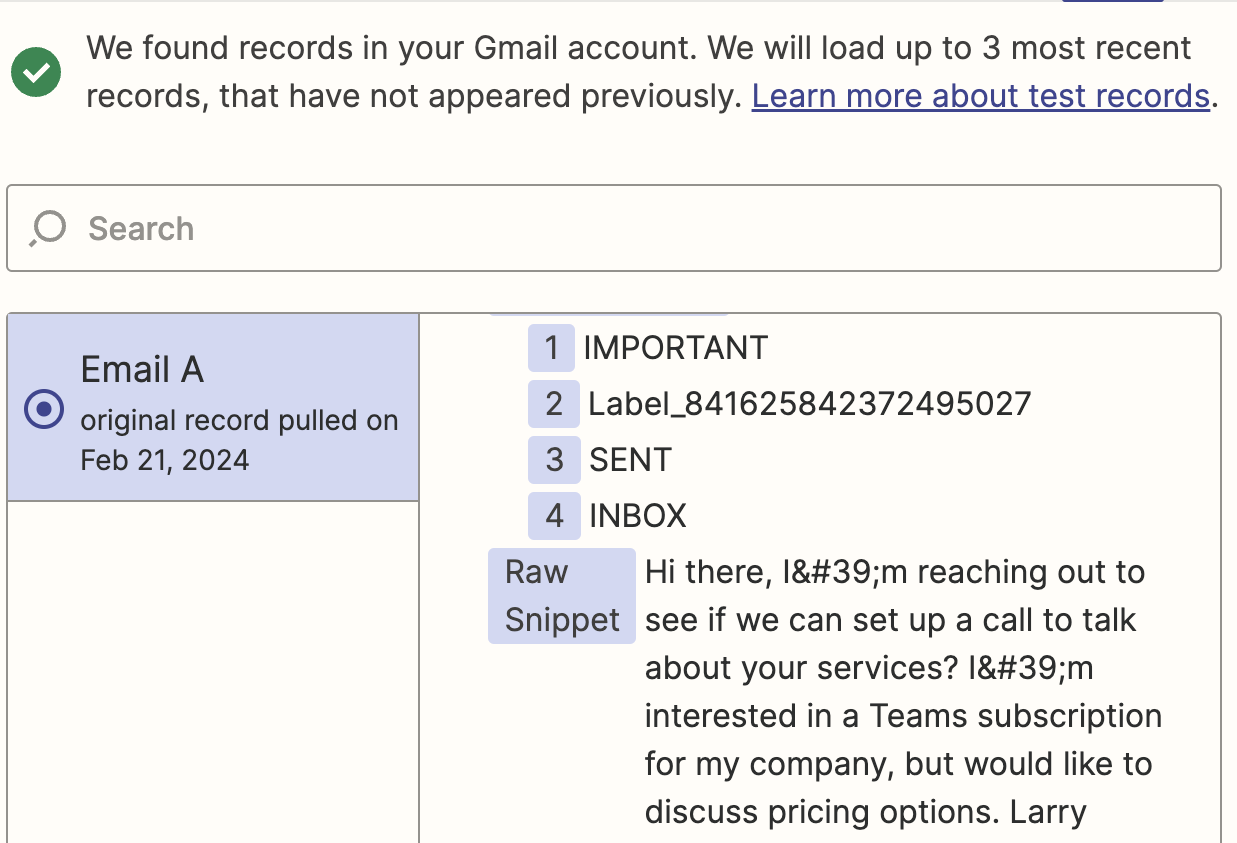
Now, you need to test your trigger. Zapier will find a recent email in your Gmail account that matches the search string you selected earlier.
If you haven't done so yet, make sure to go to your Gmail account and label an email. This sample data will be used to set up the rest of your Zap.
Click Test trigger. Once you see that your trigger is working properly, click Continue with selected record.
Set up your HubSpot action
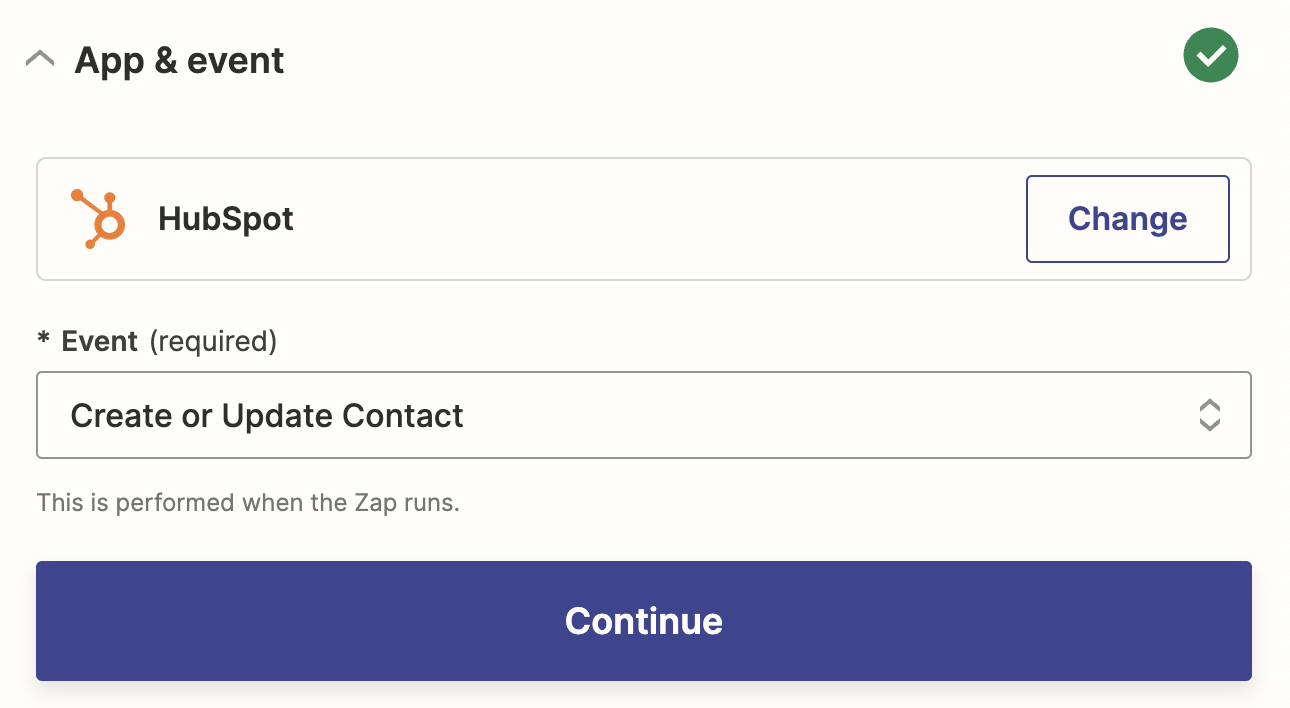
Now it's time to set up the action—the event your Zap will perform once it's triggered. Search for and select HubSpot as your action app and Create or Update Contact as your action event. Click Continue.
Next, if you haven't already, connect your HubSpot account, and click Continue.
Now, we get the HubSpot action. Click into the Contact Email field, and select the data from your previous Gmail step (in this case, the sender's email address) from the email you labeled.

HubSpot offers many other fields for you to customize, and all of them are optional. You can, for example, map the First Name and Last Name data from Gmail to capture the contact's full name. If you want, you can map fields from your Gmail trigger (like the body email) to the corresponding HubSpot fields (like Contact activity: Membership Notes).

Once you're happy with the setup, click Continue.
Now, click Test step to test your Zap using your sample data.
Open your HubSpot dashboard, go to Contacts > Contacts, and click that option. You'll see the sample contact listed. Here's what our sample data looks like:

If everything looks right, you're ready to publish your Zap. If something looks off, go back and tweak things until you get it just right.
Now, every time you get a new email that you label in Gmail, a contact will be automatically created (or updated) for you in HubSpot.
Build a HubSpot Gmail integration
No matter how you go about integrating HubSpot with Gmail, connecting the two so you can pass data back and forth automatically gives you a streamlined sales process to manage your leads.
And, if you integrate HubSpot with Gmail via Zapier, you get the full flexibility of building custom, automatic workflows that do the heavy lifting for you.
