We're in a notification crisis. What started as a great way to stay informed has quickly become an overwhelming source of anxiety (remember the response to Slack's super bowl commercial in 2022?).
For IT professionals, OpsGenie helps with this issue. An incident management platform, OpsGenie is a singular notification center that on-call teams use to streamline notifications and make sure the right alerts get to the right people.
While OpsGenie helps streamline notifications, manually creating all of the alerts in OpsGenie is a slow, error-prone process. Depending on where you're gathering incident reports, you may have to manually monitor and report incidents, which not only slows down your team but risks missing alerts altogether.
Luckily, Zapier helps OpsGenie users set up processes that enable their team to work quickly without worrying about missing any alerts.
Zapier is the leader in workflow automation—integrating with 6,000+ apps from partners like Google, Salesforce, and Microsoft. Use interfaces, data tables, and logic to build secure, automated systems for your business-critical workflows across your organization's technology stack. Learn more.
Table of contents
Popular ways to automate OpsGenie alerts
Manually adding alerts in OpsGenie when an incident is reported might be an okay solution when you're only monitoring one or two places. But it's an unreliable process to begin with and doesn't scale well.
With these Zaps—what we call our automated workflows—you can scale your alert creation process to make sure you're never missing another incident.
To get started with a Zap template—what we call our pre-made workflows—just click on the button next to the name of a Zap you'd like to try. It only takes a few minutes to set it up. You can read more about setting up Zaps here.
From your chat tool
Do you have a dedicated Slack channel for reporting technical issues? If so, the workflows below will help you create tickets from Slack messages automatically, so you no longer need to create them on your own.
Create OpsGenie alerts from new messages in Discord
From email
A dedicated email is a popular way for IT and dev ops teams to collect issue reports. Monitoring that inbox, though, is time-consuming and takes someone away from focusing on more important tasks. Not to mention how easy it is to miss a report here and there.
With Zapier, you can automatically create tickets for each email that comes to the dedicated email address, ensuring that every issue is seen and promptly resolved.
Create new alerts in OpsGenie for new emails in Gmail
Create new alerts in OpsGenie for new inbound emails
From an RSS feed
If you're collecting issue reports from an RSS feed, you can use this Zap to create a new alert for each item in that feed automatically, making sure no item goes unseen.
Create OpsGenie alerts automatically from new RSS posts
From a form
Forms are a popular way to submit software issues, but monitoring for form responses and transferring them to OpsGenie is slow and unreliable.
With the help of the Zaps below, you can integrate your form with OpsGenie so that new alerts are automatically added with each response, so no issue slips through the cracks.
Create new OpsGenie alerts for new entries in Typeform
Create new OpsGenie alerts for new Google Form responses
From everywhere else
Webhooks are great way to gather customer issues if your tool doesn't have a Zapier integration. Just set up your custom webhook and use the Zap below to create an alert in OpsGenie automatically.
Automatically create OpsGenie alerts from new webhooks
How to create automatic OpsGenie alerts
You can use Zapier to create OpsGenie alerts automatically from virtually any tool. To walk you through building one of these workflows, let's focus on one of the Zaps I mentioned earlier—creating OpsGenie alerts from new messages in Slack. You can use these same steps to connect OpsGenie with tons of other tools as well.
Before you begin
Before you create a Zap that integrates OpsGenie with Slack, you'll need to create a Zapier account if you don't have one already. Don't worry, creating an account is easy and free. You'll also need an OpsGenie account and a Slack account.
Once you're signed in, you can create new Zaps by clicking the Create Zap button or by going to zap.new.
Step 1: Connect your trigger app
A Zap always consists of two parts:
The trigger: an event that starts a Zap.
The action: an event a Zap performs after it's triggered. A single Zap can perform more than one action.
When prompted, search for and select the app you want to serve as your trigger. For this example, we'll choose Slack as our trigger app, since that's where we're collecting our alerts from.

Then select your trigger event. With Slack, your Zap can trigger for a lot of reasons, like when a new message is posted to a channel, when a particular person is mentioned, or when a specific reaction is added to a message.
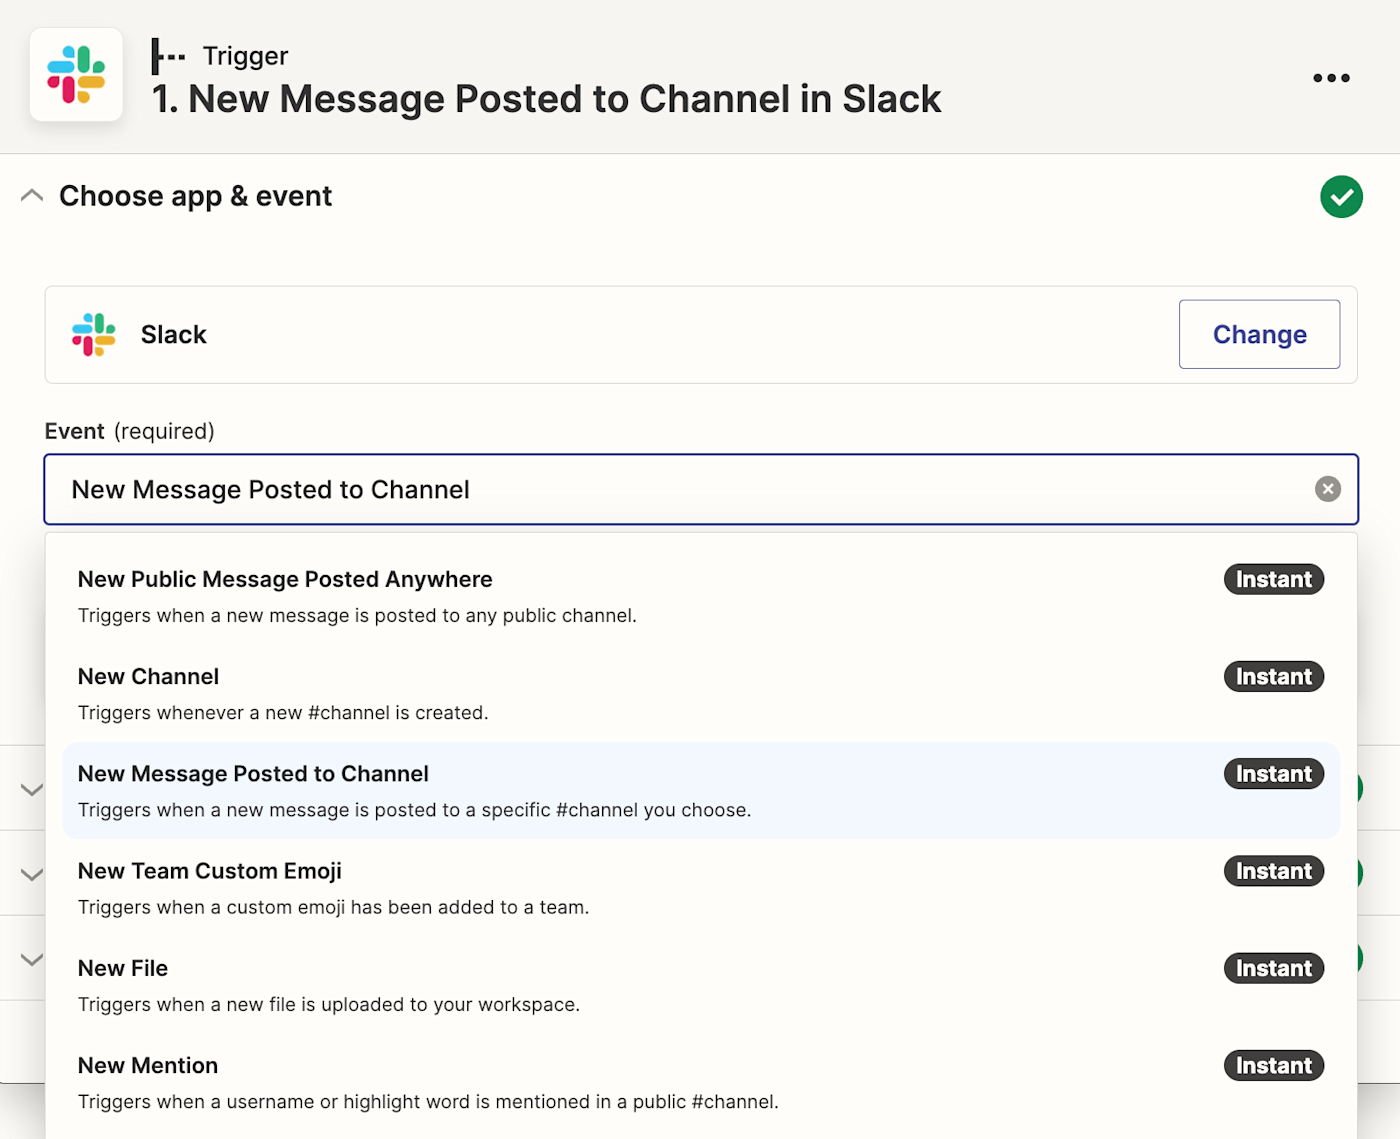
Next, connect your trigger app account to Zapier by clicking on the dropdown menu and selecting +Connect a new account.
You'll need to give Zapier permission to access your account. Once you've connected your account, select it from the dropdown menu and click Continue.
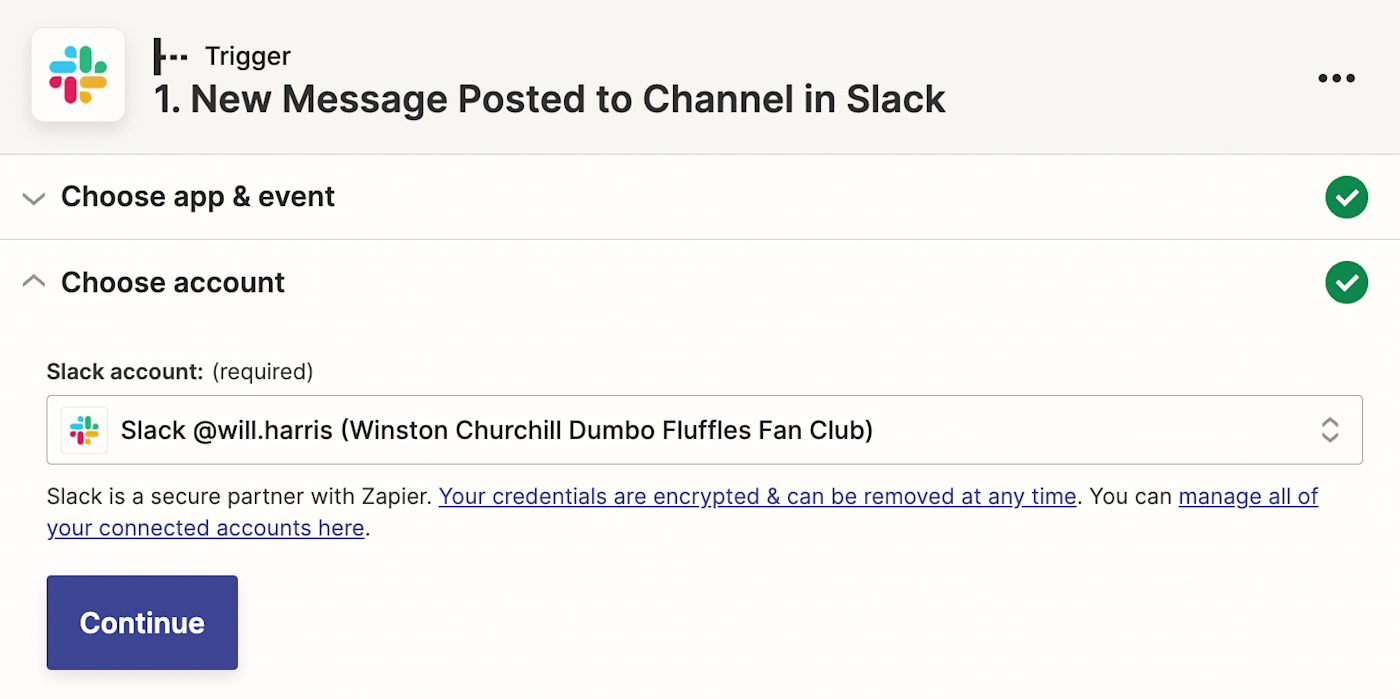
Next, you'll customize your trigger step. Depending on your trigger app and event, you'll have different fields to customize. With Slack, the only fields you'll need to specify are:
The channel that's going to trigger your Zap
Whether you want it to trigger for bot messages
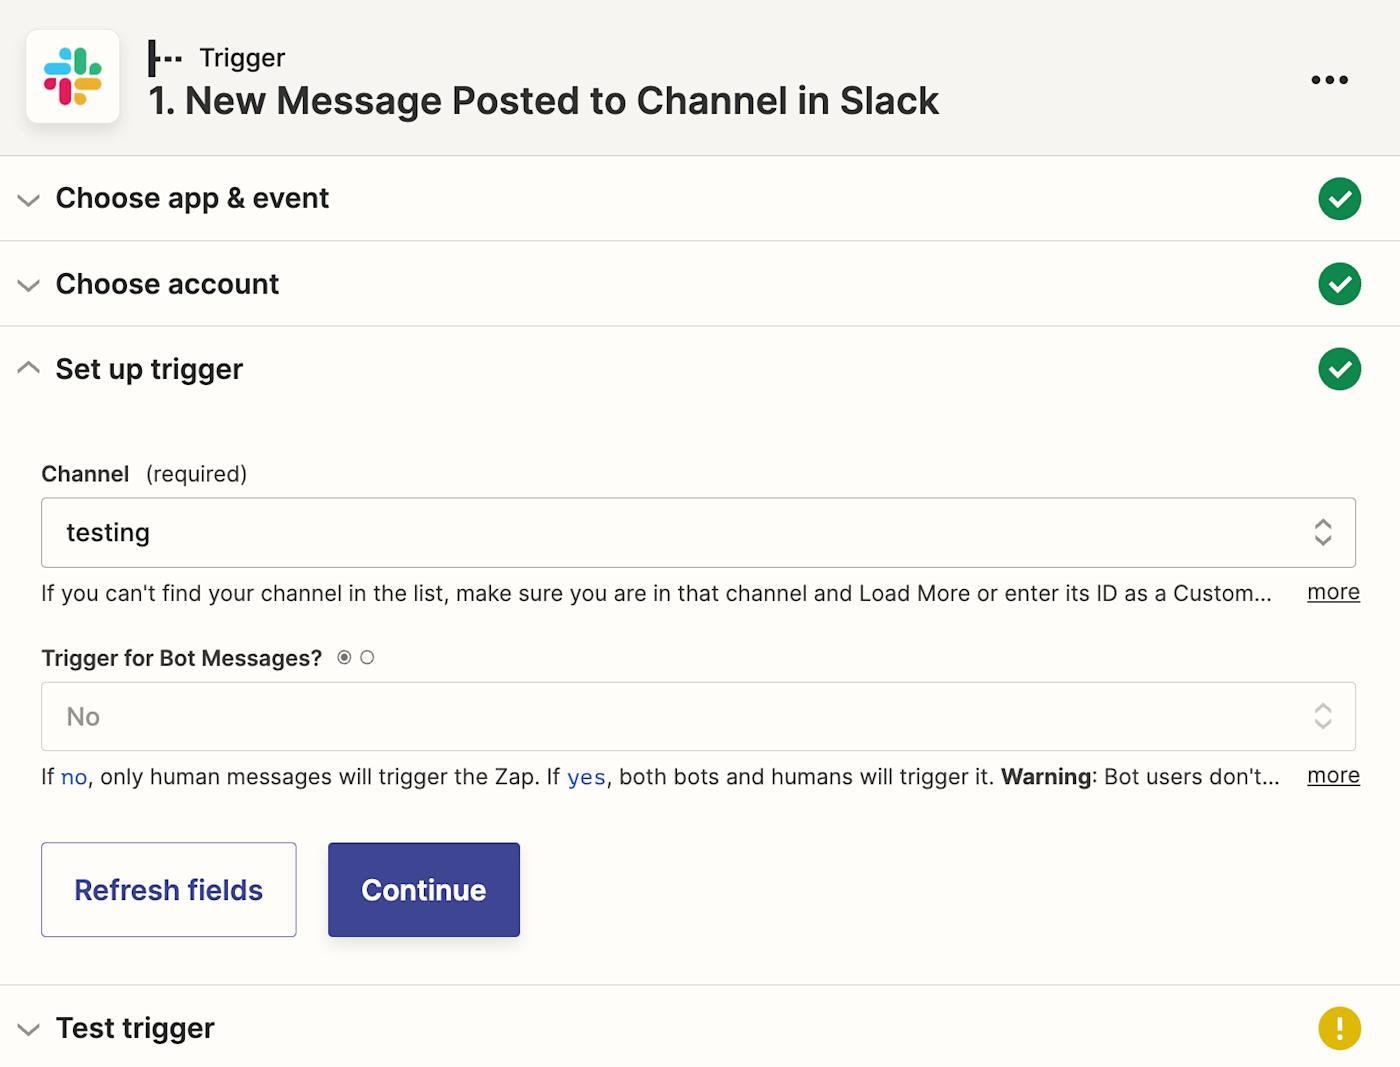
When you're done customizing your trigger step, click Continue.
Next, click Test trigger. This will prompt Zapier to find a message from the channel you specified in Slack to make sure the trigger is working properly. Once the test runs successfully, click Continue.
Step 2: Connect your action app
Now, it's time to set up your action—the event your Zap will perform once it's triggered. Start by searching for and selecting your action app, OpsGenie.
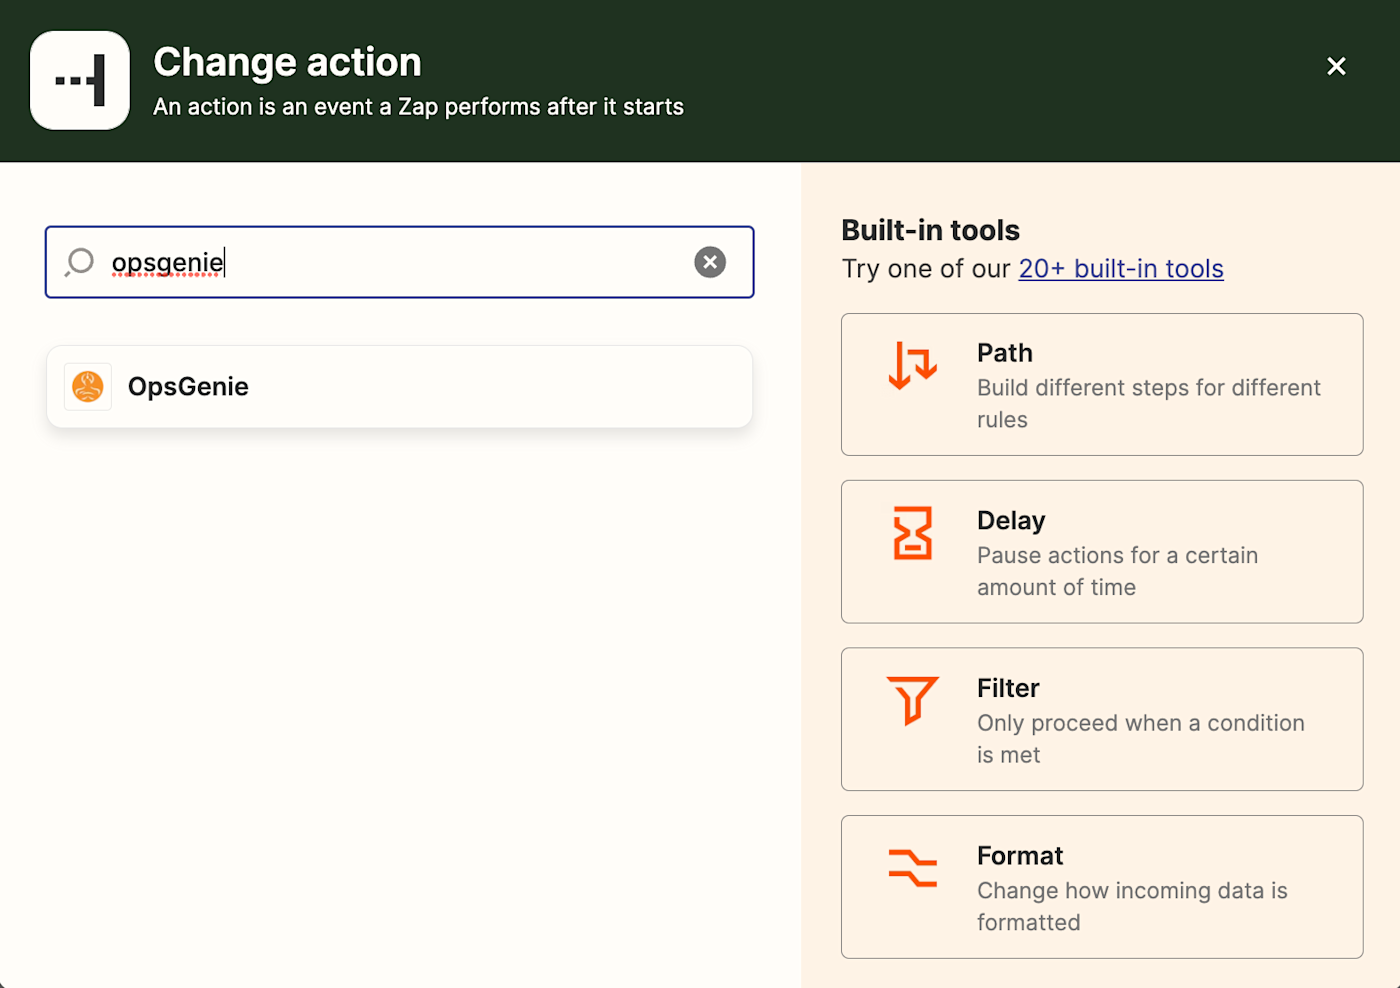
Next, choose your action event. With other action apps, you might have a choice of what action you'd like the Zap to perform. For OpsGenie though, there's only one possible action: Create Alert.
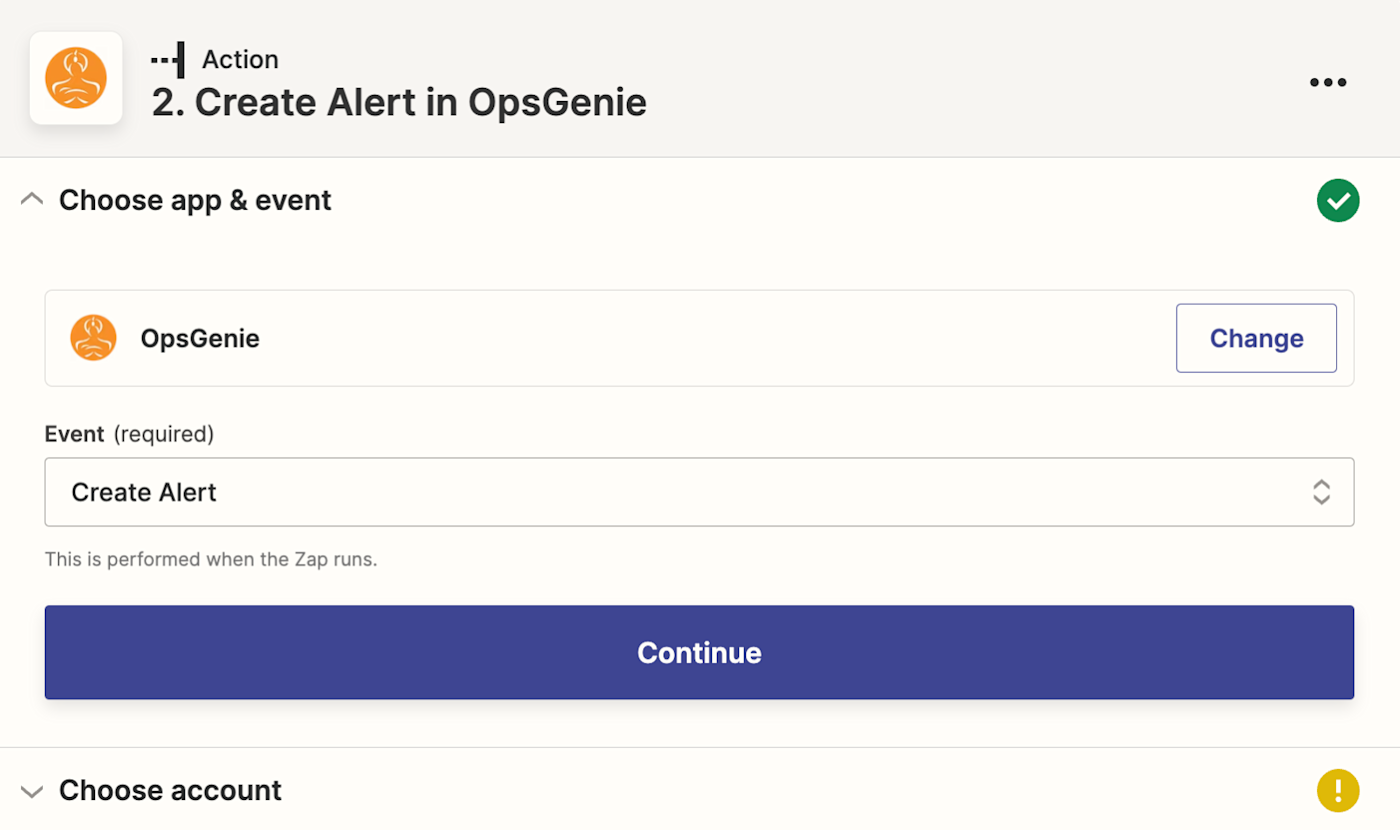
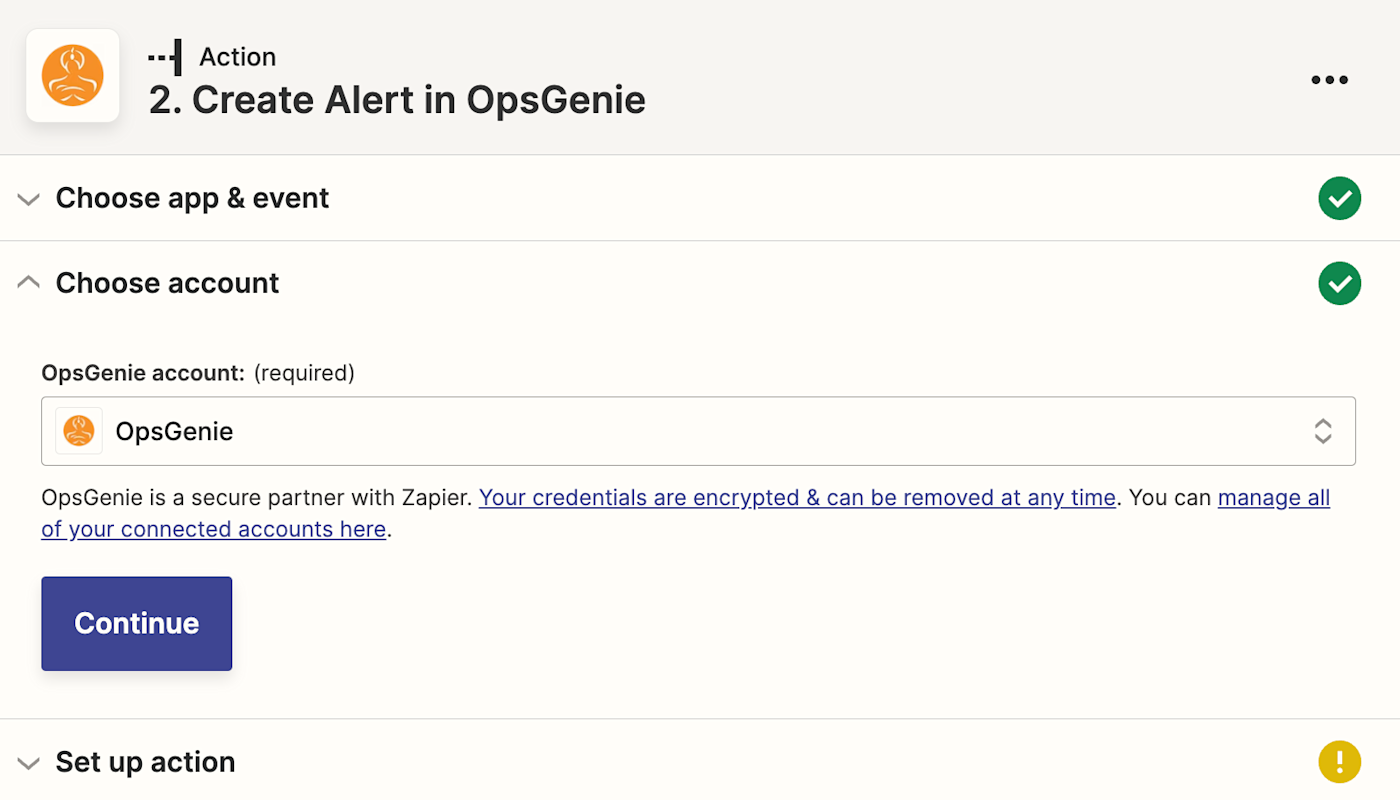
Next, you'll connect your OpsGenie account to Zapier by clicking Sign in. You'll need to give Zapier permission to access your OpsGenie account. Once you've connected your account, select it from the dropdown menu and click Continue.
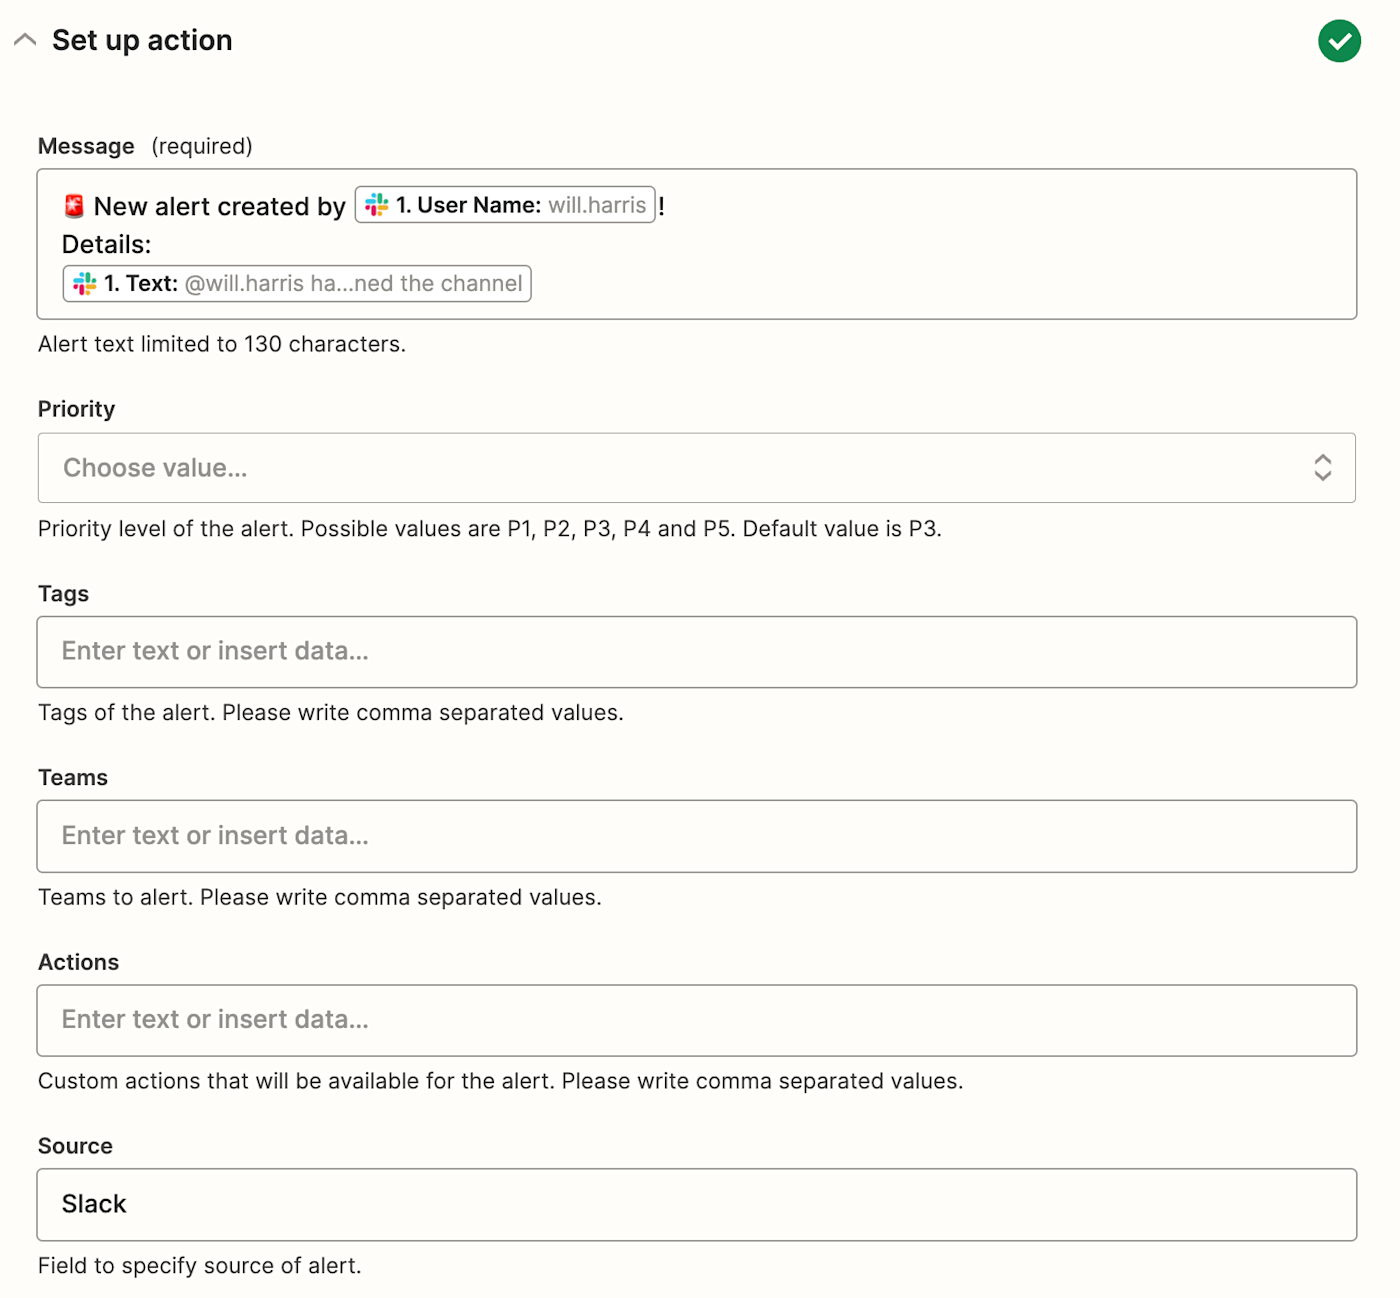
Now, customize your action by filling in the action step fields. With OpsGenie, this is where you'll customize different elements of your alert, like the message, priority level, tags, source, or which user you want the alert to be created by.
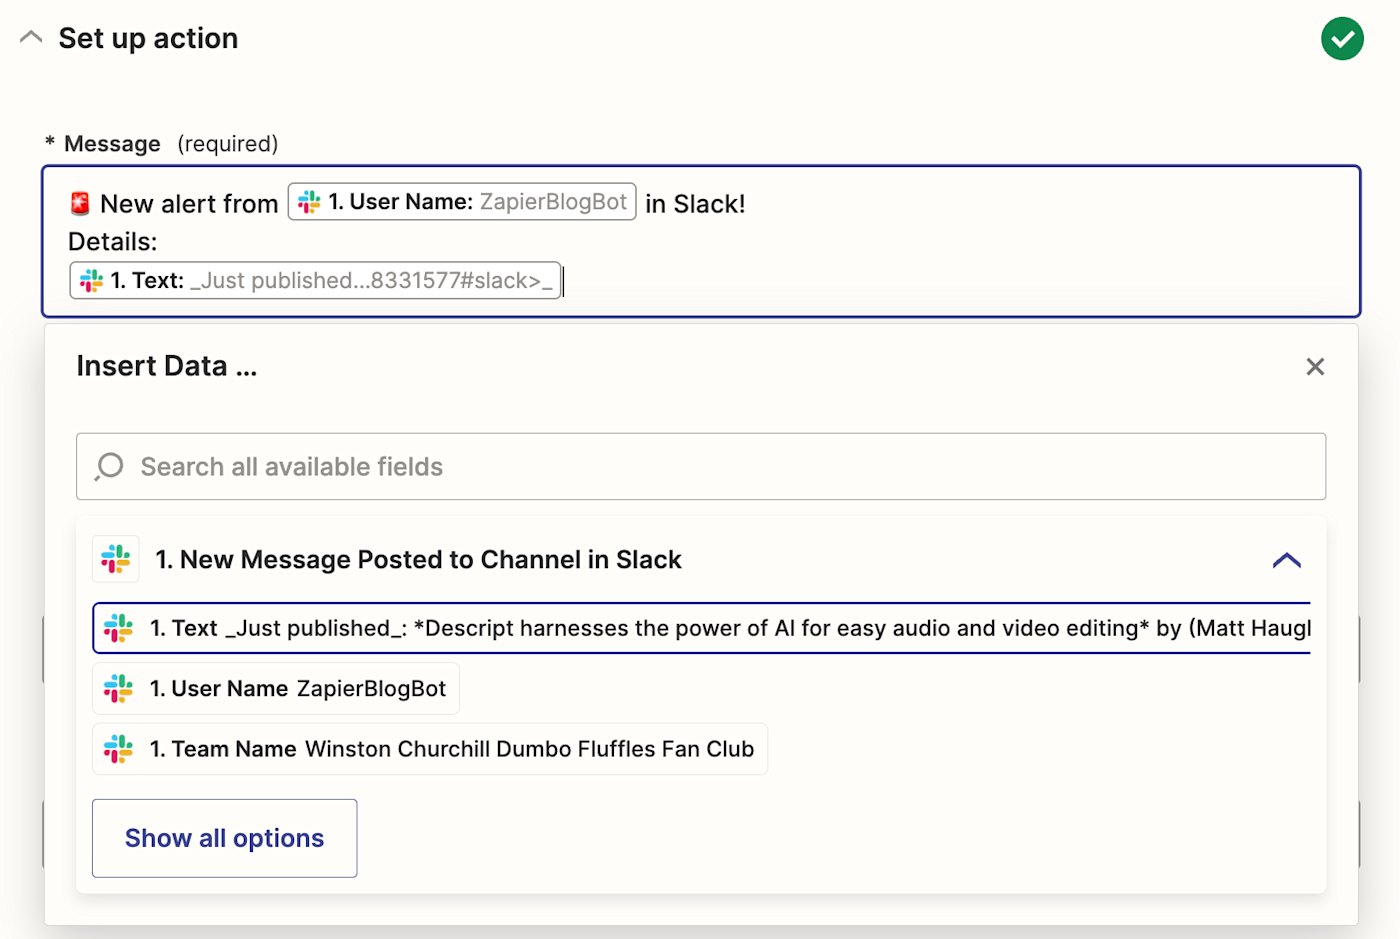
You can also customize your action step with data from your trigger step. For example, to add data from the Slack message in the trigger step—like the user who sent the message—click in a field and select the data you'd like to use from the dropdown.
Once you've customized your action step and set up your alert how you'd like, click Continue.
Now it's time to test your action. When you click Test action, Zapier will send test data to OpsGenie. We always recommend testing your Zap to check if your step looks ok. But if you'd rather skip the test, just click Skip test.
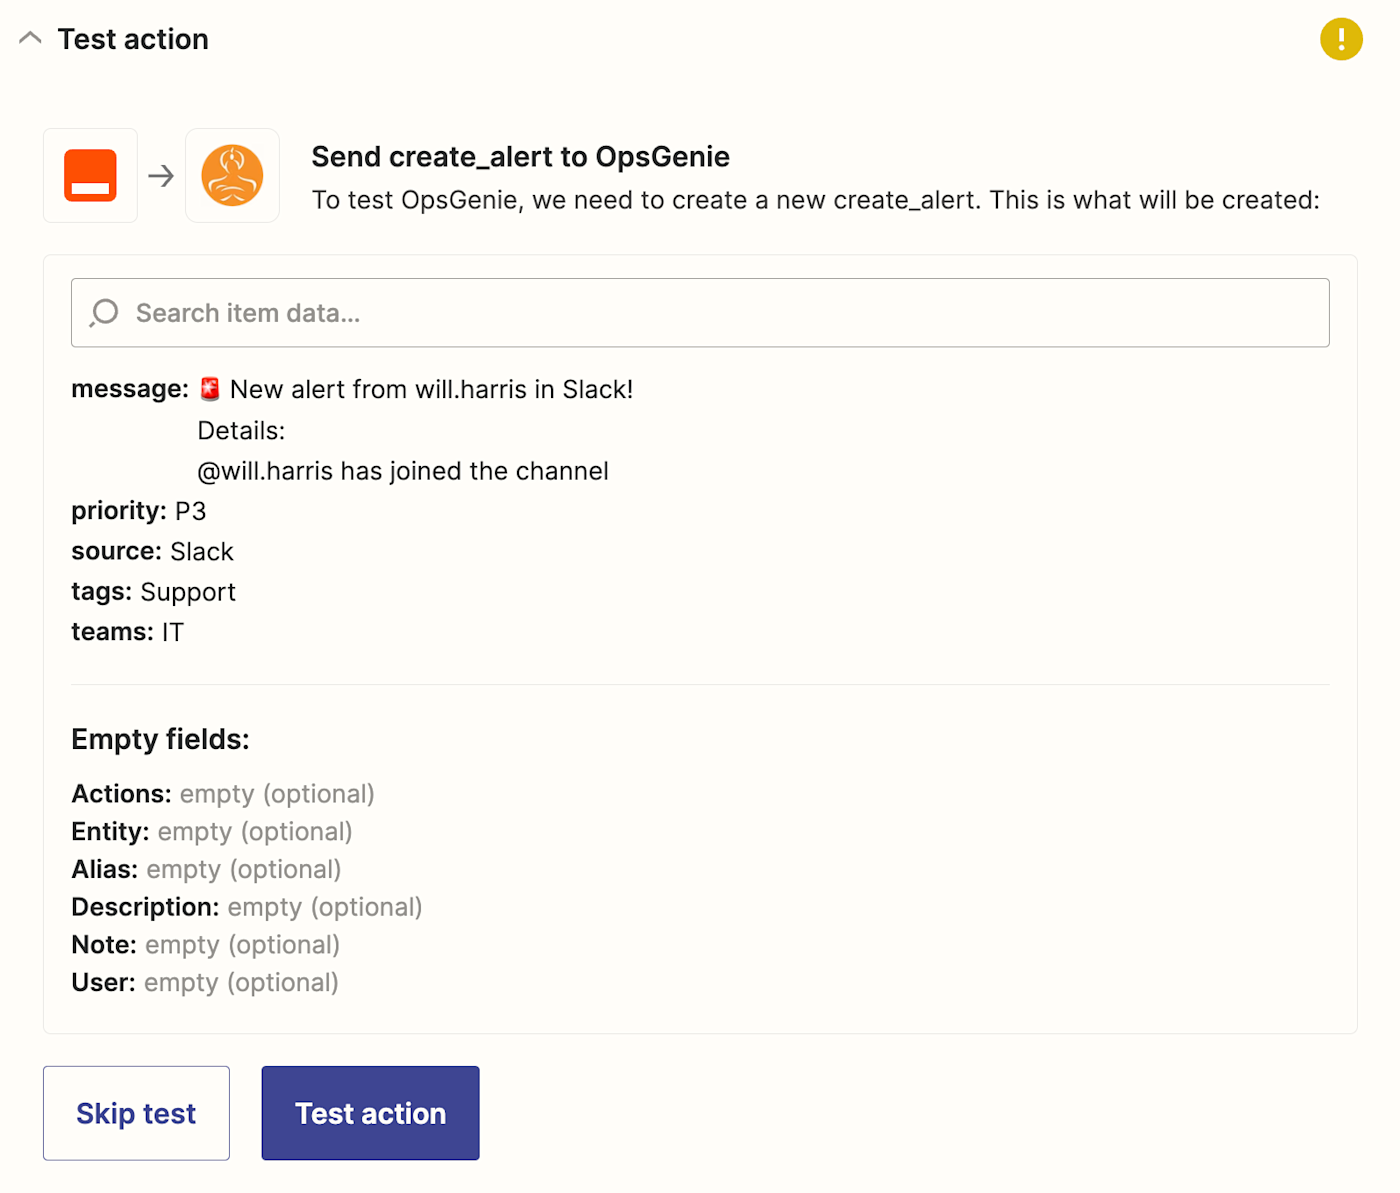
If your test looks good, you're ready to use your Zap.
Optimize your OpsGenie alert creation with Zapier
OpsGenie helps you cut through the noise of notifications and make sure your alerts are seen and acted on quickly. But without an efficient, scalable way to create these alerts in OpsGenie, your team could still be slow to respond.
With Zapier, you have an easy, scalable, reliable way to add alerts to OpsGenie automatically, enabling your IT team to respond faster than ever.
