Google Docs templates are a handy feature; they save you from reinventing the wheel every time you need to create a new document with a similar format.
But even when you use a Google Docs template, you're still taking time to fill in the blanks, especially if you do it on the regular. You need to find the source information from one app (like Google Sheets), copy it over to the template, and then double and triple check that it's right.
Whether you create job offer letters for prospective new employees on the regular or you create and submit invoices on an ongoing basis, you should think about using automation to autopopulate those templates for you.
Fortunately, Zapier lets you create automated workflows—what we call Zaps—that can automatically populate a Google Docs template with Google Sheets data.
Picture it: The details of a new employee (like name, salary, and start date) get added to a Google Sheet. Then a brand new job offer gets automatically created from a template in Google Docs for you. You'll never have to worry about manually creating templates and copying and pasting into specific fields again—each Google Doc will be auto filled for you.
Zapier is the leader in workflow automation—integrating with 6,000+ apps from partners like Google, Salesforce, and Microsoft. Use interfaces, data tables, and logic to build secure, automated systems for your business-critical workflows across your organization's technology stack. Learn more.
Before you begin
Before you start, you'll need to be sure that your document template exists in Google Docs. That means you have to first create a Google Doc template.
You can use a pre-made template supplied by Google Docs, or you can create your own. If you need help getting started with templates, here's a quick tutorial.
IMPORTANT: In order to create a fillable template in Google Docs, any text that you want to replace with information from another app needs to be formatted like this:

Make sure you have the double braces on both sides and that there are no spaces between words. Here's what our offer letter template looks like with that formatting in mind.
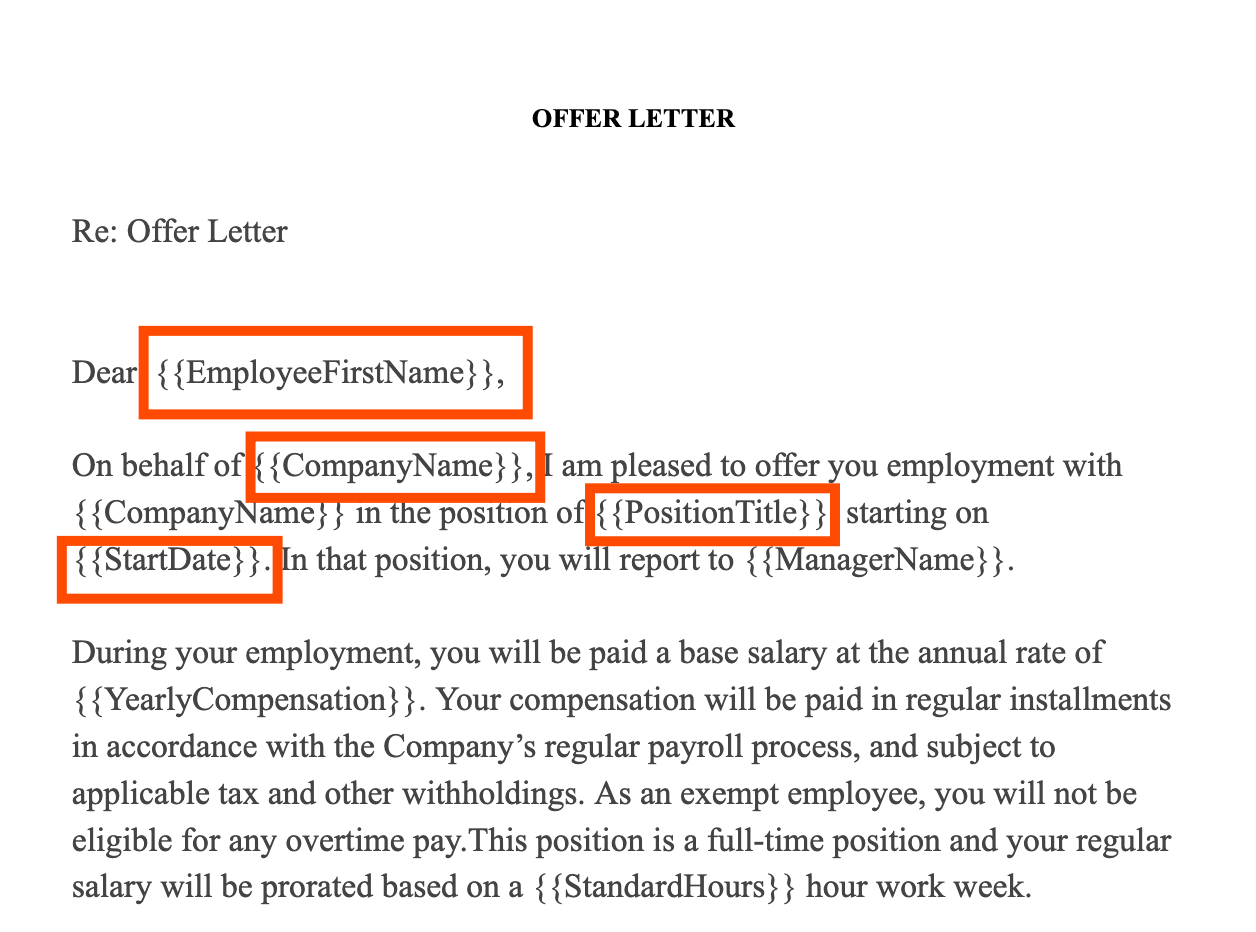
You'll also need to create a Google Sheets spreadsheet with the data you want to replace the above placeholders with. Remember to create column headers that mirror the formatting and labels of the fields in your job offer document—but you must get rid of the double braces.
Don't forget to add some sample data, too. Later on, this will help you map the data from the spreadsheet into your template. Here's our example:

How to use Zapier to create a document from a template
Zapier lets you create automated workflows called Zaps, which send your information from one app to another. You can create your own Zap from scratch without any coding knowledge, but we also offer quick templates to get you started.
If you'd like to start with a template, click on it below, and you'll be taken to the Zapier editor. You'll need to create a Zapier account if you don't already have one. Then, follow the directions below to set up your Zap.
Copy data from new Google Sheets rows to a Google Doc template
Note: You can also use this workflow if you want to autopopulate a Google Docs template whenever a new row is added or updated in Google Sheets.
Set up your Google Sheets trigger
Let's start with the trigger—the event that starts your Zap. If you're using the Zap template, this will be selected for you. Otherwise, search for and select Google Sheets as the trigger app and New Spreadsheet Row as the trigger event, then click Continue.
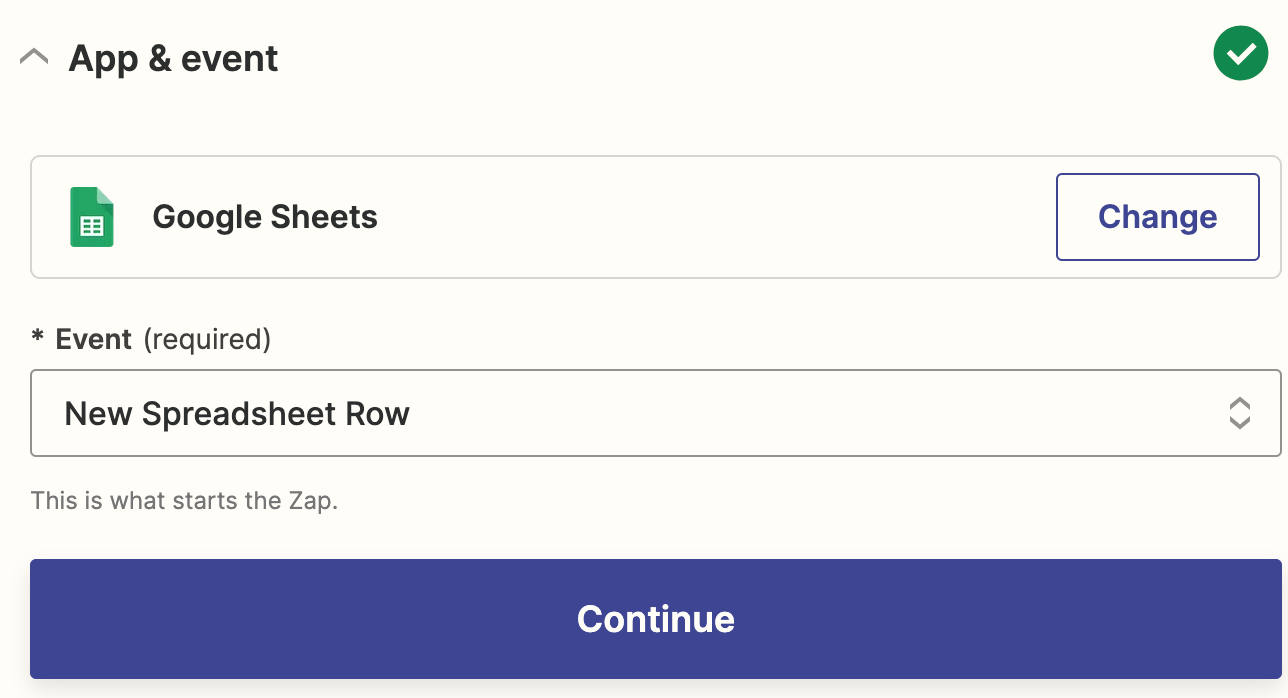
Next, connect your Google Sheets account to Zapier if you haven't already. Click Continue.
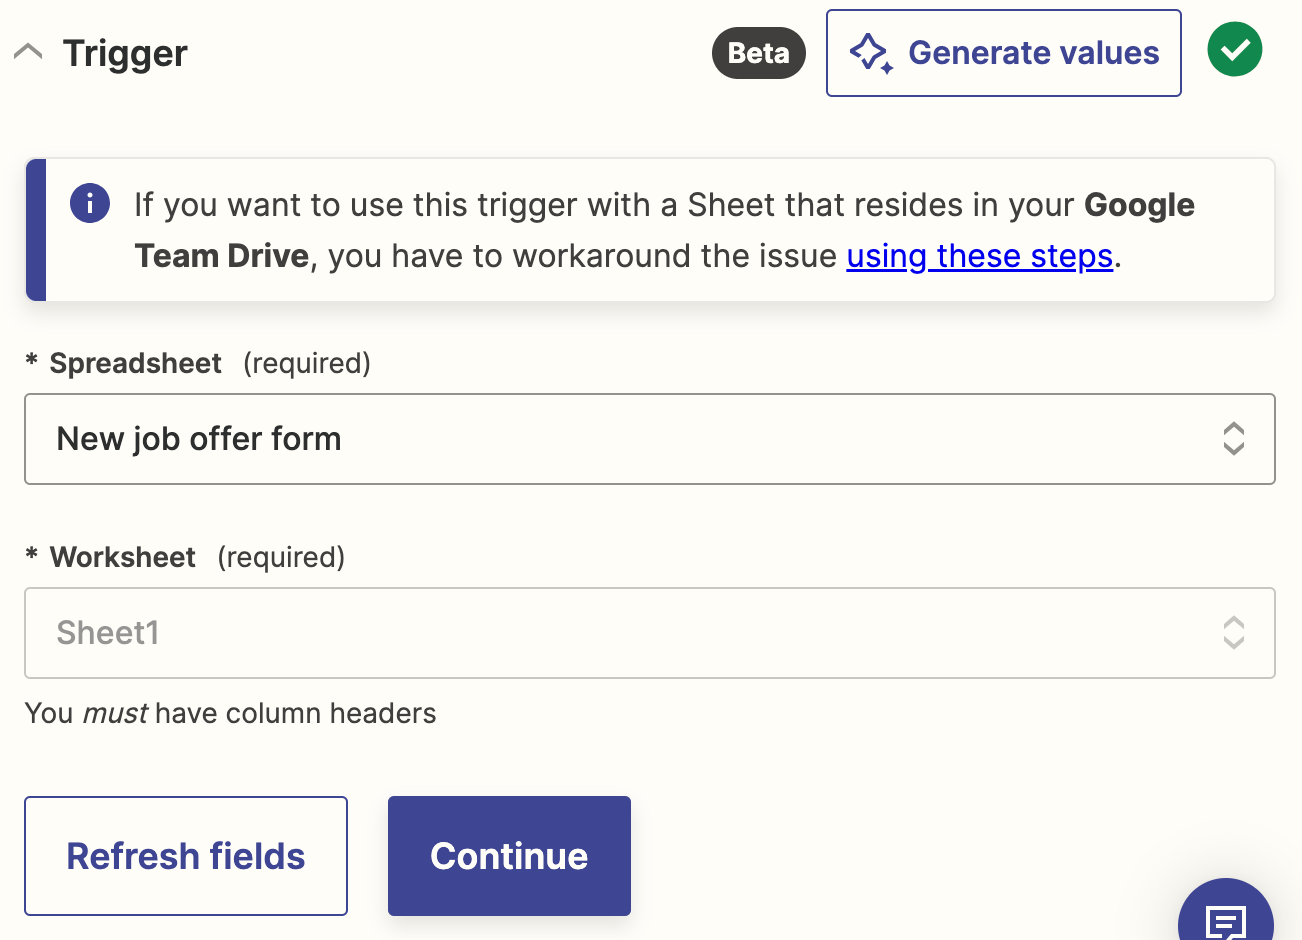
Now, select the spreadsheet and specific worksheet you'd like to use. In my case, I'll select the spreadsheet I set up previously to store new employees, and the appropriate worksheet. If you only have one worksheet in your spreadsheet, "Sheet1" will be your only option. Then, click Continue.
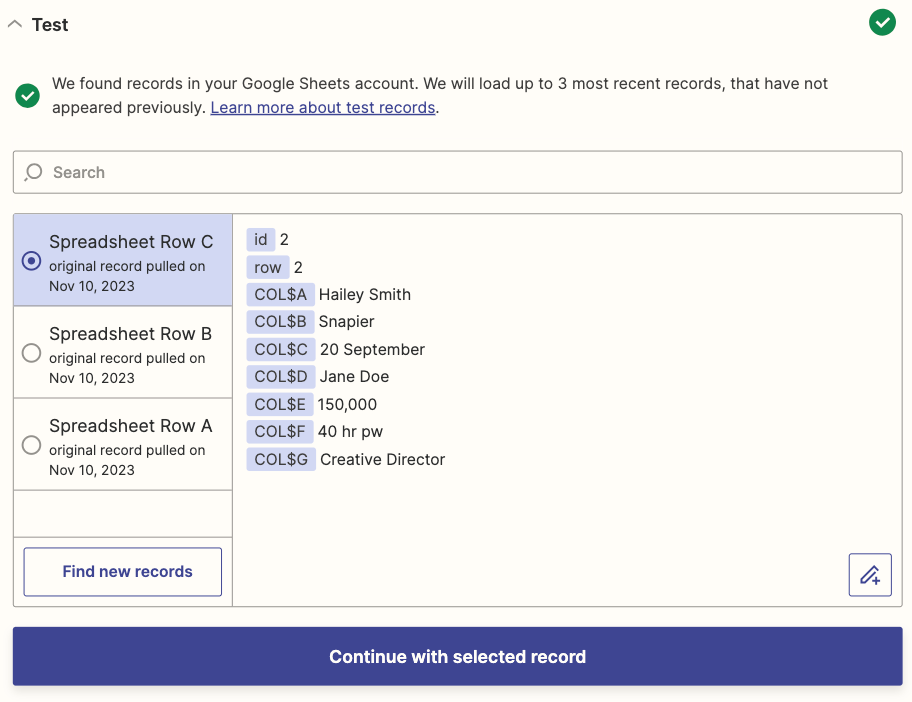
Now, it's time to test your trigger step and generate sample data that will be used to set up the rest of the Zap. Make sure you have at least one job offer listed in your spreadsheet, then click Test Trigger.
Choose the event you'd like to use for the test, then click Continue with selected record.
Set up your Google Docs action
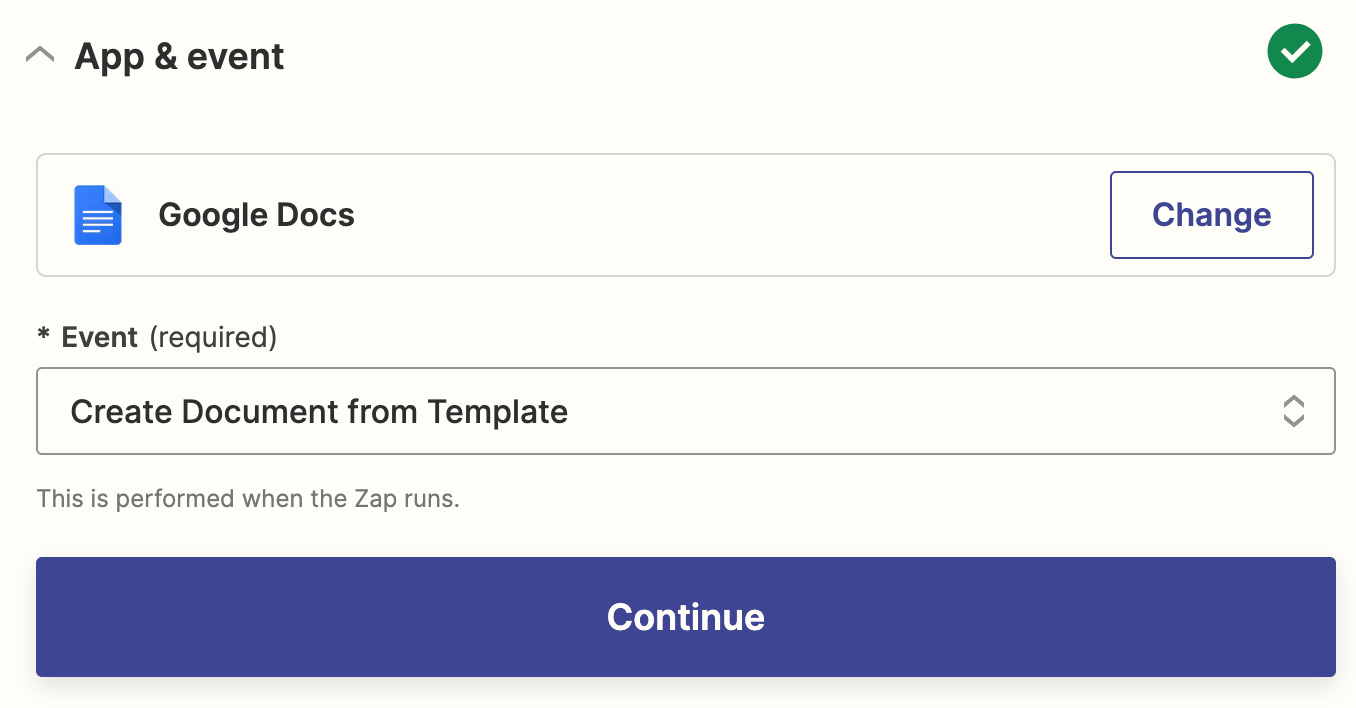
Now, it's time to set up the action—the event your Zap will perform once it's triggered. If you're using the Zap template, these will already be selected for you. Otherwise, search for and select Google Docs as your action app and Create Document from Template as your action event. Click Continue.
Next, connect your Google Docs account, if you haven't already. Then click Continue.
Now it's time to customize your action. First, choose the template you set up in your Google Docs account. Under New Document Name, you can pull in data from your Google Sheets step or type out your own unique title. In our case, I'm going to pull in the name of the new employee from my Google Sheets step so it's easily identifiable in Google Drive:
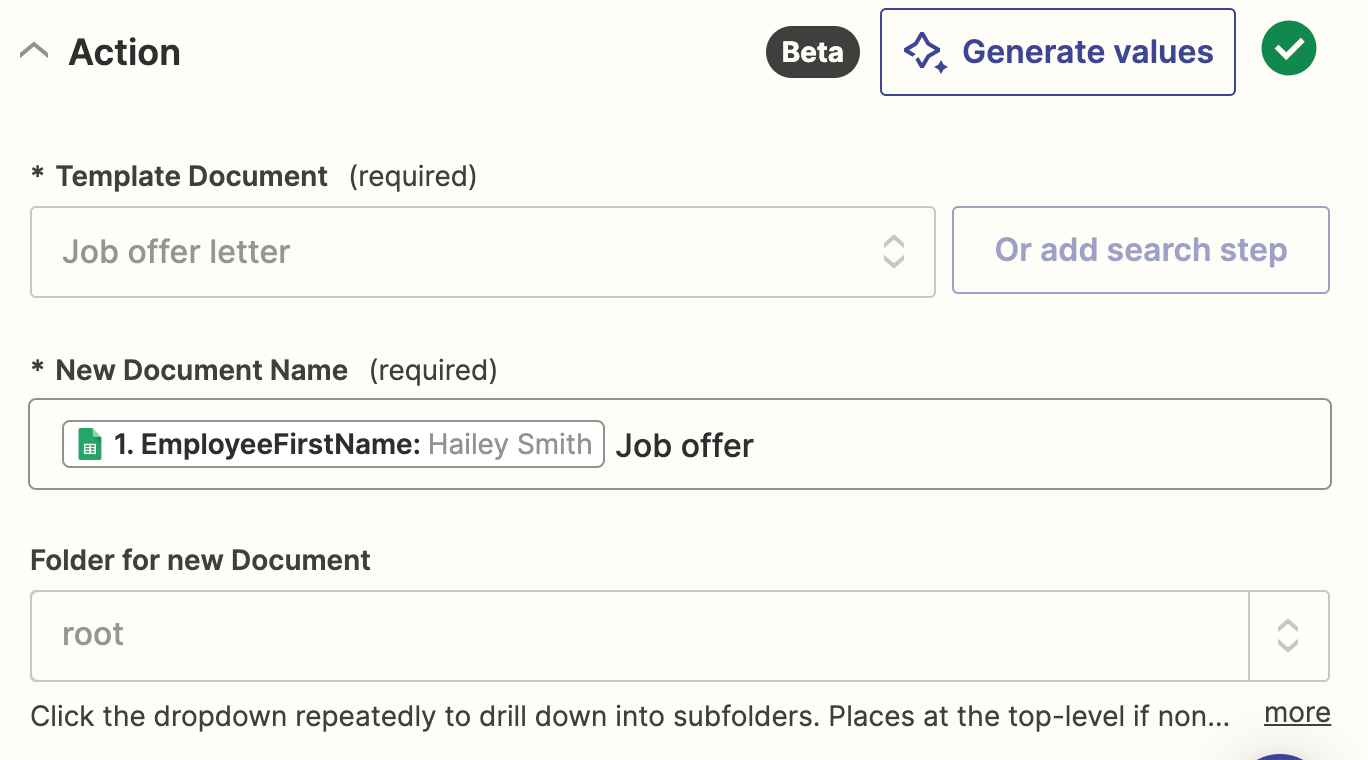
If you have a folder where you store your job offer letters, you can select it under Folder for new Document. Otherwise, you can leave it at root. You can also set your sharing preferences and decide what to do with any unused template fields.
Next, map the data from your Google Sheets spreadsheet by clicking in the EmployeeFirstName, CompanyName, PositionTitle fields, and so on, and selecting the appropriate data from the Insert Data dropdown. This will ensure that each job offer letter will be autopopulated with your Google Sheets data.
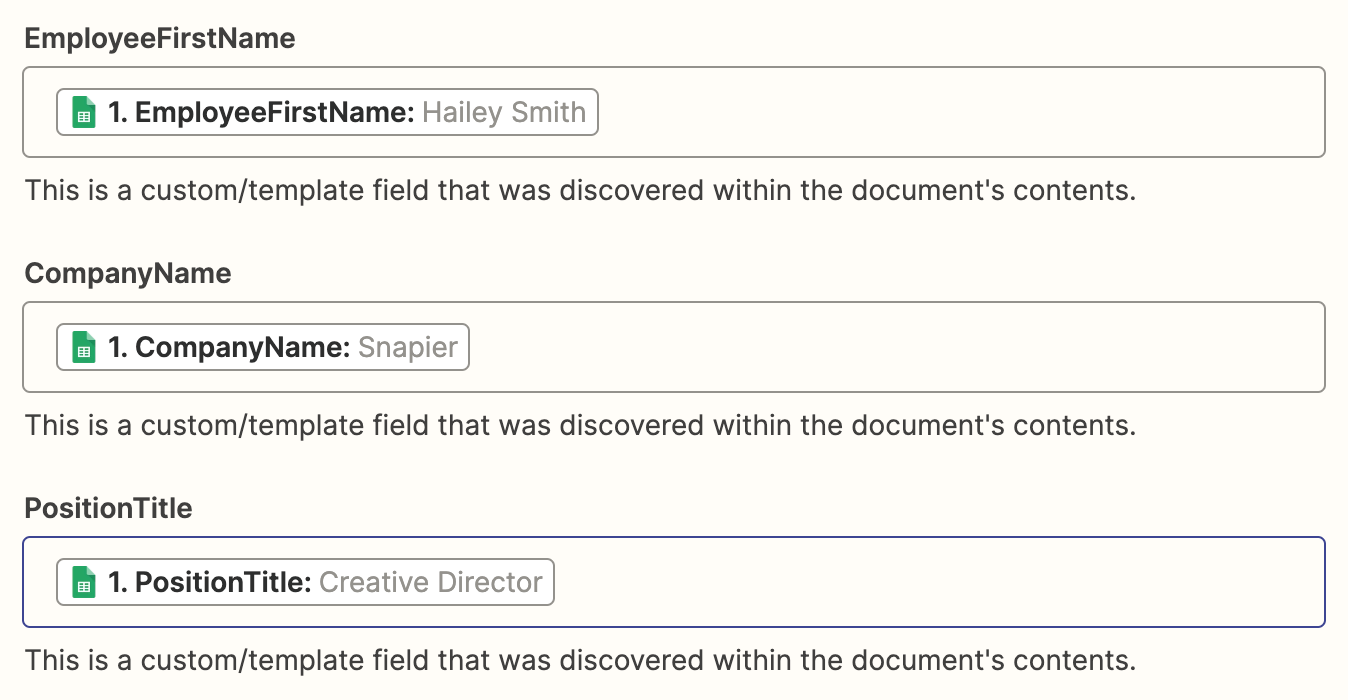
Once you've finished mapping all your data, click Continue.
Next, click Test step to test your Zap. Once the test runs, you'll get a confirmation that the Google Doc was successfully added to your Google Drive account.
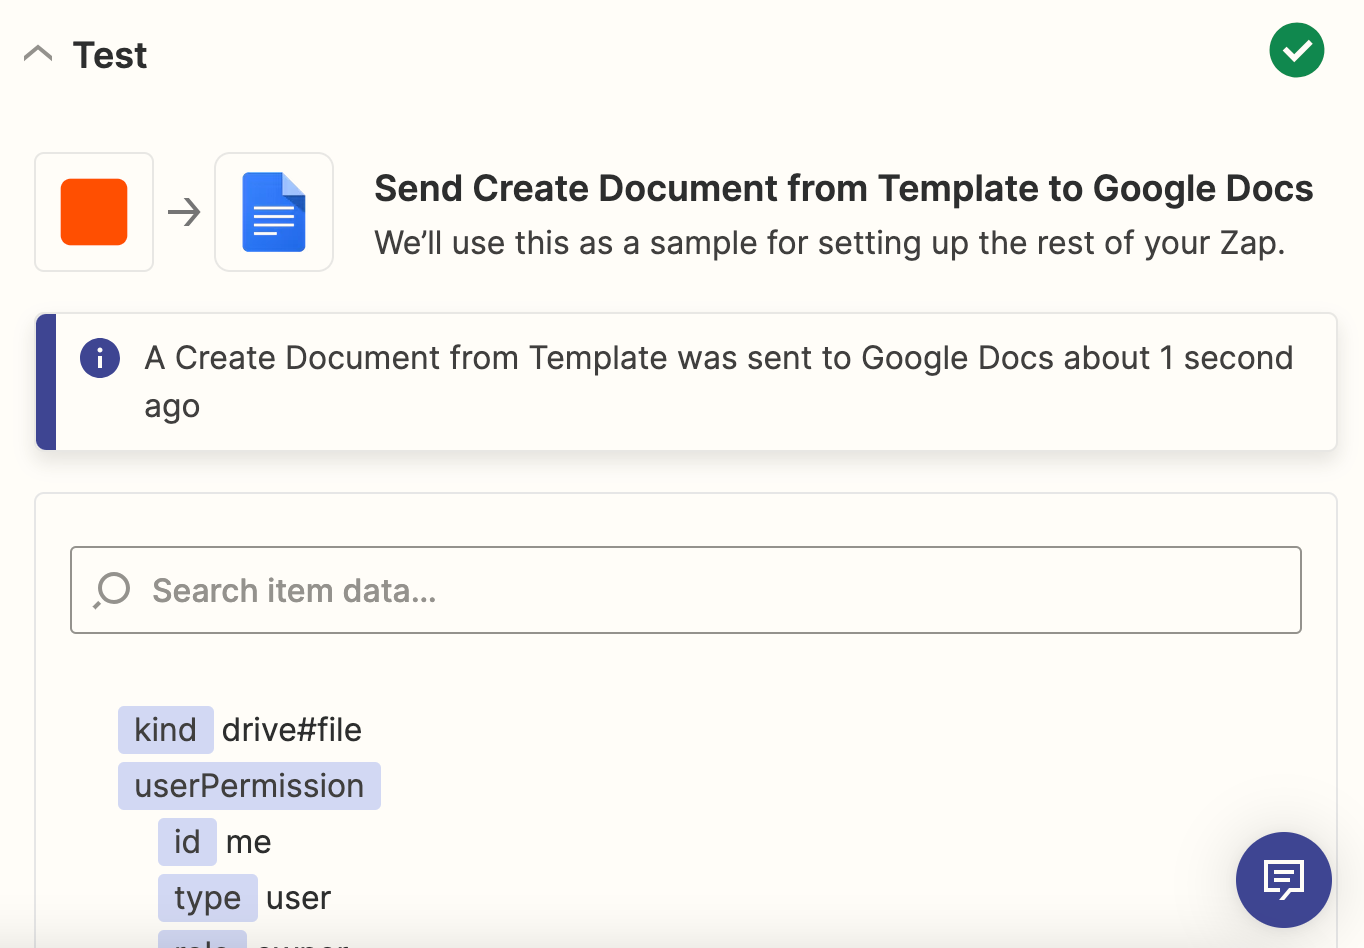
You can double-check your documents to see if everything is set up the way you'd like it. Here's what our test job offer doc looks like in Google Drive:
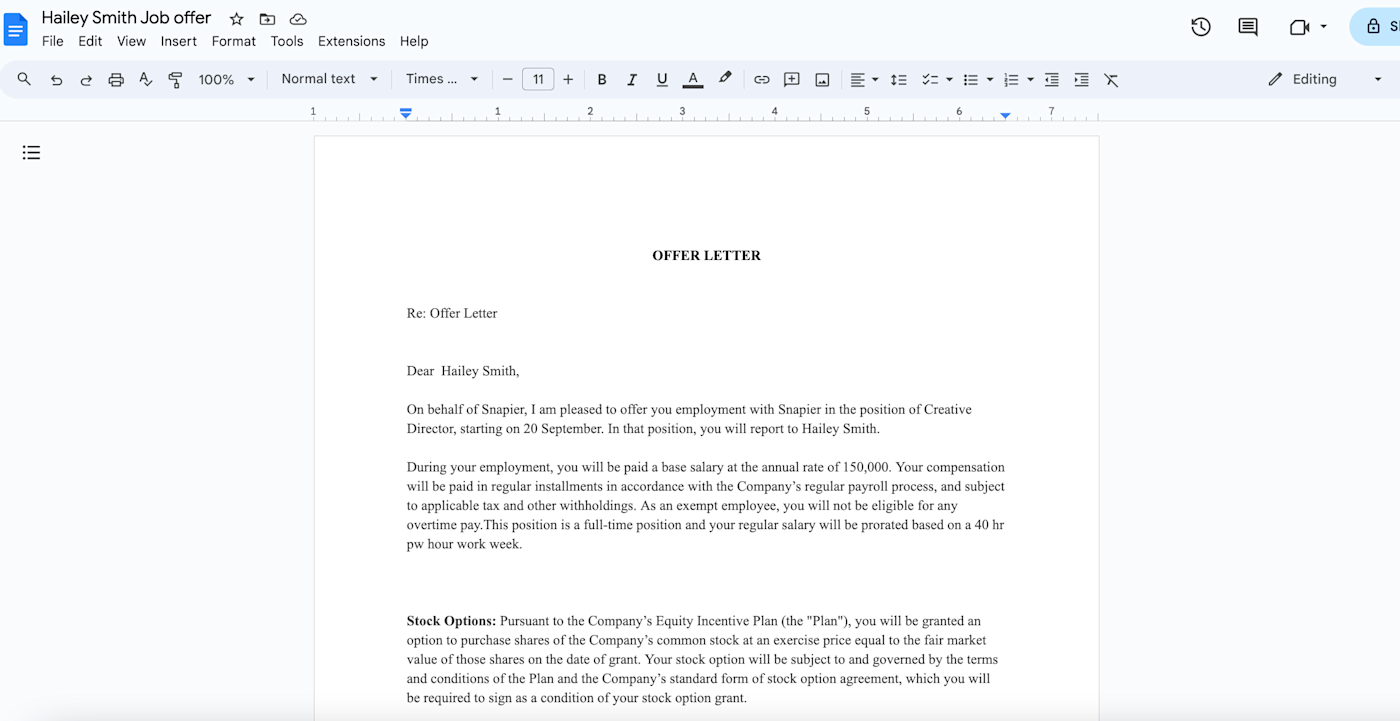
Automatically fill out Google Doc templates with Google sheets data
There you have it. You're now ready to use your Zap. From now on, any time the details of a new job offer are added to your Google Sheet, it will automatically create a job offer letter from a template—and fill in those formatted fields for you.
That's great news for streamlining your job offer process within your HR department.
Copy data from new Google Sheets rows to a Google Doc template
Want to instead create a Google Doc from a template for your form submissions? You can build similar workflows that auto-populate your Google Docs with data from your form fields. Here are a couple of workflows to get you started:
Create documents from templates in Google Docs for new Google Forms responses
Related reading:
This article was originally published in February 2019, written by Deb Tennen. It was most recently updated in November 2023 by Elena Alston.
