Two teams using two different cloud storage solutions can easily co-exist, but it can take a lot of effort. If you're a contractor that uses Google Docs but the team you're working with uses Dropbox, you're left with a workflow of manually downloading and uploading documents.
Instead, you can use a Zap—Zapier's automated workflows—to automatically upload any Google Doc file from Google Drive to Dropbox. When you're done with a document, simply move it to the assigned folder and watch it appear in your Dropbox account, just like that.
New to Zapier? It's workflow automation software that lets you focus on what matters. Combine user interfaces, data tables, and logic with thousands of apps to build and automate anything you can imagine. Sign up for free.
How to save Google Docs to Dropbox with Zapier
Zapier lets you create automated workflows called Zaps, which send your information from one app to another. You can create your own Zap from scratch without any coding knowledge, but we also offer quick templates to get you started.
If you'd like to start with a template, click on it below, and you'll be taken to the Zap editor. You'll need to create a Zapier account if you don't already have one. Then, follow the directions below to set up your Zap.
The same basic steps below can also be used to move files from Dropbox to Google Drive. You can use this Zap template to get started:
Before you begin
To move Google Doc files from Google Drive to Dropbox, you'll need to connect your Google Drive account to Dropbox. Before you set up your Zap, make sure you have at least one Google Doc file in the Google Drive folder you want to use for this workflow—this will be used to set up your Zap.
Set up your Google Drive trigger
Let's start with the trigger—the event that starts your Zap. If you're using the Zap template, this will be selected for you. Otherwise, search for and select Google Drive as the trigger app and New File in Folder as the trigger event, then click Continue.
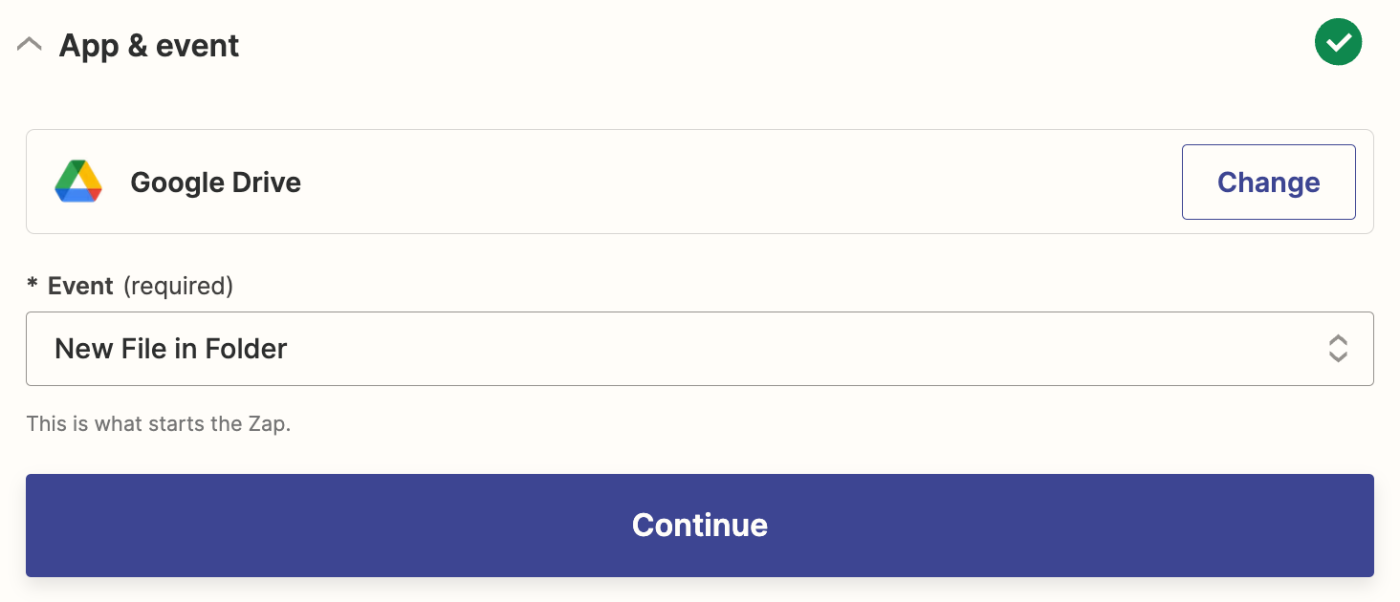
Then, sign in with your Google Drive account if you haven't already. Once your account is selected, click Continue.
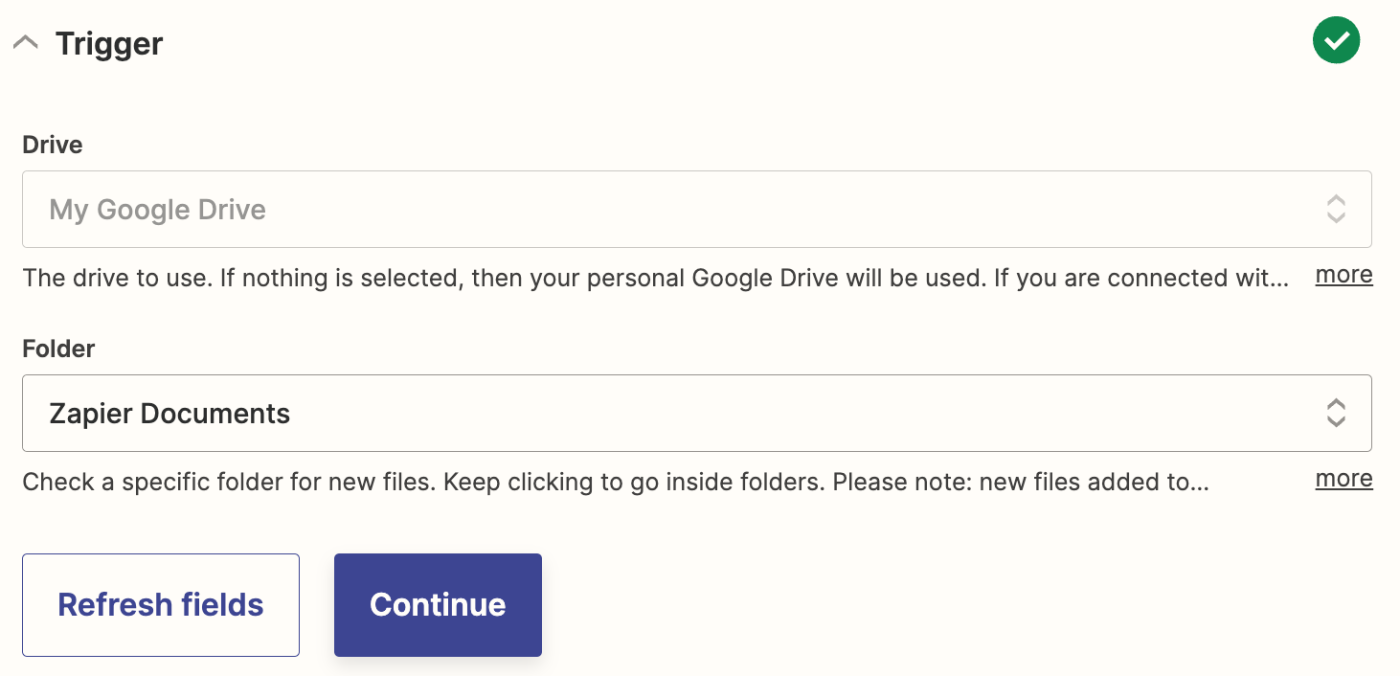
It's now time to select the Google Drive folder where you'll move your Google Docs to. In the Drive field, select the drive where you'll store your documents.
In the Folder field, select the appropriate folder.
Note: The Zap will only trigger for documents uploaded to the folder you select here and not for any sub-folders within this folder.
Now, it's time to test your trigger step. If you haven't already, make sure you have at least one document in the folder you selected to properly test your step. Zapier will use this info to set up the rest of your Zap.
Click Test trigger. Then select a record from the list, and click Continue with selected record.

Once the test runs successfully, you're ready to set up the action step.
Set up your Dropbox action
Now, it's time to set up the action—the event your Zap will perform once it's triggered. If you're using the Zap template, these will already be selected for you. Otherwise, search for and select Dropbox as your action app and Upload File as your action event. Click Continue.
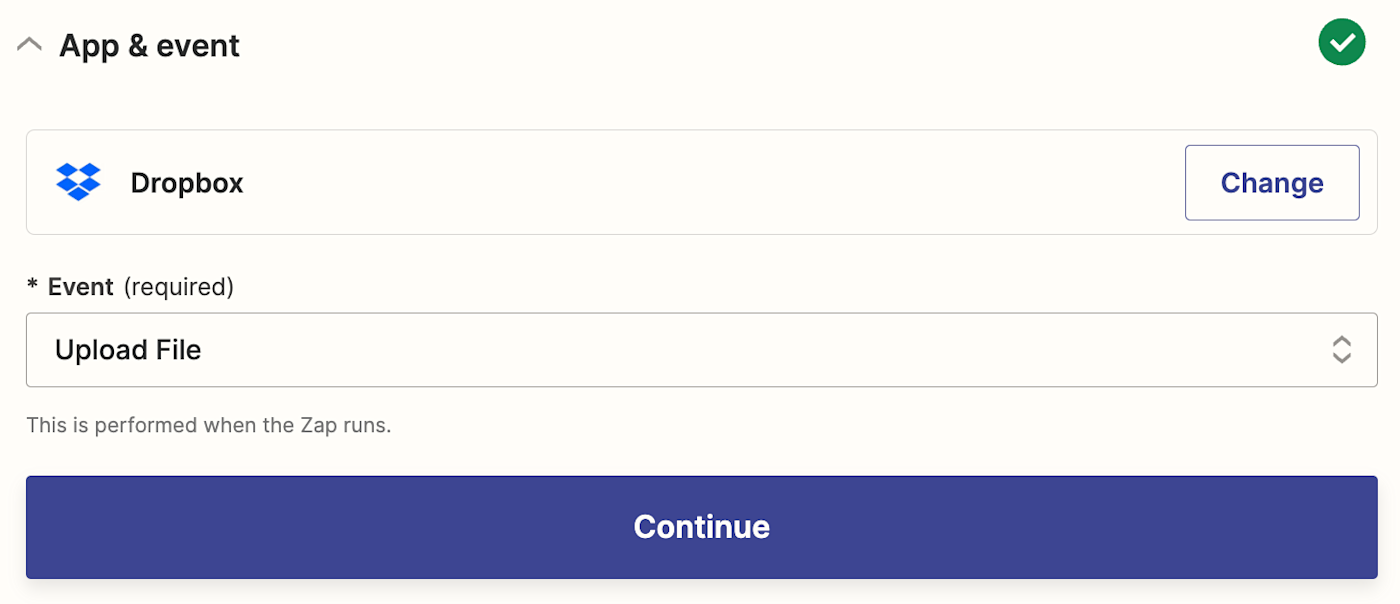
Next, connect your Dropbox account, if you haven't already, and click Continue.
Now, it's time to customize the action itself. First, select your Dropbox space in the Space field (if you don't select anything, it will default to the Personal space).
Next, choose the Dropbox Folder you want to use for your documents. In the File field, select the file from your previous Google Drive step. If you're using the Zap template, this will already be added for you. The Google Doc document will show up as a .docx file in your Dropbox account.
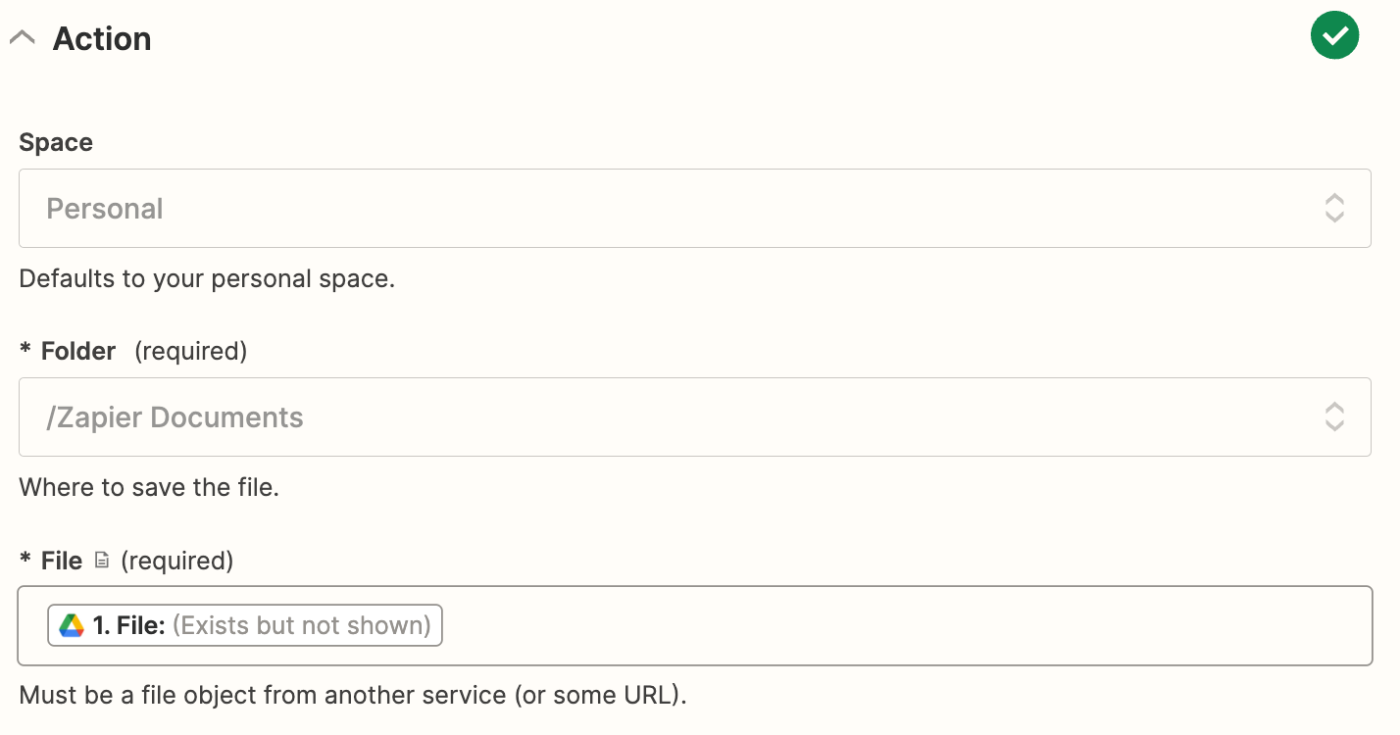
There are a few additional ways you can customize your step. You can choose if you'd like to overwrite any existing files in the Overwrite field. You can also specify a file name and file extension (in case the default options aren't suitable for you).
When you're done, click Continue.
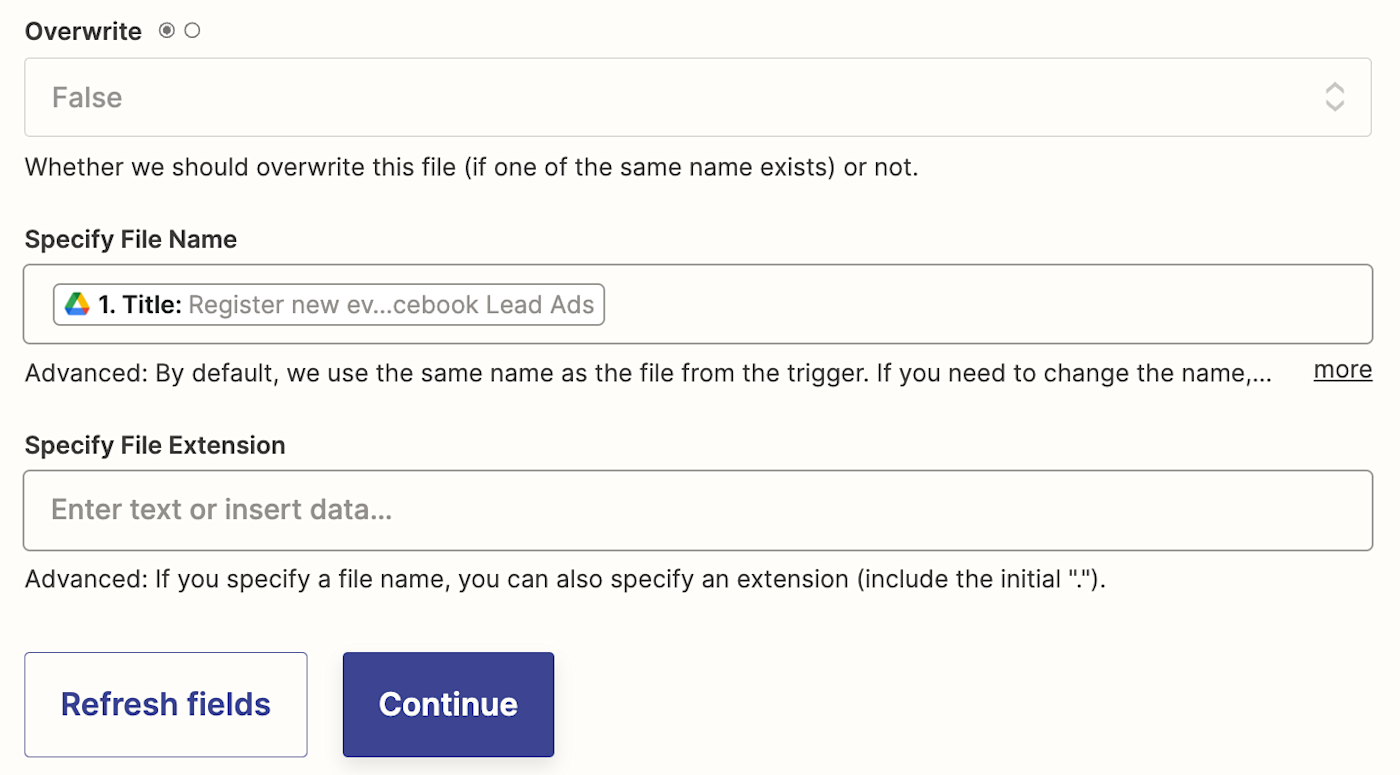
Next, click Test Step to test your Zap. You should see the document show up in your specified Dropbox folder. Here's what our test results looked like.

If everything looks good, you're ready to use your Zap. Now, every time you move a completed Google Docs document to your specified folder in Google Drive, it will automatically show up in your Dropbox folder.
How to save any Google Docs file to Dropbox manually
Saving a single Google Docs file over to Dropbox is quick, which can be a good option if you only need to move a file or two. Open the file in Google Docs, then click File > Download. From here, you can choose from a number of file formats.
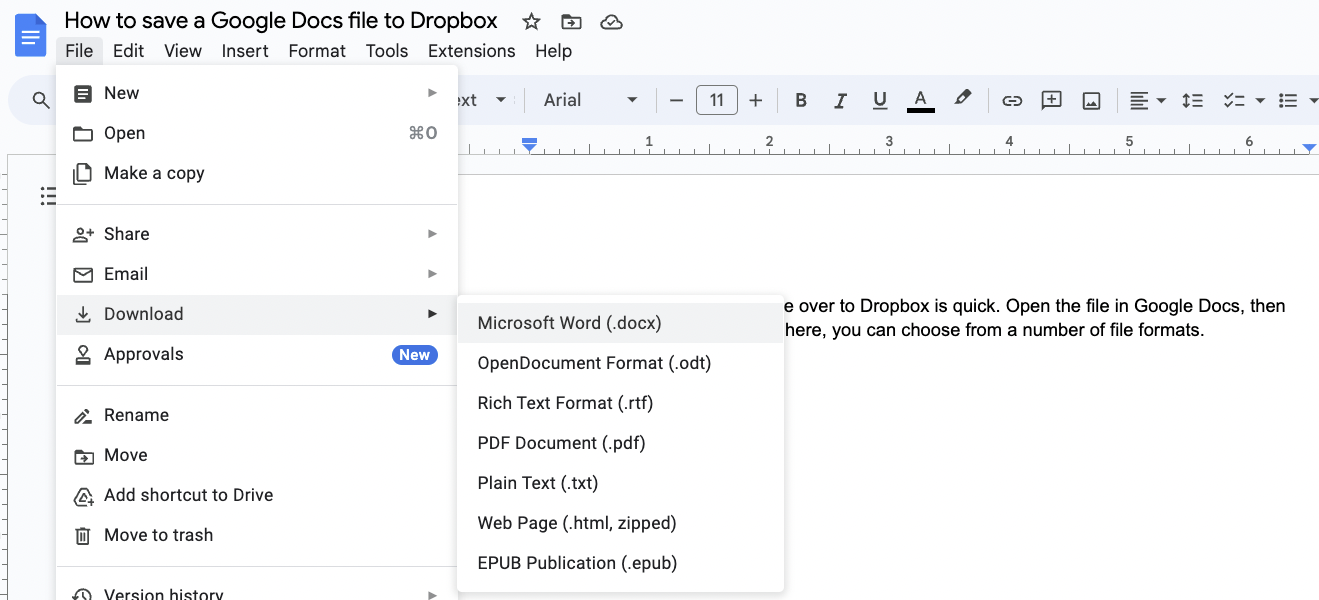
Download whatever file type you prefer. If you use the Dropbox app on your computer, simply save the file to your Dropbox folder. Otherwise, head to Dropbox.com and upload your file there.
Related reading:
This article was originally published in February 2019, written by Justin Pot. It was most recently updated in November 2023 by Khamosh Pathak.
