
I'm part of Discord servers of all types: friend groups, game criticism, and tips for playing Final Fantasy. But Discord isn't just for individuals: lots of businesses build Discord communities for their brands.
Regardless of the purpose, many Discord servers have a process for greeting new members—including welcome messages, introductory channels, and an onboarding experience. First impressions matter, so let's talk about how to create the best welcome experience for your Discord server.
Why should you set up a welcome process for your Discord community?
Many servers drop new members in their #general channel, and that works well enough for some folks. But if you want to nurture a community, you'll miss out on the chance to start newcomers off with an understanding of your goals.
While one of the main purposes of setting up a welcome experience is to help new members feel at home, it also has these benefits:
It sets expectations for how community members should behave and treat each other. You'll have the opportunity to share rules on language to use and the kinds of interactions you want your community to have.
It gets the newcomer familiar with your channel structure. Let's say you have a channel called #nates-cool-zone where you share your latest pizza orders. Here's a place to explain what new members should do there.
It can teach a few Discord basics if folks are new to the app. For example, if you prefer members to spoiler tag certain content, newbies will learn about that feature.
How to set up your Discord welcome message, onboarding experience, and introductory channels
There are a few ways to create a welcome process for your server. Some of them become easier when you have a verified community server with special features granted by Discord. But if you have a regular server, you can still create a comprehensive experience.
As you choose which things to do, think of your typical community member. What measures will guide them, and what will add too much friction to their first experience with your server?
1. Edit Discord's automatic welcome feature
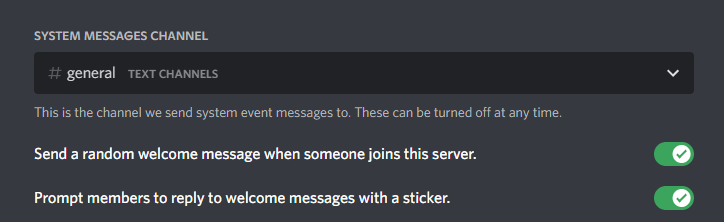
Discord has a setting that sends a welcome message to a channel when someone new joins your server. It also lets you decide if members can click an option to reply to those messages with a sticker to say hi. You can change where the message goes (in the Overview section of Server Settings), but you can't control what this message says, so you might want to turn it off and create your own.
2. Create a Discord welcome channel or onboarding experience
If you manually invite someone to your server, Discord sends them straight to the channel you clicked the Create Invite button next to. When someone joins through a general invite link or by finding your server in the public directory, they'll land in the channel at the top of your list.
Consider making this default channel your welcome channel to greet newcomers. This channel would offer space for current members to say hi or for you to introduce your server.
Community servers also give you the option to create an onboarding experience involving default channels, new member questions, and a server guide. Click your server name and go to Server Settings > Onboarding > Check it out to set it up.
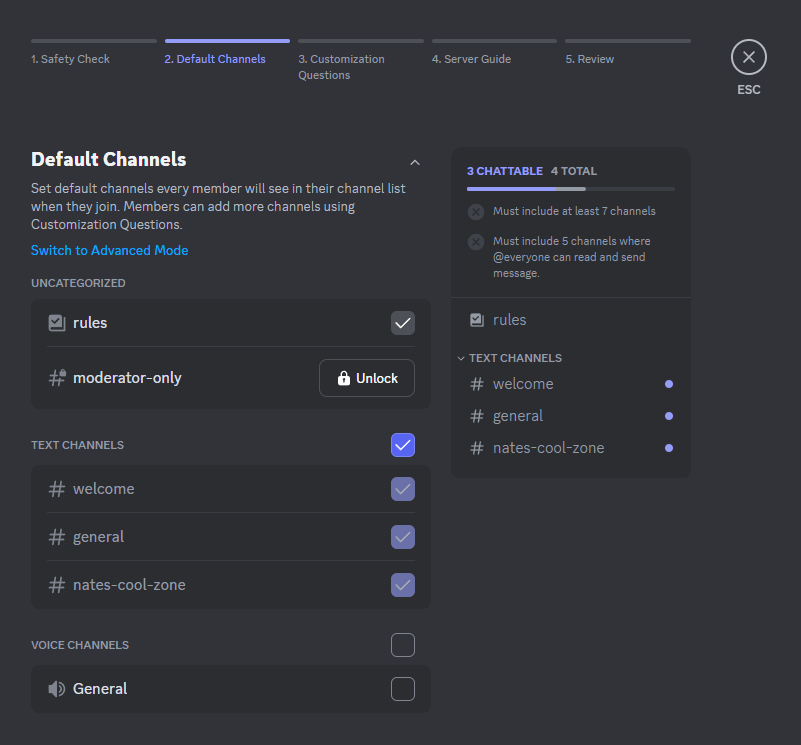
After prompting you to check your safety setup, the onboarding setup will ask you to choose some default channels. These are the channels that users join automatically when they become part of your community. You need to include at least seven channels total, with at least five that let everyone read and send messages (unlike my example server).
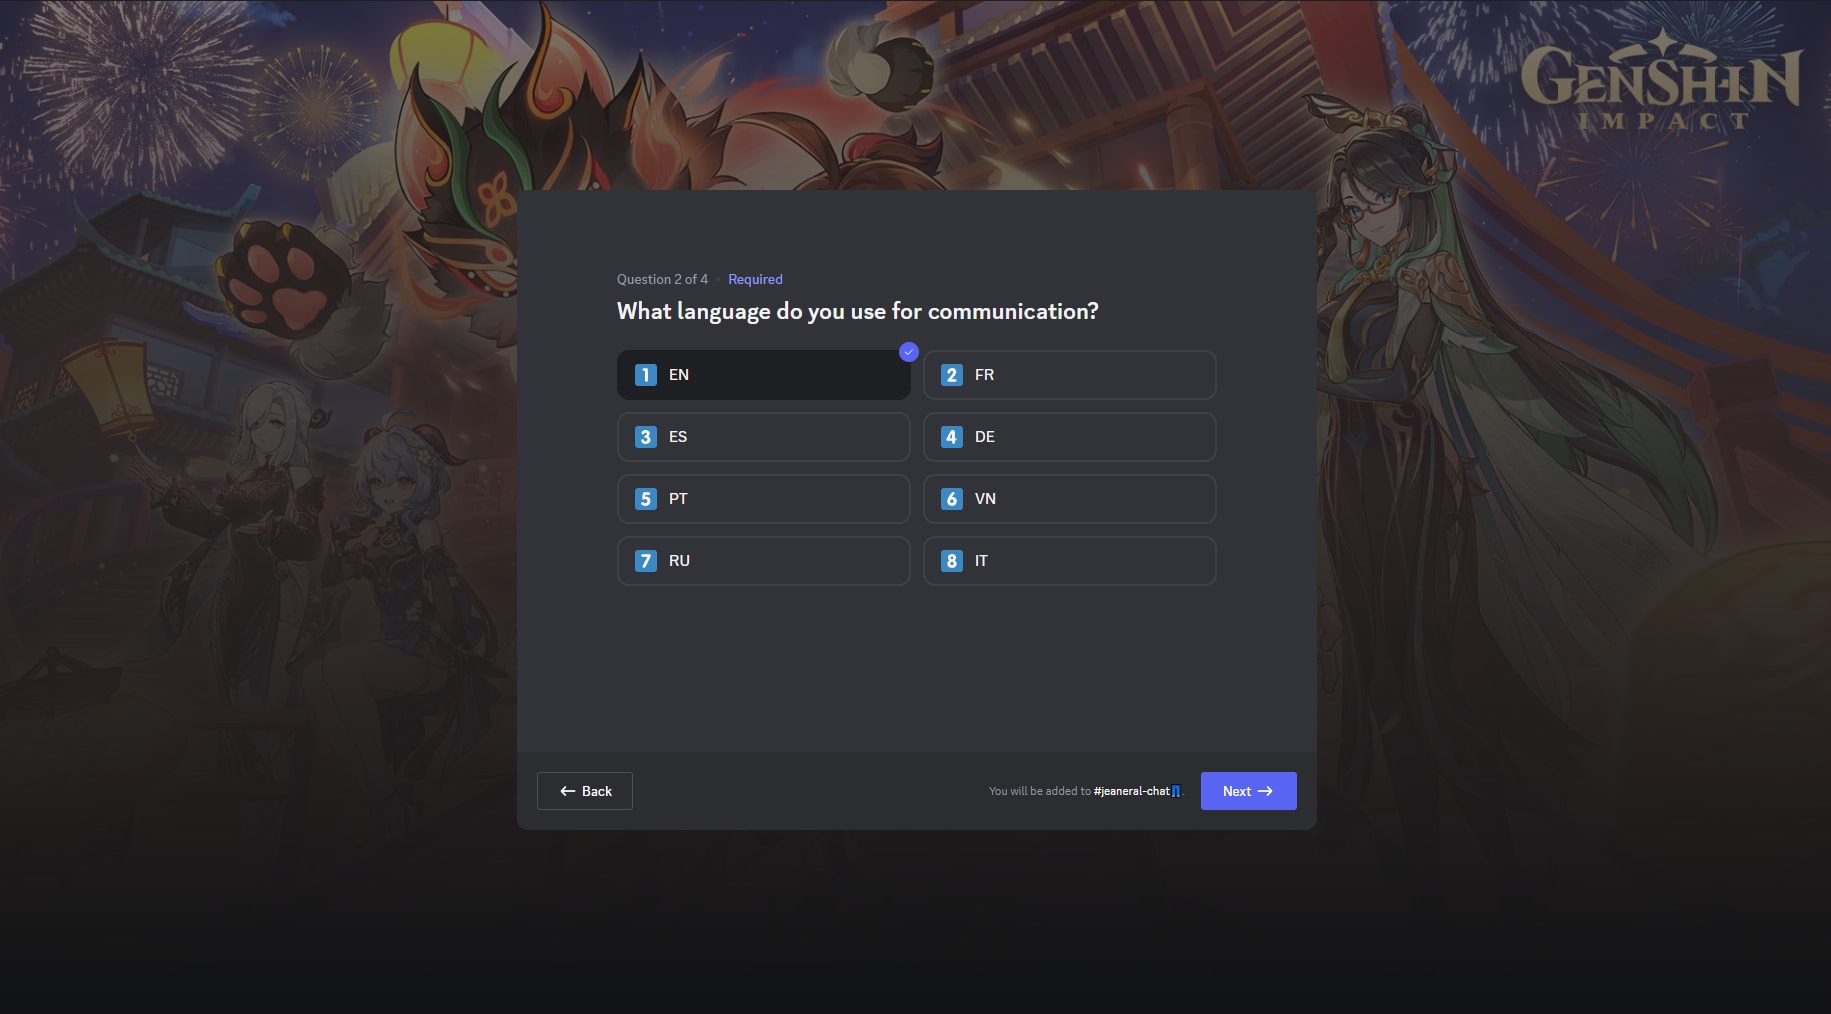
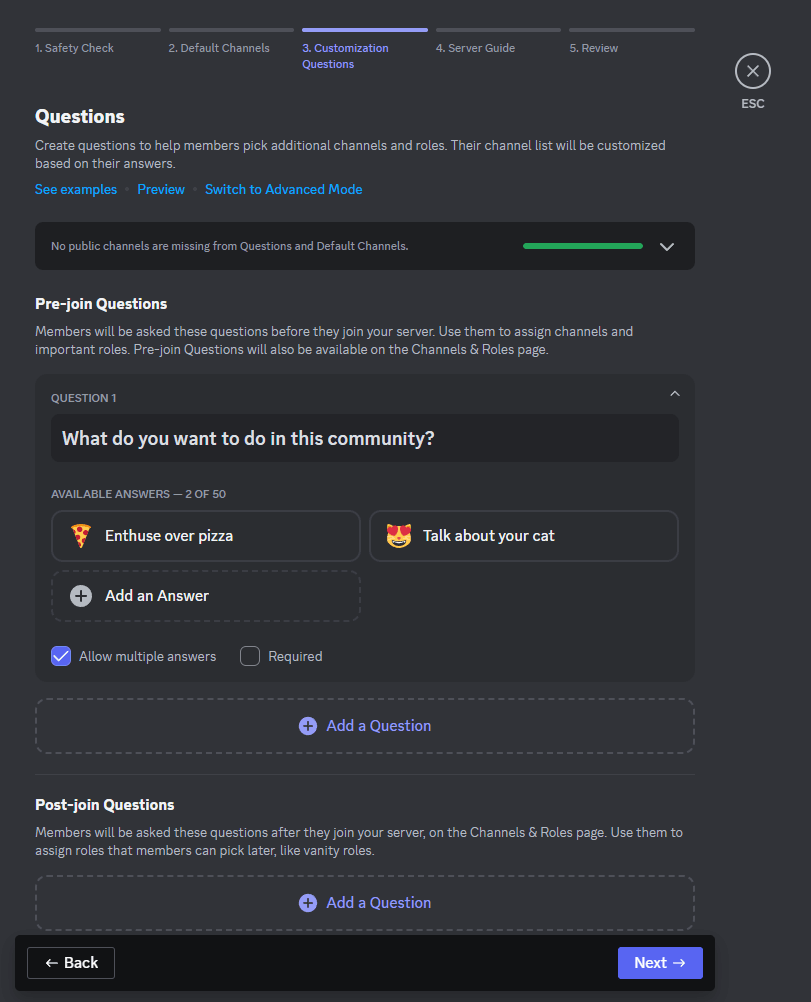
In the next step, you'll create customization questions to sign users up for relevant channels and roles. Click on an existing question or answer to edit it, and choose Add a Question to add more. These questions fall into two categories:
Pre-join questions, for before members join your server, work well for setting someone up with their fundamental roles and channels.
Post-join questions, for after members join your server, fit roles and channels to choose whenever.
Once you finish setting up your questions and answers, you'll get the prompt to make a welcome sign, member to-dos, and resource pages. The page that will include these items will give new members a setup process and provide existing members with resources to reference.
Click Set Up Welcome Sign to create a welcome message from one of your administrators.
Under New Member To Do's, choose Add a task to add a setup task related to visiting or sending a message in a channel.

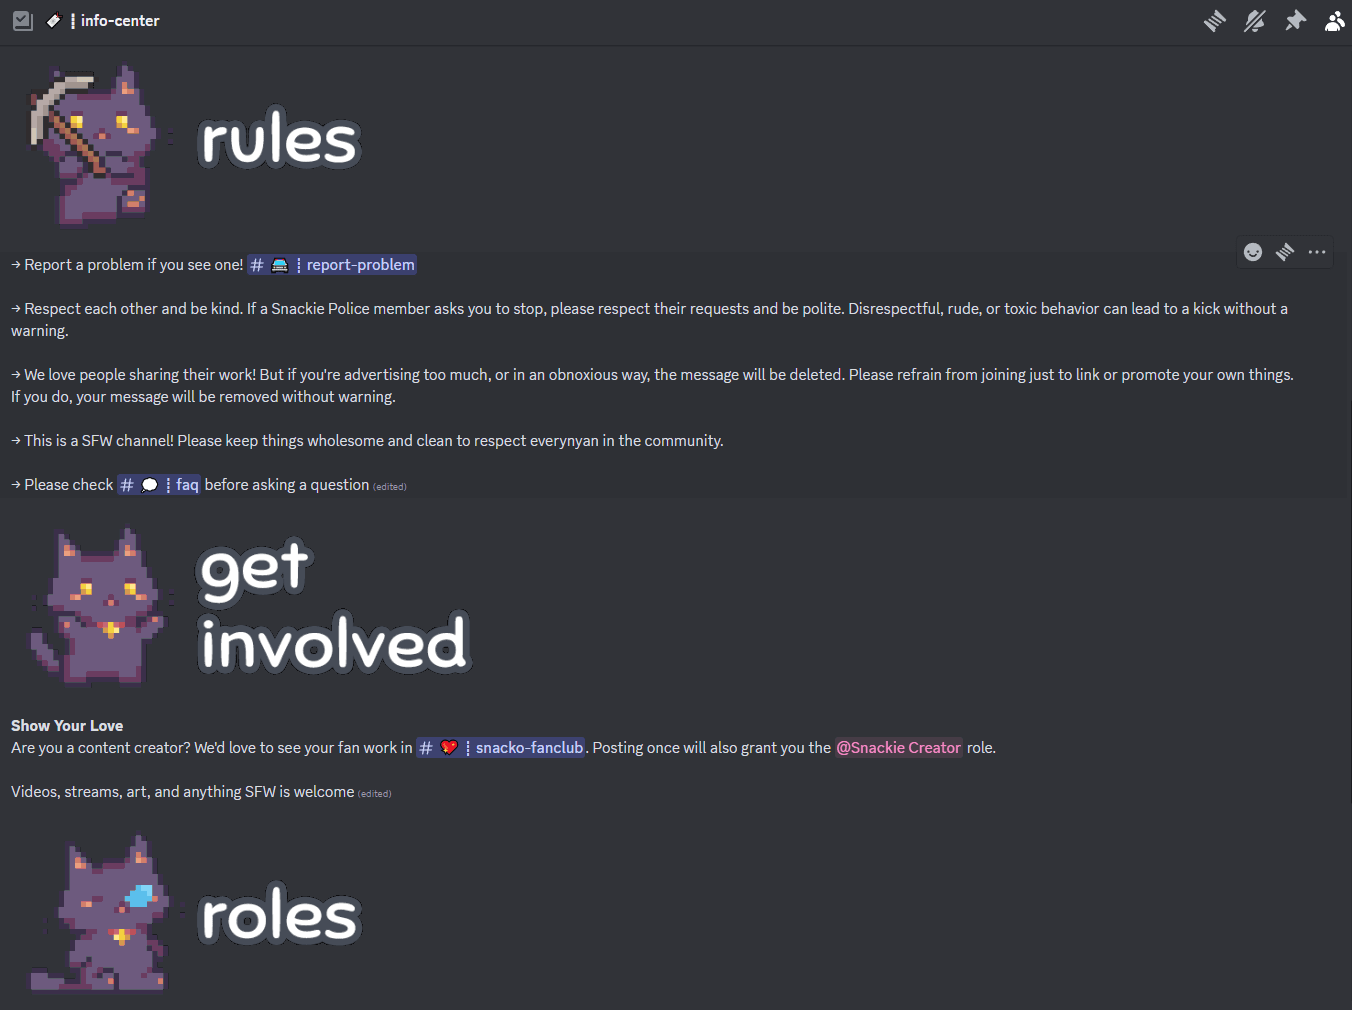
Optionally, you can add a resource page in the form of a channel. Here's a resource page from the Discord server for the video game Snacko as an example.
Note: On some servers, you may see a welcome screen with a welcome message and recommended channels. This is a legacy feature that you can't add or edit anymore.
3. Set up bots that assign roles
You can use Zapier to automatically assign roles to someone who reacts to a message. That means you can have members assign themselves roles based on interests. Depending on how you set up your server, you can also have roles change the color of someone's name and give them access to certain channels. Here's a pre-made workflow to set this up on your server.
With this process, you can create a self-serve channel curation process. Have people choose the roles that let them see the channels and pings they want. Even if you have an onboarding experience for your community members, you can use this method to give them extra control over their roles.
Here's a more detailed walkthrough of how to create Discord reaction roles with Zapier.
Zapier is a no-code automation tool that lets you connect your apps into automated workflows, so that every person and every business can move forward at growth speed. Learn more about how it works.
4. Make a rules or general information channel

Give newbies an overview of your community with a rules or general information channel near the top of your server list.
Using the Zap mentioned above, you could even assign a role that grants access to the rest of your server's channels after someone reacts to a message listing your rules. This trick acts as an unofficial screening feature to ensure new members read your rules.
Already have a verified community? Use the rules screening feature to build this process into your server.
5. Build a Discord welcome bot

You can build a Discord bot without code to create custom Discord welcome messages. This works for more than just welcoming new people—think of it as an extra touch for any experience on your server.
What to include in your welcome experience
Since new Discord server members come across a few touch points when they join, think of the process as a "welcome experience" rather than a quick greeting. Here's some of the information you should include in that experience.
A tl;dr of your server
Explain your server's purpose in a sentence or two. A great place for this could be one of your intro channels, where you could also add links to your site and socials. Here's how the German Learning and Discussion server summarizes its purpose in its #info channel.

If you have a community server, you should also fill out your server's About description so members can read it in your Server Guide. Here's how the indie game Phasmophobia does it.

Rules overview or link to rules channel
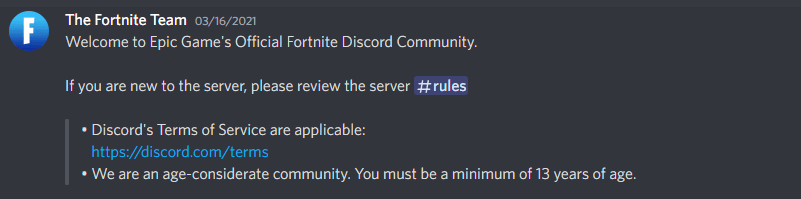
If you have a few server rules, you can include them in your welcome channel or server summary. You could also highlight your most important rules and direct new folks to your full list of rules. The official Fortnite server, for example, notes that it's open to users 13 and older in its #welcome channel but then links out for the rest.
Many large servers have a dedicated space for rules. Community servers can include rules in their welcome screens or have a built-in screening process. Meanwhile, regular servers can have a rule channel.
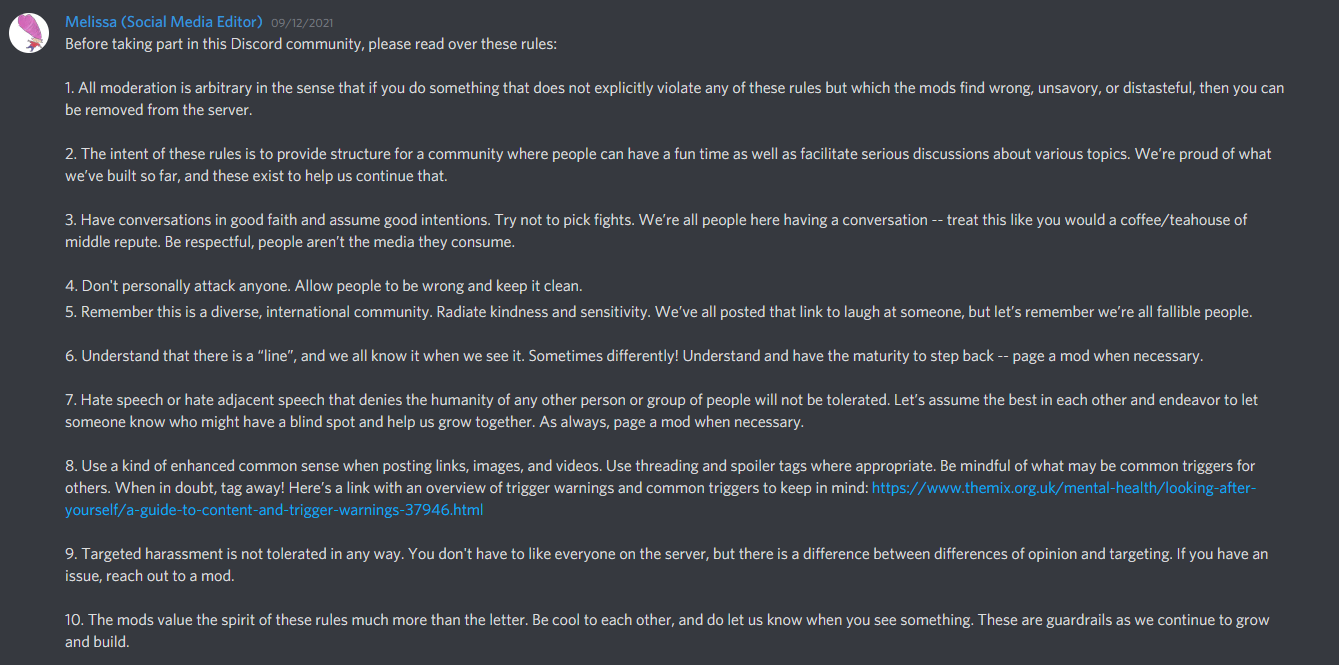
I help run a Discord server for a publication called Unwinnable. We have a pretty thorough rules list.

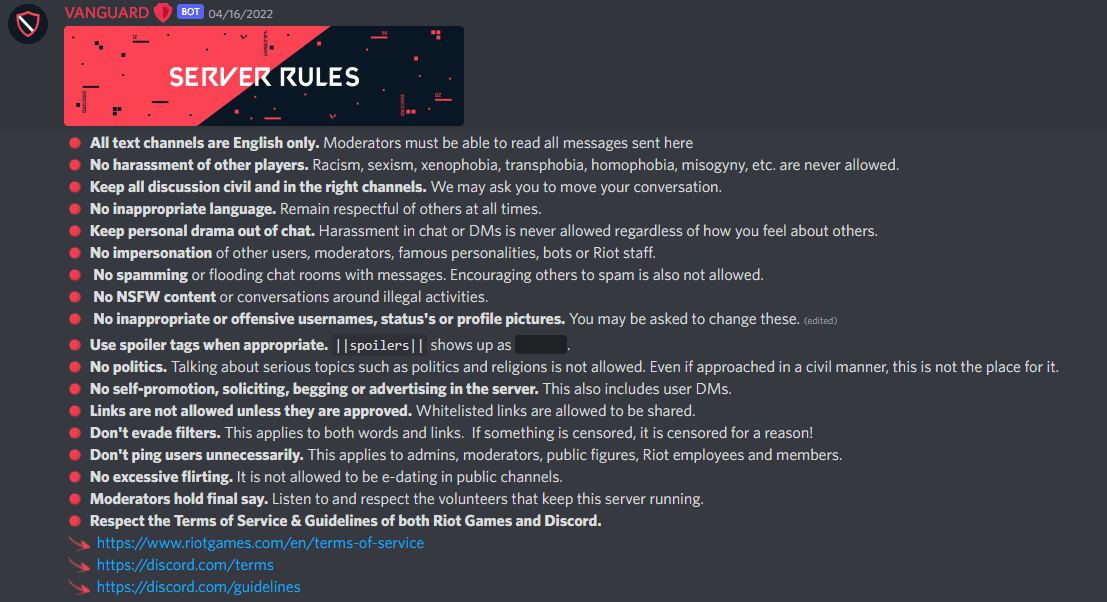
The VALORANT Discord server keeps its rules channel clean.
Channel tour
Get your newcomers familiar with your channels. Explain your channel categories, note the most popular channels, and send people to the channels they should visit first.
Your onboarding experience will help your members get familiar with your channels. From there, you can use a dedicated channel or include a list in one of your info channels. An unofficial Animal Crossing: New Horizons server has a comprehensive directory in its server information channel.

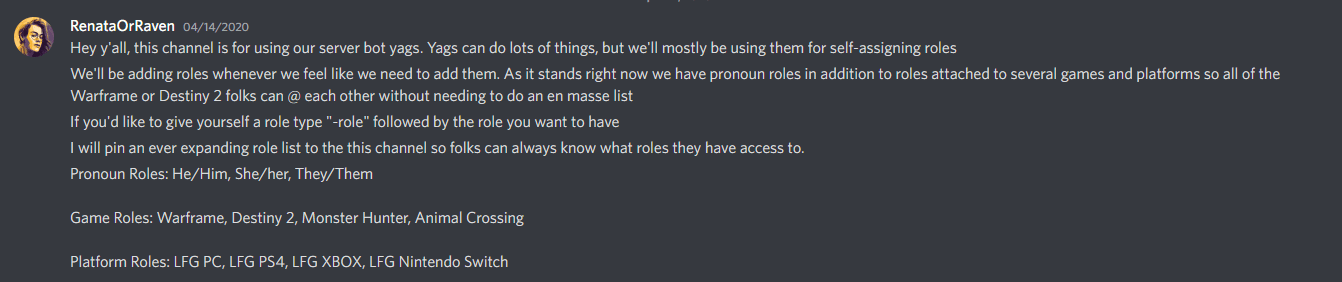
Role instructions
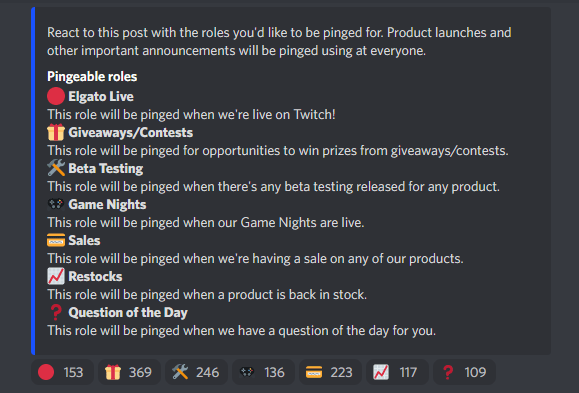
If you decide to use bot-granted roles to manage channel access and organize members, your newcomers will need directions. Most servers include directions alongside the bot message in a bot-specific channel. Video game website Fanbyte outlines exactly how its role bot works on its server:
Introduction template for newcomers
If you have an intro channel, try creating a pinned message with a template newcomers can use to introduce themselves.
For example, you could give them a questionnaire to fill out with fields such as:
Name
Pronouns
Favorite food
Hobbies
Pets
Favorite color
These ideas lean more towards B2C customers, but if you're more of a B2B business, you could include fields related to their jobs, such as their titles.
Still considering Discord for your business?
If you came across this article while figuring out what you can do with Discord for your business, here are a few more resources to review:
Discord suits certain industries and situations better than others, but if your business fits the bill, it gives you great opportunities to build a fulfilling community.
This article was originally published in August 2022. The most recent update was in February 2024.


