Do you store data across multiple spreadsheets? Or perhaps one team prefers using Excel and another relies on Google Sheets—but they all need to contain the same information.
That's all well and good, but what happens when you need to make updates to one of those spreadsheets? You can, of course, try to update all your spreadsheets manually, but it's easy to let data fall through the cracks.
That's why you should think about connecting Google Sheets with Excel so you can automate that data transfer. In this article, I'll first show you how to convert Google Sheets to Excel by exporting and importing them. Then, I'll show you how to do it the easy way—by automating it with Zapier.
Table of contents
How to convert Google Sheets to Excel
While neither Google Sheets nor Excel support a native integration, there are a few workarounds that allow you to transfer Google Sheets data into an Excel sheet. The first is to export your Google Sheet as an Excel file. To do this, follow these steps:
Open your Google Sheet with the data you want to transfer
Click File, then Download
Select Microsoft Excel
Open your xlsx file
You can also import your Google Sheets data to Excel. These are the steps:
Open your Google Sheet
Click File, then Share
Next, select Publish to the Web
Select the format you want to save your sheet in
Click Publish and copy the link
Next, open your Excel spreadsheet and click Data, then From Web
Paste in your copied Google Sheets link, and click Import
Why you should use Zapier instead
While those workarounds will create an Excel file of your Google Sheet, there are some limitations. For example, any changes made in Google Sheets after importing or exporting the file won't be automatically reflected in the Excel file. Because it doesn't dynamically update, you'd need to repeat the process every time new data gets added.
Zapier, on the other hand, lets you connect Google Sheets to Excel so you can automatically transfer data between the two and carry out tasks in real-time, dynamically. That means whenever new data gets added to a Google Sheet, Zapier will automatically send that to Excel, without manual intervention.
New to Zapier? It's workflow automation software that lets you focus on what matters. Combine user interfaces, data tables, and logic with 6,000+ apps to build and automate anything you can imagine. Sign up for free.
Popular ways to integrate Google Sheets with Excel
If you manage a business, you and your teams might use multiple databases and spreadsheets to store data. These processes can vary across departments, so it's not uncommon. The problem? Keeping all your customer, company, and operations data up to date and in sync across your apps, especially when someone inevitably updates something.
To keep your spreadsheet data consistent across all sources, you can use these Zaps to automatically save Google Sheets rows in Excel—and vice versa.
How to connect Google Sheets with Excel using Zapier
Now, let's walk through the process of integrating Google Sheets with Excel using Zapier. In this case, we'll focus on one specific workflow—adding new Google Sheets rows to Excel—but you can follow similar steps to set up other workflows between Google Sheets and Excel.
If you'd like to start with a Zap template, you can use this one to get started:
Before you begin
You'll need to create a Zapier account to get started. Don't worry, creating an account is easy and free. Just head right here. You'll also need a Google Sheets account and an Excel account.
For both the Excel and Google Sheets spreadsheets you want to use in your Zaps, you'll also need to make sure you have a header row in each with the column titles you'd like to use. Zapier will use these to set up your Zap.
Once you're signed in to your Zapier account, you can create new Zaps by clicking the Create Zap button or by going to zap.new.
Step 1: Connect your trigger app
A Zap always consists of two parts:
The trigger: an event that starts a Zap.
The action: an event a Zap performs after it's triggered. A single Zap can perform more than one action.
Depending on the workflow you're setting up, your trigger app could be Google Sheets or Excel.
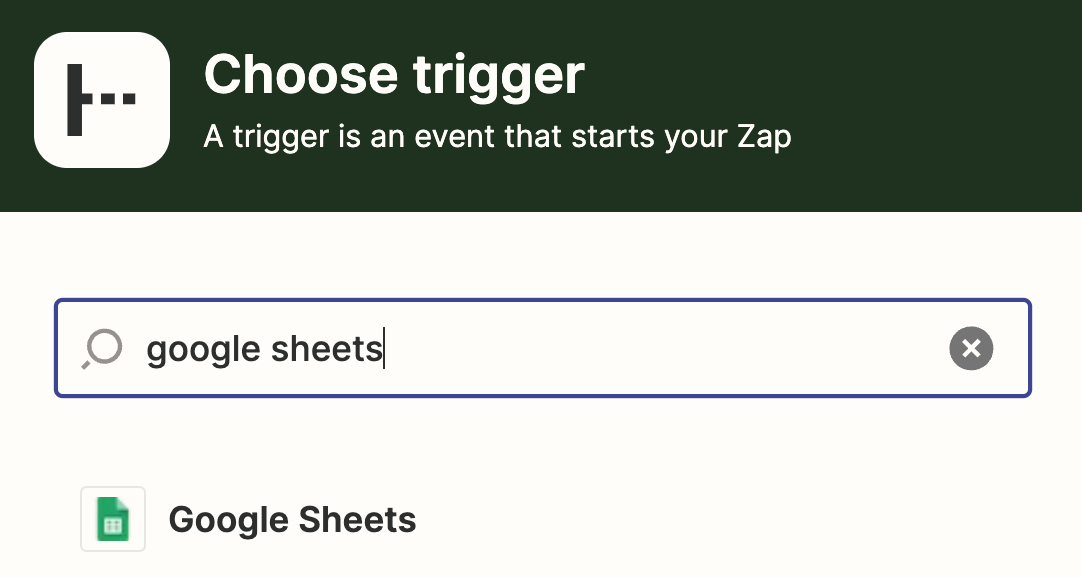
Search for and select your trigger app. In our example, we'll select Google Sheets for our trigger app.
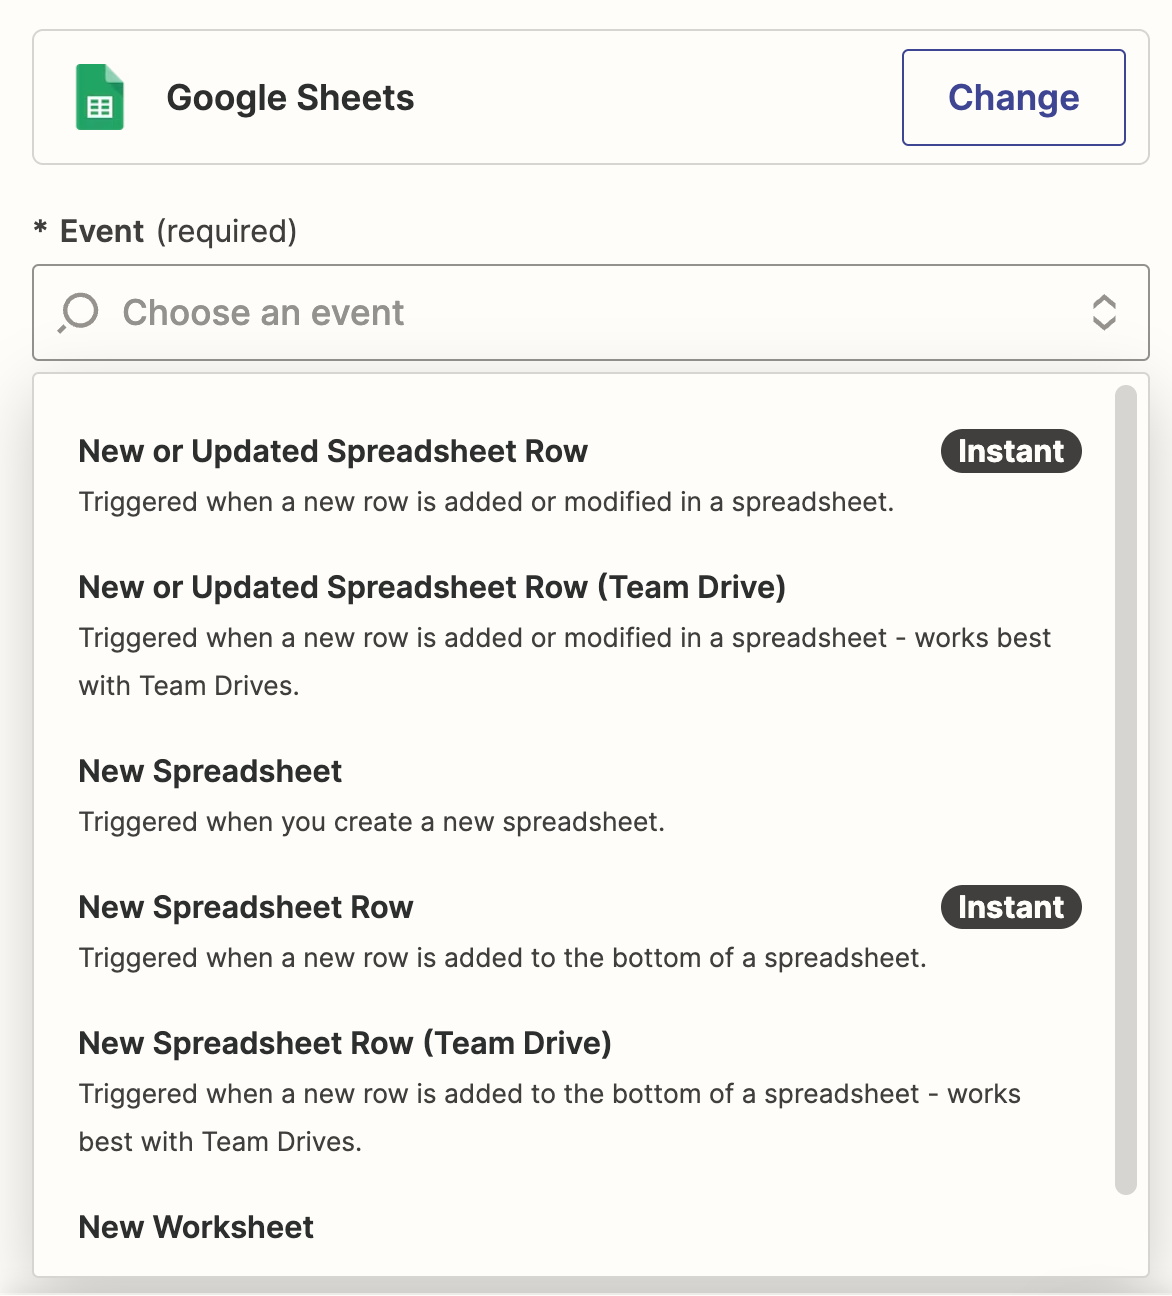
Then select your trigger event. If your trigger app is Google Sheets, your Zap can trigger for new and updated spreadsheet rows, new spreadsheets, new worksheets, and more.
If your trigger app is Excel, your Zap can trigger on a new row, new row in table, new workflow, and more.
Select your trigger event and click Continue. We're going to select New or Updated Spreadsheet Row for our example.
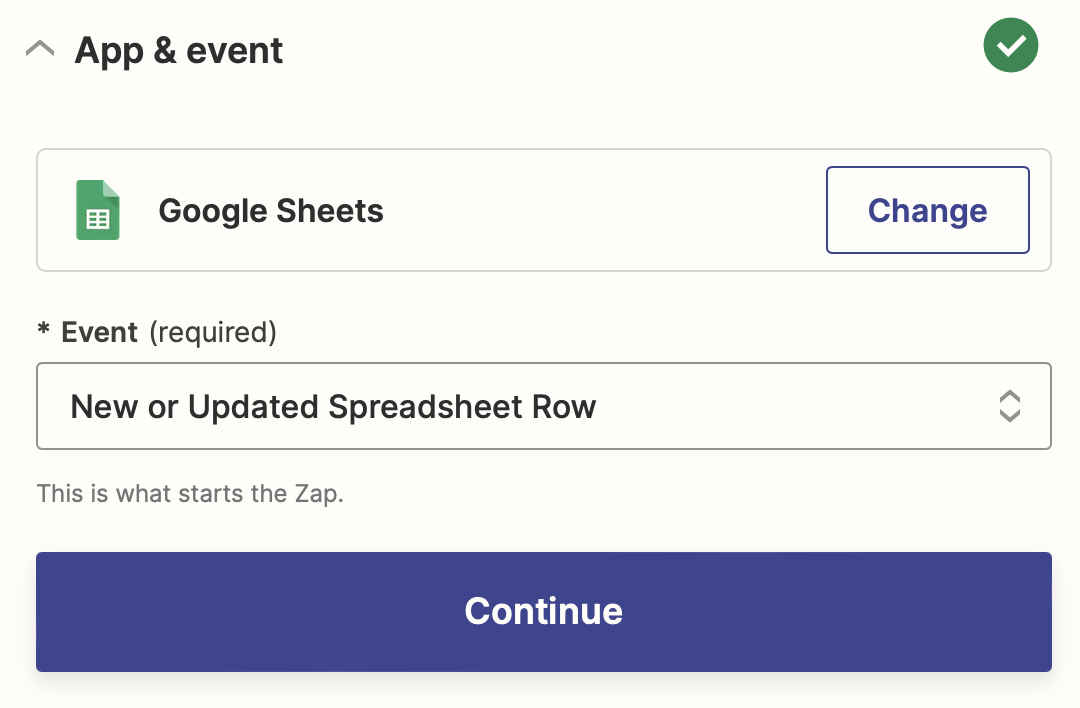
Next, connect your action app account to Zapier by clicking Sign in. In our example, we'll connect Google Sheets. You'll need to give Zapier permission to access your app account. Once you've connected your account, select it from the dropdown menu and click Continue.
Next, set up your trigger step by filling in the trigger step fields. Depending on your trigger app and event, you'll have different fields to customize.
For our example, we'll tell Zapier which Google Sheets spreadsheet and worksheet we want to trigger the Zap.
Under the Spreadsheet field, click on the dropdown to select your Google Sheets file. Then, click on the dropdown under the Worksheet field to select a specific Worksheet. If you don't have multiple worksheets within a single file, it will usually be Sheet1.
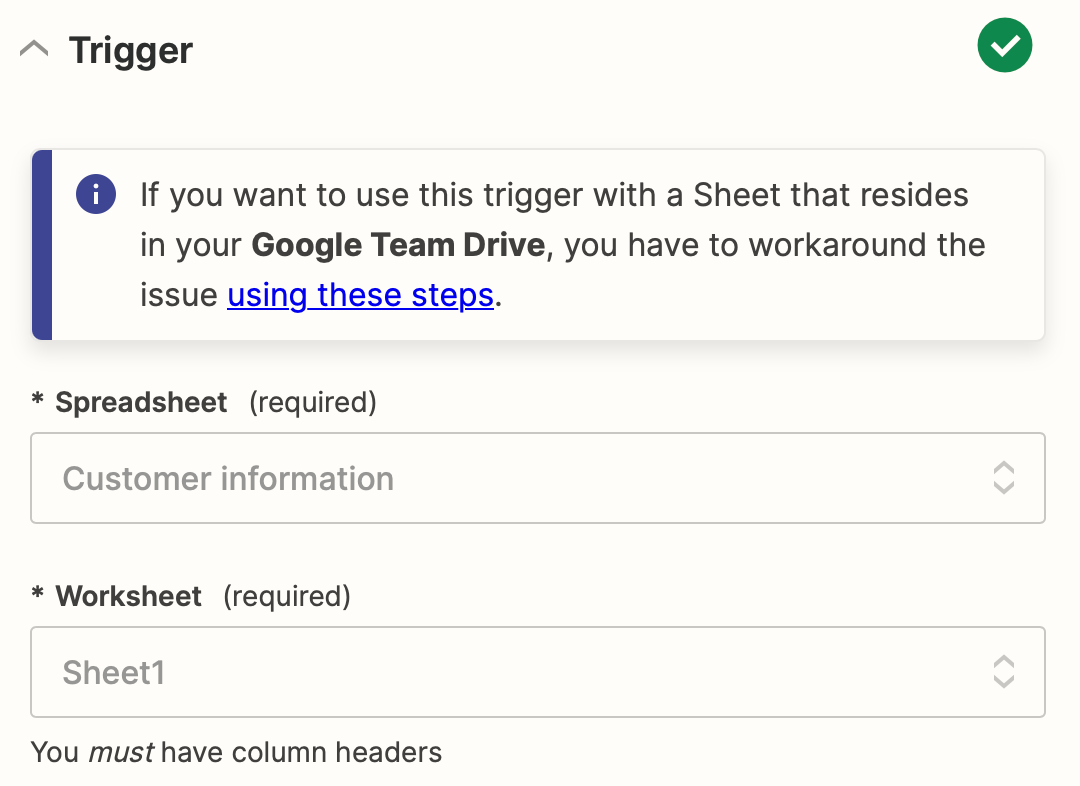
Click Continue.
Now it's time to test your trigger. Zapier will find an existing row from your Google Sheet to use as sample data. This information will be used in later steps to finish building the rest of your Zap. Click the Test trigger button.
Select which sample you'd like to use to set up your Zap, then click Continue with selected record.
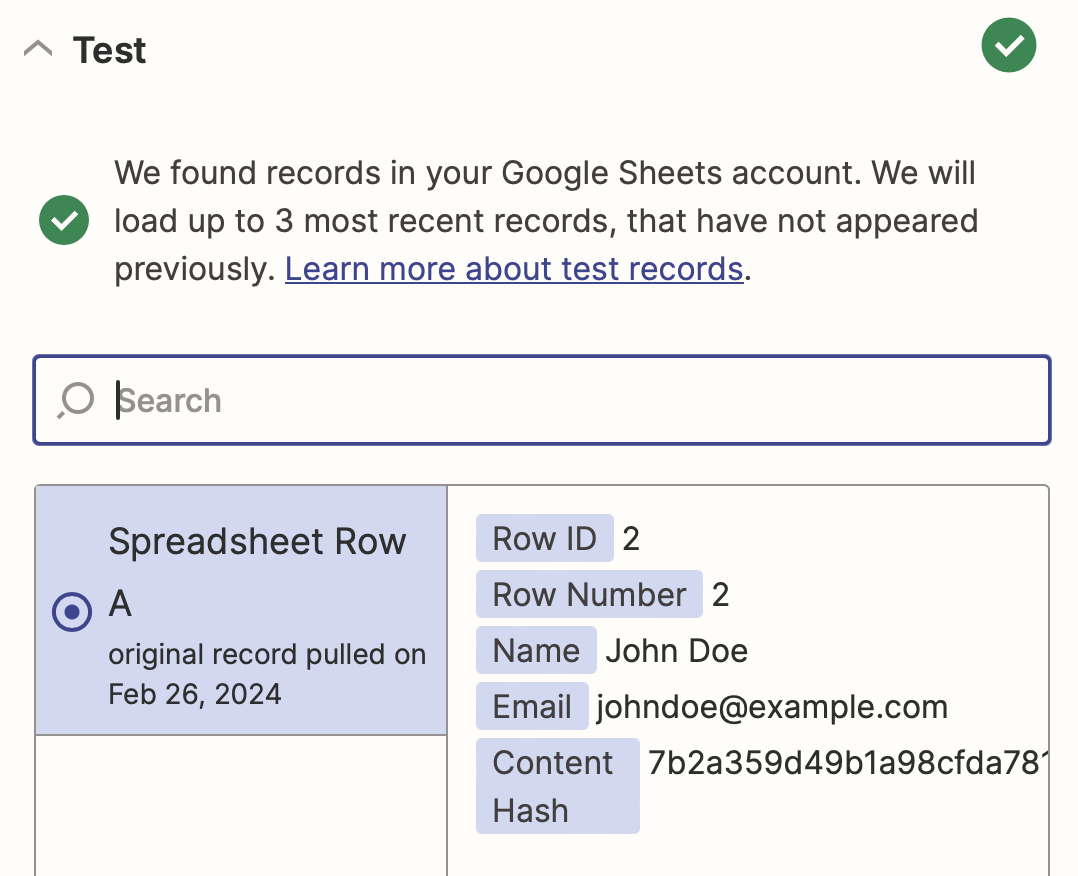
Once everything looks right, click Continue.
Step 2: Connect your action app
In this next step, you'll set up the action—the event your Zap will perform once it's triggered. Start by searching for and selecting your action app. We'll use Excel in our example.
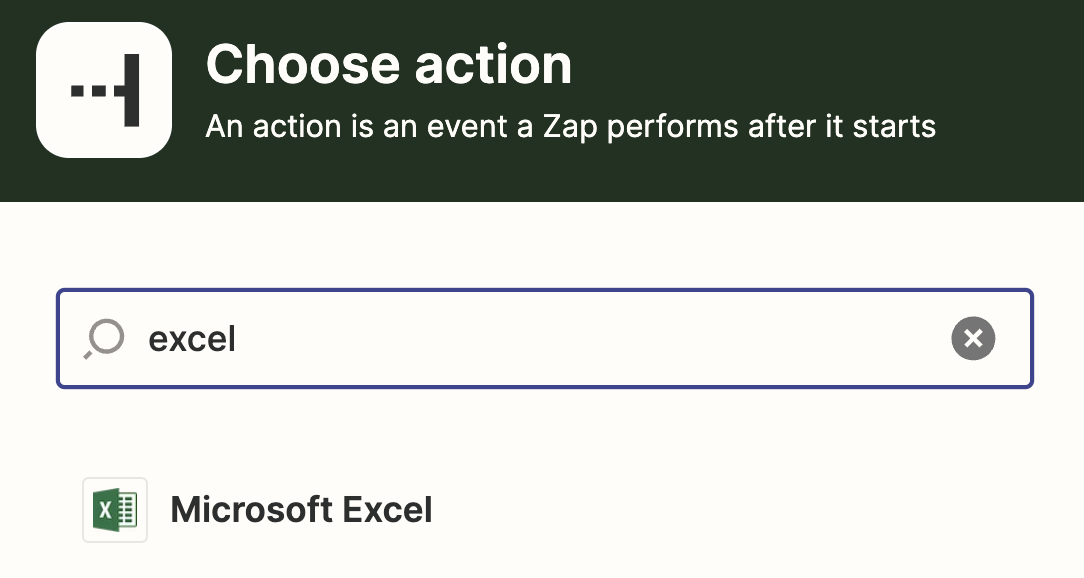
Next, choose your action event. If your action app is Excel, your Zap can add or update a row, add a new spreadsheet, and more.
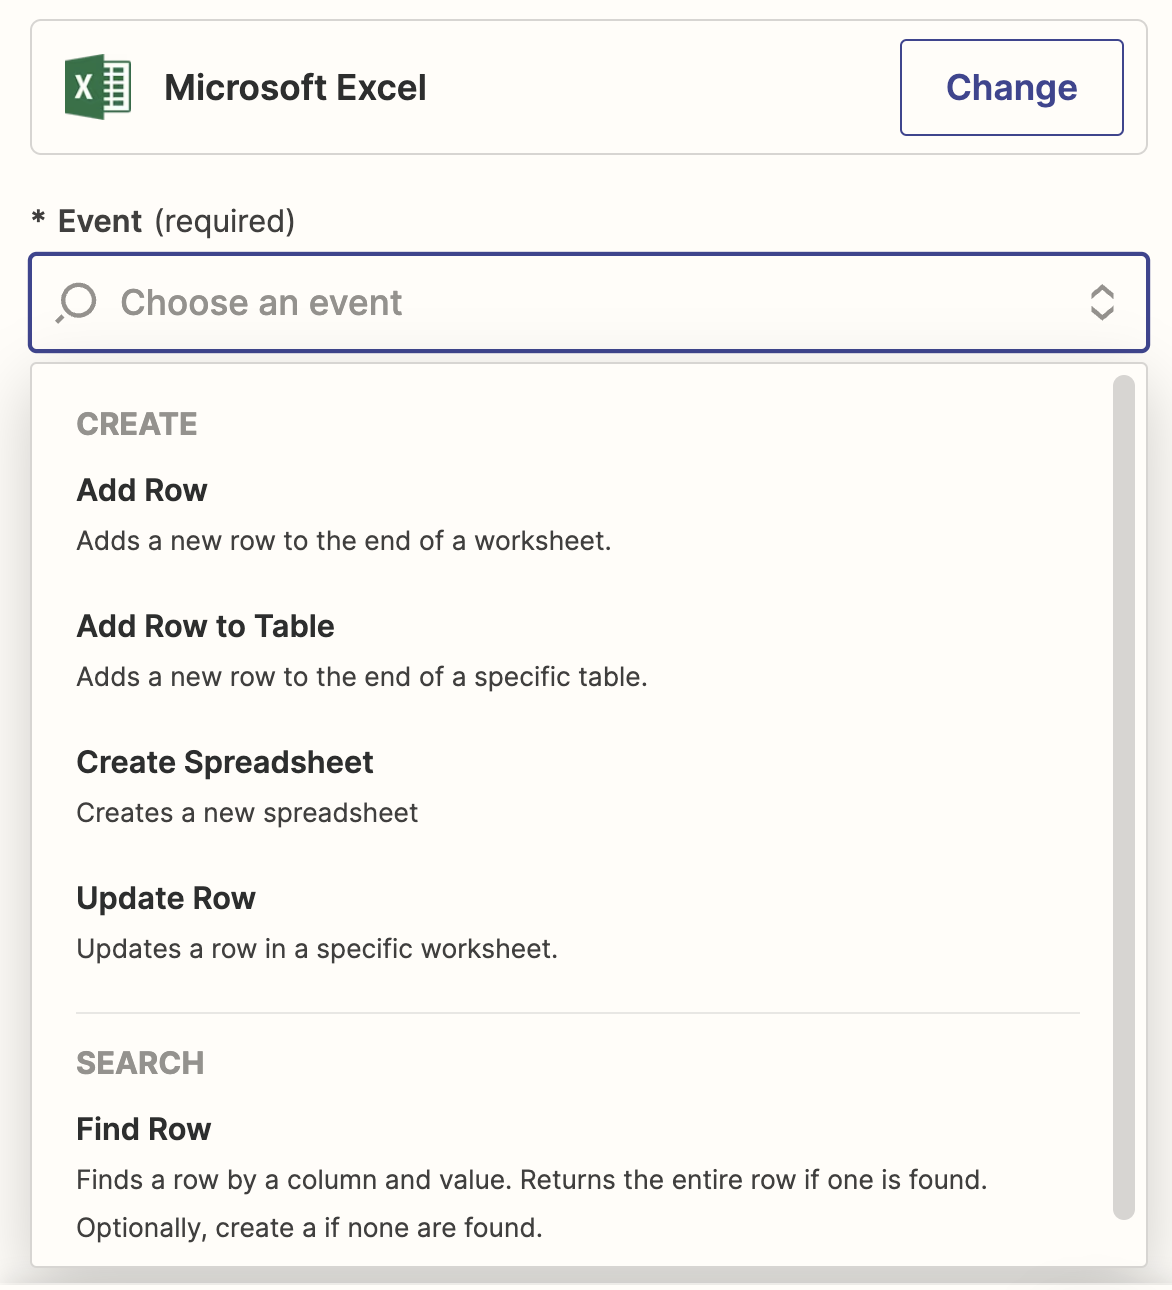
If your action app is Google Sheets, your action event can create a new spreadsheet, add a new row, and more.
Select your action event and click Continue. We're going to select Add Row for our example.
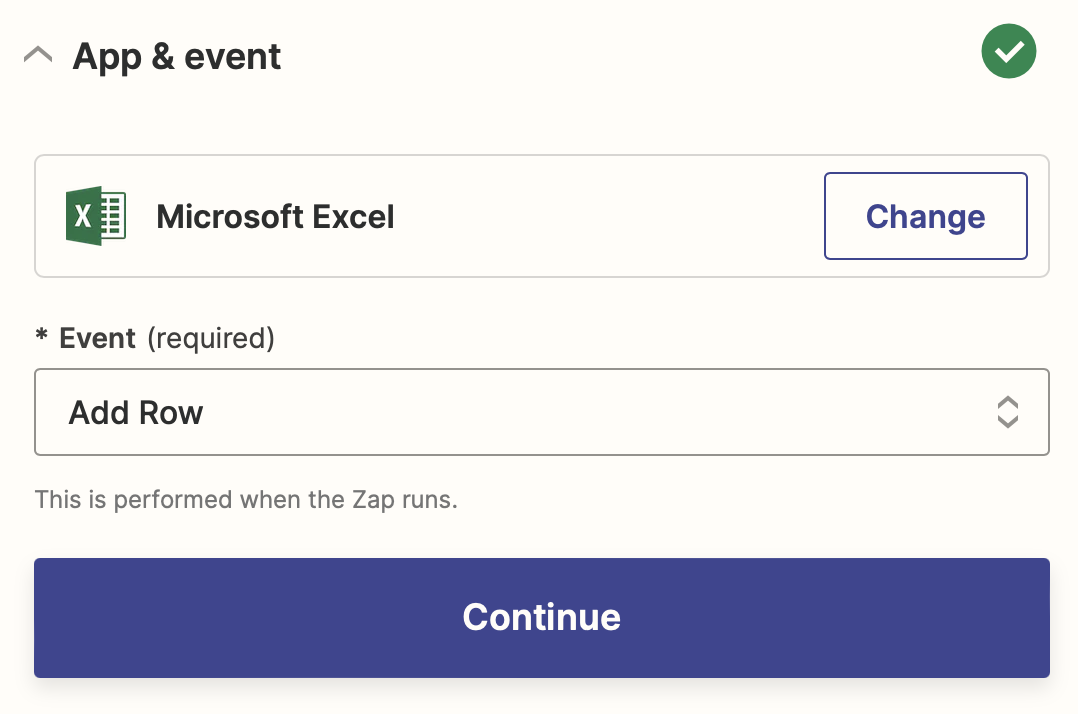
Next, connect your action app account to Zapier by clicking Sign in. In our example, we'll connect Excel. You'll need to give Zapier permission to access your app account. Once you've connected your account, select it from the dropdown menu and click Continue.
Now, it's time to customize your action step. Next, set up your action by filling in the action step fields. Depending on your action app and event, you'll have different fields to customize.
In our example, the fields that show up in your Zap will be based on your Excel spreadsheet.
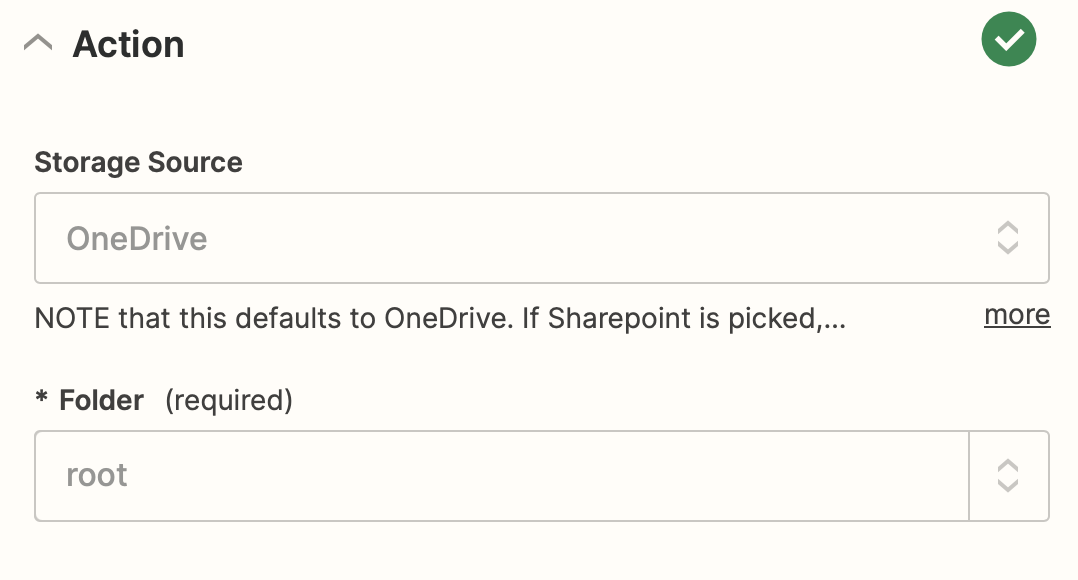
By default, Zapier will select your OneDrive account in the Storage Source field. Next, select the Folder where your Excel spreadsheet is saved. If this is in the root OneDrive folder, you don't need to select anything here.
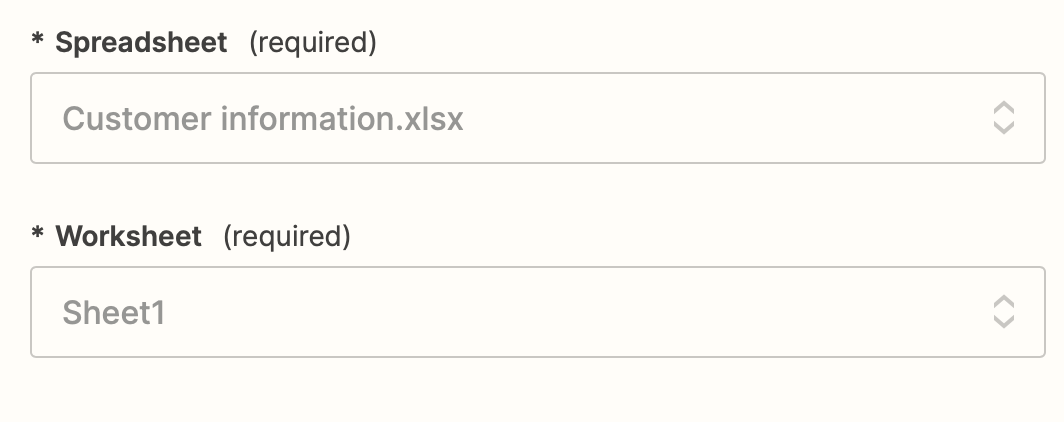
In the Spreadsheet field, select the spreadsheet you want to transfer Google Sheets data to. Then select the appropriate worksheet in the Worksheet field. By default, this will be Sheet1, but you can select a different worksheet if you need.
Once you've selected your spreadsheet and worksheet, the Zap will add fields for the columns you added earlier. Now, you can map the data from Google Sheets to these columns so your spreadsheet is properly filled out.
For our example, we'll map the Name data from Google Sheets to the Name field, Email address to the Email address field, etc.
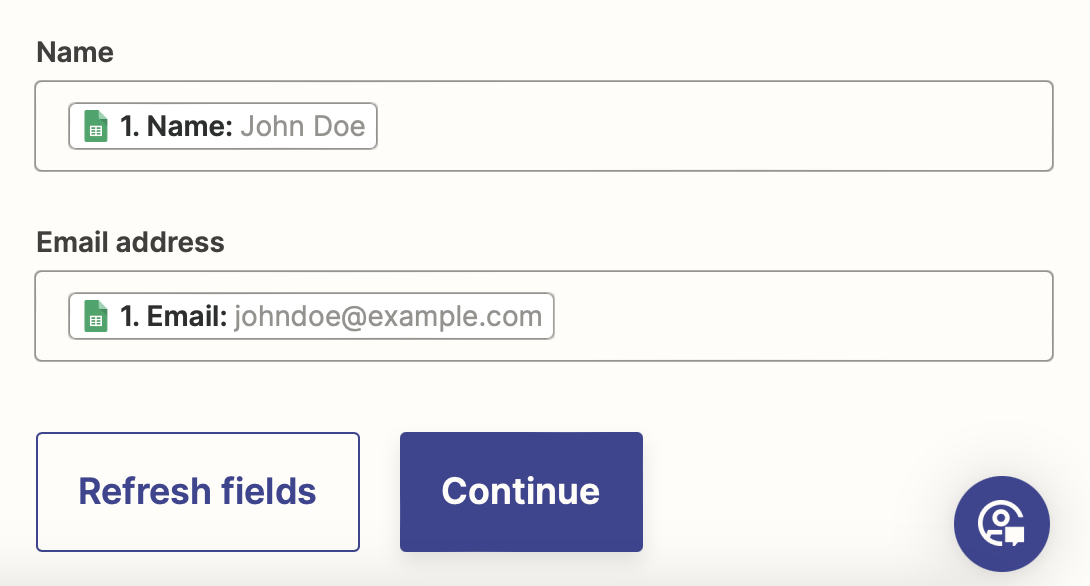
Once you've finished setting up your action step, click Continue.
Now it's time to test your action. When you click Test step, Zapier will send test data to your action app. In our example, Zapier will add a new row to Excel with information gathered from our Google Sheet.
Open the Excel spreadsheet you created, and you'll find the sample data in a new row. Here's what our sample data looked like.

If everything looks right, you're ready to publish your Zap. Now, every time a new row is added or updated in Google Sheets, it will go to your new Excel spreadsheet.
Build a Excel Google Sheets integration
No matter how you go about passing data from Google Sheets to Excel, connecting the two helps you keep your duplicate spreadsheets synced and up to date.
Plus, connecting the two via Zapier moves data between the two—automatically and in real time. You get the full flexibility of building custom, automatic workflows that do the heavy lifting for you.
