Connect TicketSpice and WordPress to power AI-driven automation
- No-code AI automation
- Full audit trails and controls
- SOC 2 and GDPR compliant
- Easy visual workflow builder
- 8,000+ apps, 450+ AI tools
- Free tier available
How Zapier works
Zapier makes it easy to integrate TicketSpice with WordPress - no code necessary. See how you can get setup in minutes.
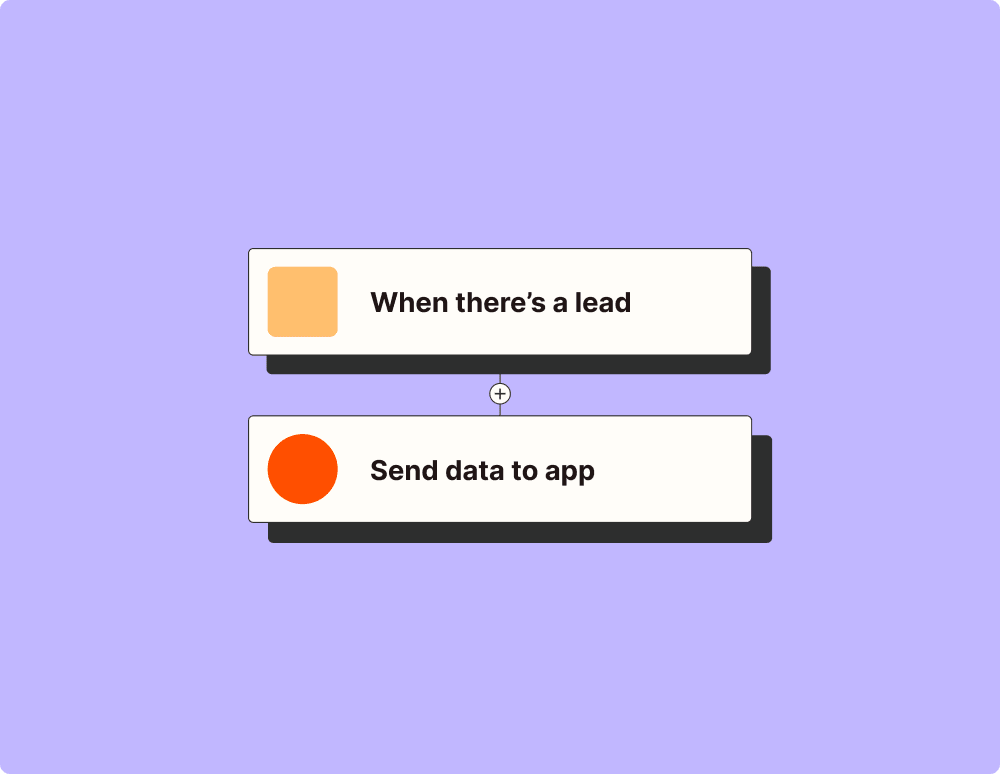
Choose a trigger
A trigger is the event that starts your Zap—like a "New Order" from TicketSpice.
Add your action
An action happens after the trigger—such as "Upload Media" in WordPress.
You’re connected!
Zapier seamlessly connects TicketSpice and WordPress, automating your workflow.
Supported triggers and actions
Zapier helps you create workflows that connect your apps to automate repetitive tasks. A trigger is an event that starts a workflow, and an action is an event a Zap performs.
- CampaignsRequired
Try ItTriggerInstant- Status
Try ItTriggerPolling- Post_status
- Post_type
Try ItTriggerPolling- Updated User
Triggers when a user is updated.
Try ItTriggerInstant
- CampaignsRequired
Try ItTriggerInstant- New Media
Triggers when a new media is uploaded.
Try ItTriggerPolling - Post_types
- Post_statuses
- Trigger only when state changes?
Try ItTriggerInstant- New User
Triggers when a new user is created.
Try ItTriggerPolling
Zapier is the automation platform of choice for 87% of Forbes Cloud 100 companies in 2023


93%
Customers who say using Zapier has made them better at their job
25m
Customers have created over 25 million Zaps on the platform
6 mins
The average user takes less than 6 minutes to set up a Zap
Connect TicketSpice and WordPress to integrate crucial parts of your business
With Zapier, you can integrate everything from basic data entry to end-to-end processes. Here are some of the business-critical workflows that people automate with Zapier.
Automate your lead management and improve conversions
Create more impactful campaigns with automation

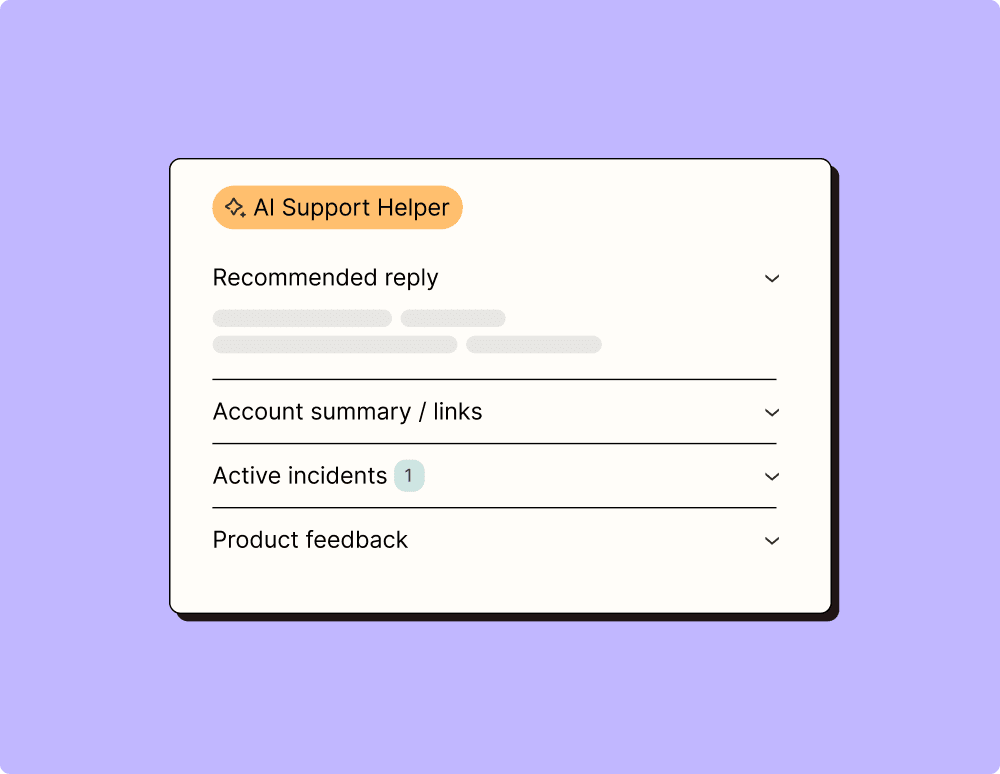
Provide world-class support with a little help from automation
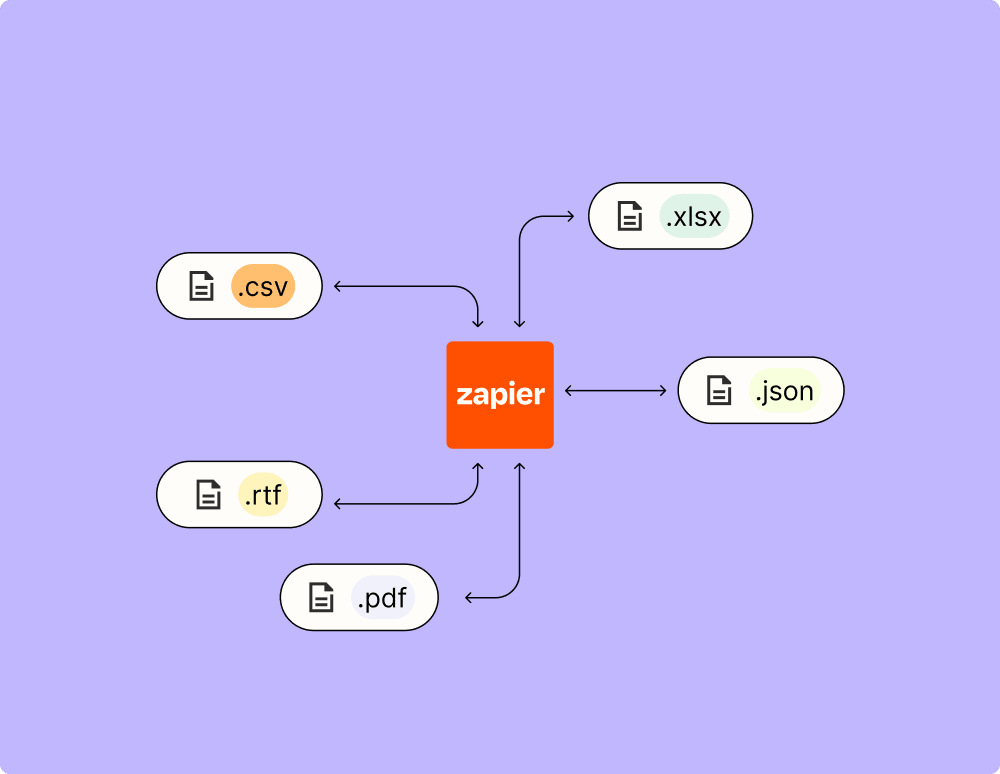
Automate your way to actionable, up-to-date data
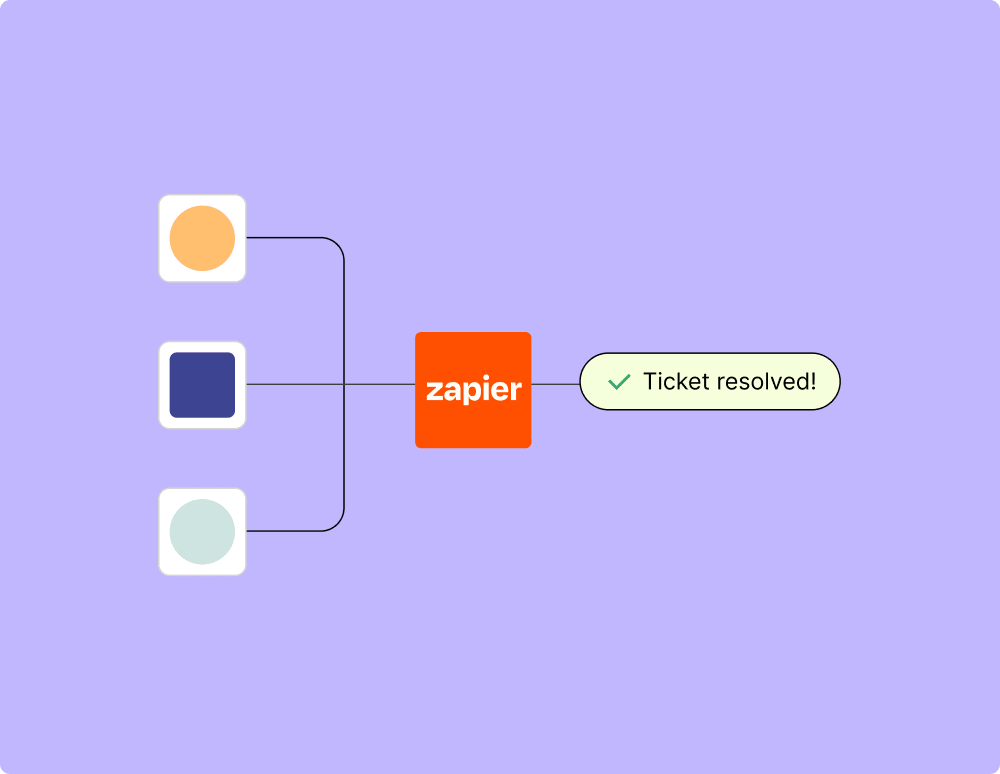
Resolve incidents faster with automation
Learn how to automate WordPress on the Zapier blog

Frequently Asked Questions about TicketSpice + WordPress integrations
New to automation with Zapier? You're not alone. Here are some answers to common questions about how Zapier works with TicketSpice and WordPress
How do I integrate TicketSpice with WordPress?
Integrating TicketSpice with WordPress can be easily done using plugins that support embedding TicketSpice forms or by utilizing third-party integration services. You can embed your TicketSpice ticketing page directly onto a WordPress site using an HTML block, or you can use APIs to automate processes like syncing attendee information.
What triggers are available for TicketSpice and WordPress integration?
When integrating TicketSpice with WordPress, common triggers include new ticket purchases, attendee registration updates, and event creation in TicketSpice. These triggers can be set up to initiate specific actions within your WordPress site.
What actions can I automate with the integration between TicketSpice and WordPress?
You can automate various actions such as updating event pages when a new ticket is purchased, sending confirmation emails via your WordPress mail service upon attendee registration, or publishing announcements for new events created in TicketSpice directly on your site.
Do I need technical skills to set up the integration between TicketSpice and WordPress?
While some technical skills might help customize the integration further, basic steps like embedding forms or using plugins do not require advanced knowledge. Our tools are designed to be user-friendly to accommodate those without extensive technical backgrounds.
Can I customize the appearance of my TicketSpice forms on WordPress?
Yes, you can customize the look and feel of your ticketing forms when integrated into WordPress. This often involves adding custom CSS or picking from predefined themes if you are using a plugin designed for customization.
Is there a way to track conversions from my website through this integration?
Integrating analytics tools with your setup allows you to monitor conversions directly from your website. You may link tracking codes on both platforms to gather data on ticket purchases initiated from your WordPress site.
Are there any limitations I should be aware of when integrating these platforms?
Occasionally, certain limitations around data synchronization speed or plugin compatibility might arise. It's important to ensure both platforms are kept updated and that you test integrations thoroughly during initial setup.


