Top companies trust Zapier to automate work that solves their unique business problems—no coding required.
How Zapier works
Zapier makes it easy to integrate Salesforce with Schedule It - no code necessary. See how you can get setup in minutes.
100%
Help
Salesforce
Salesforce
1. Choose trigger event
Schedule It
Schedule It
2. Choose action
1. Select the event
Setup
Test
Salesforce
Choose a trigger event
Choose a trigger
A trigger is the event that starts your Zap—like a "New Case Attachment" from Salesforce.
Add your action
An action happens after the trigger—such as "Create Event" in Schedule It.
You’re connected!
Zapier seamlessly connects Salesforce and Schedule It, automating your workflow.
Supported triggers and actions
Zapier helps you create workflows that connect your apps to automate repetitive tasks. A trigger is an event that starts a workflow, and an action is an event a Zap performs.
New Case Attachment
Triggers when a new Attachment is added to a case.
Create a new record or update an existing record in your app.
Resource Schedule
Required
Start Date/Time
Title/Subject
Notes
Location
Custom Field 1
Custom Field 2
Custom Field 3
Custom Field 4
Action
This is an event a Zap performs.
Write
Create a new record or update an existing record in your app.
Existing Event/Task
Required
Resource Schedule
Start Date & Time
End Date & Time
Title/Subject
Notes
Location
Custom Field 1
Custom Field 2
Custom Field 3
Custom Field 4
Background Color
Text Color
Action
This is an event a Zap performs.
Write
Create a new record or update an existing record in your app.
Search Type (for text fields)
Required
Id
Starting Date Range
Ending Date Range
Title
Tagged Resource ID
Notes
Custom Field 1
Custom Field 2
Custom Field 3
Custom Field 4
Action
This is an event a Zap performs.
Search
Find existing data in your app
For AI agents & developers
Use Salesforce and Schedule It with AI agents and code
Beyond Zap workflows. Call Salesforce and Schedule It actions directly from your AI client or your codebase, using the same 9,000+ app integrations Zapier already runs.
No code
Connect via Zapier MCP
Expose Salesforce and Schedule It actions as tools in any MCP client. Authenticate once, then call them in natural language.
Example actions on this page
Add Contact to Campaign
Create Event
Works with
Claude · ChatGPT · Cursor · any MCP-compatible client
There is no Python package yet. SDK is TypeScript-only (@zapier/zapier-sdk). The MCP server URL is personal to your account; get it at zapier.com/mcp.
Zapier is the automation platform of choice for 87% of Forbes Cloud 100 companies in 2023
93%
Customers who say using Zapier has made them better at their job
25m
Customers have created over 25 million Zaps on the platform
6 mins
The average user takes less than 6 minutes to set up a Zap
Connect Salesforce and Schedule It to integrate crucial parts of your business
With Zapier, you can integrate everything from basic data entry to end-to-end processes. Here are some of the business-critical workflows that people automate with Zapier.
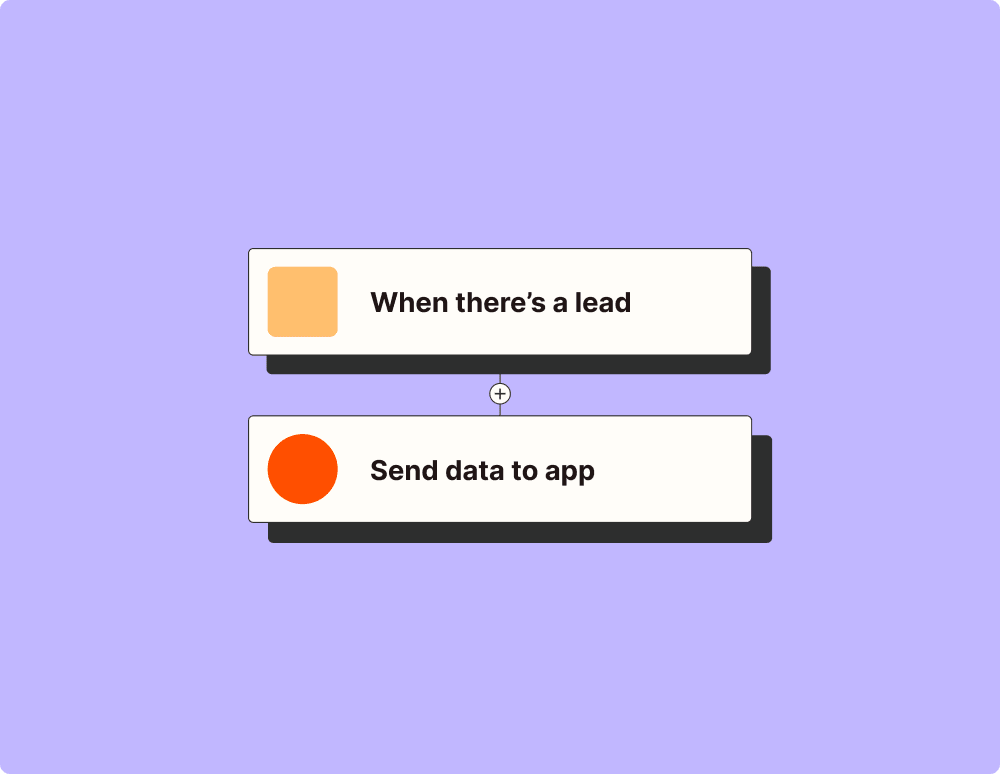
Automate your lead management and improve conversions
With Zapier, you can automate every part of your lead funnel and give yourself the best chance at converting leads. Automate everything from lead capture to outreach to reporting—and close more deals as a result.
Create more impactful campaigns with automation
Measuring campaign performance across platforms can get chaotic. Plus, digging up the right metrics costs you precious time and effort. With Zapier, you can create a centralized view of your performance, skillfully manage your lists, and ensure your campaigns drive ROI across the business.
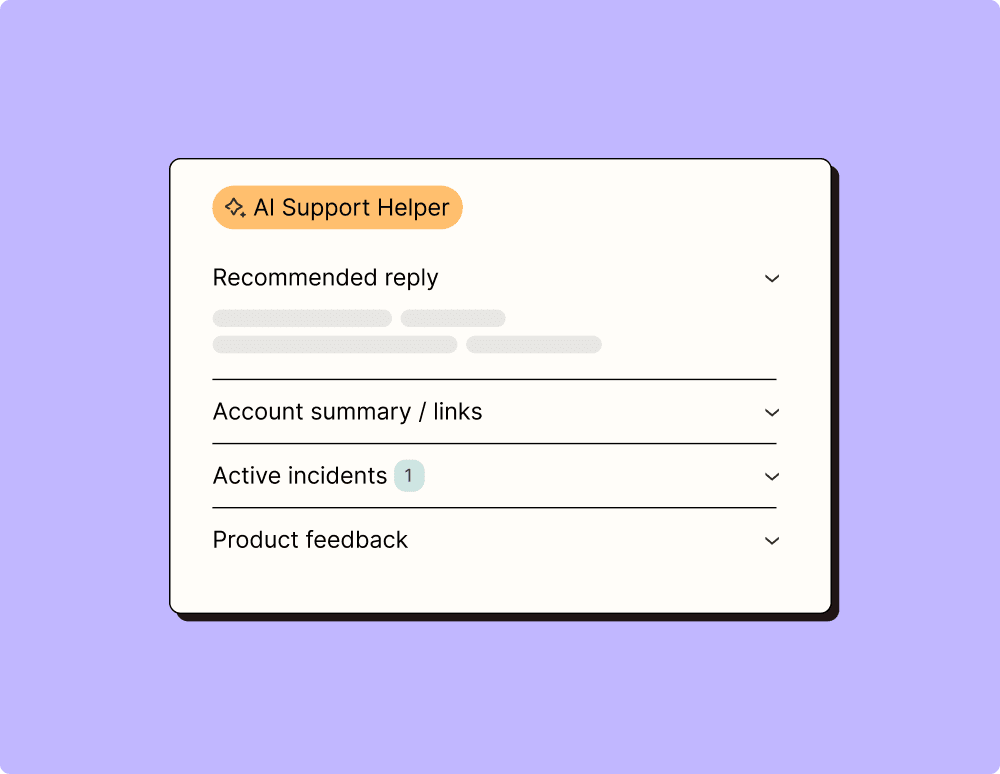
Provide world-class support with a little help from automation
Support reps can't be productive when they have to track down crucial information for every incident or ticket. With Zapier, you can automatically send your reps the context they need to resolve tickets quickly and create a seamless customer experience.
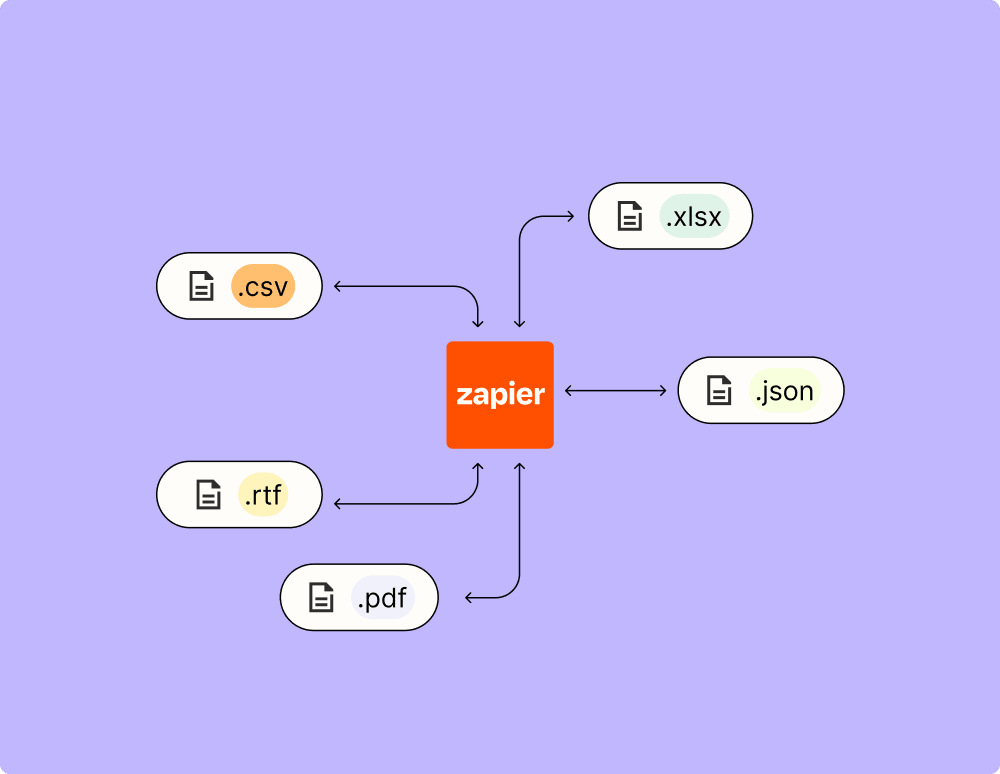
Automate your way to actionable, up-to-date data
The days of manually exporting and importing data are over. With Zapier, you can send data where it needs to go, in the format you need it—so you can centralize your data and unlock more insights.
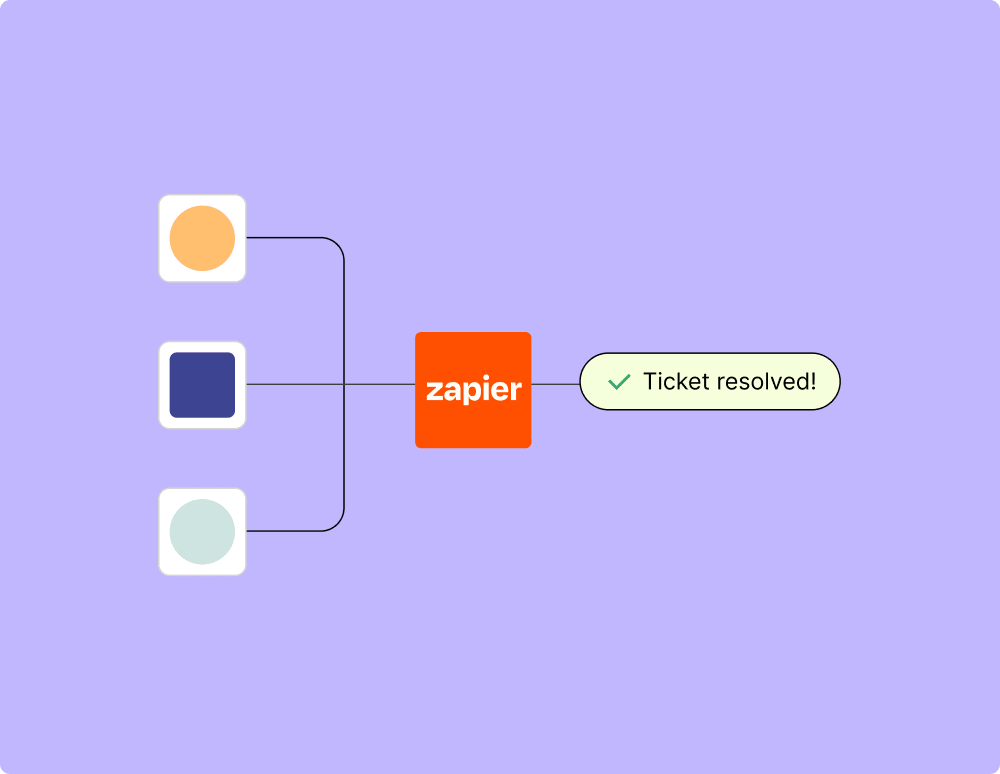
Resolve incidents faster with automation
Your technical support team wants to focus on tech tickets rather than admin work. With Zapier, you can automate everything from ticket creation to routing to inter-team communication—eliminating friction from incident management and increasing speed to resolution.
Learn how to automate Salesforce on the Zapier blog
Make work flow with AI
Level up your Salesforce to Schedule It integration with AI. Extract, summarize, and transform your integration data with leading AI models like OpenAI, Anthropic, and more.