Generative AI comes in all different varieties, and the tools you use will depend on the type of output you're after. Jasper.ai is known for its content marketing capabilities, including its ability to spin up an entire blog post based on a few inputs.
While you can create blog posts directly in Jasper, if you use its Zapier integration you can connect Jasper with other tools your team is using, like a project management tool and Google Docs. That way, you can keep your team organized without needing to flip back and forth between Jasper and your other tools.
Zapier is the leader in workflow automation—integrating with 6,000+ apps from partners like Google, Salesforce, and Microsoft. Use interfaces, data tables, and logic to build secure, automated systems for your business-critical workflows across your organization's technology stack. Learn more.
Create blog posts with Jasper and Zapier
Zapier lets you create automated workflows called Zaps, which send your information from one app to another. You can create your own Zap from scratch without any coding knowledge, but we also offer quick templates to get you started.
If you'd like to start with a template, click on it below, and you'll be taken to the Zap editor. You'll need to create a Zapier account if you don't already have one. Then, follow the directions below to set up your Zap.
Automatically create new Jasper blog posts and add them to Google Drive when new records are added to Airtable
This workflow requires a multi-step Zap, available on a paid Zapier plan or during a free trial. Learn more about multi-step Zaps.
We're using Airtable for our project management tool and Google Docs (through the Google Drive integration) for where we want our final drafts to go, but you can use any other project management or document tools that integrate with Zapier in this workflow.
Before you begin
You'll need to take a few prep steps before you start building your Zap.
Prepare your project management tool
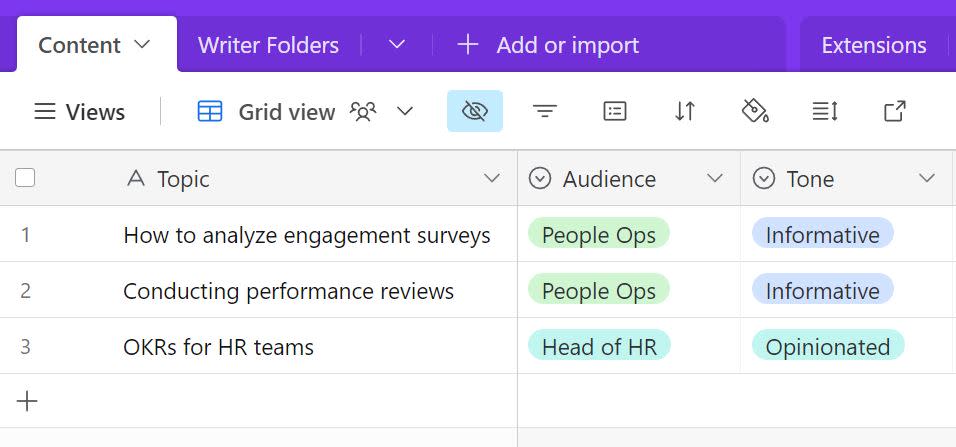
You'll need to set up your project management tool with the required inputs in Jasper. The Jasper step in your Zap will require three things:
Topic (1-2 sentences)
Tone
Intended audience
Most project management tools have custom fields. In this example, I'm using Airtable and have the three fields I need for Jasper. Each field has a dropdown list so that anyone on the team adding content knows their options.
Add a flag for Zapier
You'll need something in your project management tool that will trigger Zapier. It might be a custom field, label, or some other type of indicator that the content is intended for Jasper. You'll have some content that won't need Jasper output, like a customer case study. You need a way to make a distinction in your project management tool.
In Airtable, I've added a separate field for "Status." My options include To Do, JasperAI, Drafting, and Done. Only those flagged with Jasper AI will be used with Zapier.
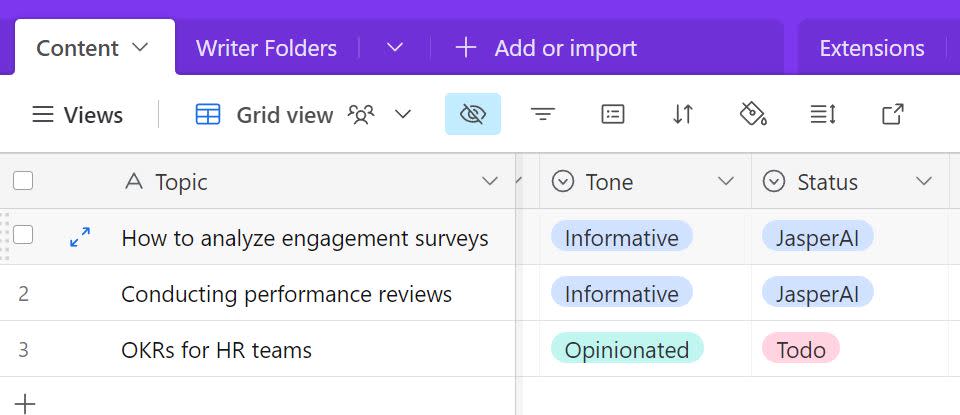
No matter what project management tool you use, your Zapier trigger probably won't be "Create New Record." The time you add new content isn't necessarily when you want to trigger Zapier (or it may not be known at the time). Instead, the trigger will be the changed Status field.
Connect Jasper to Zapier
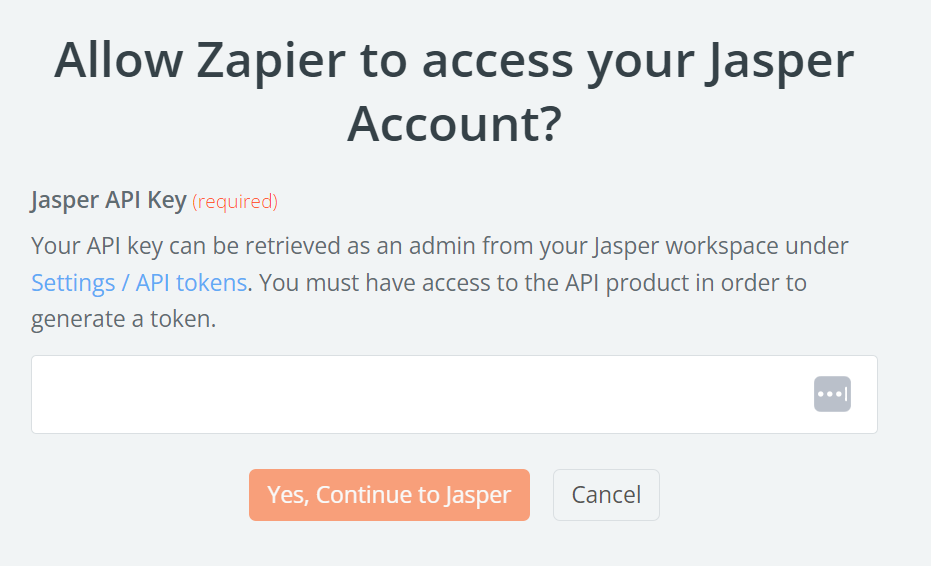
Jasper connects to Zapier via an API key, which is only available on certain Jasper plans. To generate your API key, Go to Product Settings > API tokens, then click Generate API token.
Once you have your API key, go to the My Apps section in your account menu.
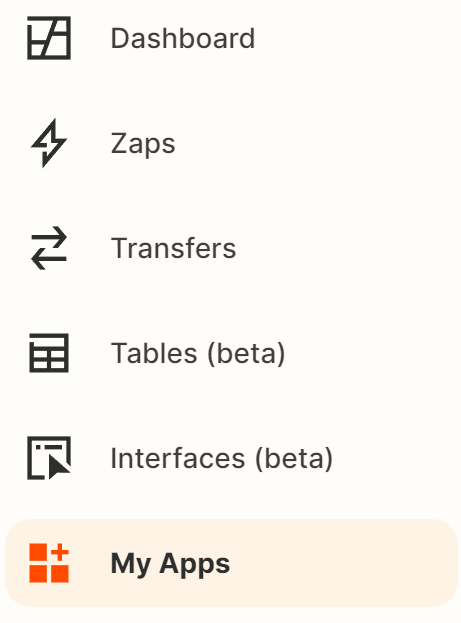
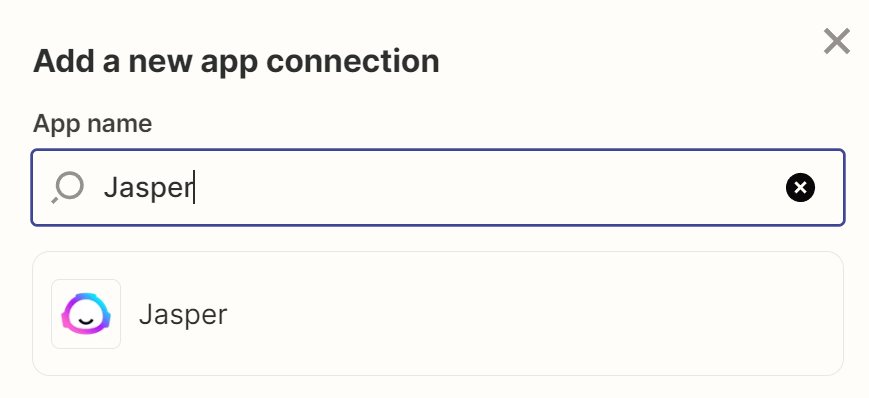
Select Add a new app connection and search for Jasper.
Then paste in the API key you generated in Jasper.
Set up your trigger step
Your Zapier trigger will be different based on your project management tool but driven by the field you've created to designate the content should be sent to Jasper. The trigger might be "Add Label to Record" or "Status is {whatever you've set up}."
Because of how Airtable works, I need to set up a separate List, filtered to records with Jasper AI in the Status field.
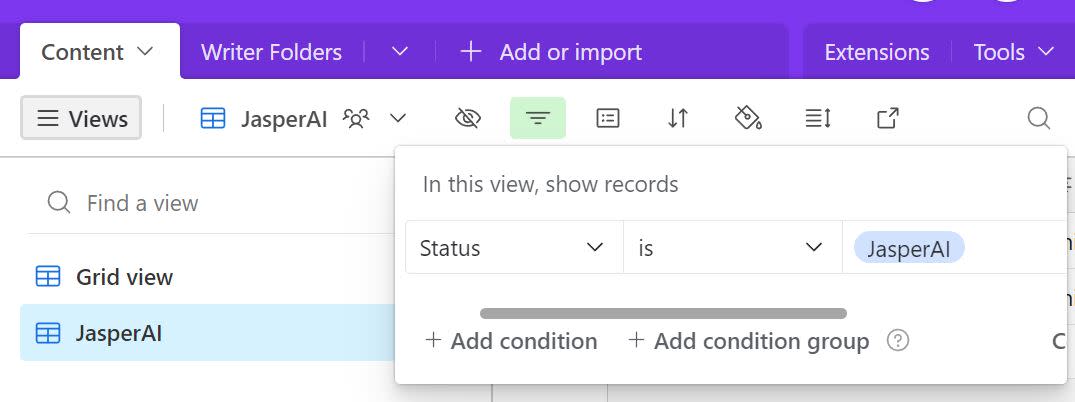
My Zapier trigger is limited to this list. Whenever a new record appears on this list (which is when I change the status), the Zap will fire.
In Zapier, I selected Airtable for my action app and New Record for my action event.
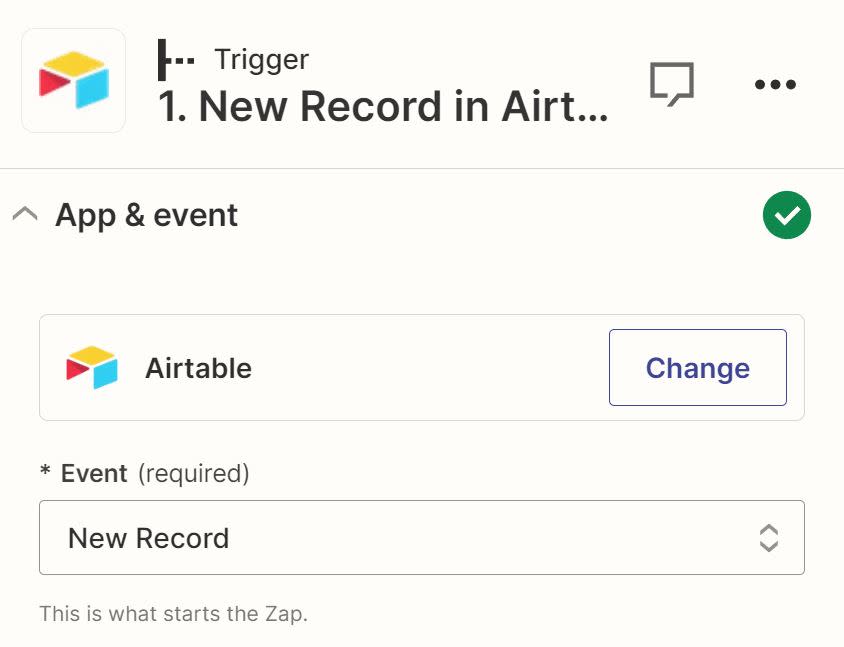
You'll need to connect your Airtable account to Zapier, if you haven't already.
Next, select the appropriate Base and Table, and limit to the View that's filtered to your Jasper records. This will make sure that only new records added to this view trigger Zapier (as their status is selected), not every record added to Airtable.
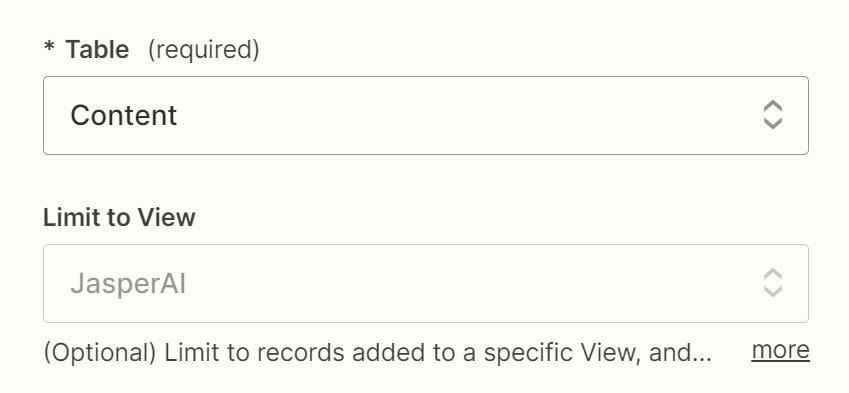
Next, test your trigger step. The information gathered in this test will be used to set up the rest of your Zap. Once you're happy with the test results, click Continue to set up your first action step.
Set up your Jasper action step
For your first action step, select Jasper for the action app and Create Blog Post for the action event.
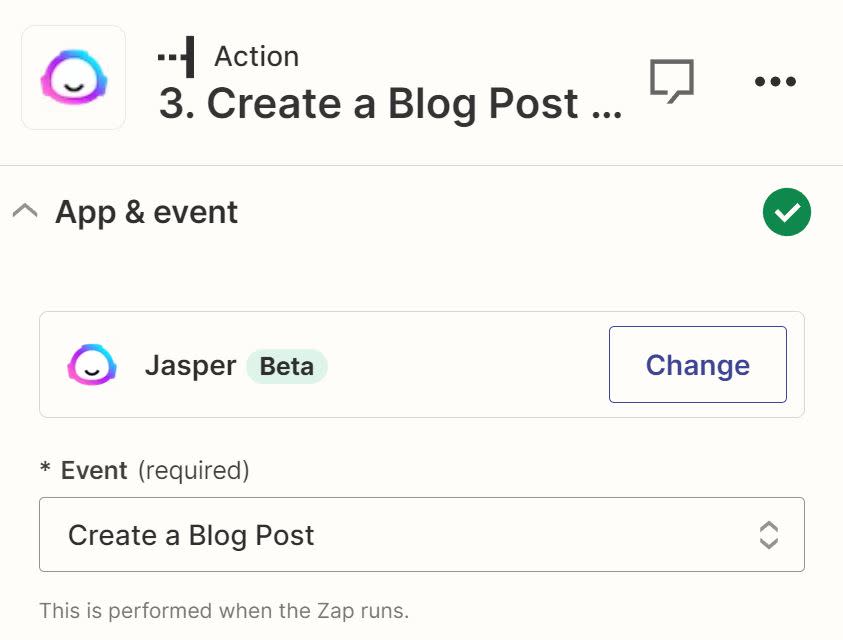
Connect the Jasper account you previously connected when you added your API key. If you skipped that step, you can connect your Jasper account now and paste in the API key in the Zap editor.
Next, you need to map the fields from your project management tool for Topic, Tone, and Intended Audience by clicking in each field and selecting the appropriate data for each from the Insert Data dropdown.
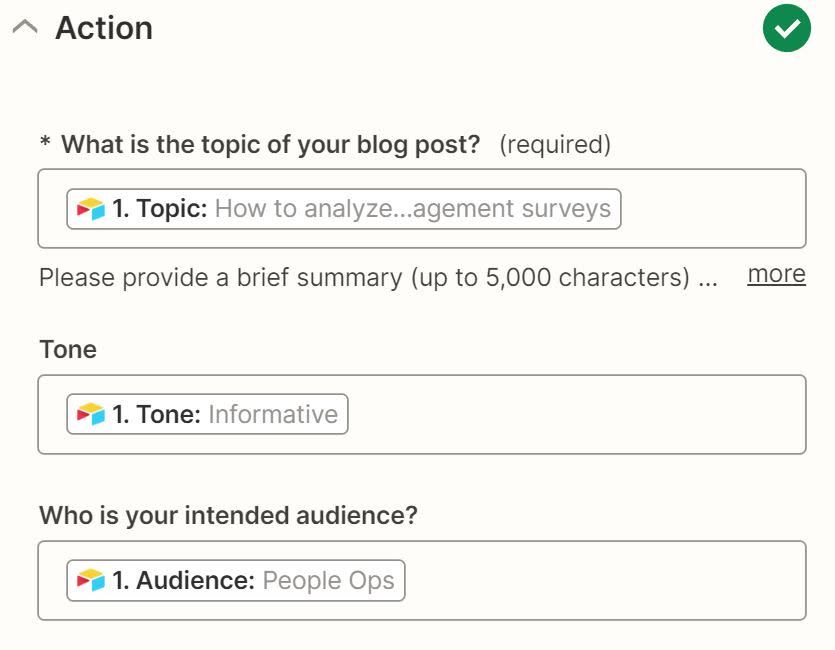
Test your action step, then click Continue.
Set up your Google Drive action step
Jasper will generate the blog post directly in Zapier. You'll need to send that output somewhere, such as your Google Drive.
Read more: How to use AI with automation using Zapier
For your next action step, select Google Drive for your action app and Create File from Text for your action event.
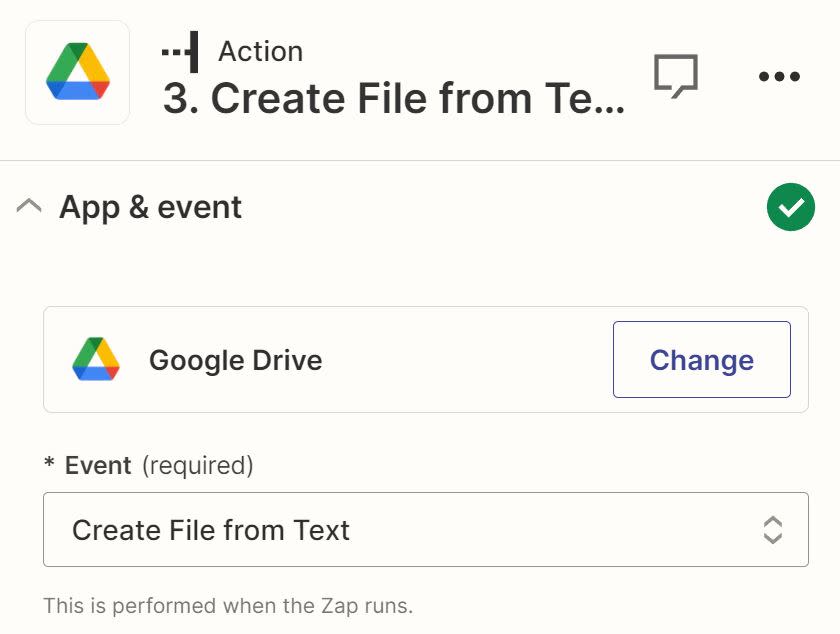
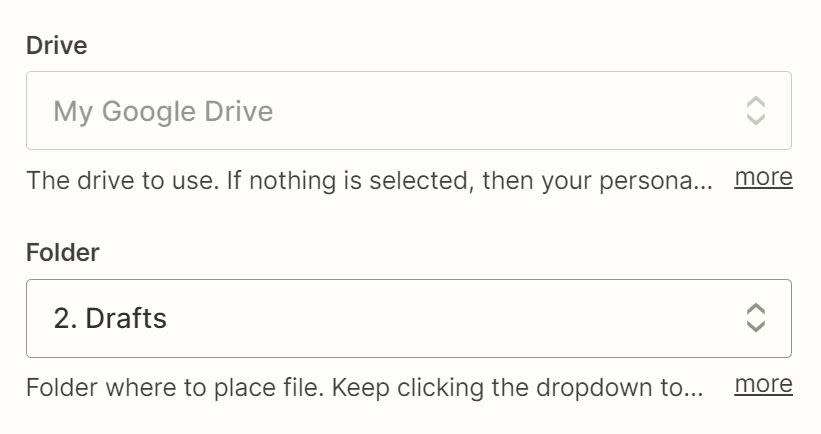
Select the correct folder in your Google Drive for proper organization.
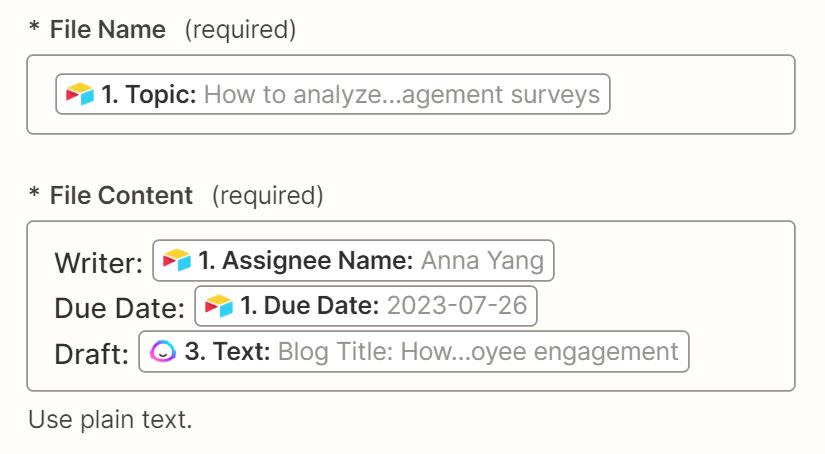
Next, add the text output from Jasper and any needed fields from your project management tool that you want to include in your doc.
In this example, I'm also using the Topic field from Airtable as my document name and adding the assigned writer and due date to the document's text. To add data from your previous steps, just click in the field and select the appropriate data from the Insert Data dropdown.
Test your action step to make sure everything is set up correctly. The created Google Doc looks like this:

Once everything looks right, click Continue, then add one last action step to your Zap.
Add the Google Doc link back to your project management tool
A good project management tool will have everything you need, right at your fingertips. You can add another step in Zapier to send a link to your created Google Doc back to your project management tool. That way, anyone working with your tool can easily link over and review the full draft.
Add a field in your project management tool to store the URL:

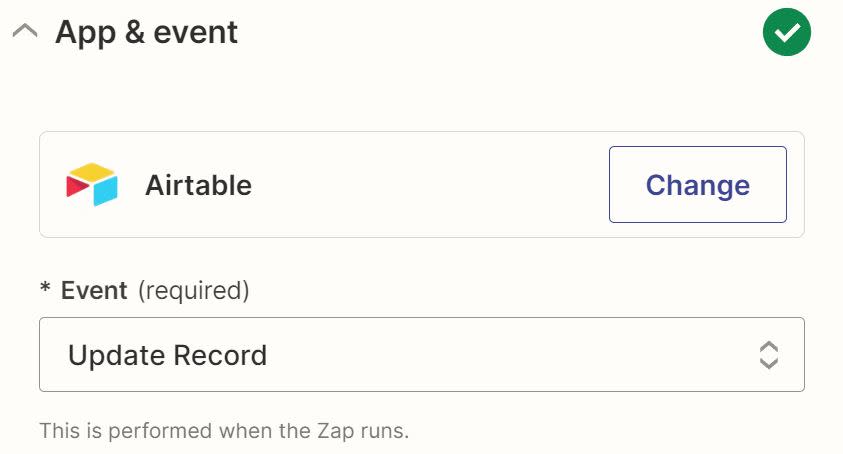
Then add a final step in your Zap with your project management tool as the action app (in our case, Airtable) and Update Record for the action event.
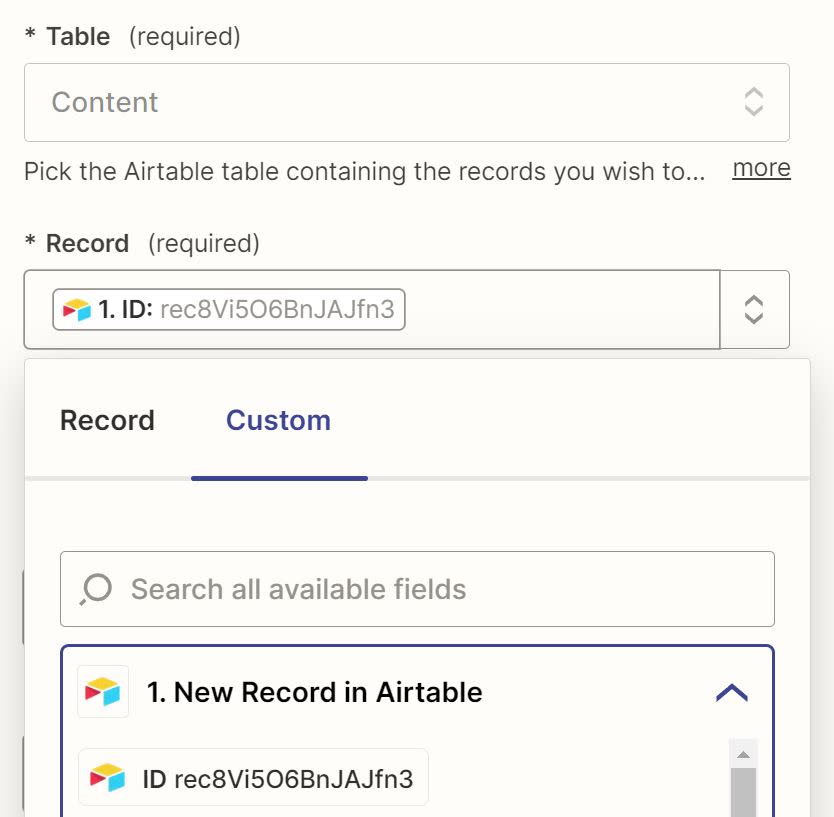
To make sure you're updating the correct record, click in the Record field, then click on the Custom tab. Select Record ID from the Insert Data dropdown.
Next you'll need to update the URL field you just added to Airtable. Click in the field and select Alternate Link in the Insert Data dropdown from your Google Drive step.

Test your action step. You should see the added URL in your project management tool.

Once everything looks right, you're now ready to use your Zap!
Automation will save your team time
If you're already using Jasper to generate blog posts, you're probably storing your planned content in one tool and then taking those ideas and turning them into Jasper prompts. By using Zapier, you'll save time on the back-and-forth, plus keep your team more organized. You can also easily make edits to the output in Google Docs, rather than editing the doc in Jasper and then transferring the content elsewhere.
