Unless you've just returned from a long (long) tech hiatus, you've probably tried out—or at least heard of—an AI tool by now. Whether you've dabbled with ChatGPT to ask questions about complex topics or even used Jasper to write blog posts, we're all just a little bit curious to see how generative AI can help us do our jobs better.
The good news is that it can—especially when you connect your favorite AI tools (think OpenAI, ChatGPT, Mem) to your other apps in your techstack via Zapier. That way, you can automate your workflows to boost productivity.
But did you know the key to unlocking this powerful combo is usually a three-step Zap? Let's dive into each step in detail.
Multi-step Zaps require our premium plans. To try these workflows for yourself, start your free trial today.
Step 1: Connect your trigger app
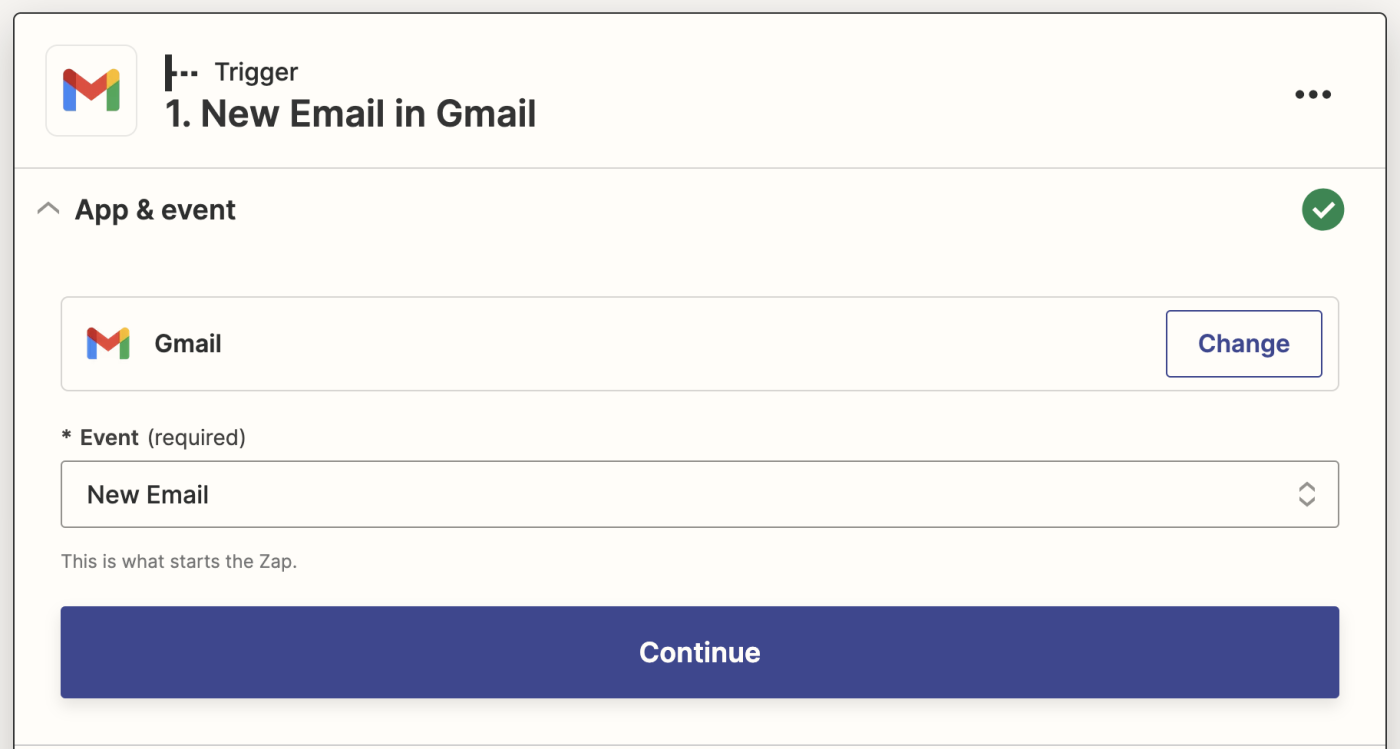
Zaps are automated workflows that connect your apps and services together. Every Zap starts with a trigger app (like Gmail) and a trigger event (like a new email), which sets your workflow in motion.
For AI specifically, you'll always need to include the information you want your AI to respond to—from a source app.
Think about it: Whenever you give ChatGPT a blog outline and ask it to draft a blog post, where do you get that blog outline from? Is it from your notes app? Or does your editor add it to a project management tool like Asana?
By setting up these kinds of workflows, you'll no longer need to copy and paste that information from that app into ChatGPT every time you need to create something. Instead, Zapier will automatically do this for you on a recurring basis, from one app to another.
Let's talk about examples. This could be an incoming email in your Gmail account that you then want AI to draft a response to. Or it could be a new row in Google Sheets containing an outline for a blog post that AI will write.

Whatever your use case, your workflow needs that source information as you'll be feeding it into your AI tool.
Step 2: Send that information to your AI tool
The second step involves the action step—the event the Zap performs after it's triggered. For these kinds of workflows, your AI tool will be the action app (like Jasper), and the action event will be something like "create blog post."
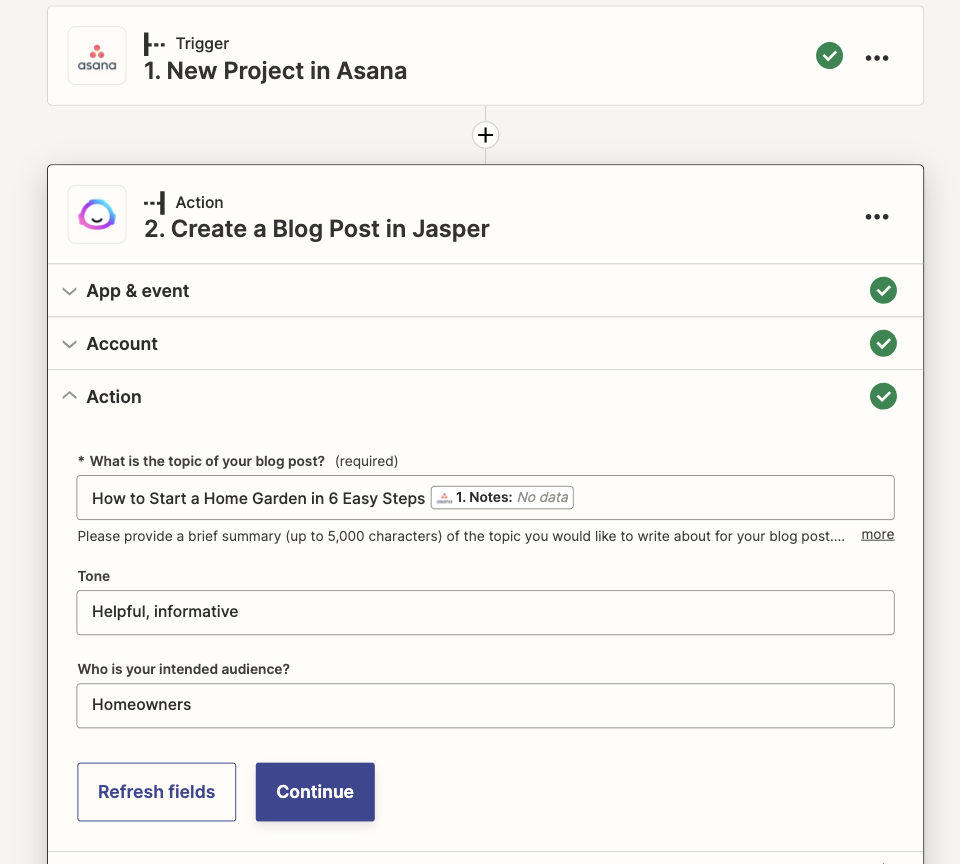
Once you've connected your trigger app to your AI tool, you can feed the data from your trigger step into the AI model, whether it's OpenAI's GPT-3, ChatGPT, Jasper, or others, to generate a response.
This is also where the "prompt", or instructions come into play. Your prompt is how you tell your AI tool what to do with that information from your trigger step.
To get the best results from ChatGPT, write a clear prompt with sufficient context. Need help refining your text query? Here are tips to help you write an effective GPT prompt.
For example, say your trigger is a new Slack message sent from a coworker in a specific channel about a new project. You may want to instruct the AI tool to summarize that Slack message and define action items for the specific teammates mentioned.
Or maybe you're instructing the AI tool to write a blog post based on a brief or a summary. You'll pull in that brief from your trigger step along with the instructions.

Essentially, this step allows you to instruct your AI tool to take information from your trigger app and do something specific with it.
Take note: Now that you've instructed your AI tool to do something, you'll still need to send its response somewhere. This is where the third step comes into play. Otherwise, with tools like OpenAI, the response it creates will just float about in cyberspace unseen, as it won't know where to store it.
While you can build two-step workflows with certain AI tools (like Writesonic, Mem, Synthesia, or SeamlessAI), that's because they have a database or workspace built into the app where they can store their AI responses. Or, it's because they also include trigger events, and you can build Zaps that send an AI response to another app.
Other tips for your AI action step
How to create your API key:
When connecting your AI tools to Zapier for the first time, you'll be asked to add an API key in a pop-up window so that Zapier can authenticate your account. You'll usually find your API key under settings within your AI app. This is OpenAI's:

Read more: How to connect ChatGPT or OpenAI to Zapier.
How to build workflows with memory
Some of our AI integrations (and specifically ChatGPT) have the ability to "remember" back-and-forth conversations you have in one Zap about something (like a customer) in another entirely different Zap you build. This is because if you fill out the Memory Key field with an email address or ID number, you can "continue" the conversation in a new Zap.

As an example, say you build a Zap with ChatGPT that takes customer information from Salesforce and another Zap that collects support tickets from that same client in Zendesk. By adding the memory key, you could create an additional Zap that asks ChatGPT to create content about the client based on all that information from the separate Zaps ChatGPT has stored.
Step 3: Send your AI response to its final destination
The final step is deciding what to do with the response your AI tool generated.
As we've mentioned previously, for many AI apps, you'll need this third step for your AI response to get where it needs to go. Those apps include OpenAI, ChatGPT (unless you're using the memory key noted above to store information for later use), Jasper, Hugging Face, and Leap AI.
For example, say you've built a workflow that takes specific Slack messages, then OpenAI creates an image based on the contents. Where would you send it? Probably back to Slack.
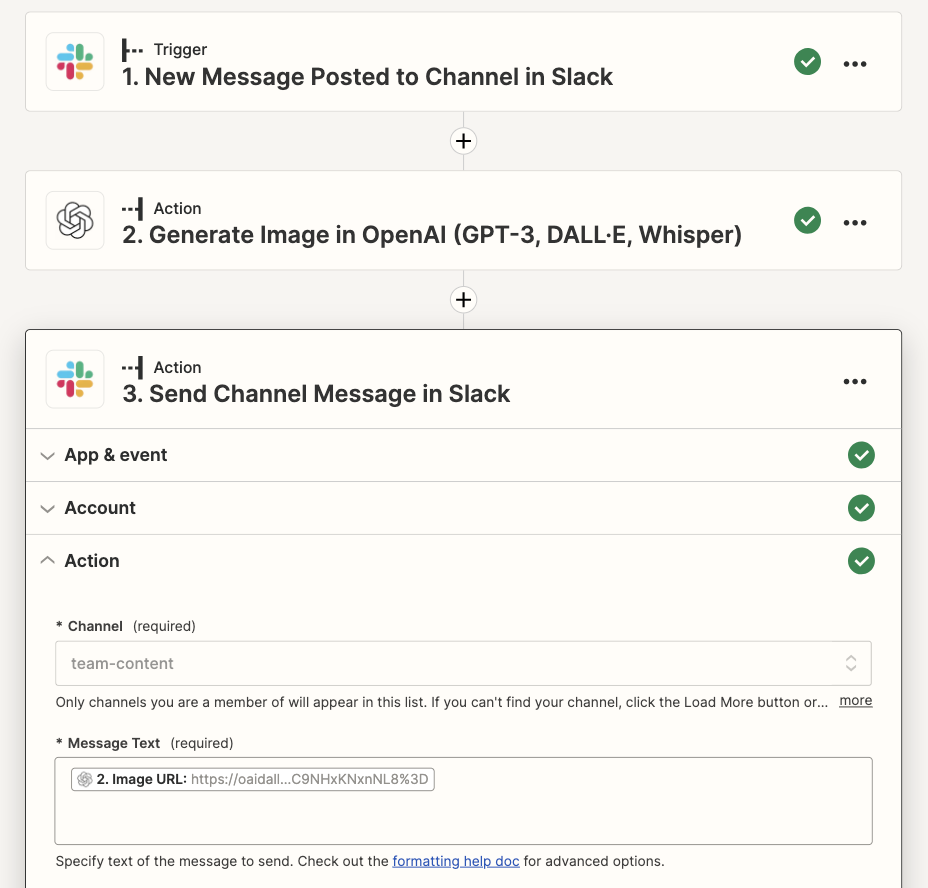
Without this third action, it would be like sending a letter into the ether without an address: completely null and void.
So: where should you send those responses? That choice depends entirely on what you aim to accomplish with your workflow.
But let's say, for example, that you want OpenAI to create a summary from a meeting transcript that's been stored in Dropbox. Maybe you want to send that summary in a channel message in Slack, so all your coworkers can read it? Or maybe you want to send it directly to a shared Google Doc where you can scan it at your leisure.
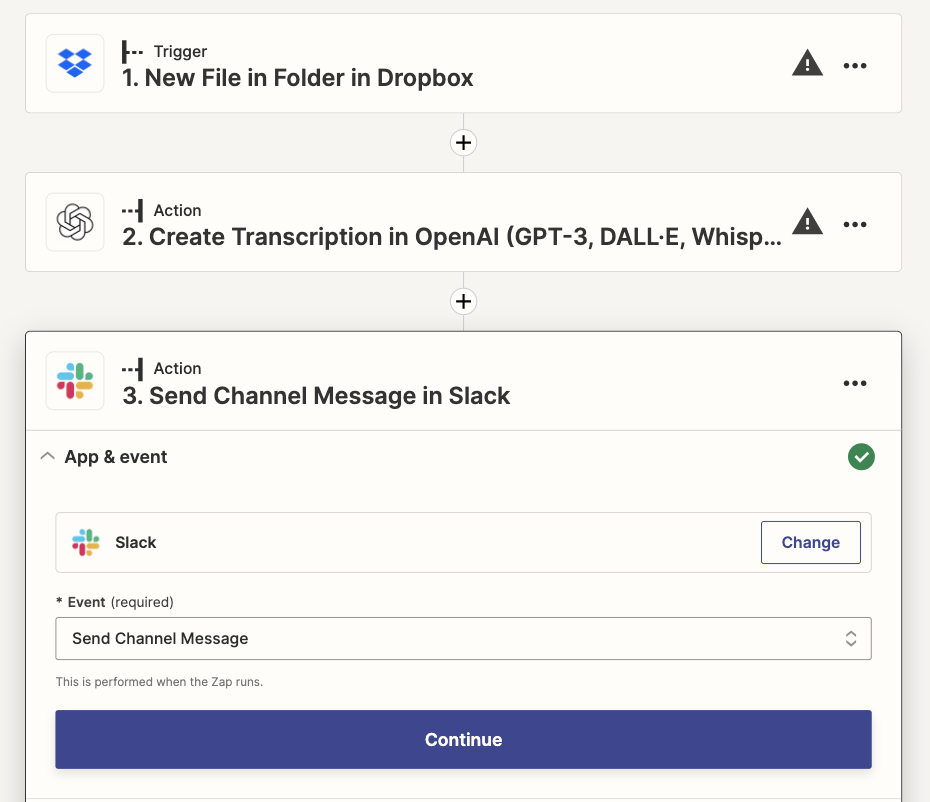
Again, instead of working directly within your AI tool and copying and pasting the summary into a third app, you can simply send it automatically.
Harness the power of AI and automation
By breaking down your AI Zaps into these three steps, you'll be able to harness the power of advanced AI models, combining them with automation to improve your productivity and efficiency.
Remember: the specifics of each step will depend on your unique needs. But understanding this three-step process will give you a solid foundation to start building automated workflows that do the heavy lifting for you.
