Editor Upgrades: Add Notes to Zaps and Rename Any Step

Ever since we introduced Multi-Step Zaps, Zapier users have been building bigger, better, more complex workflows. Extra automation power is always good. But when your workflow is 20 steps long, navigating it can feel like a treasure hunt with no map.
You asked for a better way to mark your path. Today we're announcing two big improvements for our editor that put guideposts in your Zaps: custom step names, and notes.
Whether your Zap is a snappy two-step connection or a towering masterpiece, these options let you add clarity to your process. Here's a breakdown of how to rename your steps and add a note to any Zapier workflow.
Step Names
With every step you add, your Zaps get more powerful; we've seen workflows with 80+ actions.
But on the surface, parsing what each step does is tough, especially if those steps use the same app. It's like cruising on a freeway without exit signs. You'll pick the right turn eventually, but a couple prompts would save you major mileage.
Step names let you place your own road signs along the path. They override the default text on any step so you can tweak it to fit your use case.
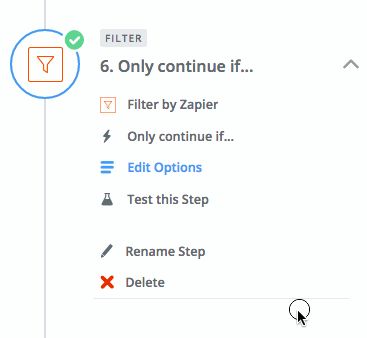
To rename a step in your Zap:
- Click on the step to expand it
- Pick the "Rename Step" option
- Start typing—whatever you want
What's in a step name? Your steps, by any name, should be short and sweet. Good names describe the purpose of that specific trigger or action. Renaming them won't change how they function—it just makes it easier to pick them out of a crowd.
For example, if my Zap adds daily tasks to the same list, I might call the first step "To-do: Walk the Dog", the second "To-do: Floss", and so on. That way, if I ever need to tweak something, I can find the step I'm looking for fast. No need to wear out your clicking finger.
Notes
Step names are compact labels. But notes give your writing room to breathe. They're more free-form: you can use as much text as you'd like to give your Zaps extra context.
But unlike step names, you can only have one note per Zap. Notes are helpful for detailed instructions about how a Zap fits into your work. Try including tips for using the Zap, a log of changes, or links to other resources.
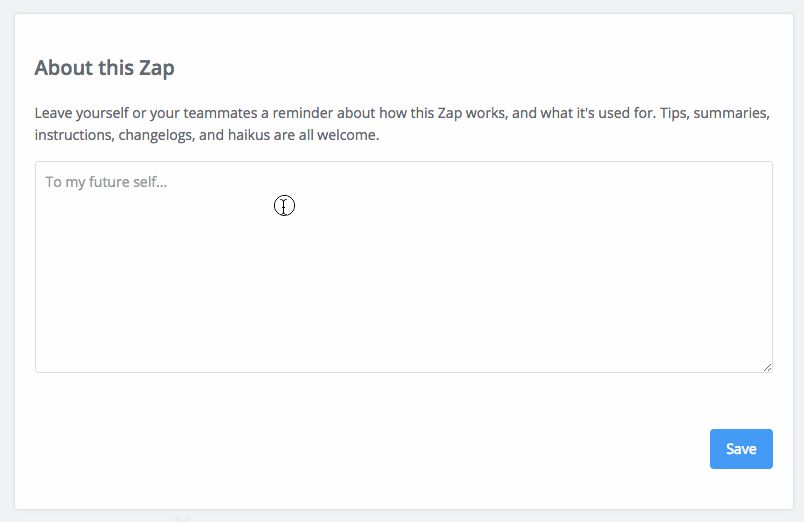
To add a note to your Zap:
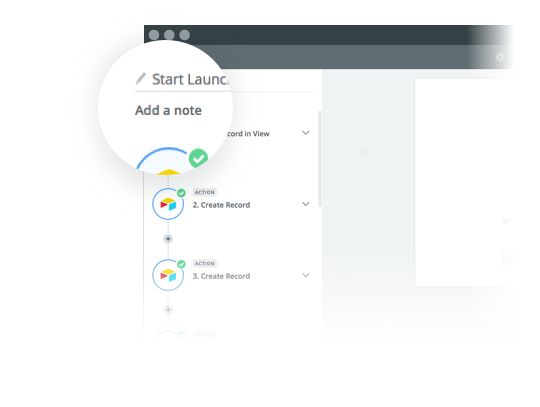
- Click the "Add Note" link beneath the title of your Zap.
- You'll see a blank text field appear. Click in the text field, and type whatever you like.
- Once you're happy with your note, hit the blue "Save" button.
Now your note is safely stored. You'll notice that the "Add Note" link transformed into a "View Note" link. You can always update your note later, too—just hit the "Edit" button when you're viewing your note.
We hope this makes it easier to map out how your Zaps work. If you have any questions, don't hesitate to reach out to us at contact@zapier.com, or let us know what you think on Twitter
About the Author
Joe Stych is part of Zapier's marketing team, and works in Minneapolis, Minnesota. He spends his free time writing, reading magazines, and watching as much baseball as humanly possible.