Create integrations between Zapier Chrome extension and Webflow to automate any workflow

WHEN THIS HAPPENS
New Push
AUTOMATICALLY DO THIS
Create Live ItemEndless possibilities
How Zapier works
Zapier lets you build automated workflows between two or more apps—no code necessary. These workflows are called Zaps, and this is how they work.
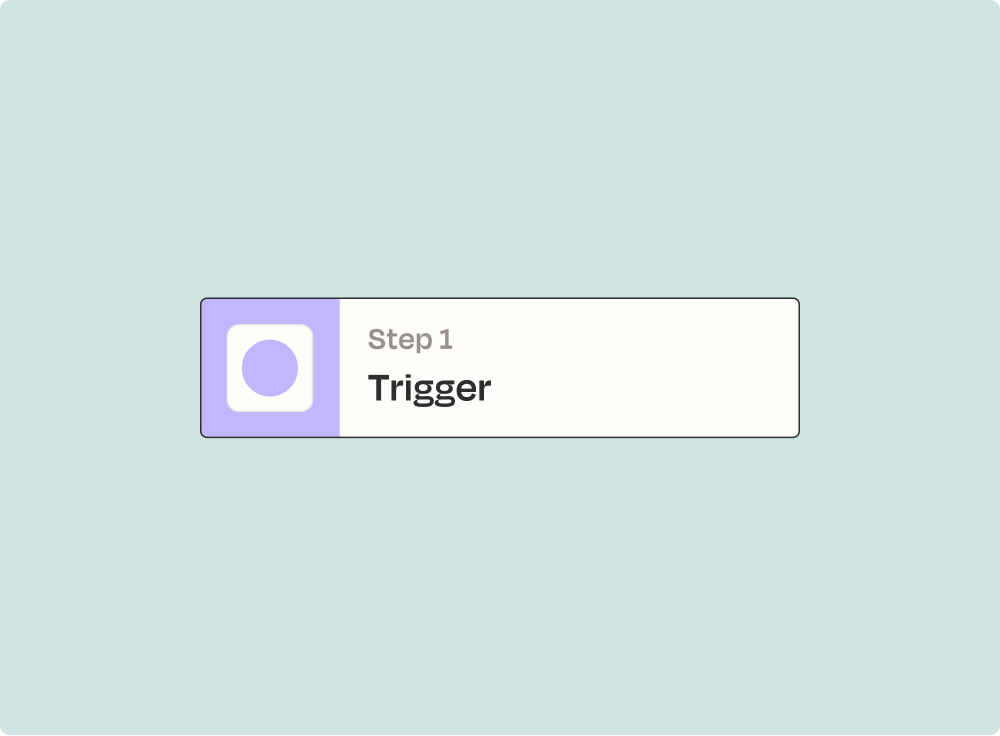
A trigger is where automation begins
A trigger is an event that starts your Zap. Say you want to receive an email every time someone fills in a Facebook form—the trigger would be "new Facebook lead.
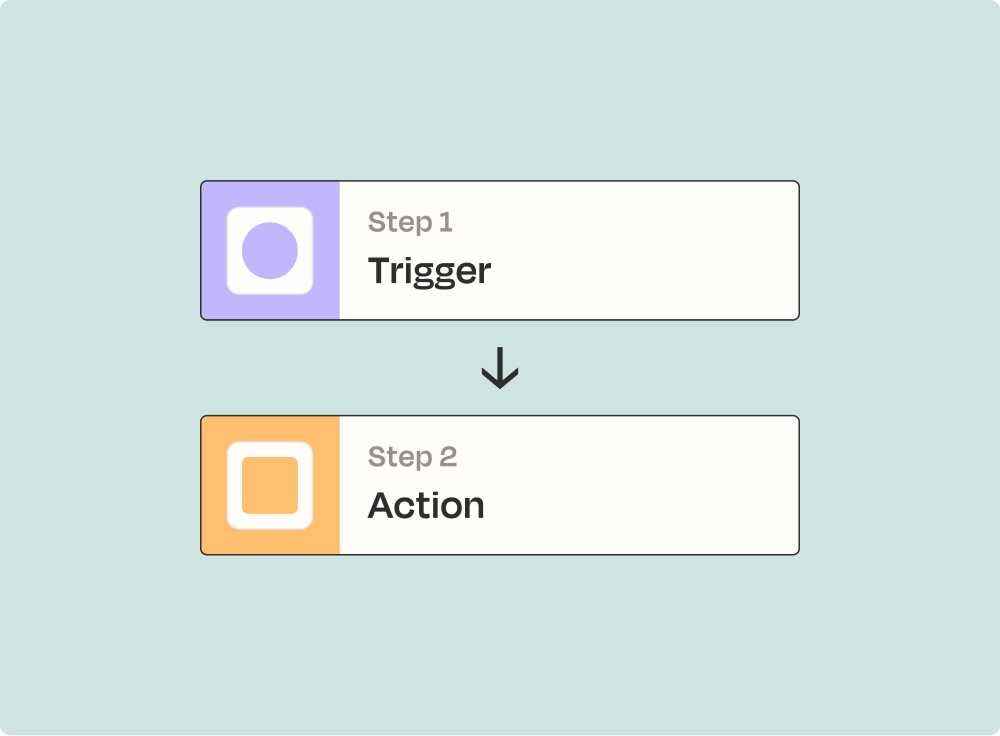
Now it's time for action
An action is the event an automation performs after it is triggered. Say you want to send a Slack message any time you receive a Facebook lead—the action would be "send a Slack message.
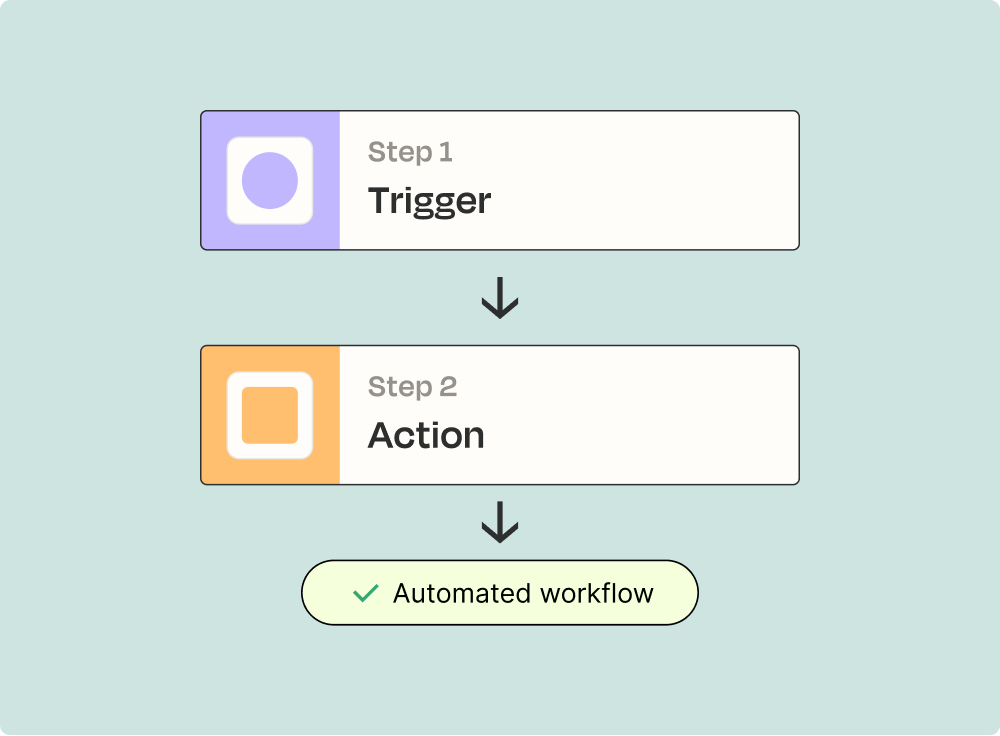
And that's it! You've just created a Zap.
A Zap is an automated workflow—consisting of a trigger and one or more actions—that connects your apps.
Connect Zapier Chrome extension and Webflow to integrate crucial parts of your business
With Zapier, you can integrate everything from basic data entry to end-to-end processes. Here are some of the business-critical workflows that people automate with Zapier.
Automate your lead management and improve conversions
With Zapier, you can automate every part of your lead funnel and give yourself the best chance at converting leads. Automate everything from lead capture to outreach to reporting—and close more deals as a result.

Connect your tools and unlock the power of automation
With Zapier's 6,000 integrations, you can unify your tools within a connected system to improve your team's efficiency and deepen their impact.
Choose a Trigger
Start here
Start here
Choose an Action
Supported triggers and actions
Zapier helps you create workflows that connect your apps to automate repetitive tasks. A trigger is an event that starts a workflow, and an action is an event a Zap performs.
Instructions
Input Fields (Optional)
Try ItSite NameRequired
Form NameRequired
Try ItSiteRequired
Try ItSite
CollectionRequired
Message TitleRequired
Message DetailsRequired
SiteRequired
Try ItSite
CollectionRequired
SiteRequired
OrderRequired
Zapier's blog offers the low-down on automating Webflow
About Zapier Chrome extension
Run workflows right from your browser. Include the URL & Title of the current page or add fields to include any other data you want to use in your Zap.
Related categories
About Webflow
Design and build professional websites with a CMS from scratch online with Webflow.


