Connect K Factors to GetScreenshot and automate any workflow

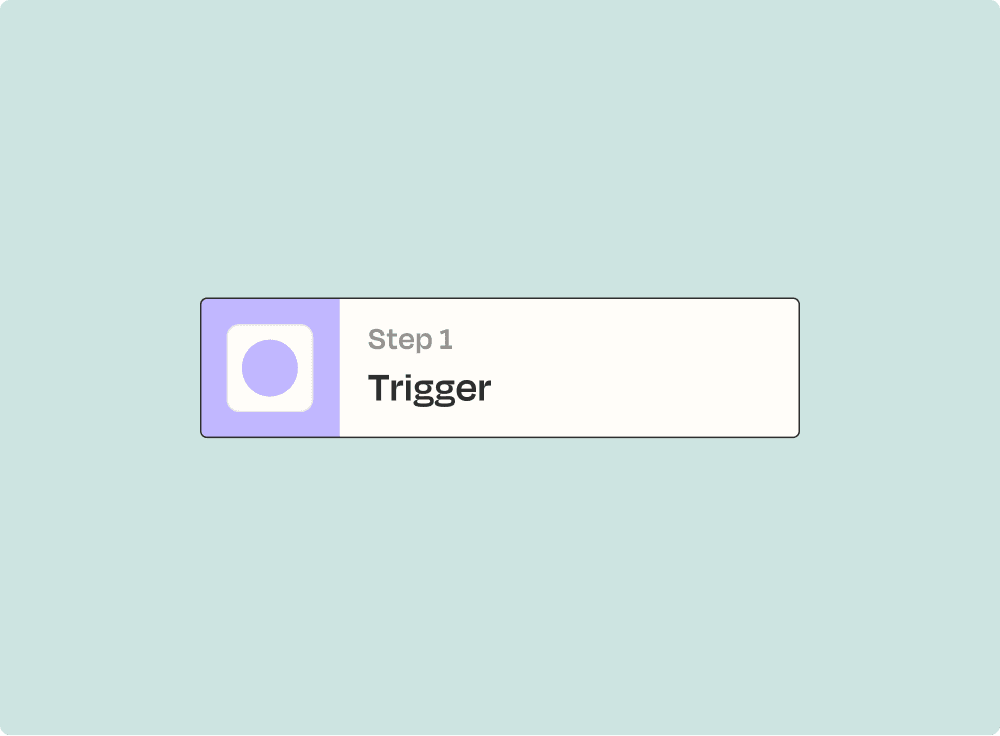
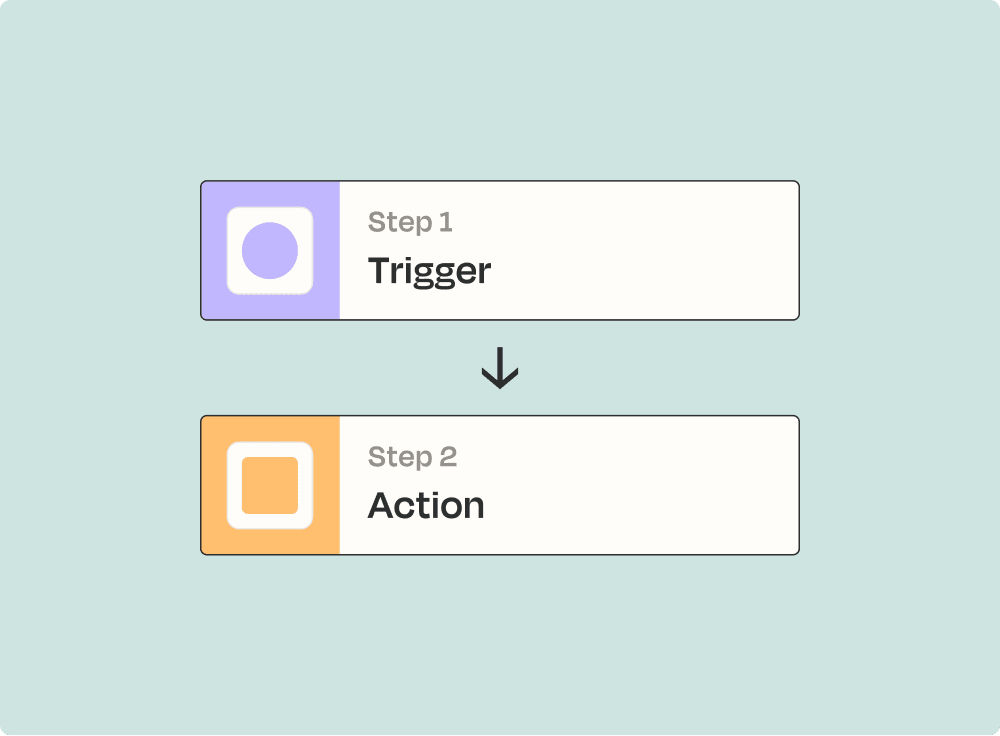
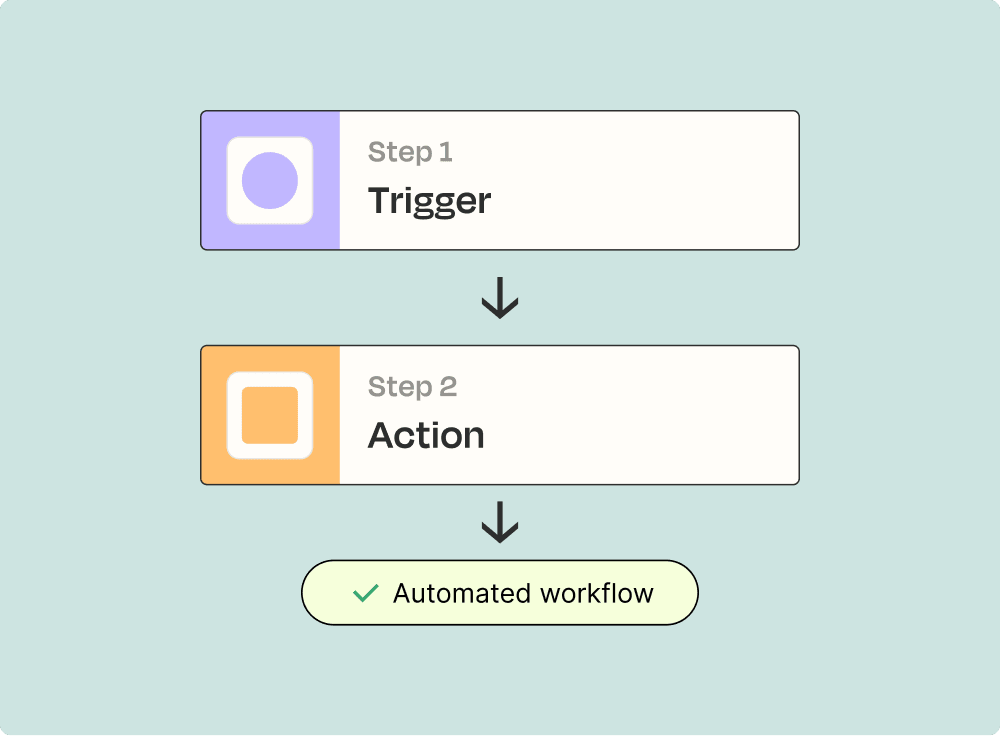
1. Choose a Trigger
An event that starts an automation

2. Choose an Action
The event an automation performs after it's triggered
Endless possibilities
How Zapier works
Zapier makes it easy to integrate K Factors with GetScreenshot - no code necessary. See how you can get setup in minutes.
Select a trigger from K Factors
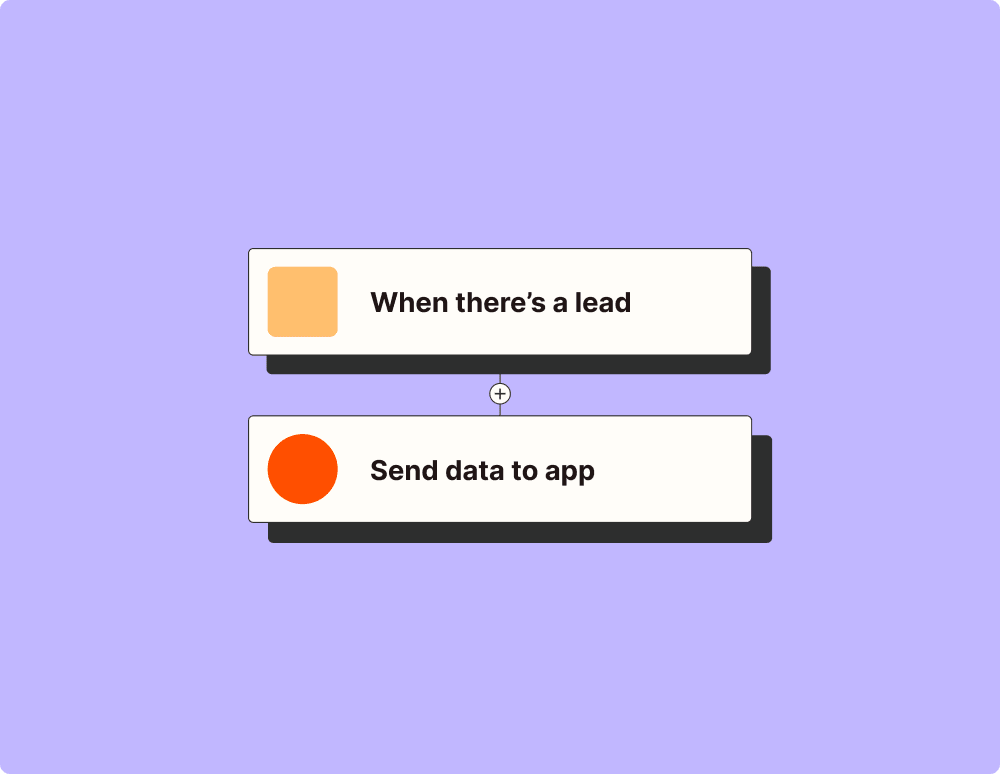
A trigger is an event that starts your Zap and runs the workflow. For example, with K Factors, a trigger could be "New Notification."
Setup an action from GetScreenshot
An action is what takes place after the automation is triggered. For example, with GetScreenshot, the action could be "Take Website Screenshot."
That’s it! You just connected K Factors to GetScreenshot
With Zapier, it’s never been easier to connect your apps together and automate your most tedious work. Save hours every month.
Connect K Factors and GetScreenshot to integrate crucial parts of your business
With Zapier, you can integrate everything from basic data entry to end-to-end processes. Here are some of the business-critical workflows that people automate with Zapier.
Automate your lead management and improve conversions
With Zapier, you can automate every part of your lead funnel and give yourself the best chance at converting leads. Automate everything from lead capture to outreach to reporting—and close more deals as a result.
Connect K Factors and GetScreenshot to unlock the power of automation
With Zapier's 7,000 integrations, you can unify your tools within a connected system to improve your team's efficiency and deepen their impact.
Choose a Trigger
Start here
Start here
Choose an Action
Supported triggers and actions
Zapier helps you create workflows that connect your apps to automate repetitive tasks. A trigger is an event that starts a workflow, and an action is an event a Zap performs.
- Widget id
Try It- Widget id
- DataRequired
- Website URLRequired
- Email AddressRequired
- Full Page CaptureRequired
- Width
- Highlight Word or Phrase
- Create a PDF File Instead of an Image
- Add an additional wait for extended load times
- Bypass Login Instruction (Experimental)
- Strategy (Advanced Users)
- Custom CSS (Advanced Users)
- Other API Parameters (Advanced Users)
- Website URLRequired
- Email AddressRequired
- ElementRequired
- Highlight Word or Phrase
- Create a PDF File Instead of an Image
- Add an additional wait for extended load times
- Bypass Login Instruction (Experimental)
- Strategy (Advanced Users)
- Custom CSS (Advanced Users)
- Other API Parameters (Advanced Users)
- Widget id
- From date
- To date
- Website URLRequired
- Full Page CaptureRequired
- Width
- Highlight Word or Phrase
- Create a PDF File Instead of an Image
- Add an additional wait for extended load times
- Bypass Login Instruction (Experimental)
- Strategy (Advanced Users)
- Custom CSS (Advanced Users)
- Other API Parameters (Advanced Users)
- Website URLRequired
- ElementRequired
- Highlight Word or Phrase
- Create a PDF File Instead of an Image
- Add an additional wait for extended load times
- Bypass Login Instruction (Experimental)
- Strategy (Advanced Users)
- Custom CSS (Advanced Users)
- Other API Parameters (Advanced Users)
Related categories
Related categories