I worked in a role that dealt with a lot of contracts. Each signed agreement was supposed to be stored on the company's Google Drive, but I'd often find them missing—trapped in the inbox of my predecessor. He'd never saved them to Google Drive after they were signed.
It's an all-too-common scenario. Some people aren't organized and focus more on "getting the agreement signed" than "maintaining company records." Others deal with such an enormous volume that files can inevitably slip through the cracks.
You can make sure important files are saved from email to your Google Drive with a little help from Zapier. Even better: if you use a CRM, you can get files into the correct client folder. Here's how.
New to Zapier? It's workflow automation software that lets you focus on what matters. Combine user interfaces, data tables, and logic with 6,000+ apps to build and automate anything you can imagine. Sign up for free.
Automatically organize your client files in Google Drive
Zapier lets you create automated workflows called Zaps, which send your information from one app to another. You can create your own Zap from scratch without any coding knowledge, but we also offer quick templates to get you started.
If you'd like to start with a template, click on it below, and you'll be taken to the Zap editor. You'll need to create a Zapier account if you don't already have one. Then, follow the directions below to set up your Zap.
Save new Gmail attachments from clients in the right Google Drive folder.
This workflow requires a multi-step Zap, available on a paid Zapier plan or during a free trial. Learn more about multi-step Zaps.
Before you begin: Add custom fields to your CRM
Most CRMs allow you to add custom fields. You'll want to add a field called "Client Folder" at either the individual or company level (depending on how you store your docs).
In Google Drive, grab the Folder ID for your client's folder. This is the last part of the URL.

Add the Folder ID to your custom field in your CRM. This is how you'll match your incoming emails to the right folder when new files come in. If you have multiple folders for a single client (like a "Contracts" folder), use the Folder ID of the subfolder where you'd like the file to be placed. You'll need to do this for each of your clients.
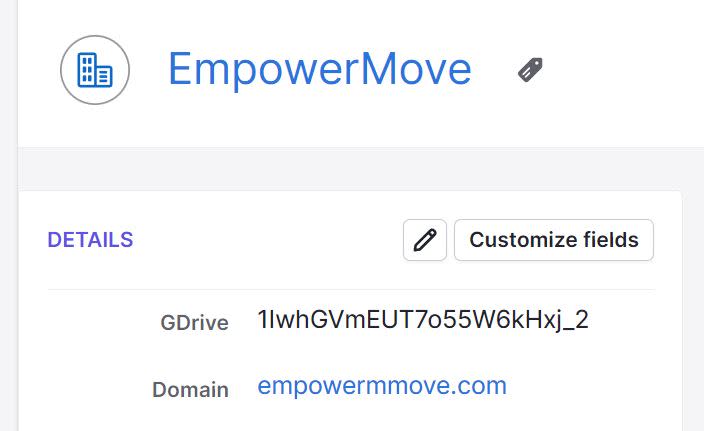
You can also add a custom field for "Domain." All CRMs work a bit differently. Some will automatically add new contacts from your email. Some may already have an existing field for domain—in which case, no need to add a new one. But if you receive a file from a new contact at an existing company within your CRM, you want to match that email address to the right client's folder even if that contact isn't in your CRM yet.
Here's what this looks like in the CRM Pipedrive:
Pro Tip: You can also set up a Zap that adds the folder to your Google Drive automatically when you sign a new client and then writes the Folder ID back to the custom field in your CRM. I do this for new clients, and it saves me a step!
Set up your Gmail trigger
Next, you'll need to identify the emails that should have attached files saved to your Google Drive.
This looks a little different for each company, depending on how those emails arrive. I'll select Gmail for my trigger app and New Labeled Email for my trigger event, which is one of the easiest Gmail triggers.
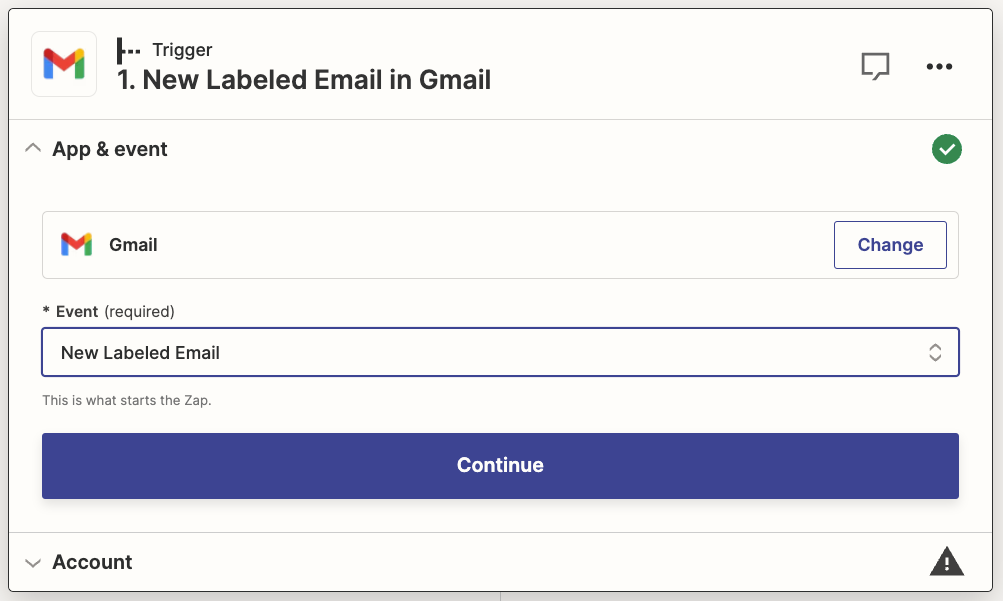
Next, connect your Gmail account, if you haven't already, and click Continue.
Now it's time to set up which emails will trigger your Zap. Set up a filter in Gmail that applies labels to the right emails. Once you've set up or chosen your label, select that in the Label/Mailbox field.
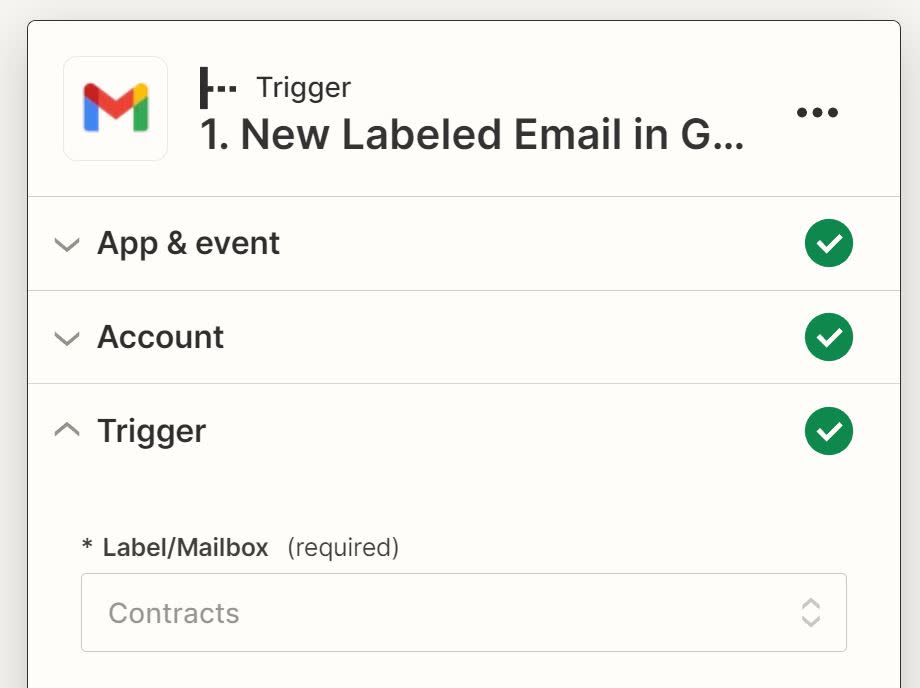
There are a few other triggers you can use, depending on your needs. Gmail has a "New Attachment" trigger, but then you might end up with a bunch of files you don't need. Sometimes logo files in an email signature can come through as an attachment, for example.
A few other ideas:
Use the "New Attachment" trigger and then add a step to filter out the types of files you don't want (such as only including PDFs or excluding .pngs)
Use other criteria in the email as a filter, such as a Case Number in the subject line
Use a dedicated email address (such as files@yourcompany.com) if you're dealing with a lot of client files
Add the label manually in Gmail when you want to move a file to your Google Drive
Zapier has other triggers for Gmail, so you could also use "New Email Matching Search" for more complex criteria or "New Starred Email."
Once you're finished setting up your trigger step, test the step, then move on to your first action step.
Set up a formatter step to find your client domain
Once you've set up your Gmail trigger, your first action step will find the associated client.
If you work with a lot of companies, you can match based on the email domain of the sender and your custom "Domain" field in your CRM.
First, add a Formatter by Zapier step and choose Text for your action event.
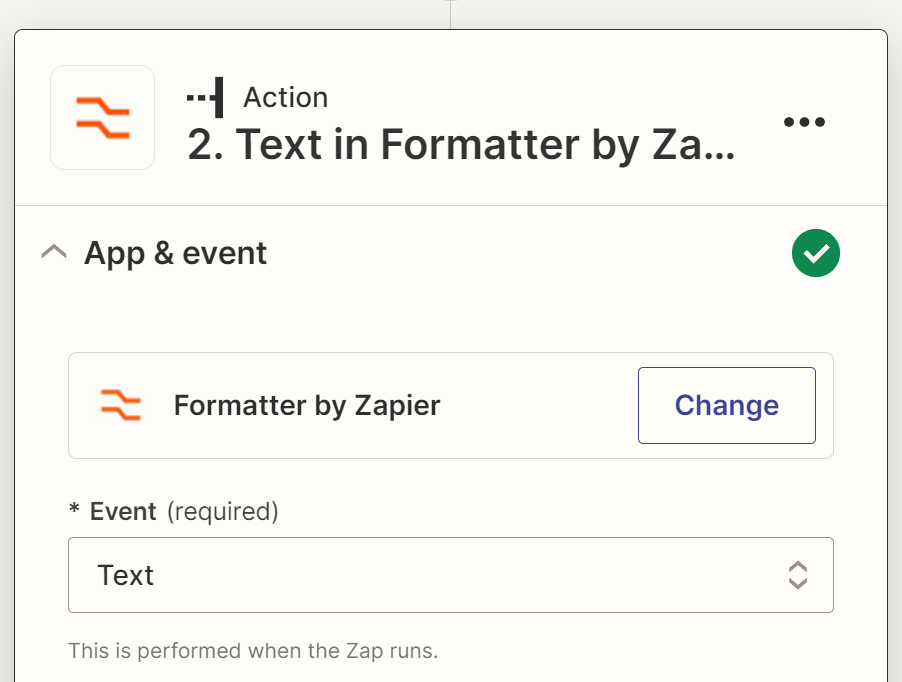
Learn more in our Formatter guide: How to automatically format text the way you want.
In the Input Value field, add the email address of your sender by clicking in the field and selecting From Email from the Insert Data dropdown.
Add @ to the Separator field and select Last in the Segment Index field.
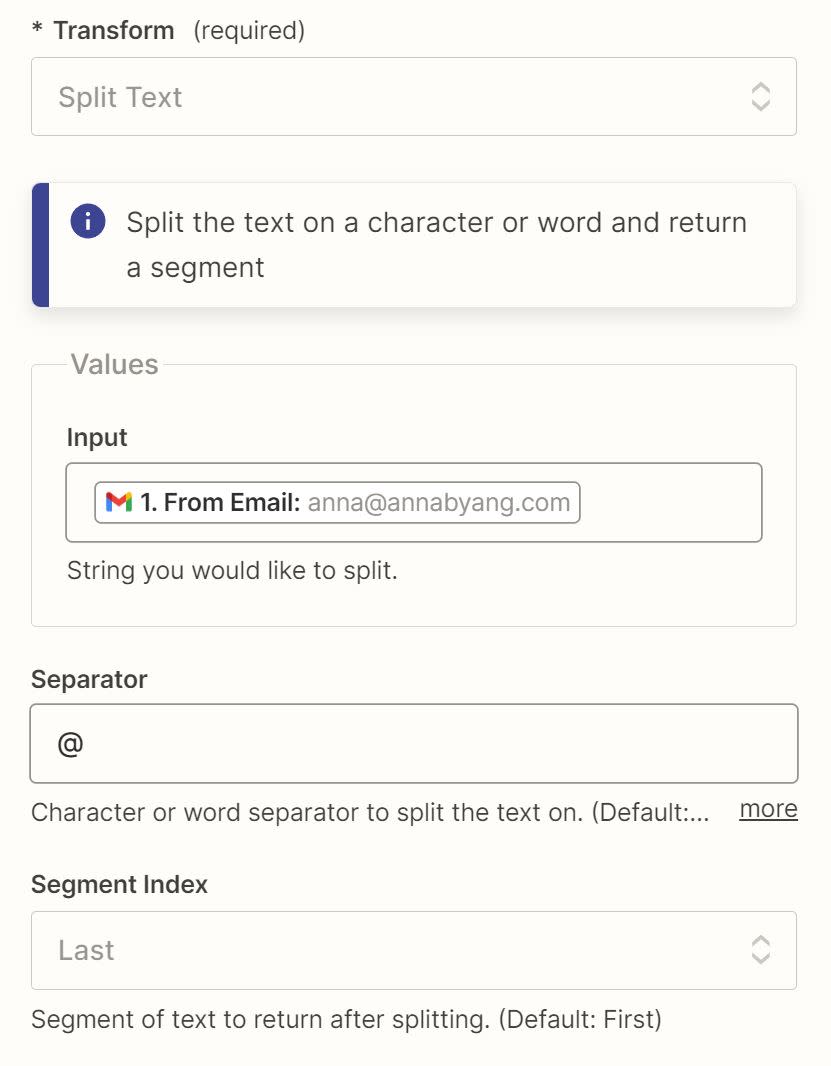
With this setup, with an email address of clientname@clientcompany.com, the output will be clientcompany.com—which is what you need to make the match in your CRM.
Once you're finished setting up your filter, test your action step, then add an additional step to your Zap.
Find your CRM record
Once you've found your domain in the previous step, you'll create an action step to "Find Company" or "Find Record" (depending on which actions your CRM has in its Zapier integration).
In this example, I'm going to select Pipedrive for my action app and Find Organization for my action event.
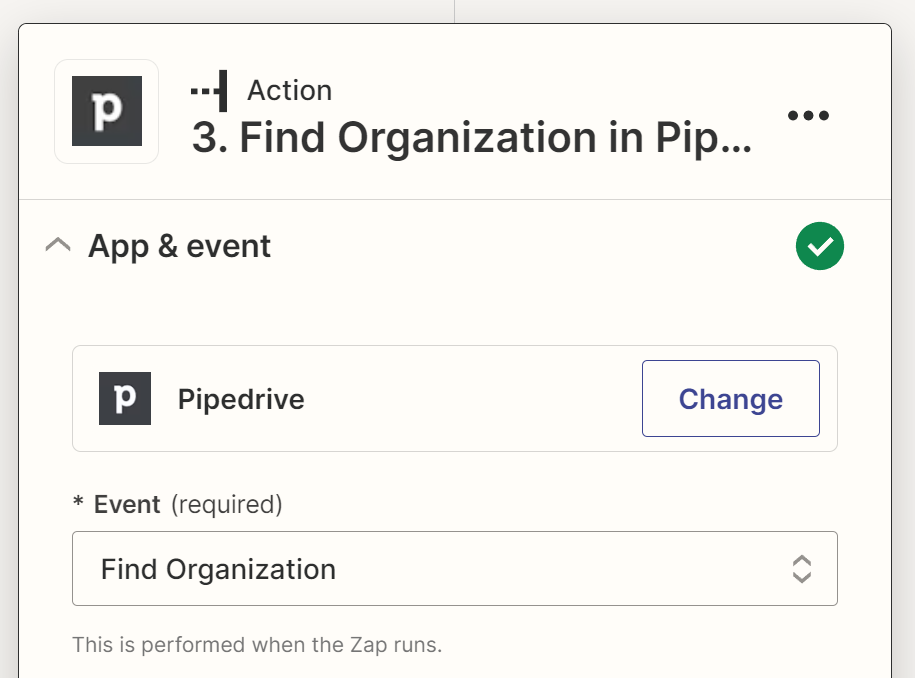
In Field to Search By, I selected "Domain," which is my custom field. In the Domain field, add the output from your previous formatter step (companyname.com) by clicking in the field and selecting Output from the Insert Data dropdown.
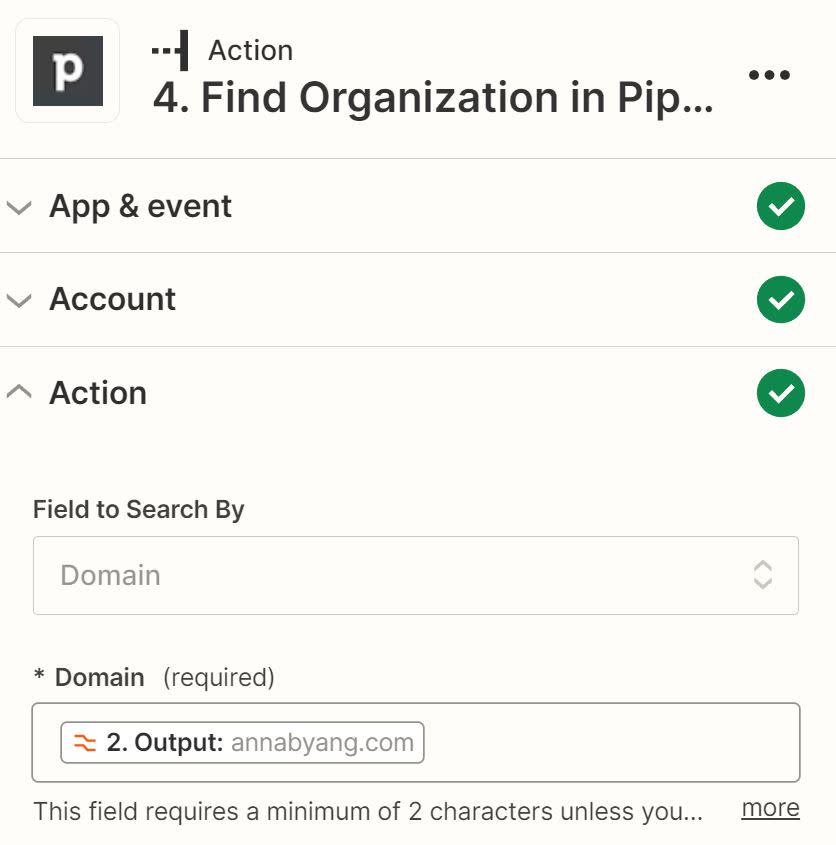
If your clients are mostly individuals, not companies, then you can create an action step that is a direct match of the sender's email address in your CRM, such as a Gmail address.
Once you're finished setting up your CRM step, test the step, then add another step to your Zap.
Set up your Google Drive action to save the file to the client folder
Once you've matched your email sender with the right client in your CRM, you can get the email attachment into the right folder on your Google Drive.
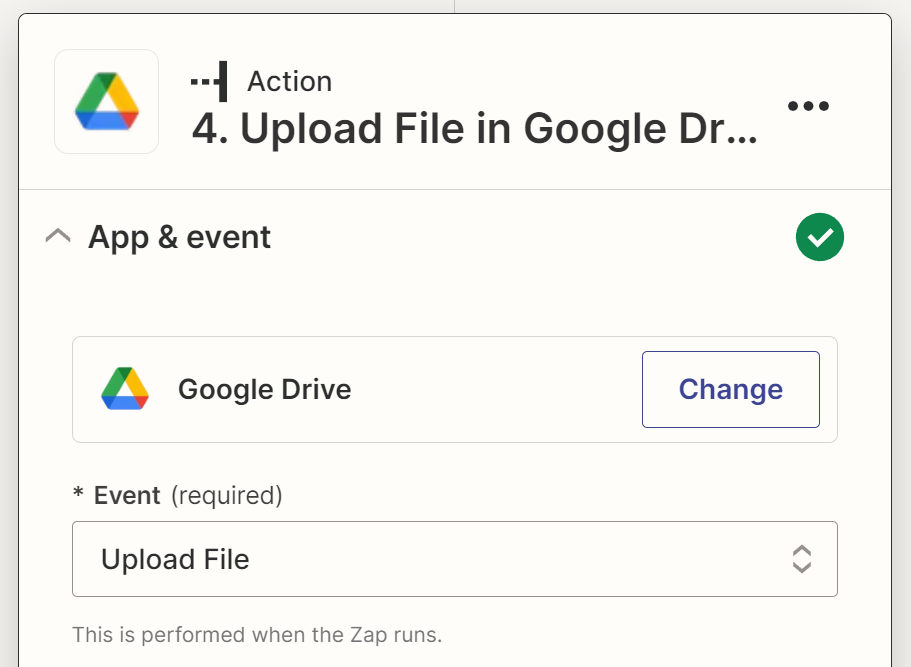
Add an action step to your Zap, then select Google Drive for the action app and Upload File for the action event.
Click in the Folder field, click on the Custom tab, then choose your Folder ID from the search results of your previous step.
In the File field, select your Gmail attachment in the Insert Data dropdown—it will display as "Exists but is not shown".
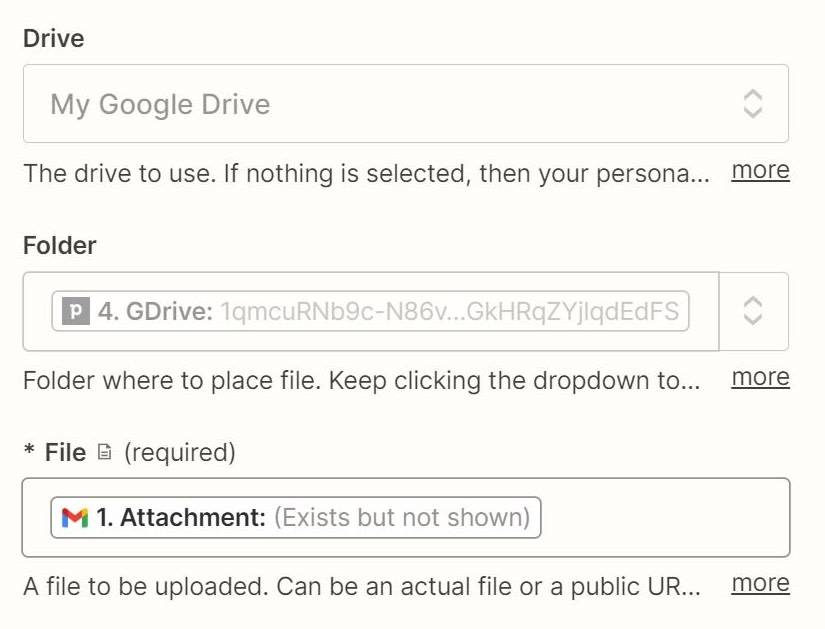
Once you're finished setting up your step, it's time to test your Zap. If everything works correctly, you should see a new attachment in the right folder. Once everything looks right, you're now ready to use your Zap.
Optional step: Rename your files
You can also have the Zap rename your files, if you want. For example, you could include the original file name plus a date if that helps you keep your files organized.
In this example, I added an additional Formatter step before the Upload file step.
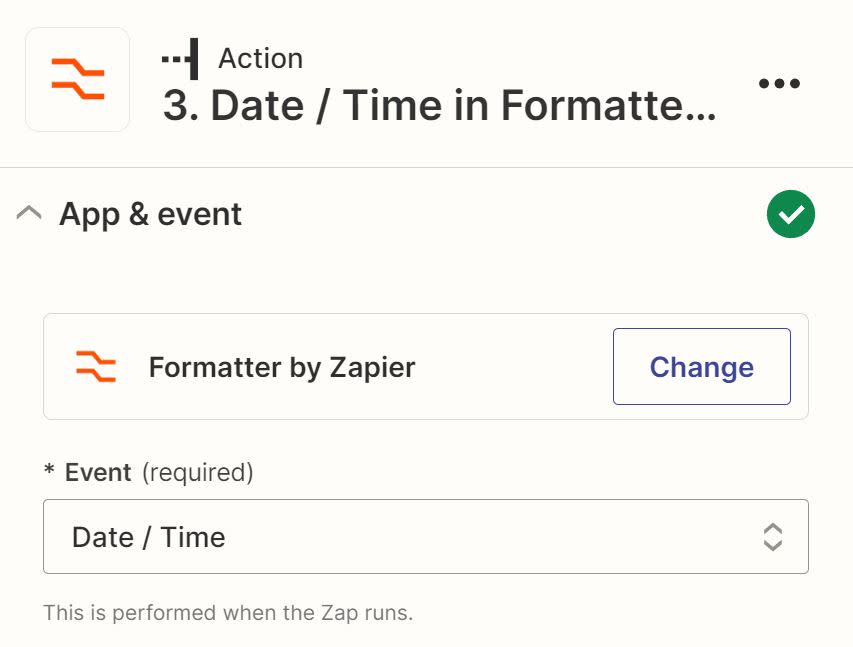
In the formatter step, I converted the date of the email to a YYYY-MM-DD format.
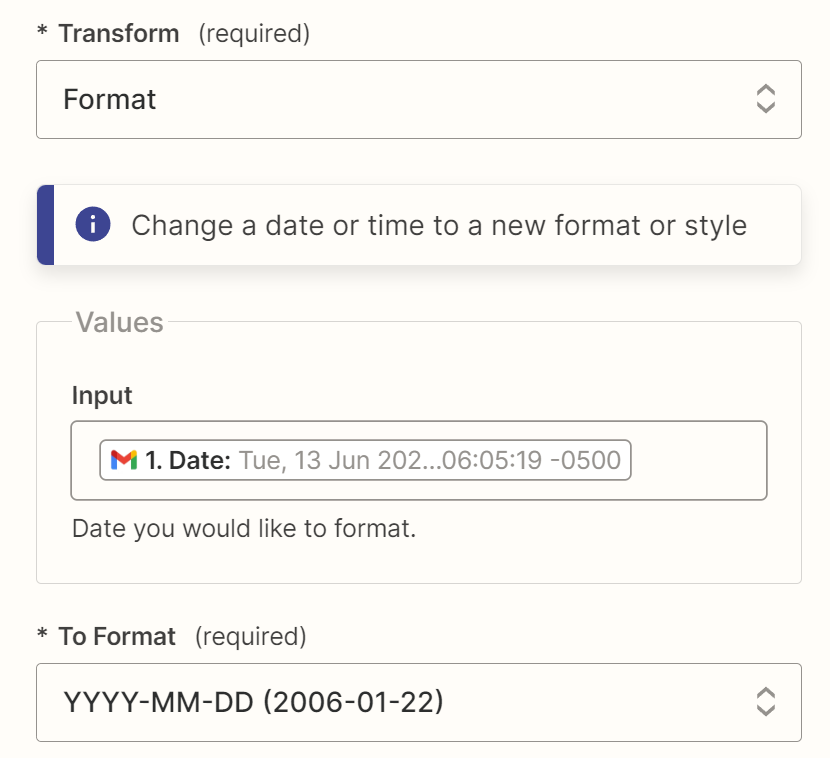
I added the output from the format step to my file name. That way, my files will sort by year within the client's folder.

Unable to match? Save to an "incoming" folder
The steps outlined above will work with a lot of CRMs and cloud storage (like Dropbox or OneDrive). You only need a way to identify your Folder ID within a custom field in your CRM.
Of course, every CRM and client setup is unique. There may be times when you can't match your email sender to a client in your CRM or you can't use custom fields in the way described.
If this is the case, you can create a Zap that automatically saves email attachments to a generic "Incoming" folder you create within your Google Drive. You'll then need to move the files to the correct client folder, and you don't risk that the files exist only in someone's inbox.
Try one of these Zap templates to get started:
