Your customer relationship management (CRM) tool is your business's source of truth, so the information you store needs to be accurate and up to date. I know—it's much easier said than done, especially as your business grows.
Leads come in from other apps, like Jotform, so it's easy for your CRM to get out of date quickly—unless you have someone who's constantly reminding everyone to update Salesforce. With Zapier, you can keep your CRM updated without the hassle—and your super-user can have that time back for more important things.
Here's how to create a Zap—our word for the automated workflows you create with Zapier—that will automatically create Salesforce leads from Jotform responses.
Salesforce is a premium app—available on Zapier's paid plans. Learn more about premium apps.
How to add Jotform leads to Salesforce
Zapier lets you create automated workflows called Zaps, which send your information from one app to another. You can create your own Zap from scratch without any coding knowledge, but we also offer quick templates to get you started.
If you'd like to start with a template, click on it below, and you'll be taken to the Zapier editor. You'll need to create a Zapier account if you don't already have one. Then, follow the directions below to set up your Zap.
Add new Jotform form entries to Salesforce as leads
New to Zapier? It's workflow automation software that lets you focus on what matters. Combine user interfaces, data tables, and logic with 6,000+ apps to build and automate anything you can imagine. Sign up for free.
Set up your Jotform trigger
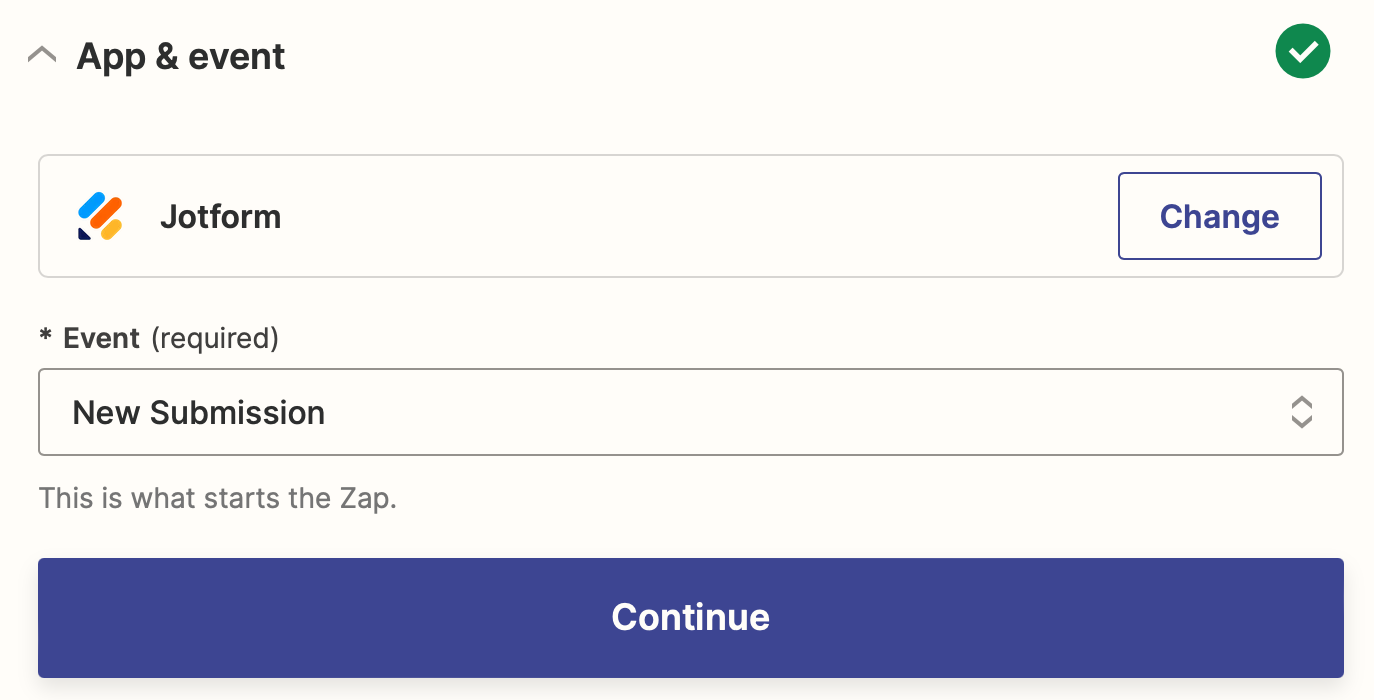
Let's start with the trigger—the event that starts your Zap. If you're using the Zap template, this will be selected for you. Otherwise, search for and select Jotform as the trigger app and New Submission as the trigger event, then click Continue.
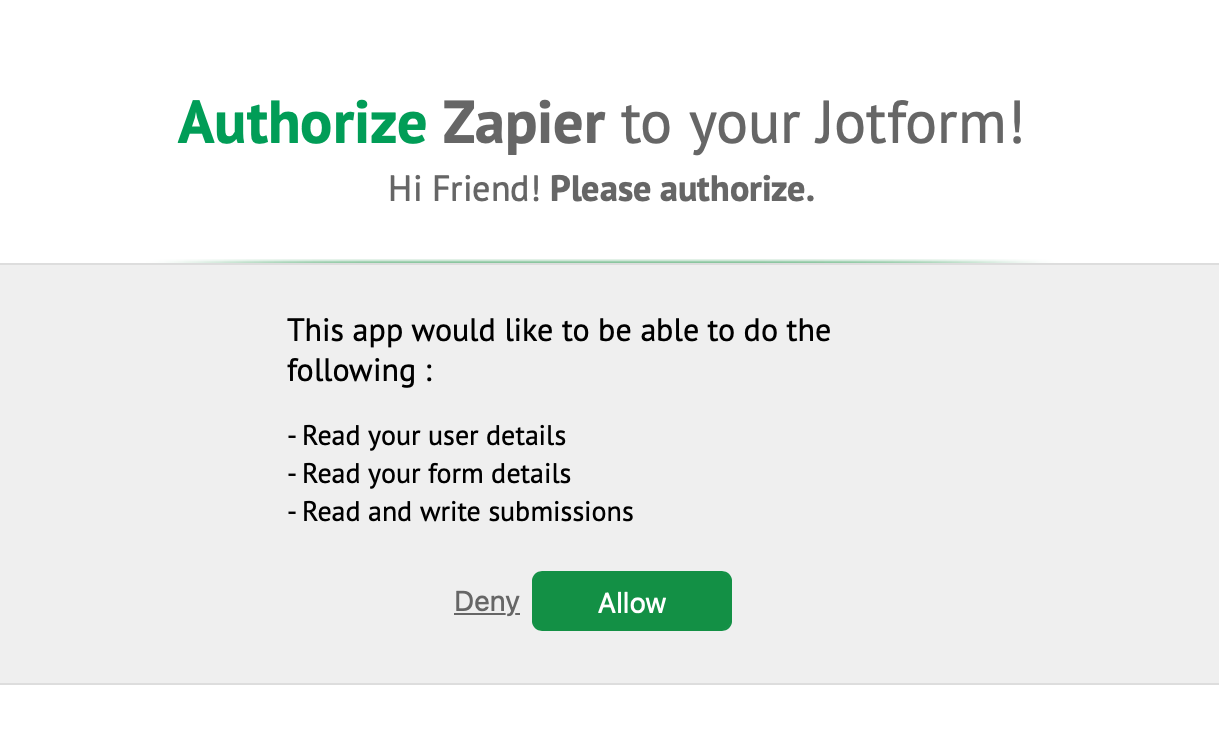
Next, connect your Jotform account. If you're doing this for the first time, click Sign in. This will open up a new page where you can tell Zapier if you're using a HIPAA-compliant account or if your servers are based in the European region. Both are optional.
Click Yes, Continue, then click Allow to allow Zapier access to your Jotform account.
Back in the Zap editor, click Continue.
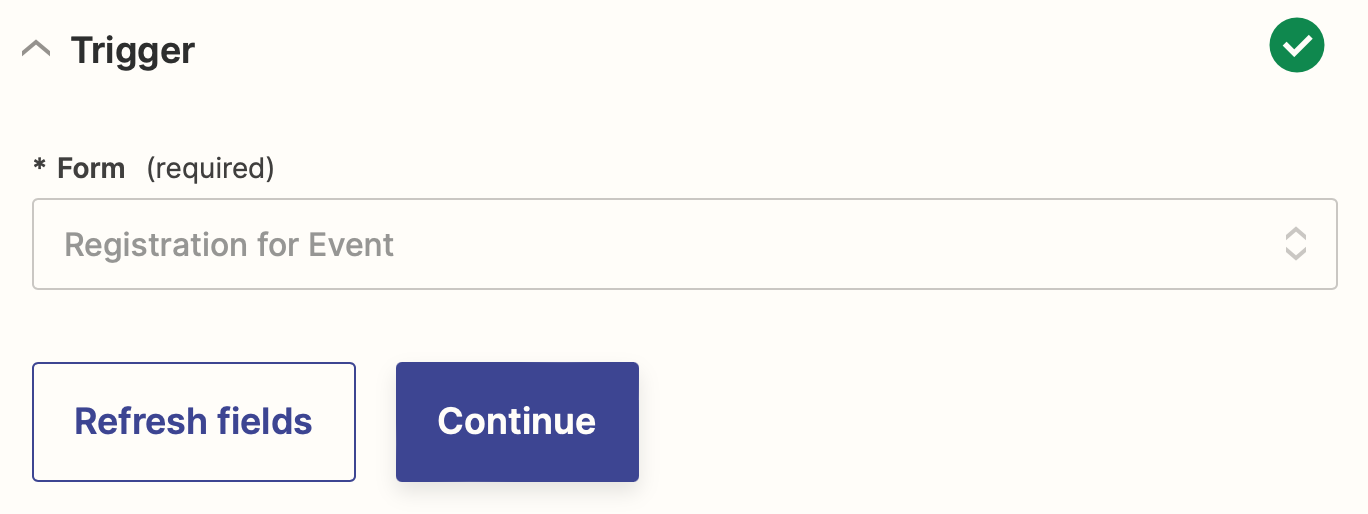
Now that your account is connected, it's time to set up the trigger. In the Form field, choose the form where you're collecting your leads data.
Now it's time to test your trigger. To set up the rest of your Zap correctly, you'll need at least one response to your Jotform. If you don't have any submissions yet, submit a test one now.
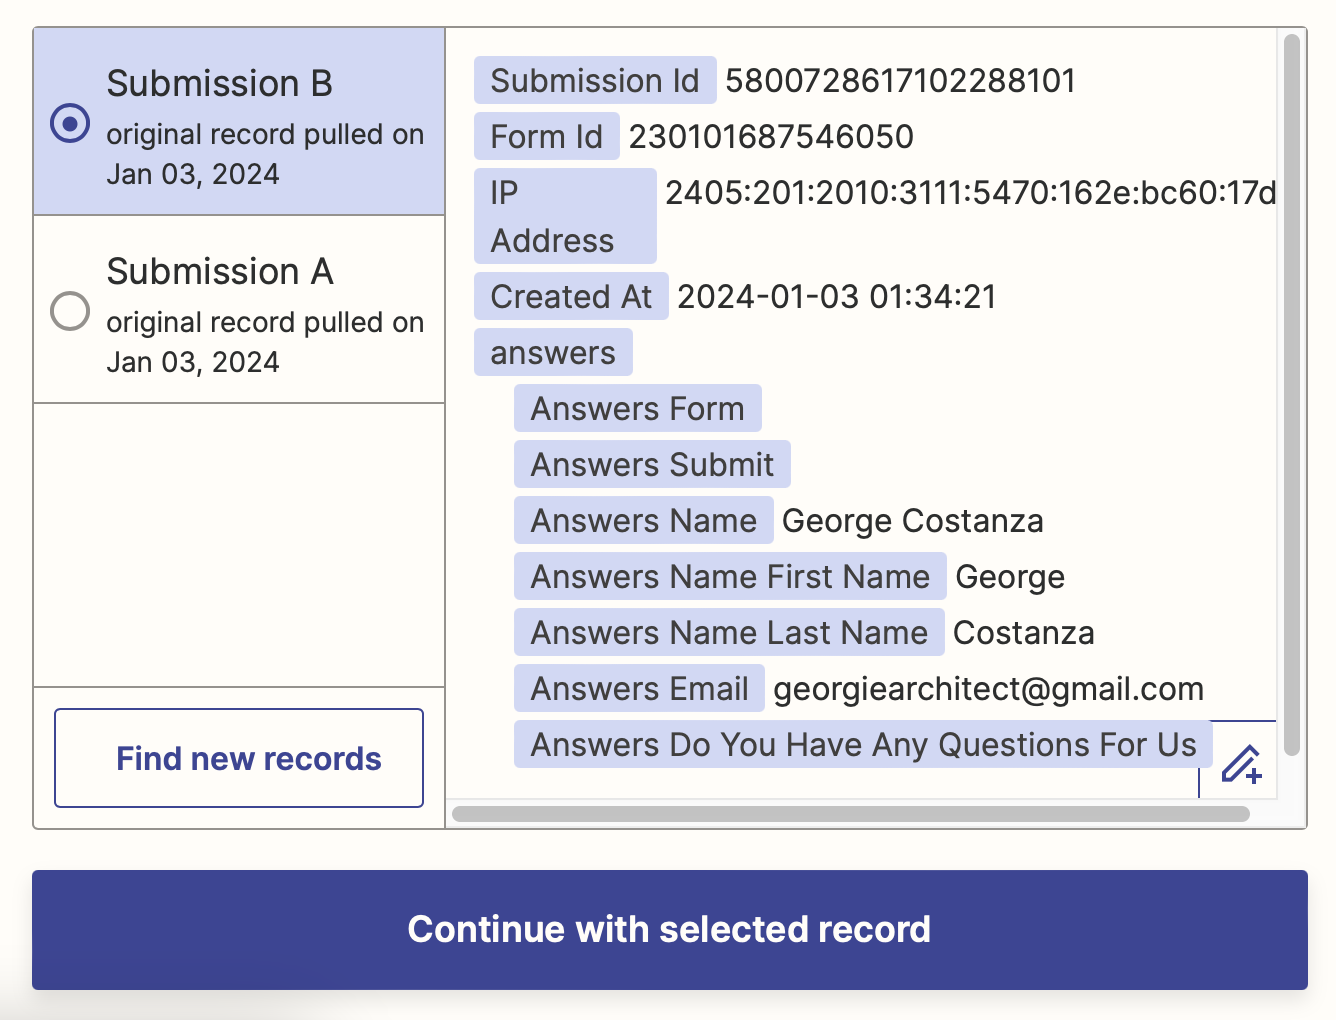
Once you have at least one response, click Test trigger. Zapier will show you the three most recent submissions to your form. Choose a sample record, then click Continue with selected record.
Set up your Salesforce action
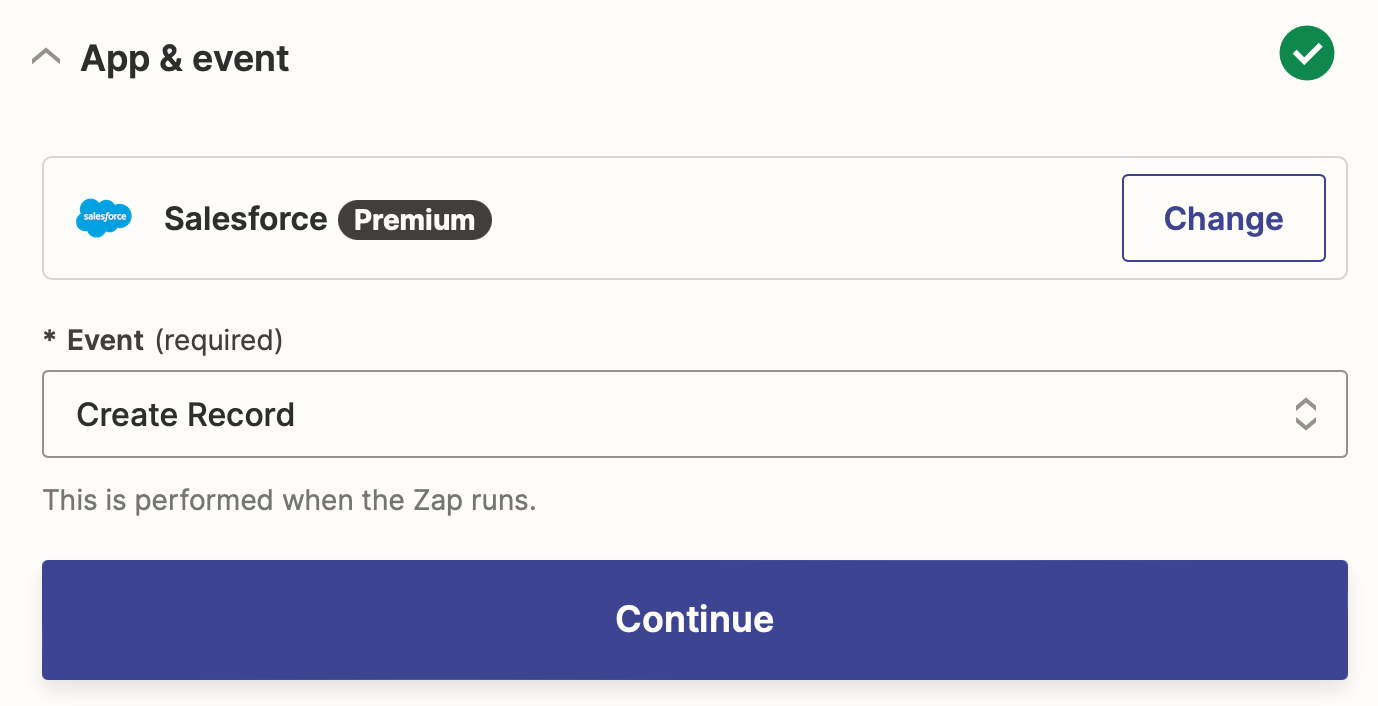
Now it's time to set up the action—the event your Zap will perform once it's triggered. If you're using the Zap template, these will already be selected for you. Otherwise, search for and select Salesforce as your action app and Create Record as your action event. Click Continue.
Next, connect your Salesforce account to Zapier, if you haven't already, and click Continue.
Now let's customize your action step. To get started, first choose Contact from the Salesforce Object field and then choose the client or team account where you want this contact to be added in the Account field.
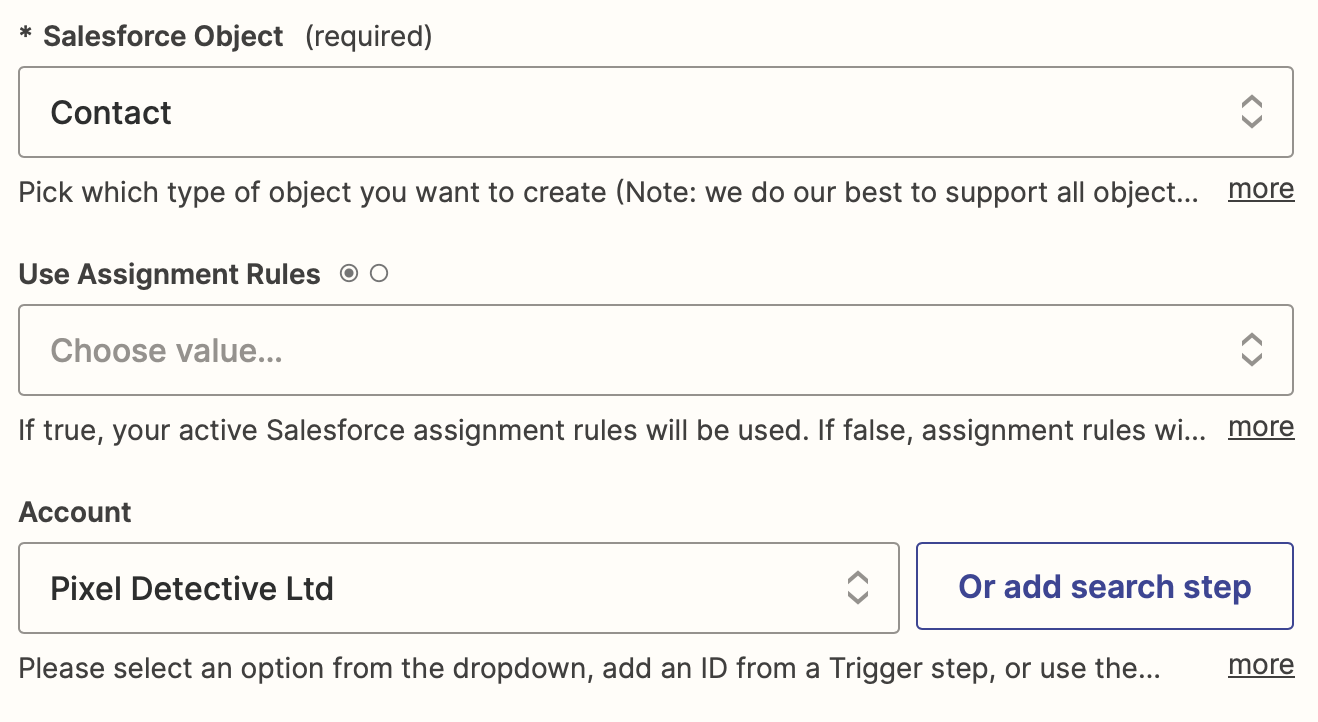
A Record in Salesforce can contain a wide variety of information. Depending on which records you have set up in your Salesforce account, you'll have different fields. You'll need to map any data you want to add from Jotform to a Salesforce record to the appropriate fields.
To do so, click in the field where you want to add information from Jotform and select that information from the Insert Data dropdown. For example, we'll add Answers Name Last Name to the Last Name field.
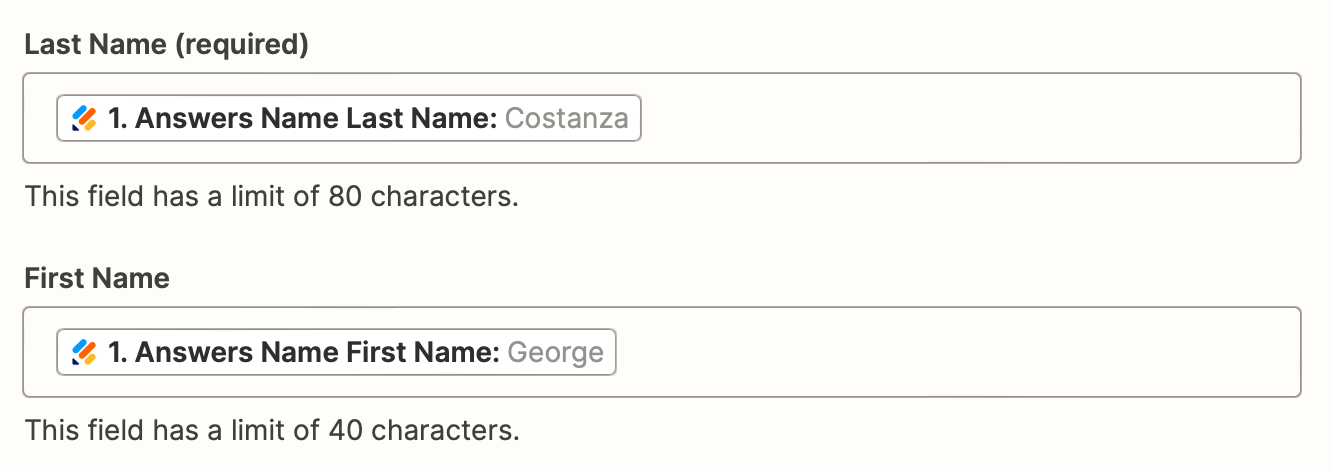
We'll also fill in the Email field. Follow the same steps to map any other data you want to add to Salesforce from Jotform.

Once you've mapped all the fields you need, click Continue.
Now, it's time to test your action step. Click Test step and Zapier will create a contact in your Salesforce account. Open your Salesforce dashboard, navigate to the Contacts tab, and you'll find the sample contact details right there.
Here's what our test results looked like.

If everything looks right, you're now ready to use your Zap. Now, every time a new lead submits your form, all their contact information will be added directly to your Salesforce database.
Add new Jotform form entries to Salesforce as leads
Related reading:
This article was originally published in August 2019, with previous contributions by Krystina Martinez. It was most recently updated in January 2024.
