If you're an IT professional or help manage apps for other teams, you likely spend a big chunk of your time monitoring accounts and plan usage. You probably receive regular emails about contact tier limits, for example, or error messages when something goes wrong.
But making sure those emails are seen by the right team members or assigned the right tickets can be time-consuming. And there's always a risk an essential person will be left out of the loop.
Fortunately, there's a way to automatically streamline these email alerts using Zapier. You can get Slack notifications for new emails matching Gmail search queries, so you never have to miss out on business account emails again.
Get Slack notifications for specific emails automatically
Zapier lets you create automated workflows called Zaps, which send your information from one app to another. You can create your own Zap from scratch without any coding knowledge, but we also offer quick templates to get you started.
If you'd like to start with a template, click on it below, and you'll be taken to the Zapier editor. You'll need to create a Zapier account if you don't already have one. Then, follow the directions below to set up your Zap.
Send Slack notifications for new emails matching Gmail search queries
Set up your Gmail trigger
First, set up your trigger—the event that starts your Zap. Search for and select Gmail as the trigger app and New Email Matching Searchas the trigger event. If you're using the Zap template above, this will be set up for you. Click Continue.
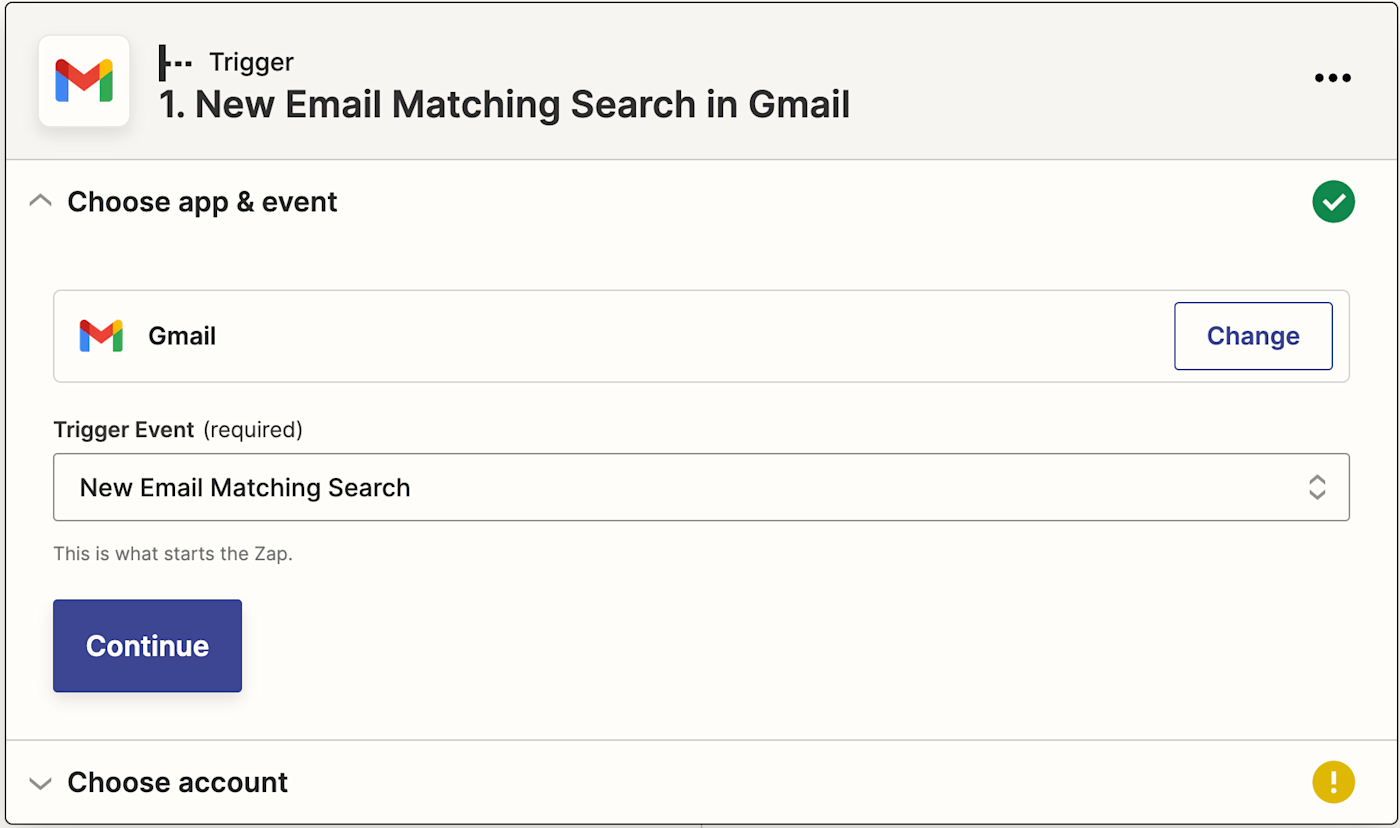
Next, connect your Gmail account. Click on Choose an account… and either select an account from the dropdown menu (if you've connected Gmail to Zapier before) or click +Connect a new account.
Once you've connected your account, click Continue.
Next, you'll need to tell Zapier what search it needs to perform to find the right email and the right information. Under Search String, choose the search operator you'd like to include.
For example, you could use subject: followed by the subject line you regularly get for these kinds of transactional emails. (These are usually the same for standard error emails or capacity limit alerts.) Just make sure if you're using a subject line to trigger the Zap that your alert email sends the same subject line each time—otherwise, the Zap won't trigger.
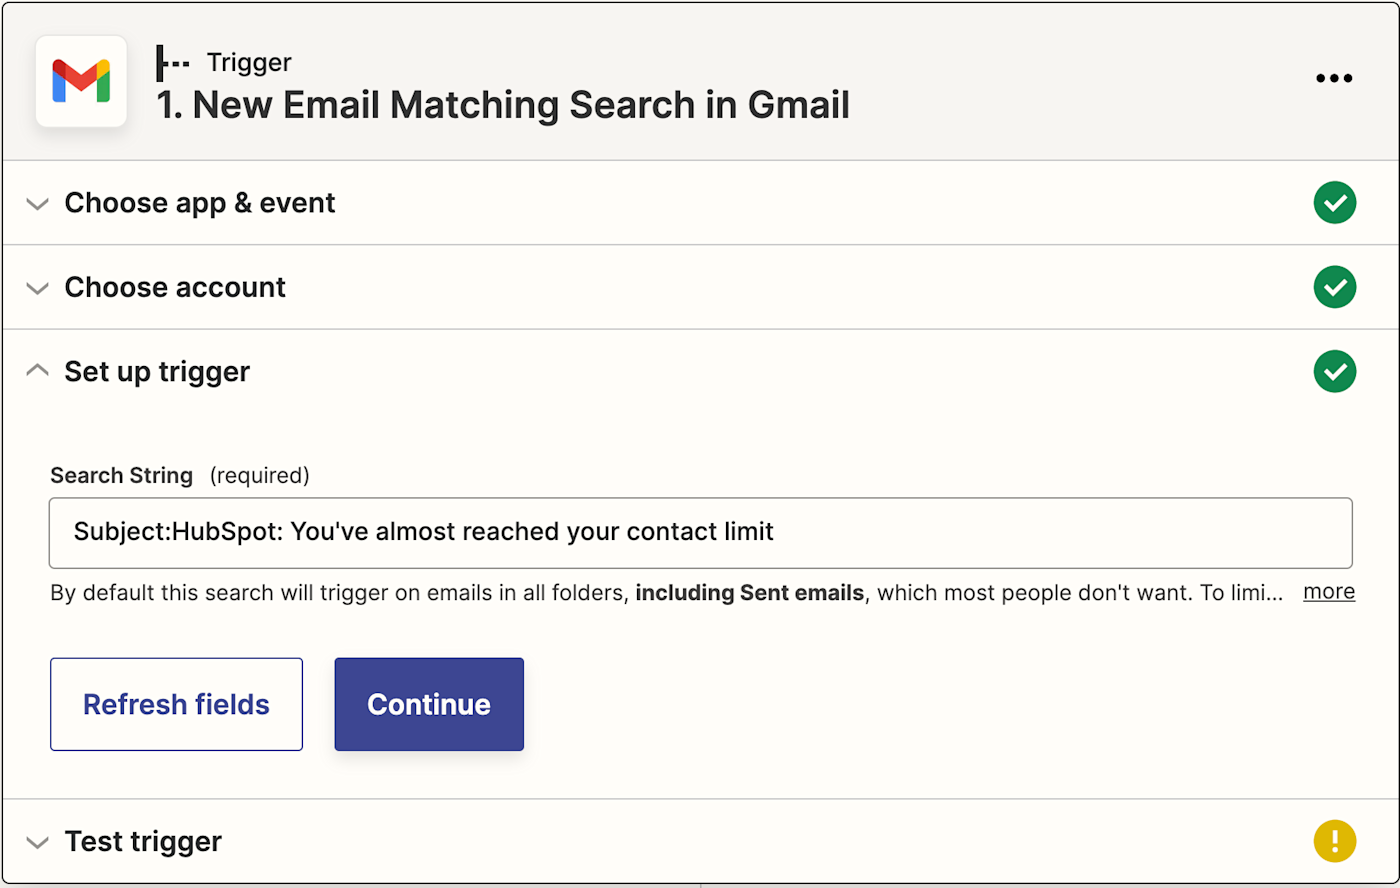
You can also use other search parameters, like messages with a certain label (label:) or specify the sender (from:) if you receive alert emails from the same sender each time.
Click Continue.
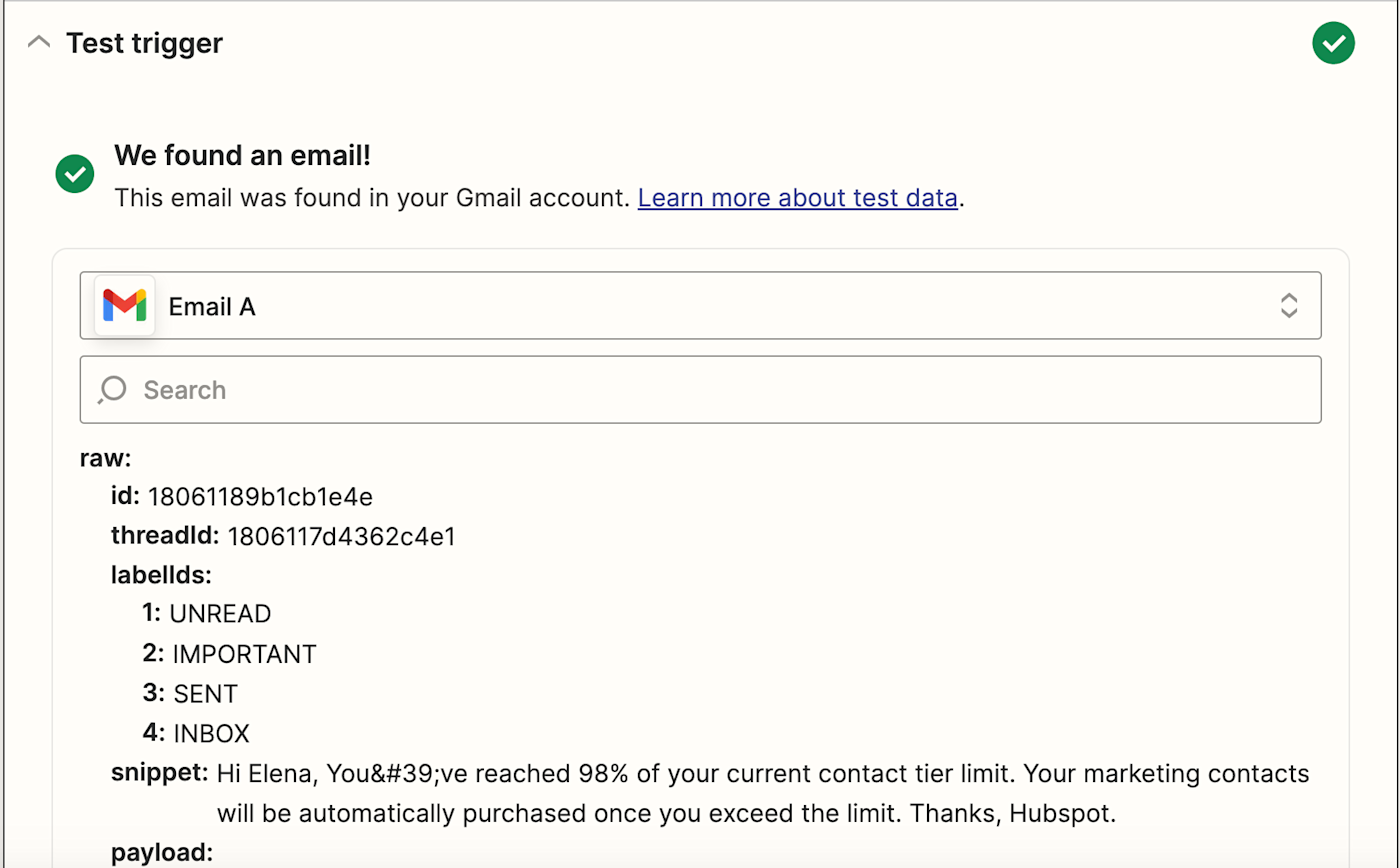
Now you need to test your trigger. Zapier will find a recent email in your Gmail account that matches the subject line you inputted earlier. This will be used to set up the rest of your Zap.
Click Test trigger. Once you see that your trigger is working correctly, click Continue.
Set up your Slack action
Now let's set up the action—the event your Zap will perform once it's triggered. Search for and select Slack as your action app and Send Channel Message as your action event. If you've used the Zap template above, this will already be selected for you. Click Continue.
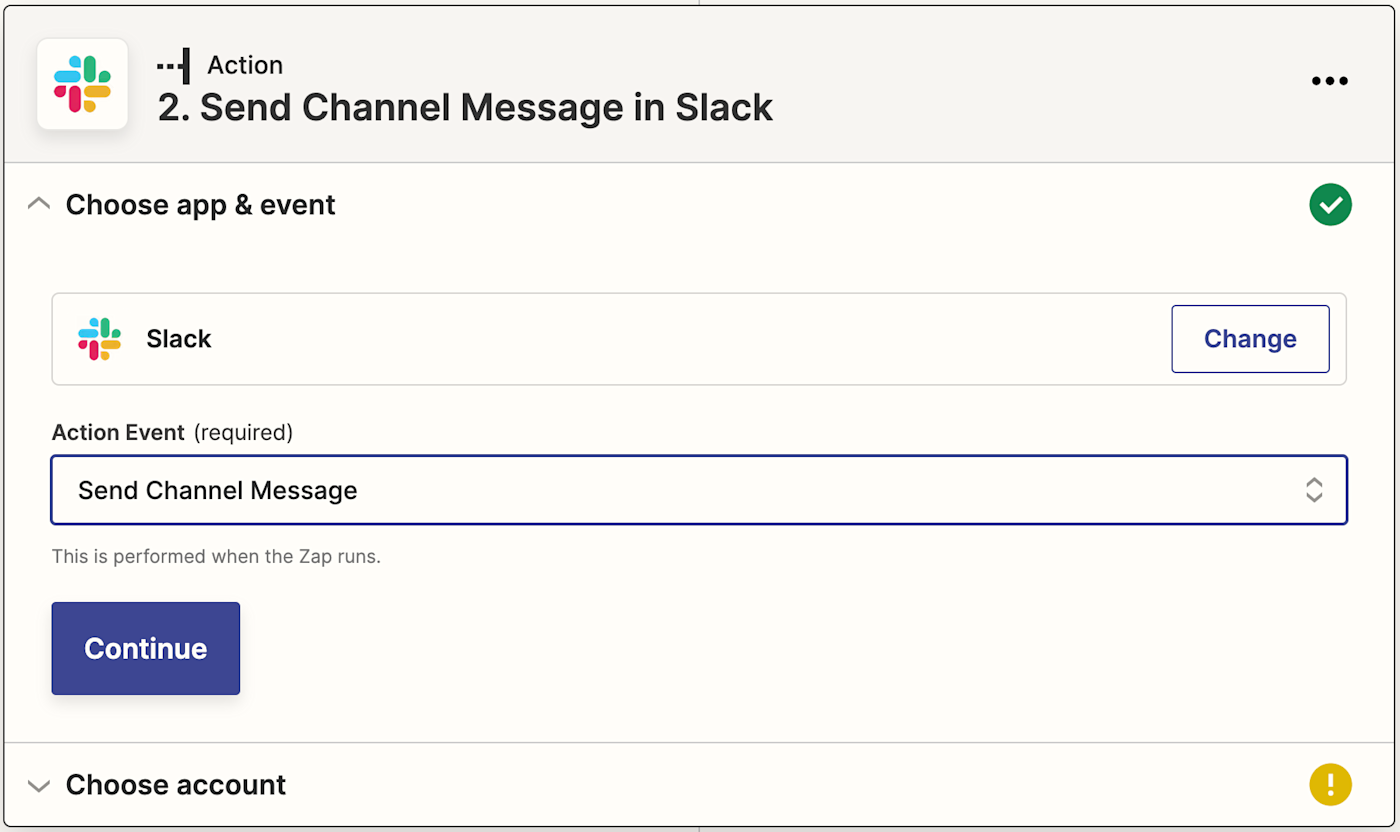
Connect your Slack account if it hasn't already been connected. Press Continue.
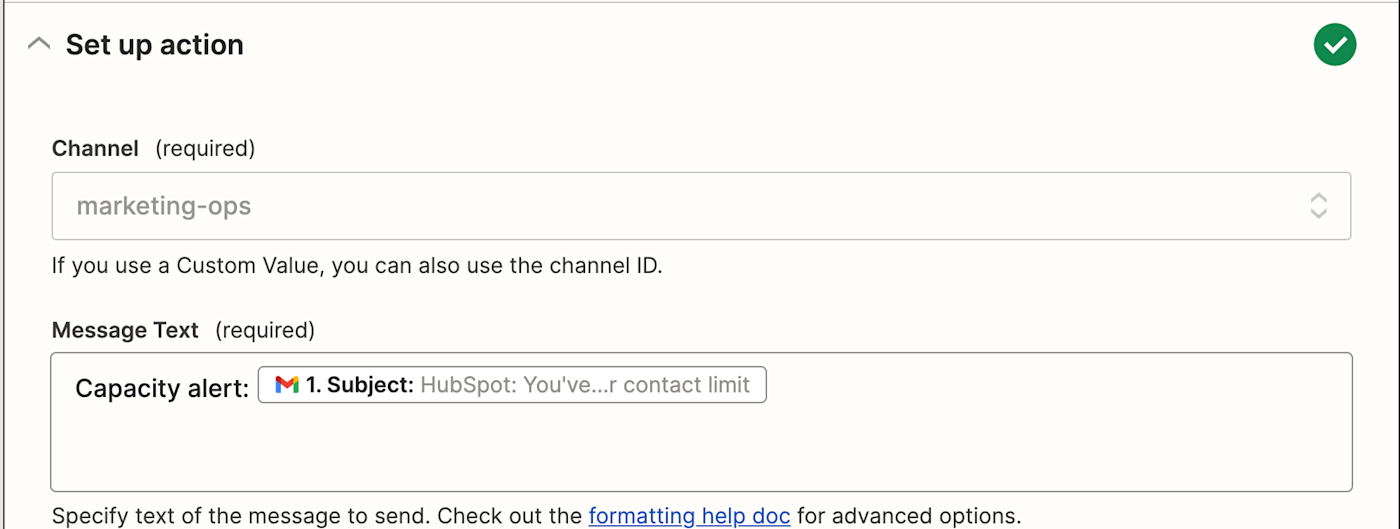
Now it's time to customize where you want your message to go and how it will look in Slack. Click on the dropdown under Channel to select the Slack channel you want your message to go to.
Under Message Text, you can use a mix of Slack formatting and Gmail data to customize how you want your message to look. In this case, we'll pull in the subject line from the email in Gmail, which lets us know we're almost at our HubSpot contact limit.
To map data from a previous step, just click in the field where you want to add the information and select the data point from the dropdown. You can also type in text in the field—we added "Capacity alert:" before the subject line.
You can also tag specific users, so you make sure the right people are seeing (and responding) to the right alerts.
Once you've set up how you want your message to look, you can configure other options. You can choose to have this message sent from a bot, give it a name, and add an emoji so you can tell it apart from messages from your team.
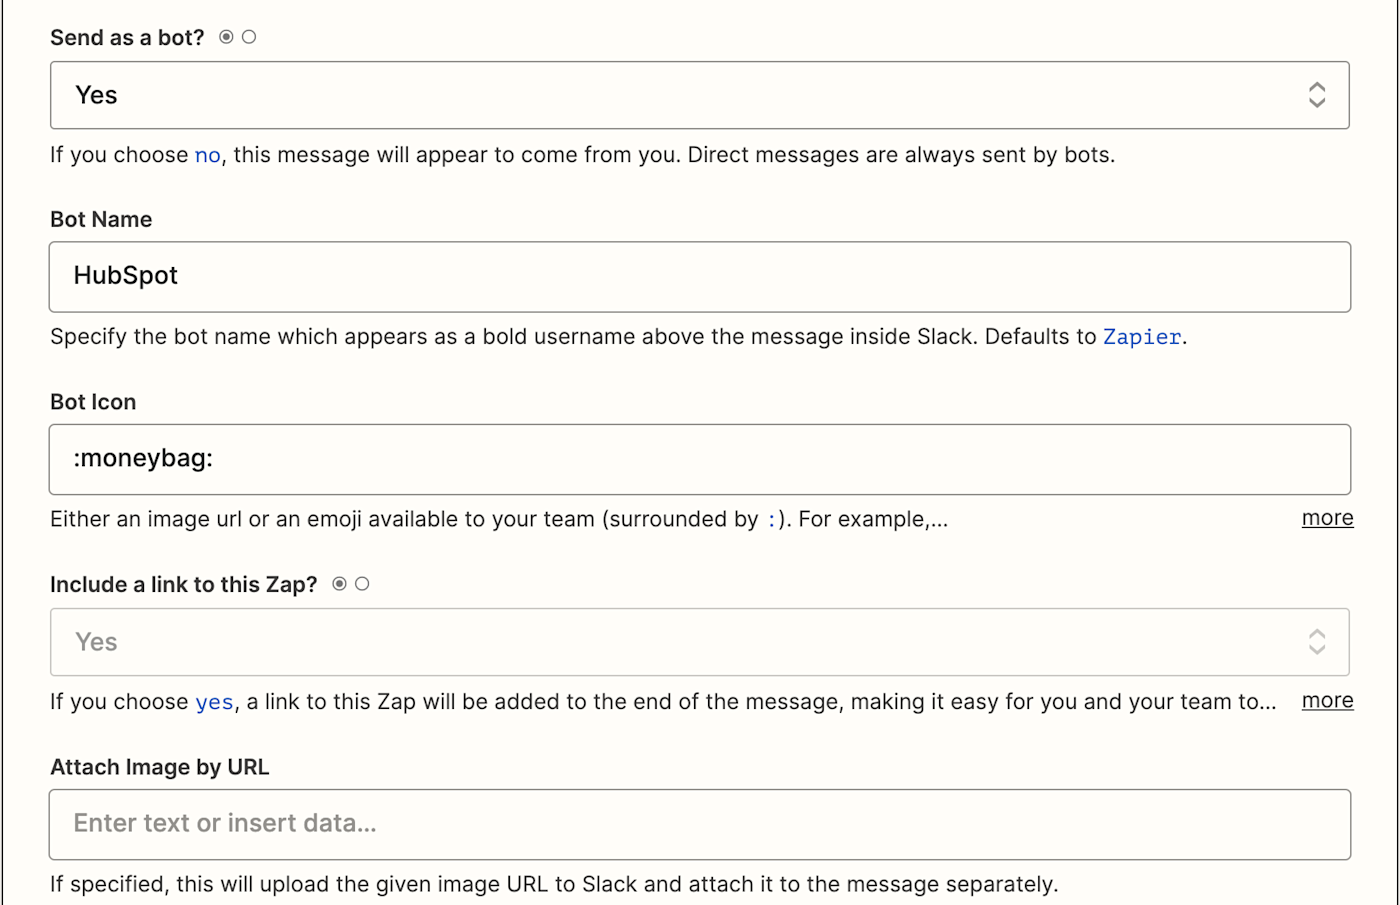
After you've adjusted your settings, click Continue. Now it's time to test your action. When you click Test & Review or Test & Continue, Zapier will send a message to Slack based on the instructions you entered in the previous step.
Once everything is set up correctly, you're ready to begin using your Zap. You can always go back and tweak things until you get the message the way you want it to look.
Now you'll get a Slack notification every time you get an alert email in your Gmail account.
Do more with a Formatter step
Want to customize your alert even more? You can always add a Formatter step between your Gmail trigger and Slack action to extract specific information from the body of the email instead of just using the subject line or sender. This is helpful if you want your Slack notification to include exact data that's more specific than what you're able to set up in your trigger.
For example, you could extract a specific number from your email. Let's say your email talks about capacity tiers (like our example), and you don't want to pull the whole subject line or body into your Slack message.
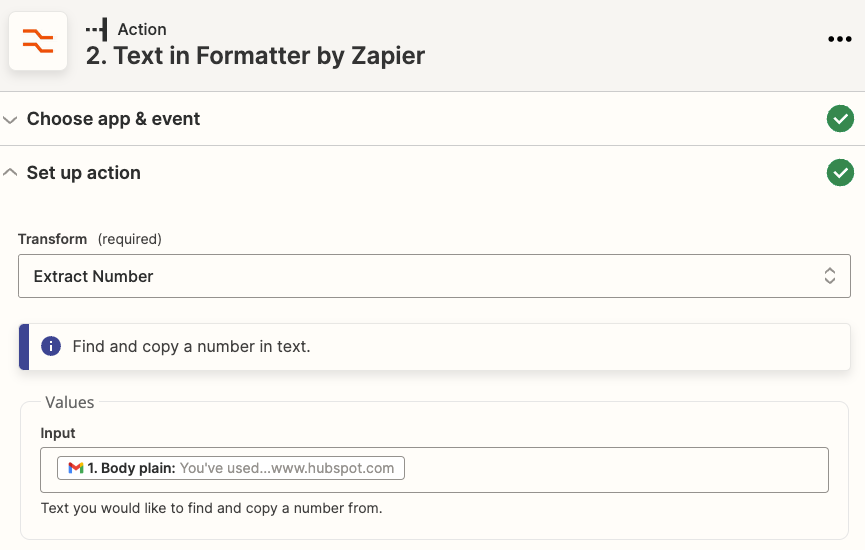
Add an action step after your Gmail trigger and select Formatter by Zapier for the action app and Text for the action event.
When you set up your action, select Extract Number in the Transform field. This will tell the Zap to extract a number from your previous Gmail step. Then click in the Input field under Values and select the Body plain data point from the dropdown. This tells the Zap to look for a number to extract from the body of your email.
When you set up your Slack message in your next action step, just click in the Message Text field and select Output from the dropdown (instead of the subject line like we did in our example). This will pull in the number extracted in the previous step.

