Connect Acuity Scheduling and PHOTO iD by U Scope to power AI-driven automation
- No-code AI automation
- Full audit trails and controls
- SOC 2 and GDPR compliant
- Easy visual workflow builder
- 8,000+ apps, 450+ AI tools
- Free tier available
How Zapier works
Zapier makes it easy to integrate Acuity Scheduling with PHOTO iD by U Scope - no code necessary. See how you can get setup in minutes.
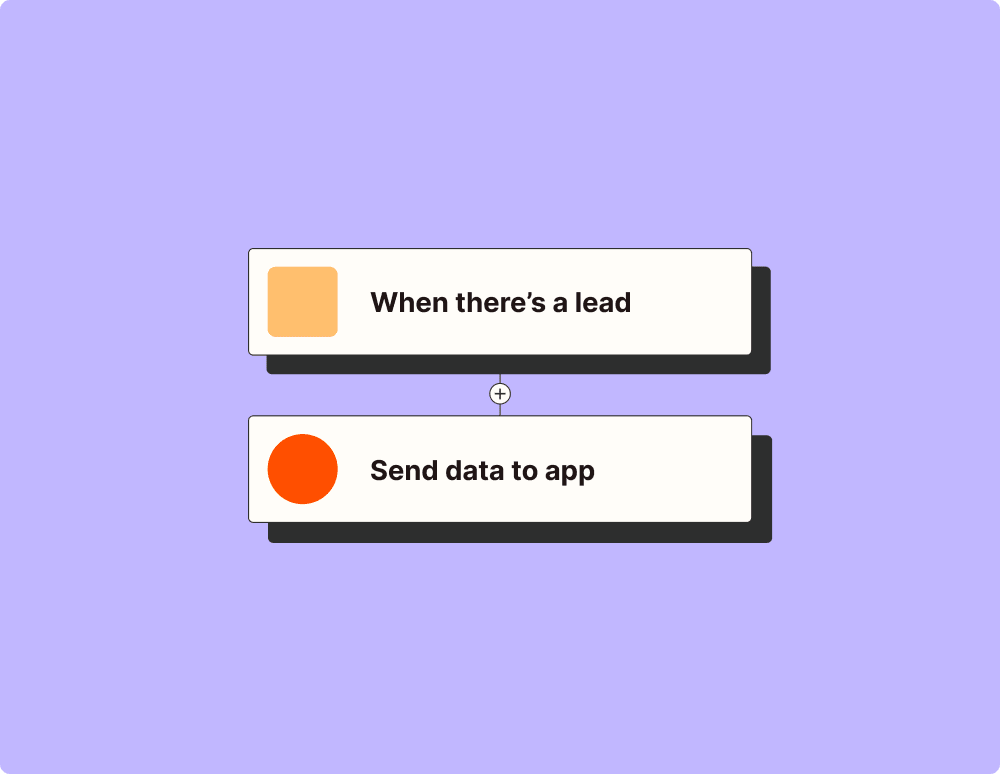
Choose a trigger
A trigger is the event that starts your Zap—like a "Appointment Start" from Acuity Scheduling.
Add your action
An action happens after the trigger—such as "Create Assignment" in PHOTO iD by U Scope.
You’re connected!
Zapier seamlessly connects Acuity Scheduling and PHOTO iD by U Scope, automating your workflow.
Supported triggers and actions
Zapier helps you create workflows that connect your apps to automate repetitive tasks. A trigger is an event that starts a workflow, and an action is an event a Zap performs.
- Time Before (Unit)
- Appointment Type
- Calendar
- Time BeforeRequired
Try ItTriggerPolling- Calendar
- Appointment Type
Try ItTriggerInstant- New Product Order
Triggers when a new order is completed.
Try ItTriggerInstant - PackageRequired
- Certificate Code
- Email Address
ActionWrite
- Calendar
- Appointment Type
Try ItTriggerInstant- Calendar
- Appointment Type
Try ItTriggerInstant- CouponRequired
- Certificate Code
ActionWrite- CalendarRequired
- Start Date and TimeRequired
- End Date and TimeRequired
- Notes
ActionWrite
Zapier is the automation platform of choice for 87% of Forbes Cloud 100 companies in 2023


93%
Customers who say using Zapier has made them better at their job
25m
Customers have created over 25 million Zaps on the platform
6 mins
The average user takes less than 6 minutes to set up a Zap
Connect Acuity Scheduling and PHOTO iD by U Scope to integrate crucial parts of your business
With Zapier, you can integrate everything from basic data entry to end-to-end processes. Here are some of the business-critical workflows that people automate with Zapier.
Automate your lead management and improve conversions
Create more impactful campaigns with automation

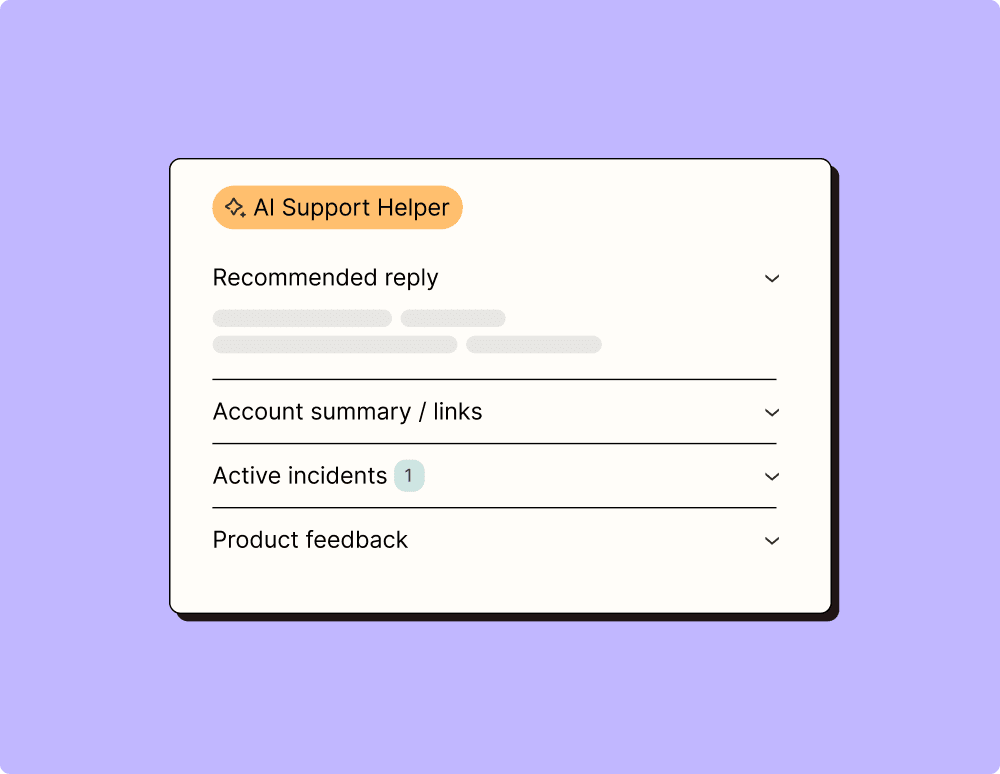
Provide world-class support with a little help from automation
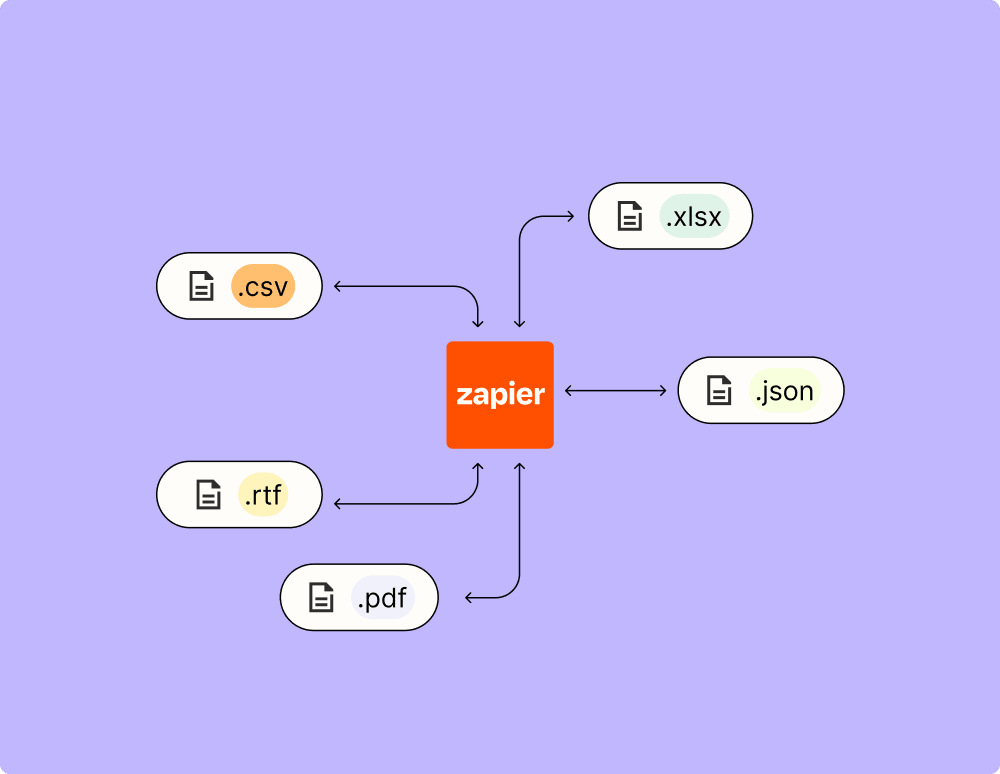
Automate your way to actionable, up-to-date data
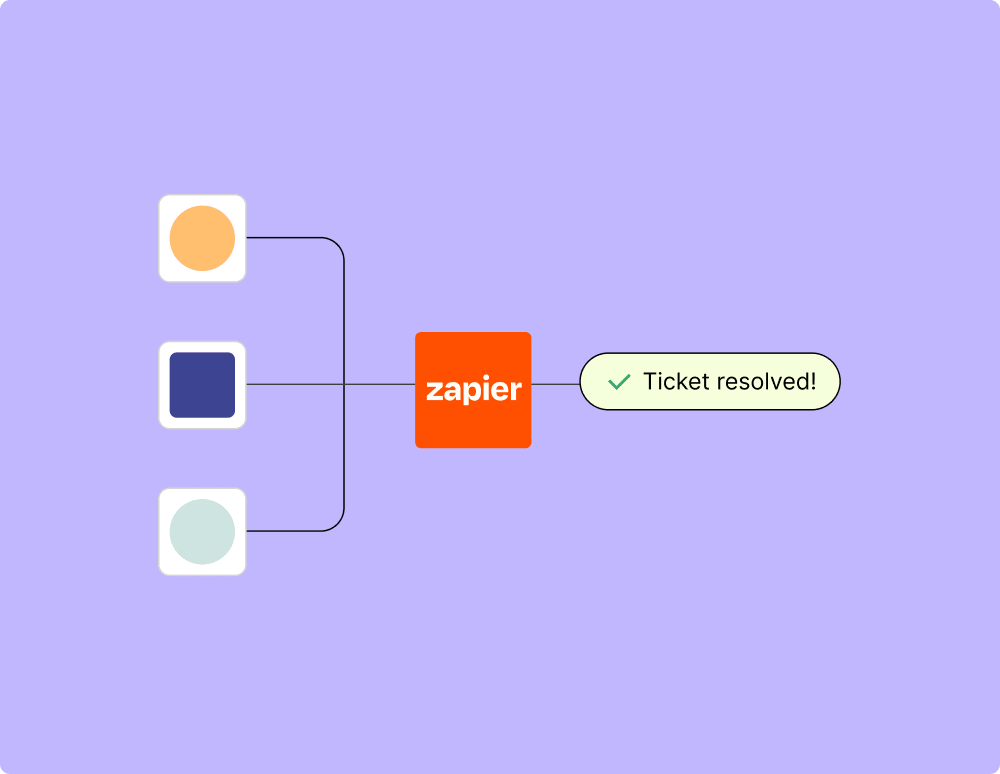
Resolve incidents faster with automation
Learn how to automate Acuity Scheduling on the Zapier blog

Frequently Asked Questions about Acuity Scheduling + PHOTO iD by U Scope integrations
New to automation with Zapier? You're not alone. Here are some answers to common questions about how Zapier works with Acuity Scheduling and PHOTO iD by U Scope
How do I set up the integration between Acuity Scheduling and PHOTO iD by U Scope?
To set up the integration, navigate to the integrations section in your Acuity Scheduling account. From there, search for PHOTO iD by U Scope and follow the prompts to connect both platforms. You will need your API key from PHOTO iD, which you can find in your account settings.
What triggers can I use with the Acuity Scheduling and PHOTO iD integration?
When integrating Acuity Scheduling with PHOTO iD, you can utilize triggers such as 'New Appointment Scheduled' or 'Appointment Canceled'. These triggers help automate actions within our system based on scheduling changes.
Can I create a new photo album in PHOTO iD when an appointment is scheduled in Acuity?
Yes, one of the actions available through the integration is to automatically create a new photo album in PHOTO iD whenever a new appointment is scheduled in Acuity Scheduling. This helps streamline client management by keeping their photos organized.
Is it possible to send reminder emails through this integration?
While reminder emails are typically managed directly within Acuity Scheduling, any custom notifications regarding photos or albums should be handled directly through the settings in PHOTO iD by U Scope.
What information is transferred from Acuity Scheduling to PHOTO iD during an appointment trigger?
When an appointment trigger occurs, information such as the client's name, contact details, and appointment time can be transferred to PHOTO iD. This allows us to automatically populate necessary fields for client records or photo albums.
Do I need coding knowledge to integrate these services?
No coding knowledge is required to integrate Acuity Scheduling with PHOTO iD by U Scope. Our platform offers user-friendly interfaces with step-by-step guidance that facilitates easy setup of triggers and actions.
How do I handle time zone differences when using this integration?
Our platform accounts for time zone differences automatically by synchronizing appointment times between Acuity Scheduling and PHOTO iD according to each user's specified time zone settings.


