If you need to answer questions often—maybe from potential leads or your own employees who have queries about your company's product—then you know it can be hard to think up detailed answers (and helpful use cases) on the spot.
You might store those questions in Google Sheets so you can go back and sort through them later. But manually addressing them—and thinking up good responses—is slow and tedious work.
Instead, you should think about leveraging the power of OpenAI to create thoughtful, detailed responses to those prompts automatically. Watch the video below on how to integrate Google Sheets with OpenAI so you can do just that. Or keep reading for step-by-step instructions.
New to Zapier? It's workflow automation software that lets you focus on what matters. Combine user interfaces, data tables, and logic with 6,000+ apps to build and automate anything you can imagine. Sign up for free.
How to send prompts to OpenAI from Google Sheets and save the responses
Zapier lets you create automated workflows called Zaps, which send your information from one app to another. You can create your own Zap from scratch without any coding knowledge, but we also offer quick templates to get you started.
If you'd like to start with a template, click on it below, and you'll be taken to the Zap editor. You'll need to create a Zapier account if you don't already have one. Then, follow the directions below to set up your Zap.
Send prompts to OpenAI from Google Sheets and save the responses
Multi-step Zaps—available on our paid plans—allow you to add multiple actions, filters, and even branching logic so you can do more, automatically. Learn how to use multi-step Zaps.
Before you begin
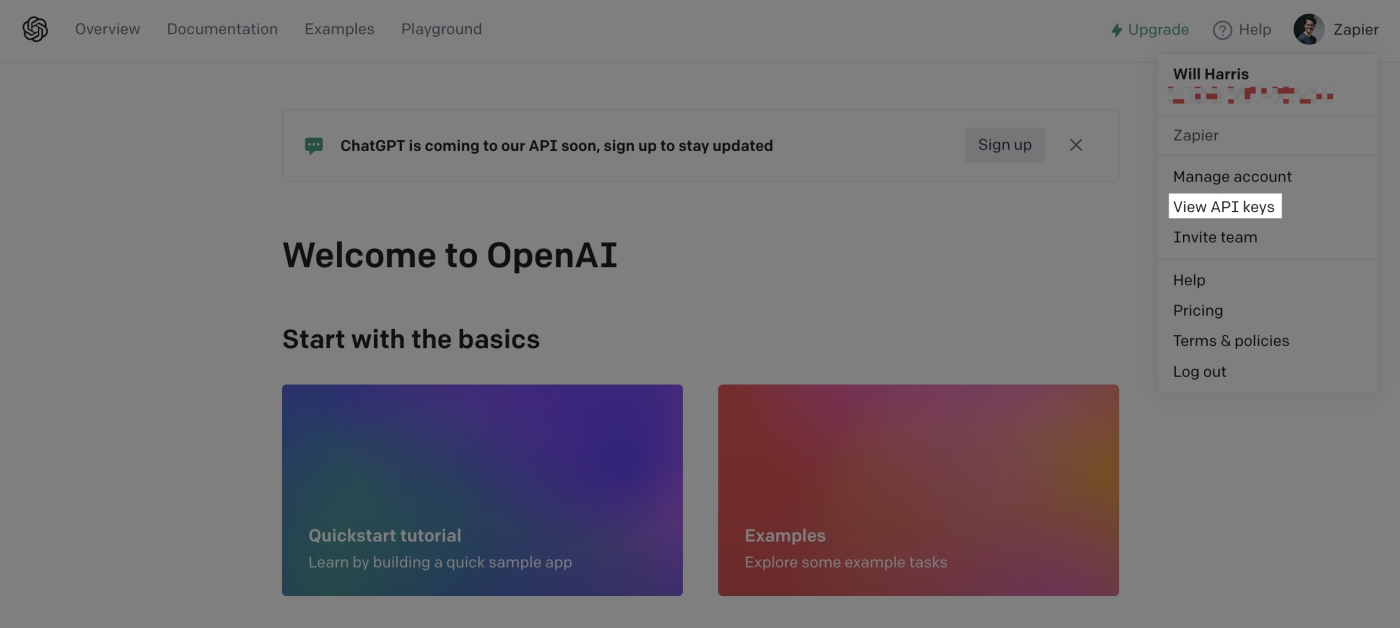
Make sure you set up a free OpenAI account before getting started. Once you've opened your account, click the settings tab in the top right corner and select View API keys.
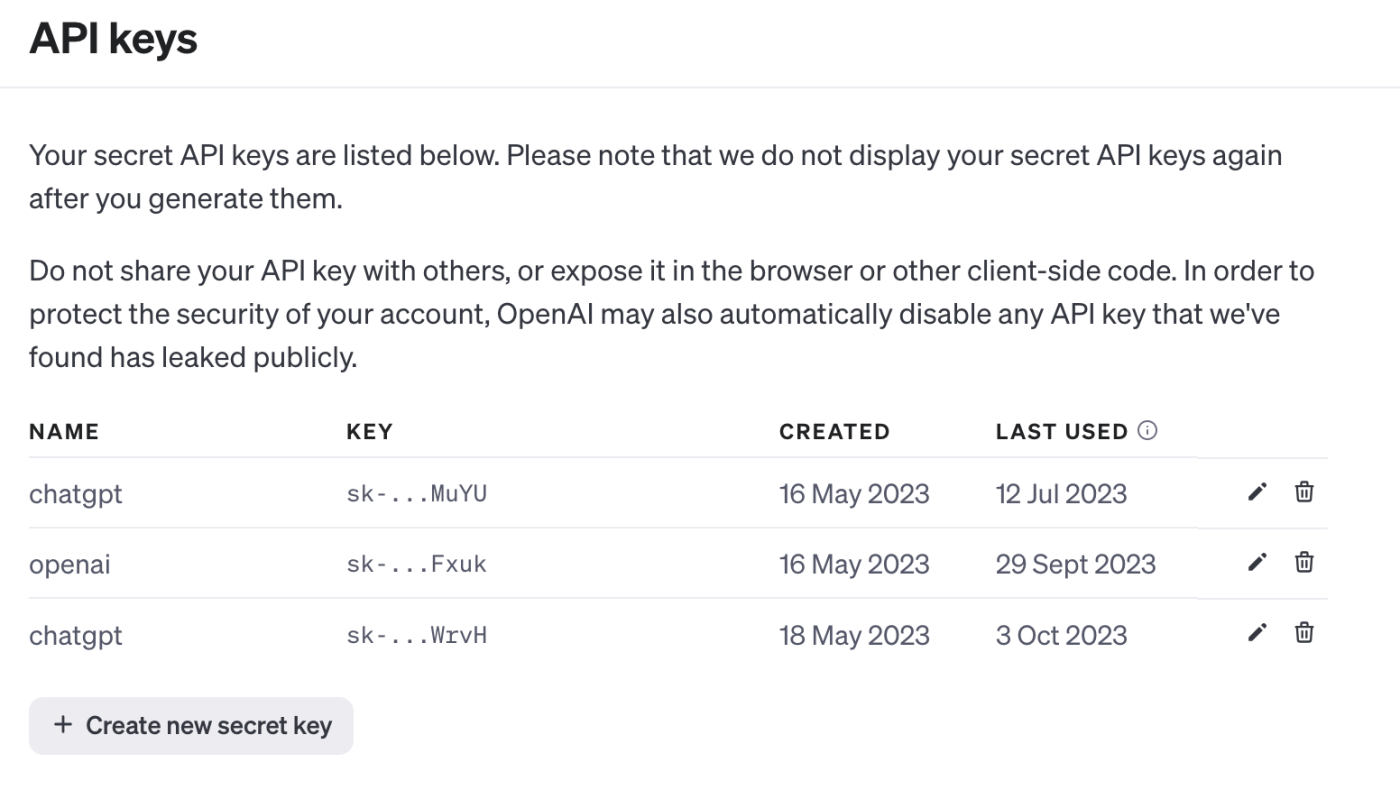
Then, click the + Create new secret key button to generate your API key. Make sure to copy the key while you're here. You'll need it later when connecting your OpenAI account to Zapier.
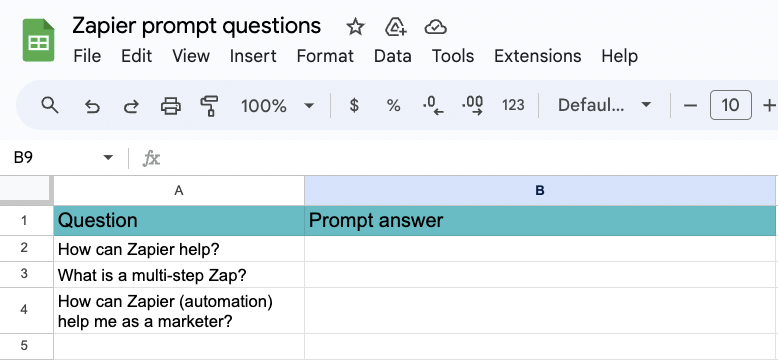
Remember, you'll also need a Google Sheets account so you can connect Google Sheets to OpenAI. You'll also need to create a spreadsheet to store your questions (or prompts). Make sure to add at least one entry in the Question column so you can properly set up your Zap. Here's an example:
Set up your Google Sheets trigger
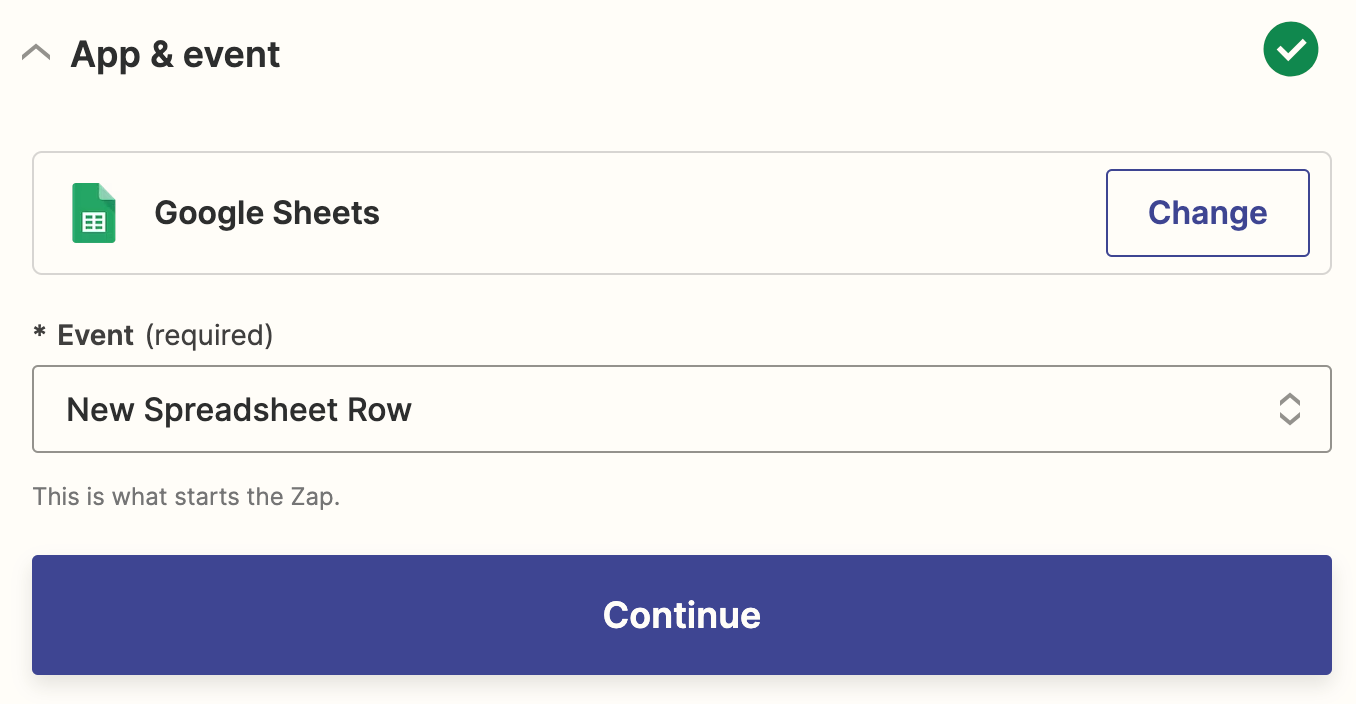
Now, you're ready to set up your Zap. Let's start with the trigger—the event that starts your Zap. If you're using the Zap template, this will be selected for you. Otherwise, search for and select Google Sheets as the trigger app and New Spreadsheet Row as the trigger event, then click Continue.
Next, connect your Google Sheets account, if you haven't already. Then click Continue.
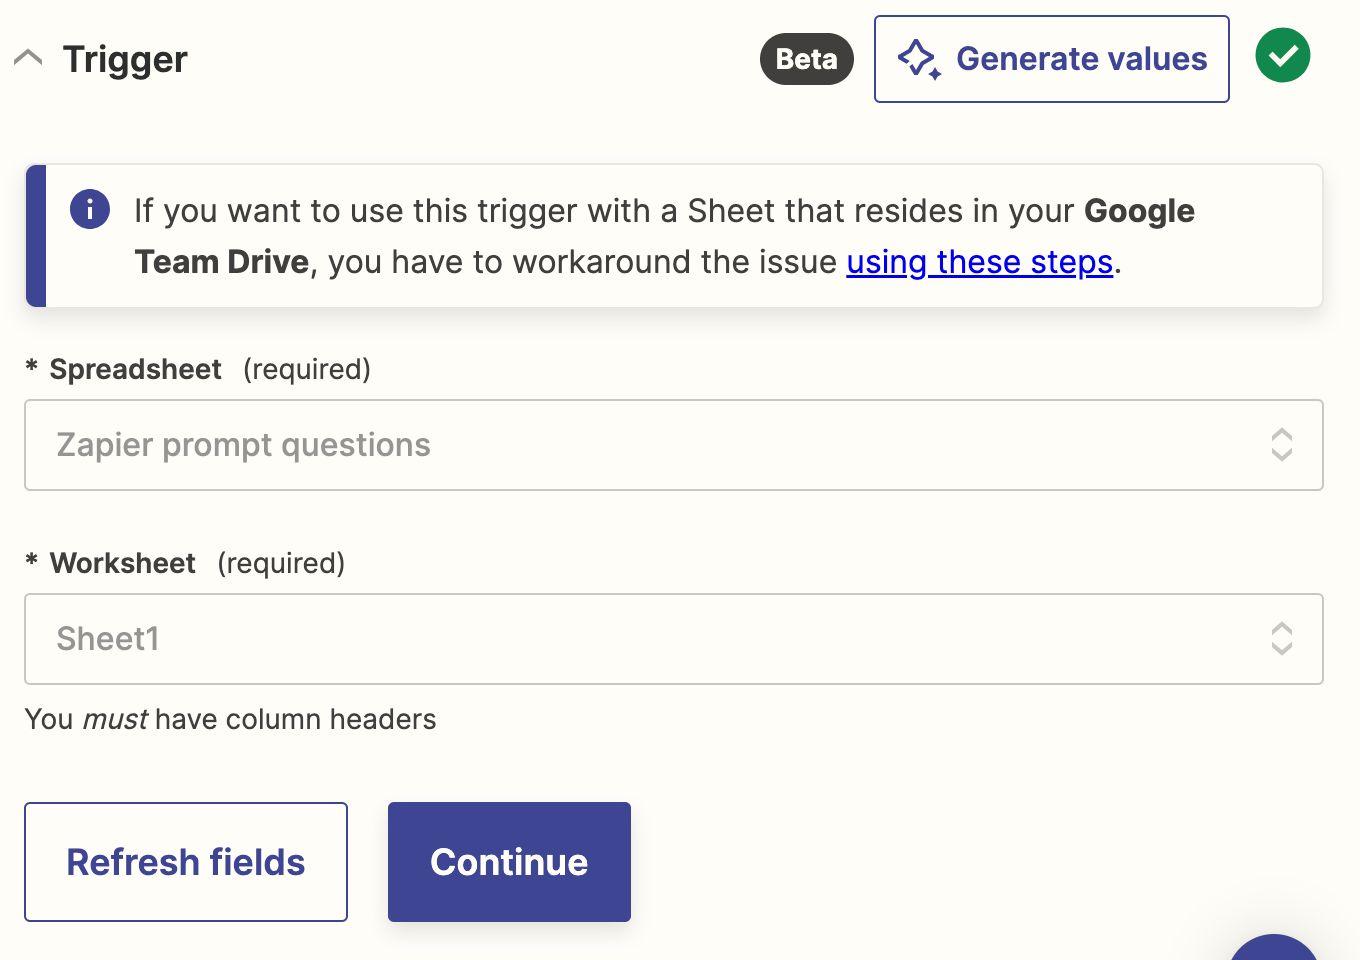
Next, choose the Google Sheet you created for your events in the Spreadsheet field. In the Worksheet field, choose the appropriate worksheet. If you only have one worksheet in your spreadsheet, "Sheet1" will be your only option. Then, click Continue.
Next, test your trigger. Zapier will look for a recent spreadsheet row in your Google Sheet, according to how you set up your trigger earlier. You'll use whatever Zapier finds to set up the rest of your Zap.
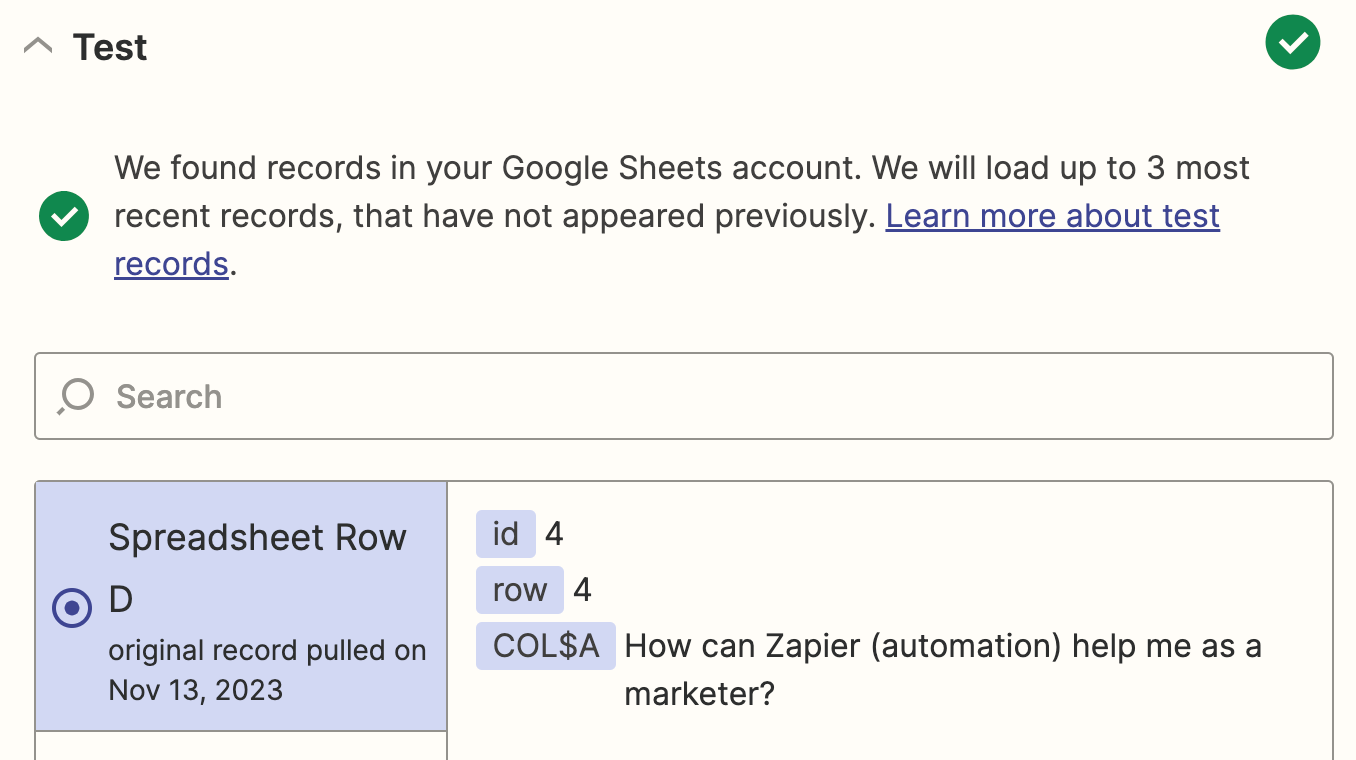
Once you see your test results, check them and make sure you have the data you want. If something looks off, make adjustments to your trigger criteria if needed, and retest until you get the information you want. Once you're happy with the results, click Continue with selected record.
Set up your OpenAI action
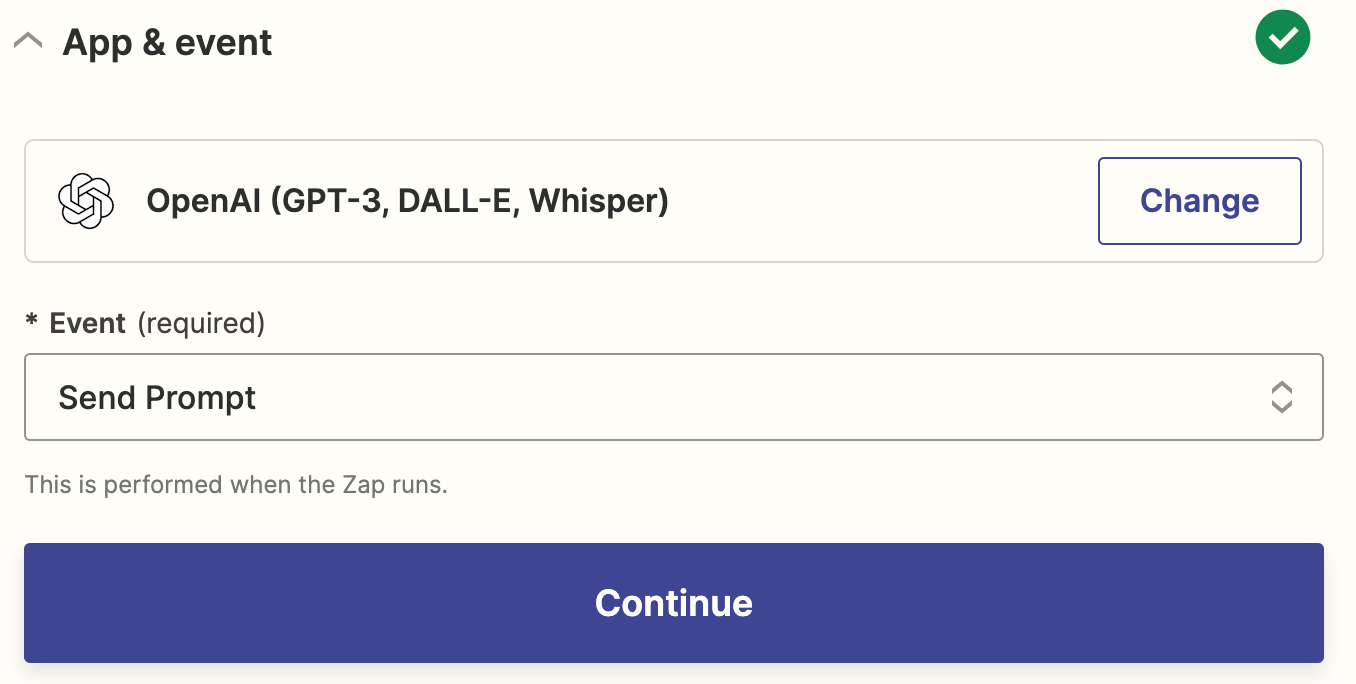
Now, it's time to set up the action—the event your Zap will perform once it's triggered. If you're using the Zap template, these will already be selected for you. Otherwise, search for and select OpenAI as your action app and Send Prompt as your action event. Click Continue.
Next, connect your OpenAI account, if you haven't already. Then click Continue.
Now it's time to customize your action. We recommend using the gpt-3.5-turbo-instruct model, selected by default.

If you're using the Zap template, you'll find ready-made instructions under your Prompt, like so:

But you can also customize your prompt further with more specific instructions. For example, you could assign it a specific role or tell it what it should avoid in its answers. Here's what our prompt says:
You are an experienced customer sales rep for Zapier. You're responsible for answering prospect queries to the best of your knowledge. Avoid using jargon and keep the language user-friendly. Answer this question: {Add question from Google Sheets here}
Most importantly, you can pull in data from your Google Sheets step by clicking inside the Prompt field and selecting Question from the Insert Data dropdown. This lets OpenAI know which specific question it needs to provide an answer for.

After you customize your prompt, you can adjust the temperature (creativity level) of the writing, as well as the maximum length.
Once you've tweaked your prompt, click Continue and test your action.
You'll see a success message if it works. Check the test data to see if you need to adjust the prompt or related settings.
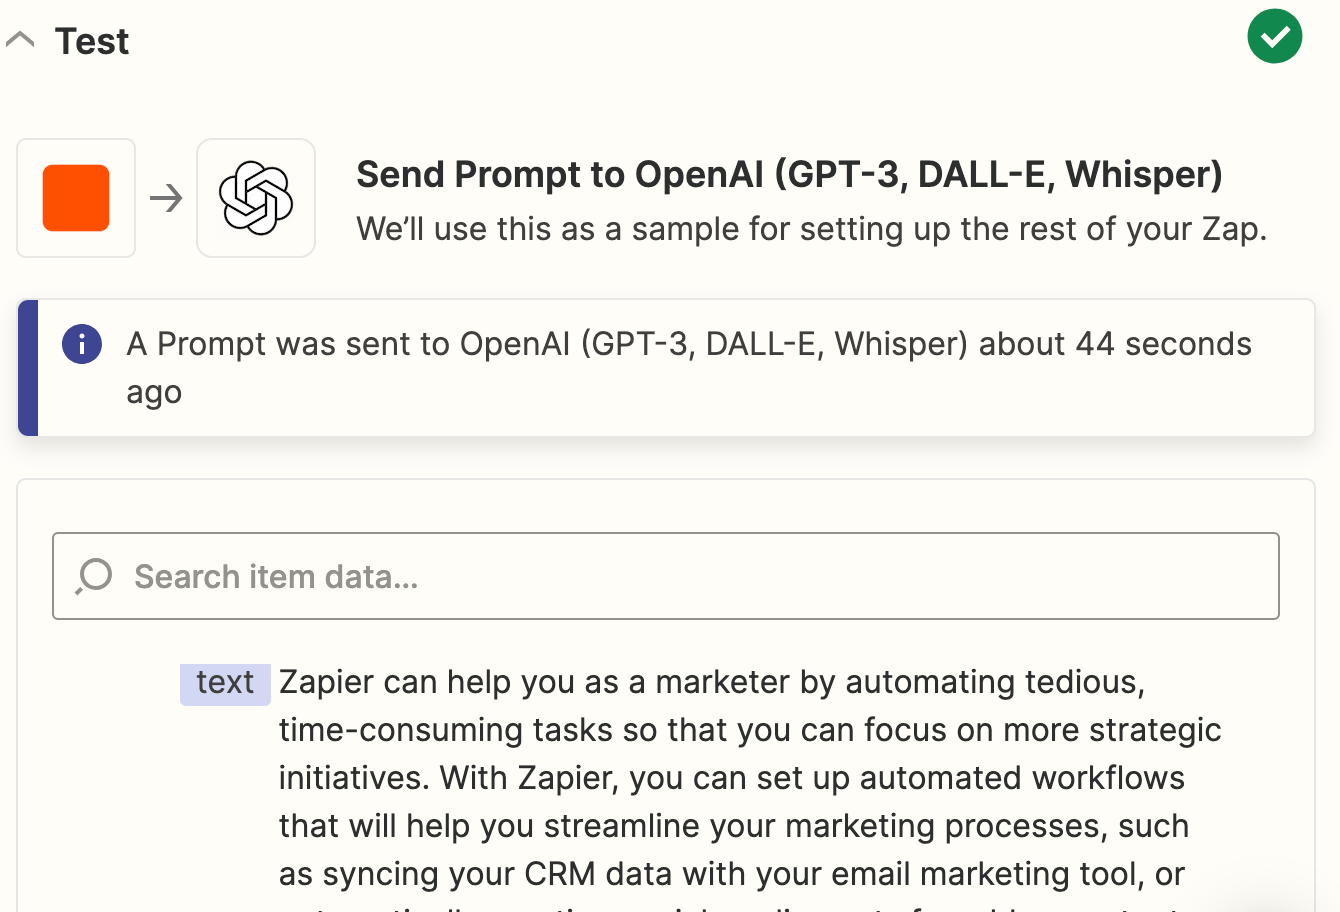
Once you're happy with the result, click Continue. If you're not using the Zap template, click on the + icon to add another action step.
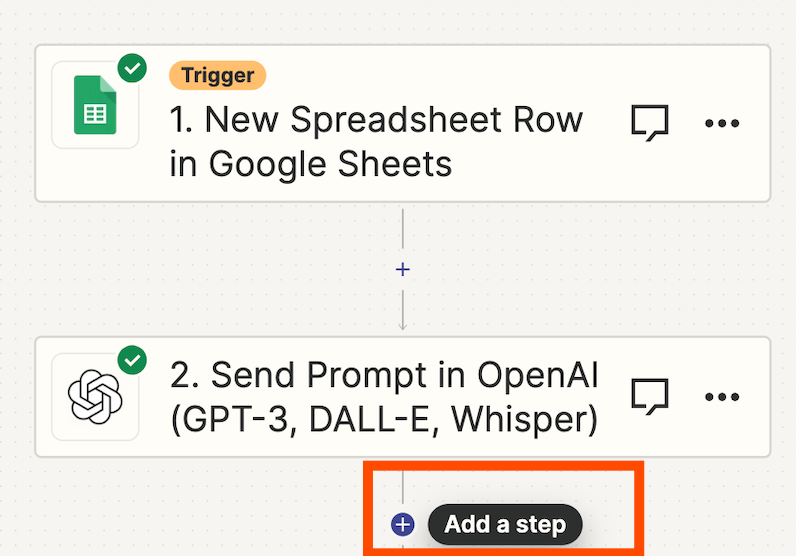
Set up your Google Sheets action
Now, it's time to set up the final action to send OpenAI's response back to your spreadsheet. If you're using the Zap template, these will already be selected for you. Otherwise, search for and select Google Sheets as your action app and Update Spreadsheet Row as your action event. Click Continue.
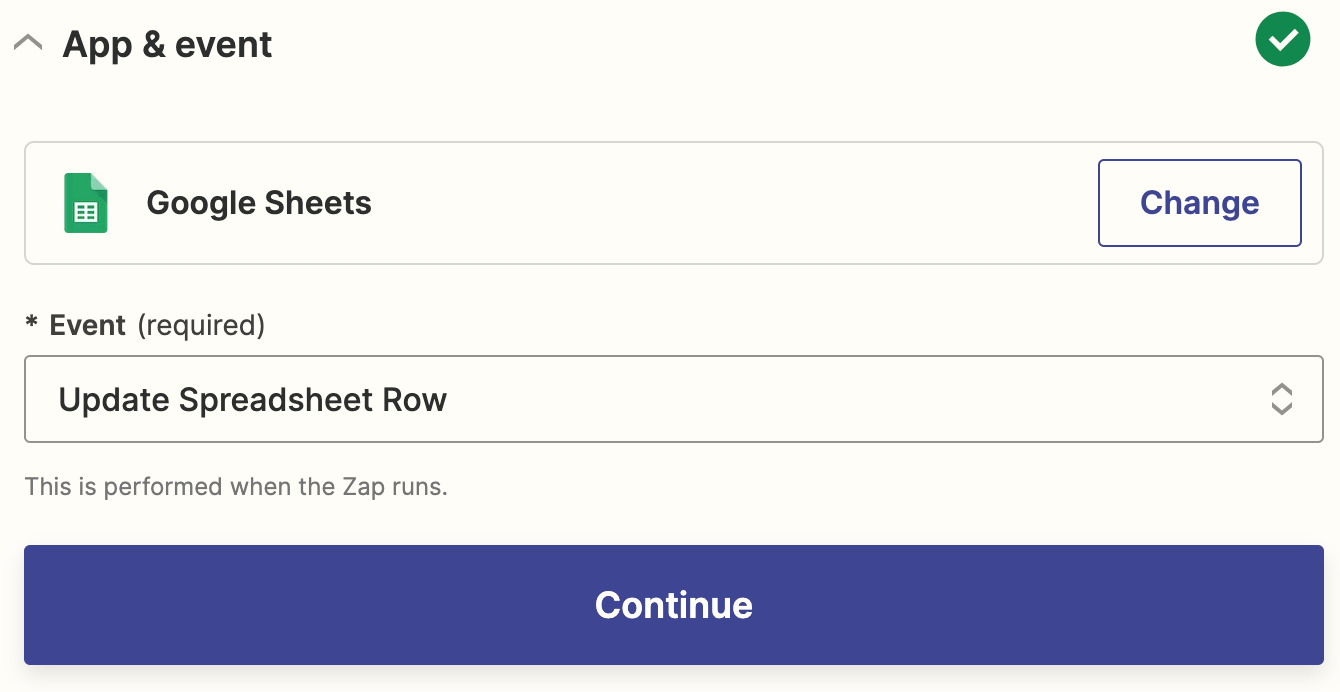
Once you've connected your Google Sheets account, click Continue.
Now it's time to customize your action step. First, select the Google drive you'd like to use for your Zap. Next, select the spreadsheet and worksheet that you used in your trigger step.
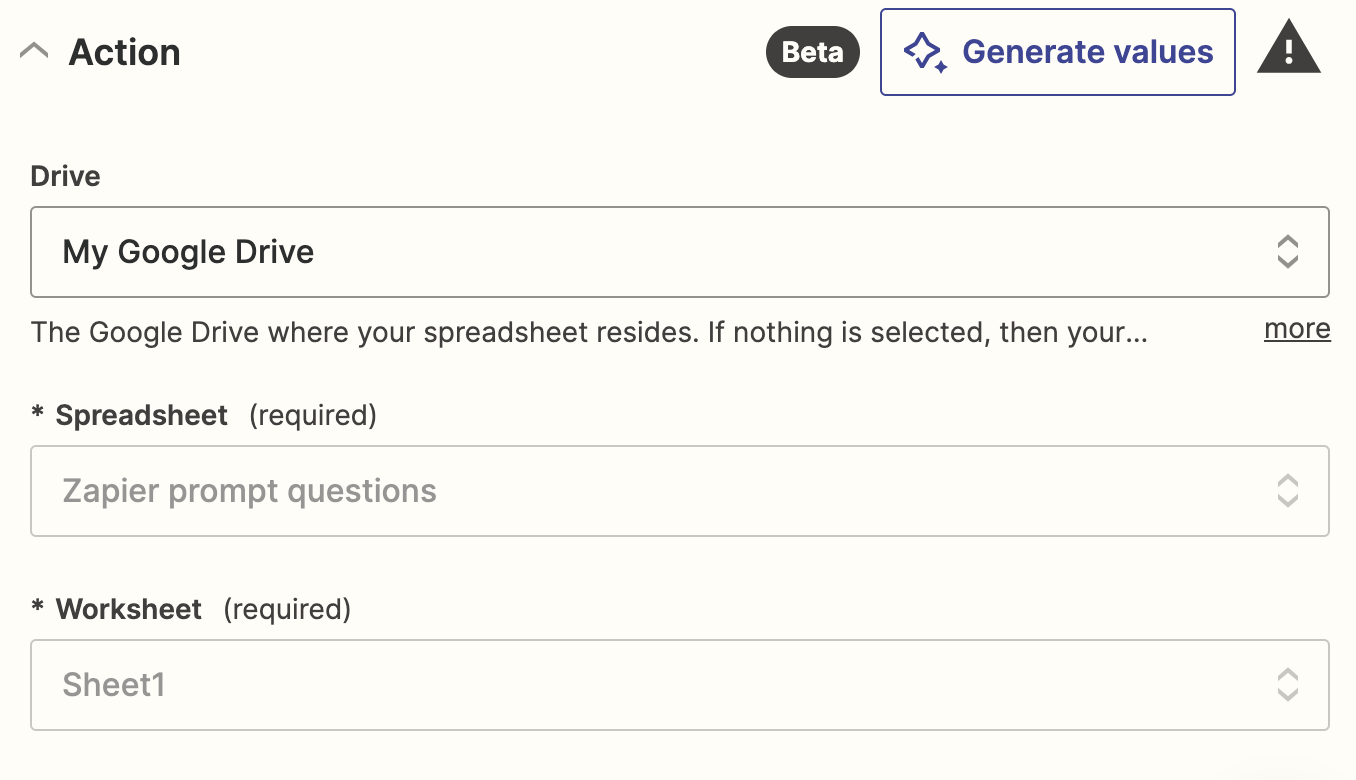
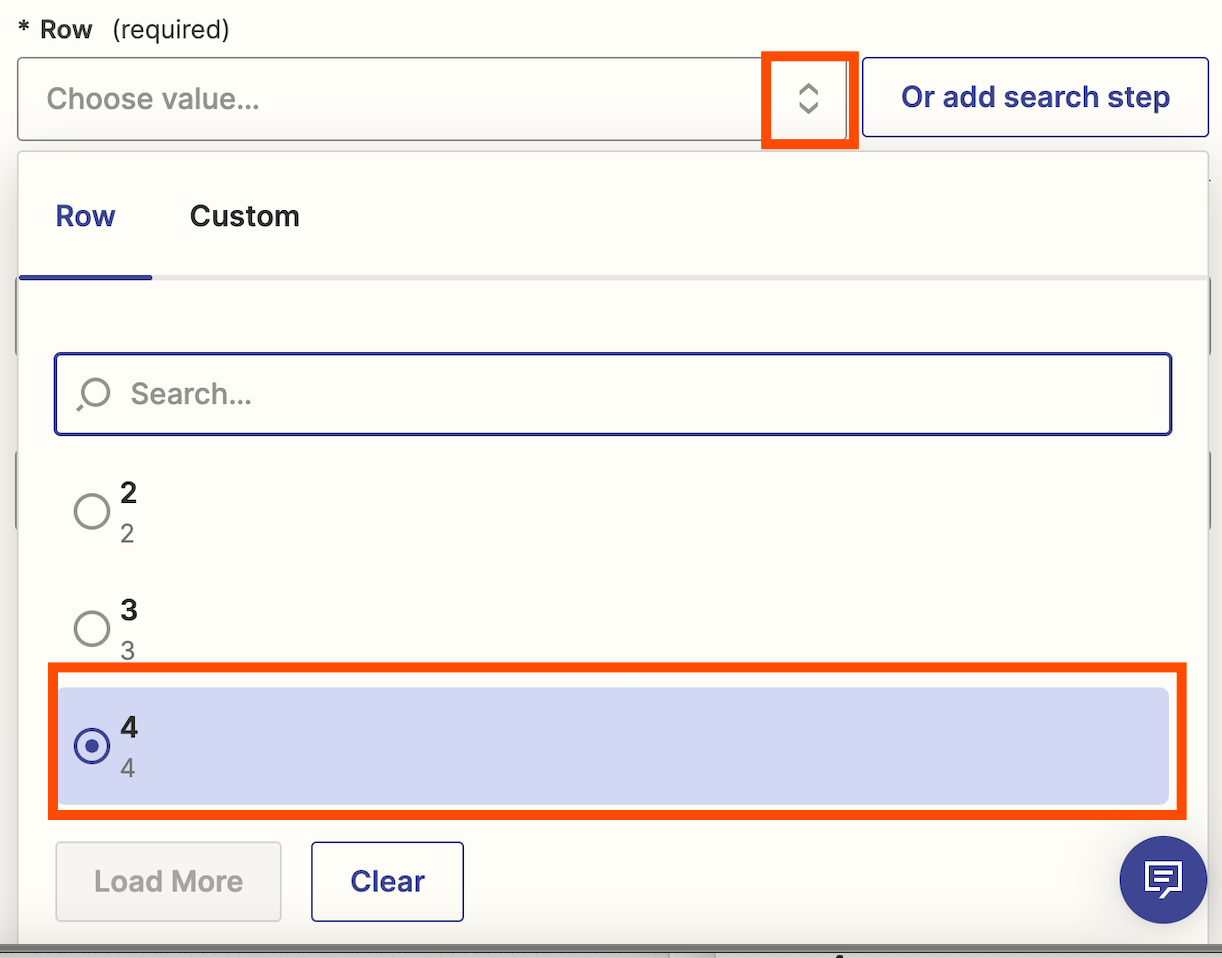
Under Row, select your Row ID from the dropdown menu. That's the number of the row from your trigger step. In our case, because we chose spreadsheet row D as our test sample, we'll click on number 4:
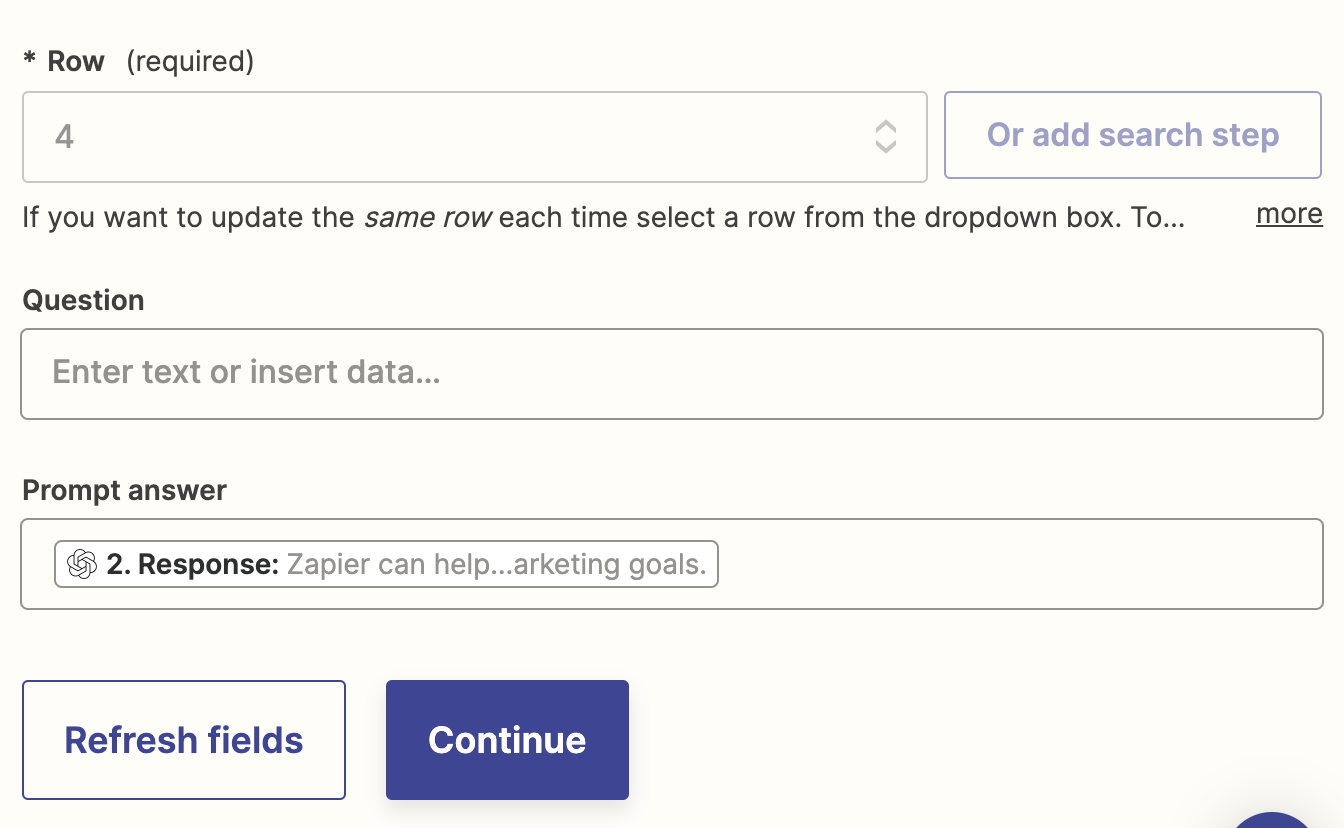
Next, make sure to route OpenAI's response back to Google Sheets. To do this, select Response in the dropdown under Prompt Answer. Then click Continue.
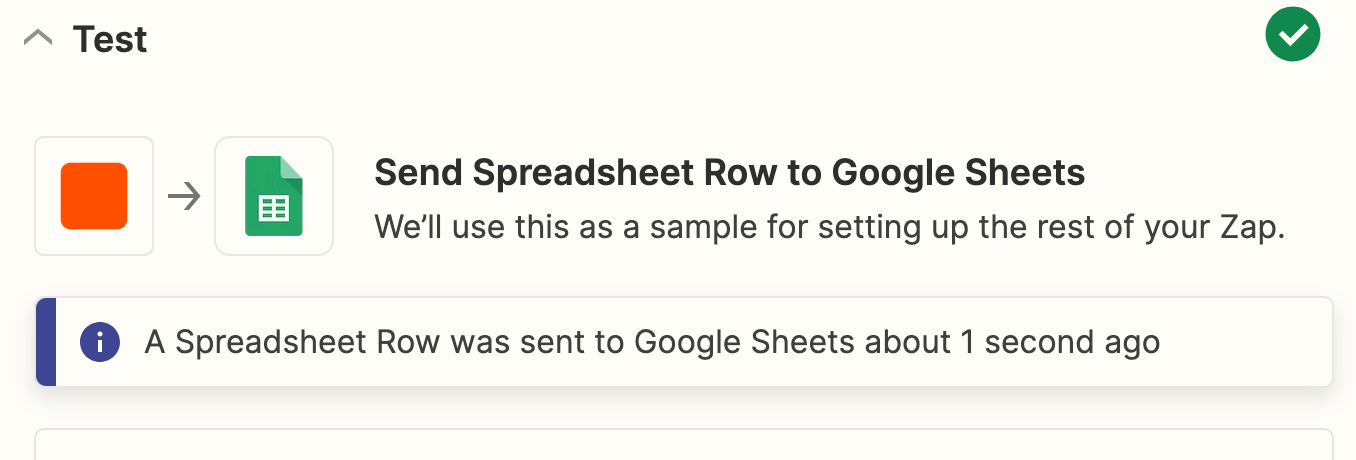
Now it's time to test your action. When you click Test step, Zapier will send the OpenAI response to Google Sheets according to how you set up your step earlier.
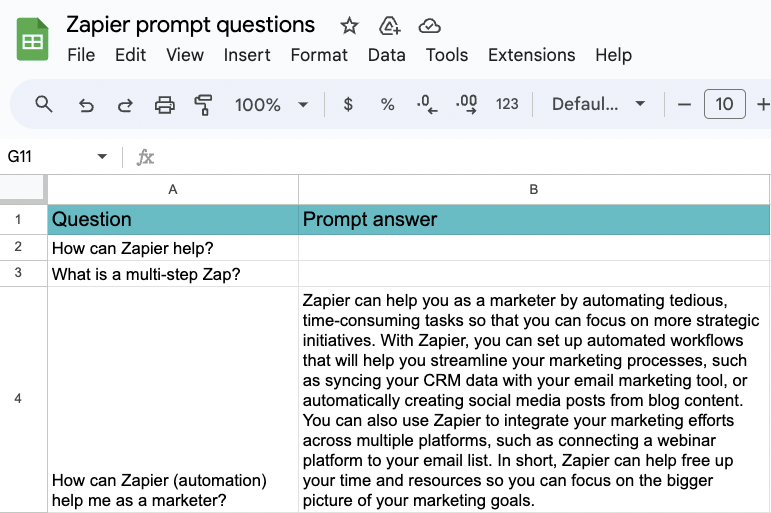
You should now be able to see the test response sent to your Google Sheets row. Here's what our example looks like:
When you're happy with how the test looks, you're now ready to turn on your Zap. And that's what we'd call a success!
Use OpenAI to update Google Sheets rows with prompt answers
Thanks to this Google Sheets OpenAI integration, you can easily leverage the power of AI in your spreadsheets.
Now every time a Google Sheets row is added with a new prompt, OpenAI will create a response, and the Zap will update the right row in Google Sheets with that response. That way, you and your team members can leverage the power of OpenAI to get quick answers to your questions in any context.
Send prompts to OpenAI from Google Sheets and save the responses
This article was originally published in August 2023. It was most recently updated in November 2023 by Elena Alston.
