If you run an eCommerce business, a lot of different people and teams might work behind the scenes to fulfill a single order. One team might deal with preparing invoices, while another might take care of fulfillment. Making sure everyone gets all the information they need to get the job done is essential.
That means you may rely on the humble spreadsheet to keep track of order information for different teams and purposes. But copying and pasting order data is asking for trouble—it's too easy to paste in the wrong information or forget to drop in an order altogether. Fortunately, you can use a Zap—Zapier's automated workflows—to automatically add all new Ecwid orders to a Google Sheet. Here's how.
Ready to take your automations to the next level? Start your free, 14-day trial of Zapier's Company plan to try out our entire suite of new features.
Before you begin
Note that you'll need a paid Ecwid account to use their Zapier integration.
If you haven't set up your Ecwid store, you'll need to do so before setting up this workflow. Make sure you also have at least one order added to your store. That will be used to set up your Zap.
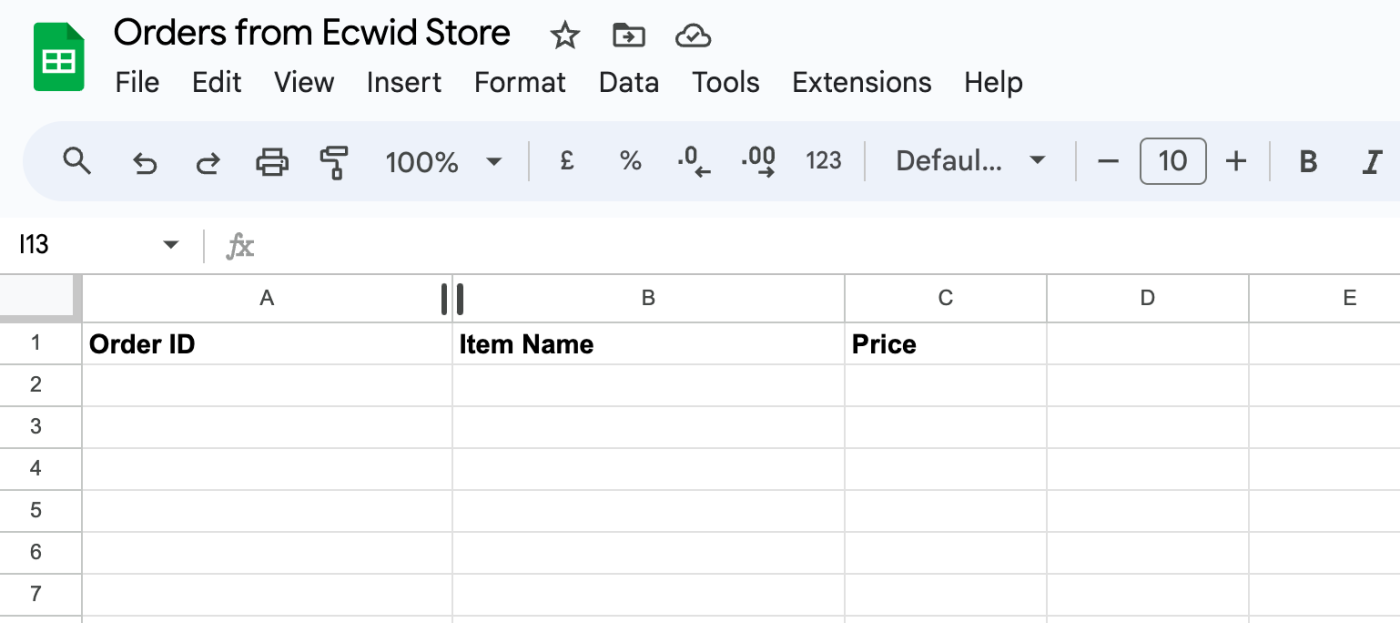
You'll also need to set up your spreadsheet to track your orders. For the Zap to work correctly, you'll need to make sure your Google Sheet has a header row with columns that match the info you want to collect in your spreadsheet from your Ecwid order.
In our example, we'll add columns for Order ID, Item Name, and Price. But add columns for whatever details you want to collect.
How to save new Ecwid orders to Google Sheets rows
Zapier lets you create automated workflows called Zaps, which send your information from one app to another. You can create your own Zap from scratch without any coding knowledge, but we also offer quick templates to get you started.
If you'd like to start with a template, click on the Zap template to go to the Zap editor. You'll need to create a Zapier account if you don't already have one. Then, follow the directions below to set up your Zap.
Set up your Ecwid trigger
First, set up your trigger—the event that starts your Zap. If you're using the Zap template, the trigger app and event will already be selected for you. Otherwise, search for and select Ecwid by Lightspeed as the trigger app and New Order as the trigger event. Click Continue.

Next, connect your Ecwid account, if you haven't already, then click Continue.
Now it's time to customize your trigger step.
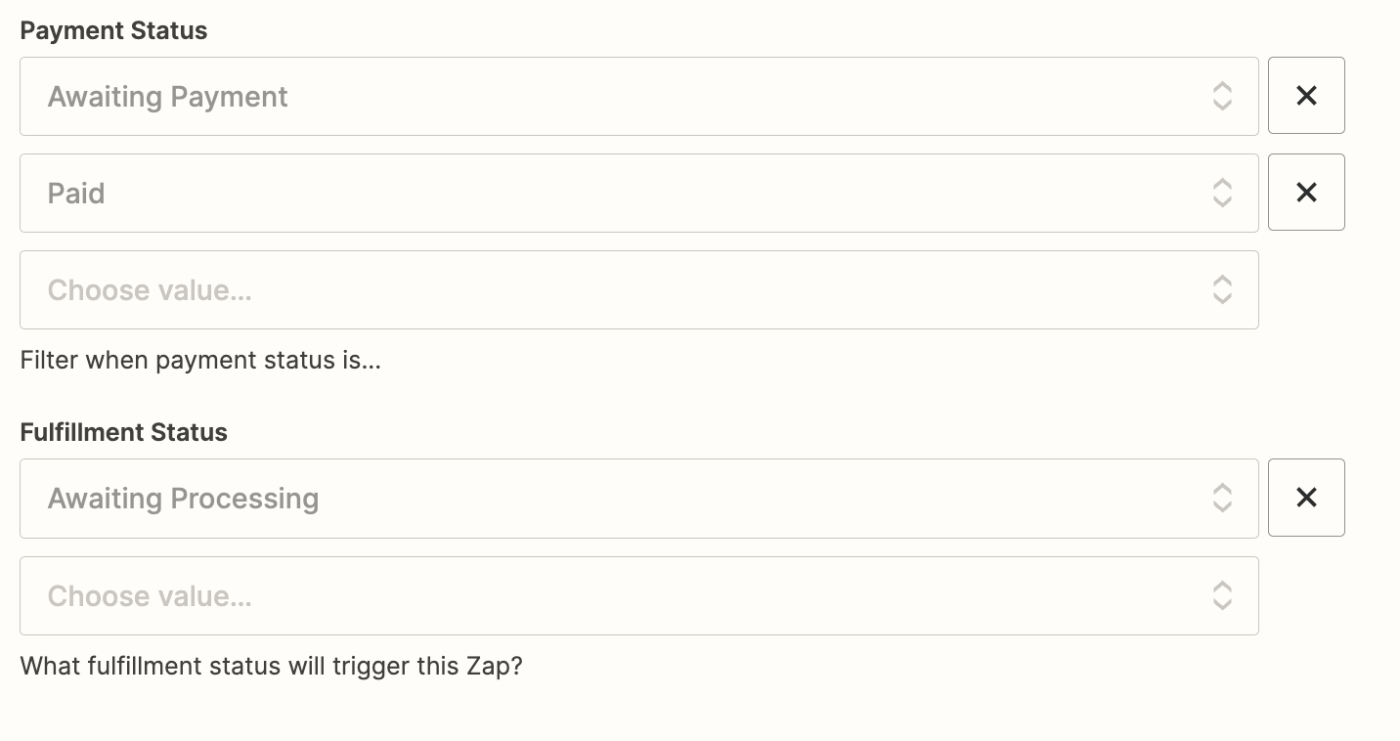
If you want to only trigger this Zap for orders that meet certain requirements, you can set those filters in the Payment Status and Fulfillment Status fields. For example, you may only want to collect details on Paid orders (which you can set in the Payment Status field) or orders Awaiting Processing (which you can set in the Fulfillment Status field).
When you're done customizing your trigger step, click Continue.
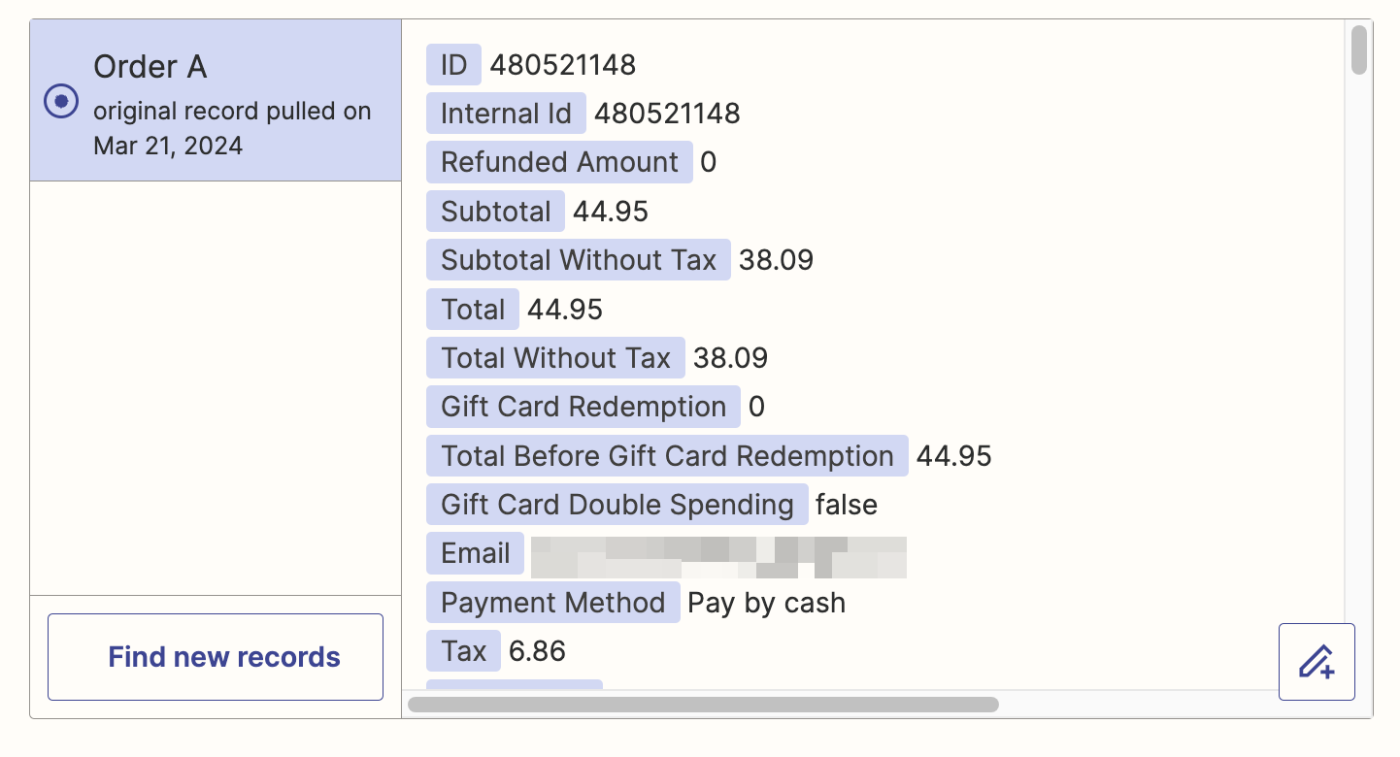
Now it's time to test your trigger step. Before testing, make sure you have at least one order in your Ecwid account. Once you have at least one order, click Test trigger. Zapier will show you your most recent orders. Pick an order to use in your test, then click Continue with Selected Record.
Set up your Google Sheets action
Now it's time to set up the action—the event your Zap will perform once it's triggered. If you're using the Zap template, these will already be selected for you. Otherwise, search for and select Google Sheets as your action app and Create Spreadsheet Row as your action event. Click Continue.

Connect your Google Sheets account, if you haven't already, then click Continue.
Now, it's time to customize your action step. First, select the drive where your Google Sheet is stored in the Drive field. Then, select the spreadsheet you created in the Spreadsheet field. And finally, choose the appropriate Worksheet (by default, it's "Sheet1").
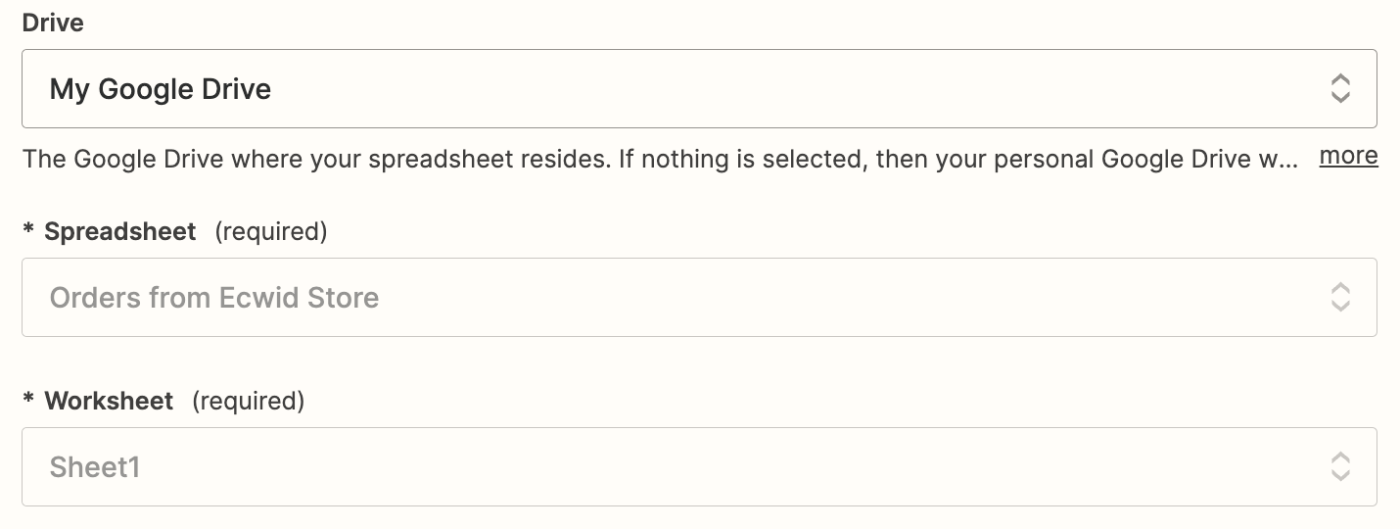
Once you've selected the right sheet and worksheet, Zapier will load fields that match with the column headings you added to your Google Sheet. Now you can add the corresponding data from your Ecwid order to those fields.
To add data from your Ecwid order, just click in the field you'd like to customize and select the data from the dropdown. In our example, we've added the Order Number, Items Name, and Items Price to the appropriate columns.

Once you're happy with the setup, click Continue.
Next, click Test step to test your Zap. Zapier will send the sample data to your Google Sheets spreadsheet. Open the spreadsheet to check if everything looks good. Here's what ours looked like:
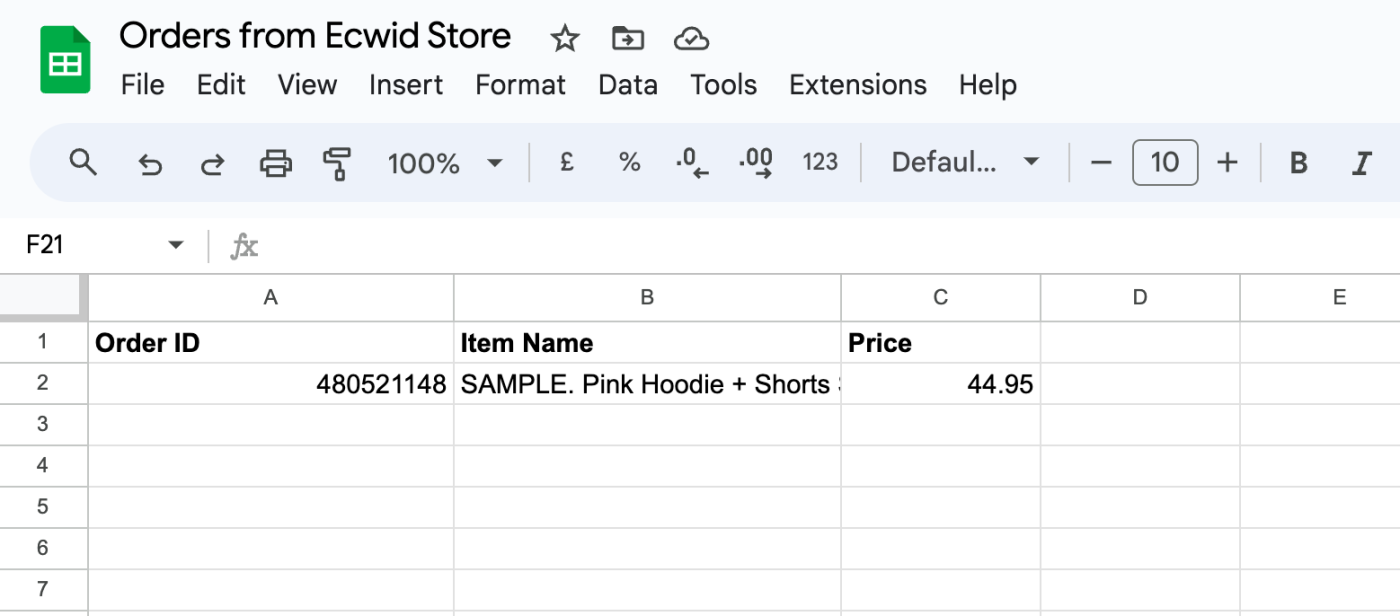
Looks like a win to us! If everything showed up correctly in the Google Sheets spreadsheet, then you're ready to use your Zap. Now, every time you get a new order in Ecwid, all the details will show up in your Google Sheets spreadsheet, just like that!
