Small business owners often juggle client projects with day-to-day operations that keep their business afloat. Typically, client-focused work becomes the priority—that's what gets you paid, after all—which means operational tasks quickly pile up.
Tradespeople, like plumbers, painters, or gardeners, are often out in the field all day, which makes this an even bigger challenge to overcome. After a long day of work, they rarely have the time or energy to sit down at a computer and complete admin tasks like creating invoices and logging business expenses.
But if you don't track your spending right away, it's difficult to remember all of the business expenses from the last few days or weeks. What's worse is a delay in sending invoices means a delay in getting paid.
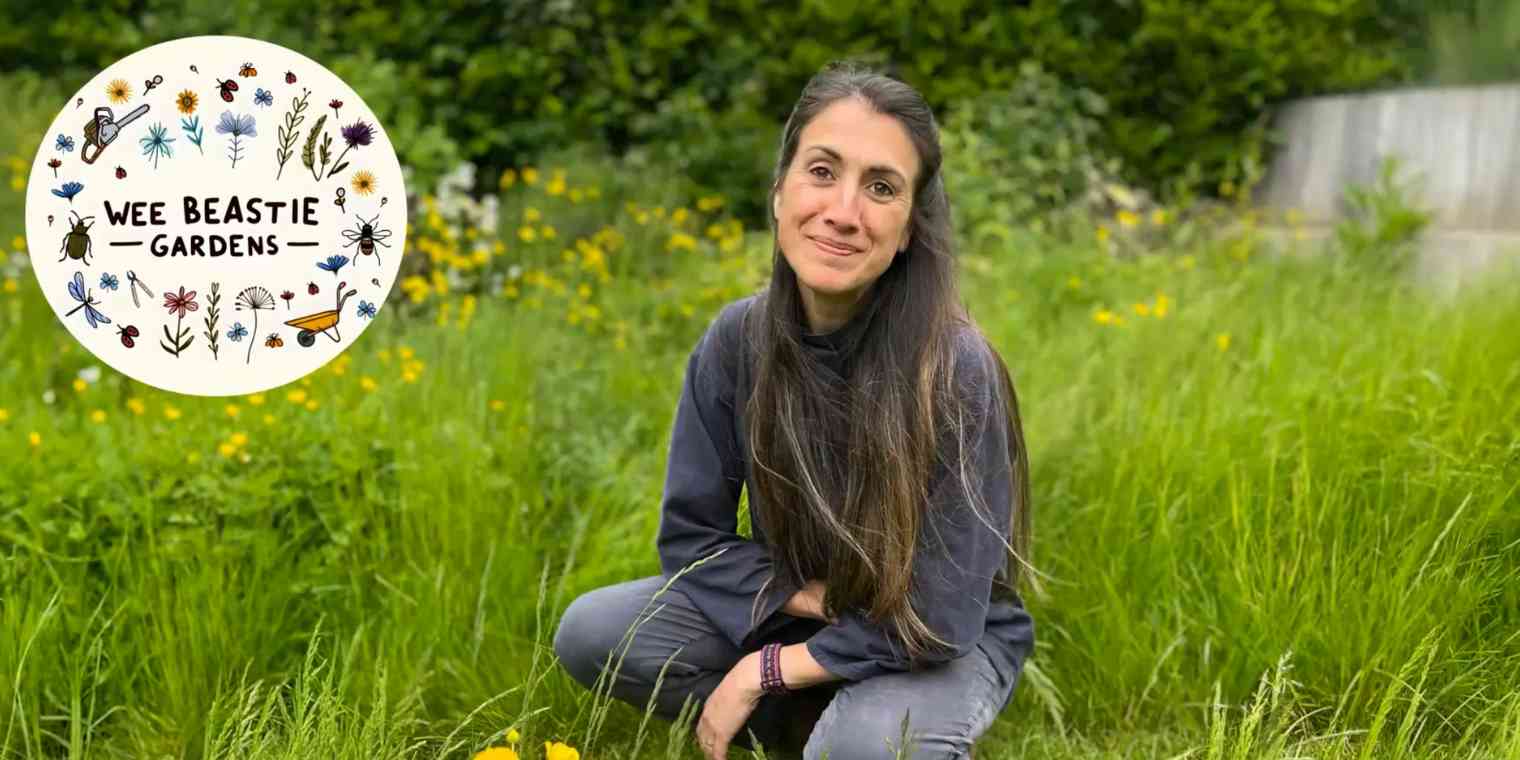
Danny Richman, a digital business consultant and AI enthusiast, saw this firsthand when his wife, Dr. Nadia Dewhurst-Richman, launched her sustainable garden business Wee Beastie Gardens. She was busy during the day going from trimming shrubs for one client to planting flowers for another. It was too easy to fall behind on admin.
To alleviate this growing pain, he built an automated workflow powered by Zapier and AI. No matter where Nadia was, she could use a simple voice recording and the workflow generated an invoice or logged expenses.
From voice to invoice
To get started, Danny created a simple form on Jotform with only two buttons: one to record and one to submit. When Nadia needed to send an invoice, log an expense, or add a task to her to-do list, she could just hit record and the workflow recorded the details on the form.
Unlike with other voice assistants like Siri or Alexa, it doesn't matter how the person words the request. AI adapted to the person speaking and understood the request on a more intuitive, conversational level. So, the user didn't need to word requests a specific way or repeat it to get the right result.
"This language model is one of the best ones I've found,” Danny said. “Even with background noises, it's very accurate."
After Nadia made her request, she simply clicked "Submit" to trigger a Zap. From there, OpenAI took the description from the spoken request and added it to the appropriate platform for that task. For example, if Nadia asked to send an invoice, Zapier and OpenAI added all the info to a blank invoice in Zoho Books. The Zap also sent an SMS notification to Nadia confirming the workflow sent the invoice, logged the expense, or created the task with all the relevant info.
This workflow isn't just for gardening businesses. Anyone can adapt this Zap to fit their needs by connecting it to their preferred software or by adding an approval step.
A detailed look at how the Zap works
If you're interested in recreating this Zap for yourself, follow Danny’s detailed instructions to automatically create an invoice.
1. Set up the trigger
When you record and submit a new voice memo in Jotform, it triggers the Zap. To begin this process, you'll need to build a form with a record field to integrate into the Zap.

2. Generate transcription with OpenAI Whisper
To create a written transcript from the recording, select your OpenAI account within the Zap and input the link to the audio recording in Jotform. You'll use the written record in the following steps to create the task.

3. Generate today's date
This step records the current date using a Zapier Formatter step. While it might seem superfluous, Danny found this step comes in handy considering how humans typically refer to time.
"Having today's date allows the user to say a job needs to be completed by next Tuesday or last Wednesday and the AI model can work out the correct date from there," he said.
To do this, you'll add a Formatter step to your Zap and select "date/time" for the event. From there, you can select the desired date and time format, timezone, and more.

4. Classify transcription type
This step sends the written transcript to ChatGPT to determine the type of task to complete: invoice, business expense, or to-do list. The key part of this step is to use the transcription file as the user message.
This step also allows the person to choose what model of ChatGPT they'd like to use. Danny uses ChatGPT 3.5 because he says it's "both fast and cheap. Each one of these requests costs less than a cent."
When creating this step, Danny recommends the following for assistant instructions:
The user message contains text from a transcription of an audio recording. Your task is to classify the recording as an instruction to create one of the following:
Invoice
Job quote
Task for to-do list
Your response must be only "invoice," "quote," or "todo." Do not include any other information in your response. If you're unable to decide, assume the transcription is a task for the to-do list.
This default option allows a simple solution if ChatGPT can't figure out what to do with the transcription. Danny found it's also important to give ChatGPT specific instructions on how to respond so it doesn't get too verbose.
Temperature is another important part of this step, as it determines how creative ChatGPT can be on a range from 0 to 1 with 0 being the least creative.
"If responses aren't what you expect, you can play around with temperature to see what works best for you," Danny explains.

5. Determine the right path
The next step determines which path the Zap will follow based on the type of task in the previous step. At this point, you can get creative and automate the paths that make the most sense for your tasks. Here, we'll focus on what you need to set up to send an invoice.

6. Extract structured data for the invoice
This step provides structured data in the form of field names and field values that will form the basis of the invoice. Using ChatGPT, the event is a conversation and the user message is the transcription once again.
Use this prompt for this step:
The user message will contain a string of text that is a transcription of an audio recording. You will output the transcription as labeled data as follows:
Date (UK format):
Client Name:
Service (type of service provided):
Amount (GBP £):
Determine from the transcription which values should accompany each label. Your response must contain only the field names and their respective values. All spelling must be in British English. All text should be formatted professionally with no errors. If no date value was provided by the user, then assume the date to be today's date which is {{231028311__output}}.
The service value description should be a succinct description of all the services provided with as much detail as necessary to help the client understand what was done. The description should be on a single line with no line breaks.
Danny has included a few places that allow customization for your specific needs, including:
The prompt reflects the fact that his wife's business operates in England, which we see in the UK formatting of the date and the currency. These can easily be changed to reflect what is accurate for your business.
The prompt told ChatGPT to rewrite the service value as a succinct description to create a more professional tone for the invoice without any extraneous information.

7. Create code with AI
This step bridges the gap between the written transcript and the bookkeeping software. This generates the code telling the software exactly what data it needs to generate the invoice in the next step.
"This is where some of you may get worried if you're not used to using code steps in Zapier," said Danny. "But before you think, 'Well, I don't know how to code so I'm not going to be able to create code steps in Zapier,' you should know that I don't know how to code either."
Instead of relying on his own limited coding skills, Danny used AI to generate the correct code. He simply gave detailed instructions to OpenAI about the code he needed, and once OpenAI generated the code, he copied and pasted it right into the Zap step.

8. Generate an invoice
This step assigns the extracted data to the correct fields in the bookkeeping software, Zoho Books. This info will help generate the invoice and fill in details such as the item's name, amounts, dates, and client's name.
Once the invoice is created, it's automatically sent to the client via email.

9. Send a confirmation via SMS
This final step sends you a confirmation message to let you know the invoice was sent. The message includes all of the invoice's details.

Providing everyone access to automation
Best of all, this automation is affordable and intuitive for anyone to use because it's powered by communicating through speech. Anyone, regardless of their budget or tech literacy, can implement this automation to keep their business operating smoothly and efficiently. You don't have to know how to code or spend a huge portion of your budget on bookkeeping software to create an invoice or log an expense with your voice.
Learn more about Danny's voice to invoice Zap by watching his detailed demo.


