- Guides
- An introduction to APIs
- Authentication, part 2
Chapter 5: API authentication, part 2 (OAuth)
By Bryan Cooksey • Published January 23, 2024
In Chapter 4, we mentioned most websites use a username and password for authentication credentials. We also discussed how reusing these credentials for API access isn't secure, so APIs often require a different set of credentials from the ones used to log in to a website. A common example is API keys. In this chapter, we look at another solution, open authorization (OAuth), which is becoming the most widely used authentication scheme on the web.
Authentication vs. authorization
You might see "authentication" used interchangeably with "authorization" (or may mix them up yourself). This is understandable, because they're very similar-sounding words with very closely related definitions.
In the context of APIs, authentication is the process of proving identity—namely, confirming that an agent attempting to access something is who they claim to be. Authorization is the related process of proving access privilege—in this case, confirming that an agent has approval to access what they're trying to access. One increasingly common example of authorization is OAuth 2.0, which (spoiler alert) we'll dive into below.
The problem with API authentication
If you've ever had to enter a product key for new software or to activate a warranty, you know typing a long sequence of random characters into a form field makes for a poor user experience. First, you have to find the required key. Sure, it was right in your inbox when you bought the software, but a year later, you're scrambling to find it. (What email was it sent from? Which email did I use to register?!) Once located, you have to enter the darned thing perfectly—making a typo or missing a single character will result in failure or might even get you locked out of your unregistered software.
Forcing users to work with API keys is a similarly poor experience. Typos are a common problem, and the process requires users to do part of the setup between the client and server manually. Users must obtain the key from the server, then give it to the client. For tools meant to automate work, surely there's a better solution.
How OAuth solves the problem
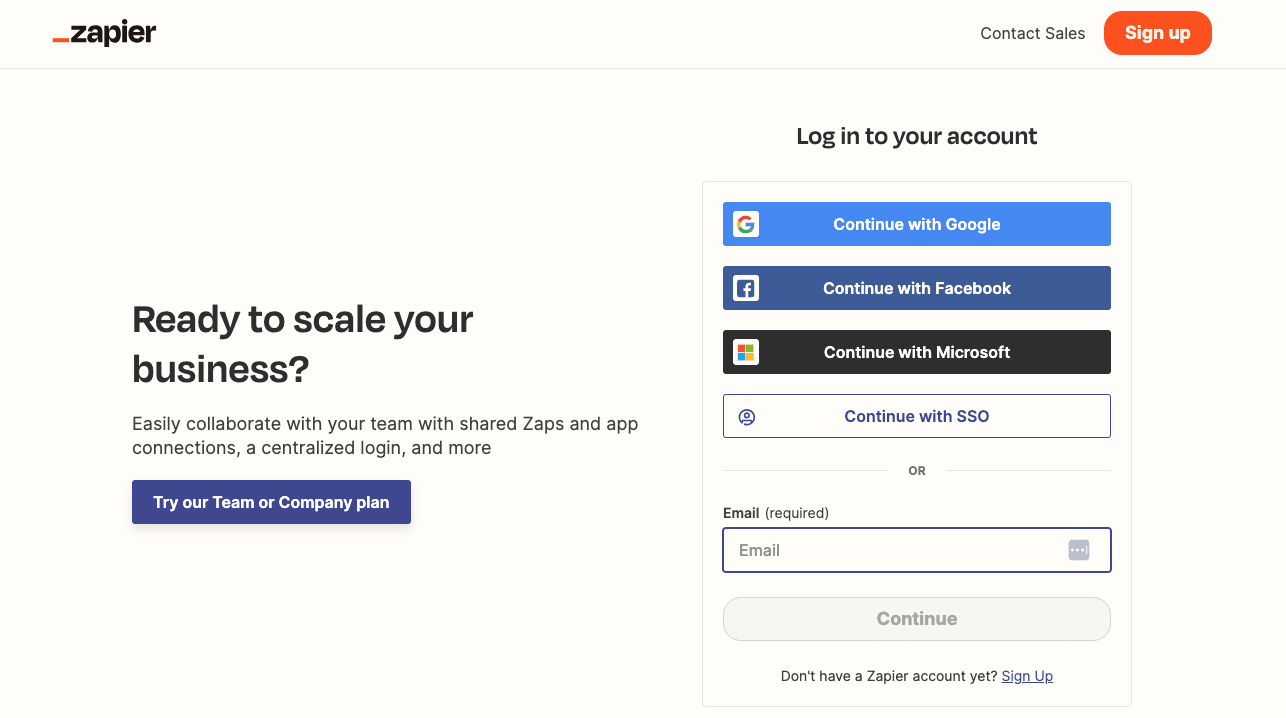
Enter: OAuth. Automating the key exchange is one of the main problems OAuth solves. It provides a standard way for the client to get a key from the server by walking the user through a simple set of steps. All users have to do is enter their credentials. Behind the scenes, the client and server are chattering back and forth to get the client a valid key. An increasingly popular (and convenient) example of this is using a Google login agent to sign in to a non-Google website, like Reddit (or Zapier).
There are currently two versions of OAuth, aptly named OAuth 1.0 and OAuth 2.0. Understanding the steps in each is necessary to be able to interact with APIs that use them for authentication. Since they share a common workflow, we'll walk through the steps of OAuth 2.0, then point out the ways in which OAuth 1.0 differs.
OAuth 2.0
To get started, we first need to know the cast of characters involved in an OAuth exchange:
- The user: A person who wants to connect two websites they use
- The client: The website that will be granted access to the user's data
- The server: The website that has the user's data
Next, we need to give a quick disclaimer. One goal of OAuth 2.0 is to allow businesses to adapt the authentication process to their needs. Due to this extendable nature, APIs can have slightly different steps. The workflow shown below is a common one found among web-based apps. Mobile and desktop applications might use slight variations in this process.
With that, here are the steps of OAuth 2.0.
Step 1: User tells client to connect to server

The user kicks off the process by letting the client know they want it to connect to the server. Usually, this is done by clicking a button.
Step 2: Client directs user to server
The client sends the user over to the server's website, along with a URL that the server will send the user back to once the user authenticates, called the callback URL.

Step 3: User logs in to server and grants client access

With their normal username and password, the user authenticates with the server. The server is now certain that one of its own users is requesting that the client be given access to the user's account and related data.
Step 4: Server sends user back to client, along with code

The server sends the user back to the client (to the callback URL from Step 2). Hidden in the response is a unique authorization code for the client.

Step 5: Client exchanges code and secret key for access token
The client takes the authorization code it receives and makes another request to the server. This request includes the client's secret key. When the server sees a valid authorization code and a trusted client secret key, it is certain that the client is who it claims to be and that it is acting on behalf of a real user. The server responds back with an access token.

Step 6: Client fetches data from server

At this point, the client is free to access the server on the user's behalf. The access token from Step 6 is essentially another password into the user's account on the server. The client includes the access token with every request so it can authenticate directly with the server.
Client refreshes token (optional)
A feature introduced in OAuth 2 is the option to have access tokens expire. This is helpful in protecting users' accounts by strengthening security—the faster a token expires, the less time a stolen token might be used maliciously, similar to how a credit card number expires after a certain time. The lifespan of a token is set by the server. APIs in the wild use anything from hours to months. Once the lifespan is reached, the client must ask the server for a new token.
How OAuth 1.0 is different
There are several key differences between the two versions of OAuth. One we already mentioned: access tokens do not expire.
Another distinction is that OAuth 1.0 includes an extra step. Between Steps 1 and 2 above, OAuth 1.0 requires the client to ask the server for a request token. This token acts like the authorization code in OAuth 2.0 and is what gets exchanged for the access token.
A third difference is that OAuth 1.0 requires requests to be digitally signed. We'll skip the details of how signing works (you can find code libraries to do this for you), but it is worth knowing why it is in one version and not the other. Request signing is a way to protect data from being tampered with while it moves between the client and the server. Signatures allow the server to verify the authenticity of the requests.
Today, however, most API traffic happens over a channel that is already secure (HTTPS). Recognizing this, OAuth 2.0 eliminates signatures in an effort to make version two easier to use. The trade-off is that OAuth 2.0 relies on other measures to secure the data in transit.
Authorization
An element of OAuth 2.0 that deserves special attention is the concept of limiting access, known formally as authorization. Back in Step 2, when the user clicks the button to allow the client access, buried in the fine print are the exact permissions the client is asking for. Those permissions, called scope, are another important feature of OAuth 2.0. They provide a way for the client to request limited access to the user's data, thereby making it easier for the user to trust the client.
What makes scope powerful is that it involves client-based restrictions. Unlike an API Key, where limits placed on the key affect every client equally, OAuth scope allows one client to have permission X and another permissions X and Y. That means one website might be able to view your contacts while another site can view and edit them.
Chapter 5 recap
In this chapter, we learned the flow of the OAuth authentication process. We compared the two versions, pointing out the major difference between them.
The key terms we learned were:
- OAuth: An authentication scheme that automates the key exchange between client and server
- Access token: A secret code that the client obtains upon successfully completing the OAuth process
- Scope: Permissions that determine what access the client has to the user's data
Next
In the next chapter, we look at some of the basics concepts in API design, including how APIs organize their data so the client can easily access what it wants.
Published in April 2014; last updated January 23, 2024
Previous chapter:
Next chapter: