New: Sneak Peek Your Zap Setup with the Preview Toggle

Building is easier with a blueprint. Our new preview toggle lets you peek behind labels to see the content that'll fill your Zaps. That way, you can create workflows with confidence and get your data exactly how you want it the first time.
We're dedicating this one to the visual learners. For each field you pipe into your Zap, we'll snag its matching info. That way, instead of seeing placeholders like email address and color as you build, you'll see results like chloe.kim@zapier.com and gold.
The preview toggle gives you the clarity you need to gut-check your setup, so you know a Zap is on the right track before you turn it on. Let's drop in and see how it works.
Building With the Preview Toggle
We enable the preview toggle by default when you create a new Zap. But let's glide through the basics so you know what to expect.
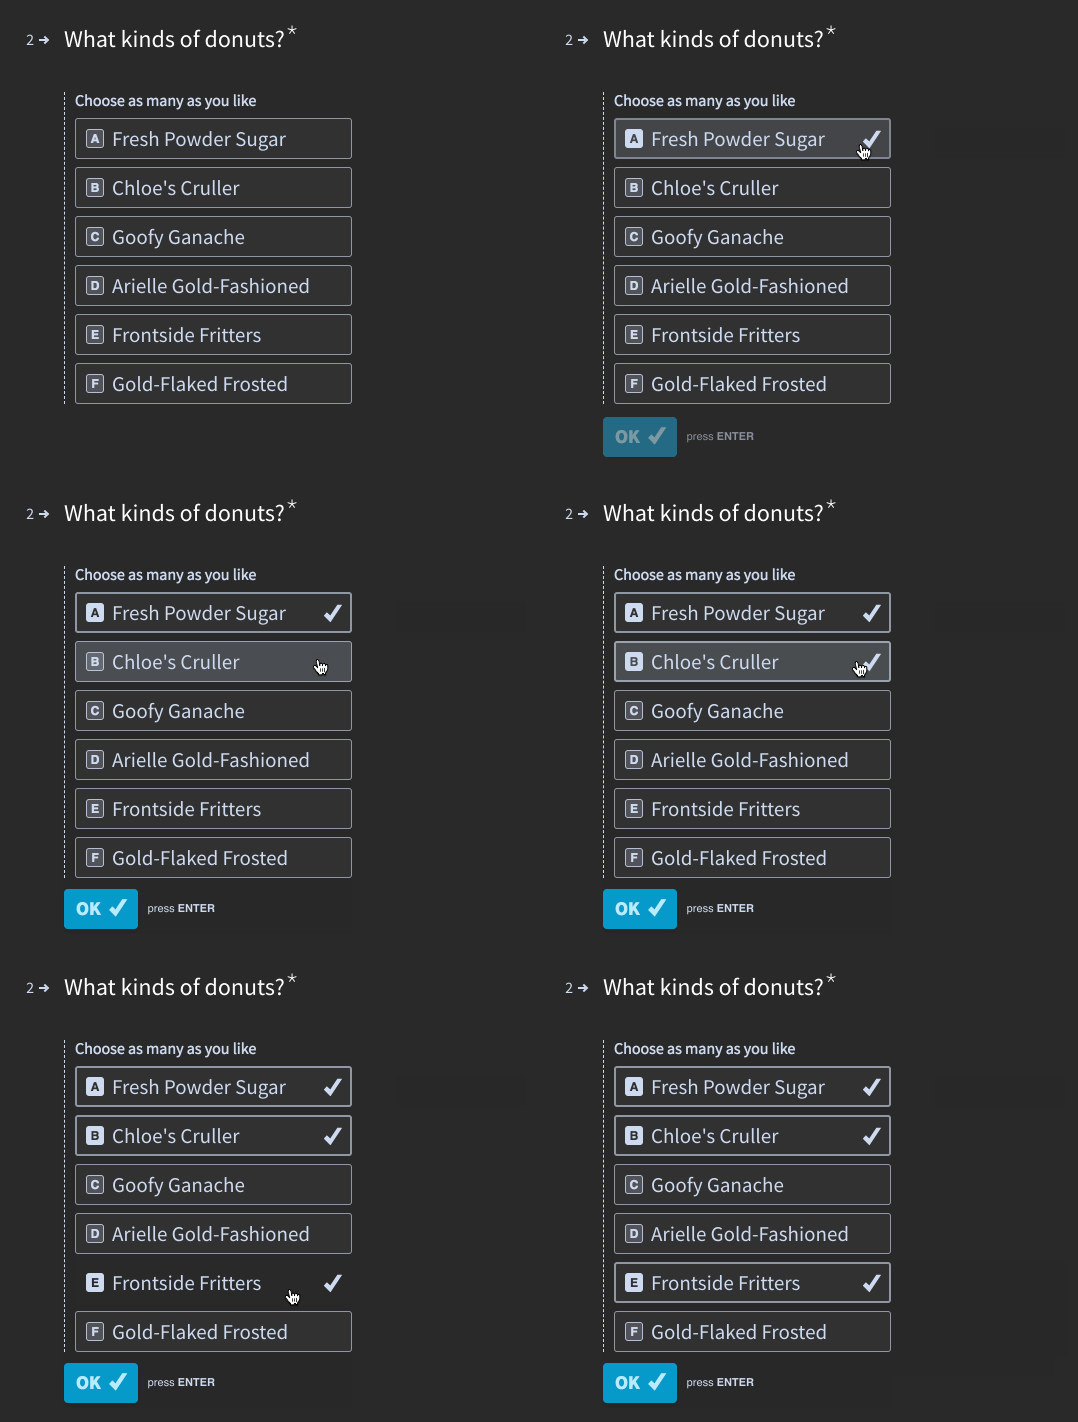
Say we're building a Zap that watches for new submissions to the order form for a donut shop, and automatically sends an email to the delivery team. We'll start out with a Typeform survey where our customers tell us what kinds of donuts they want to order.
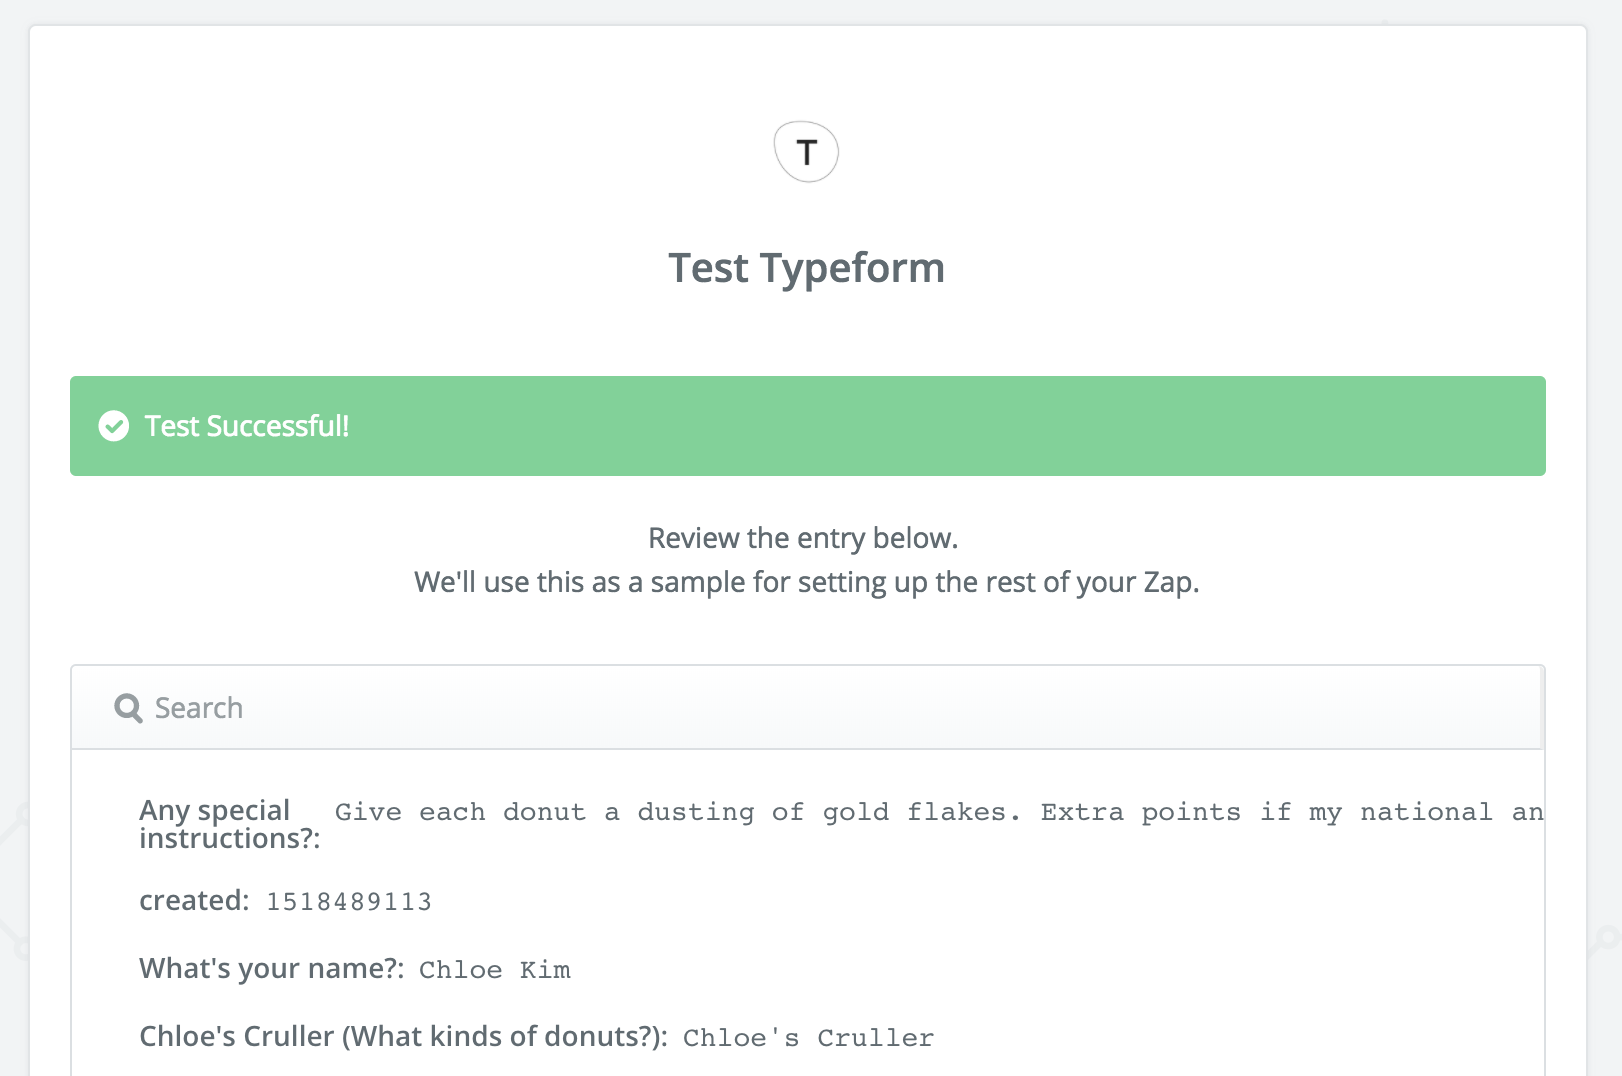
Next, we'll connect the form as the trigger for our Zap. Make sure you run through the testing step so we have data to fill our email.
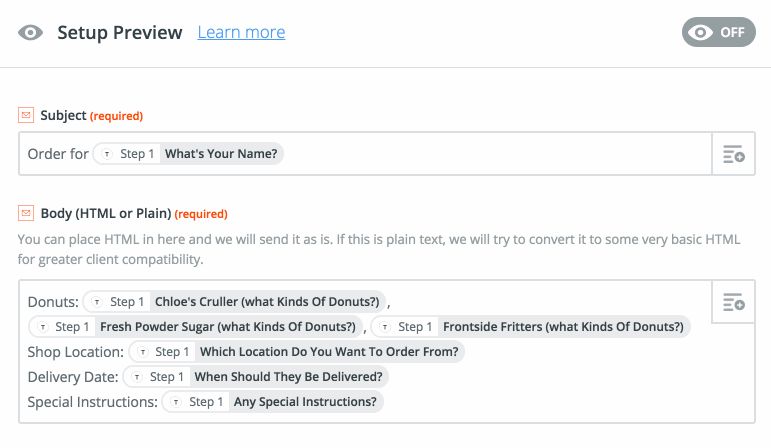
Now we're ready to fill our email with info from the order. In preview mode, you'll see the final version of your message, complete with details from the customer's order. Fields in preview mode will have a green highlight.
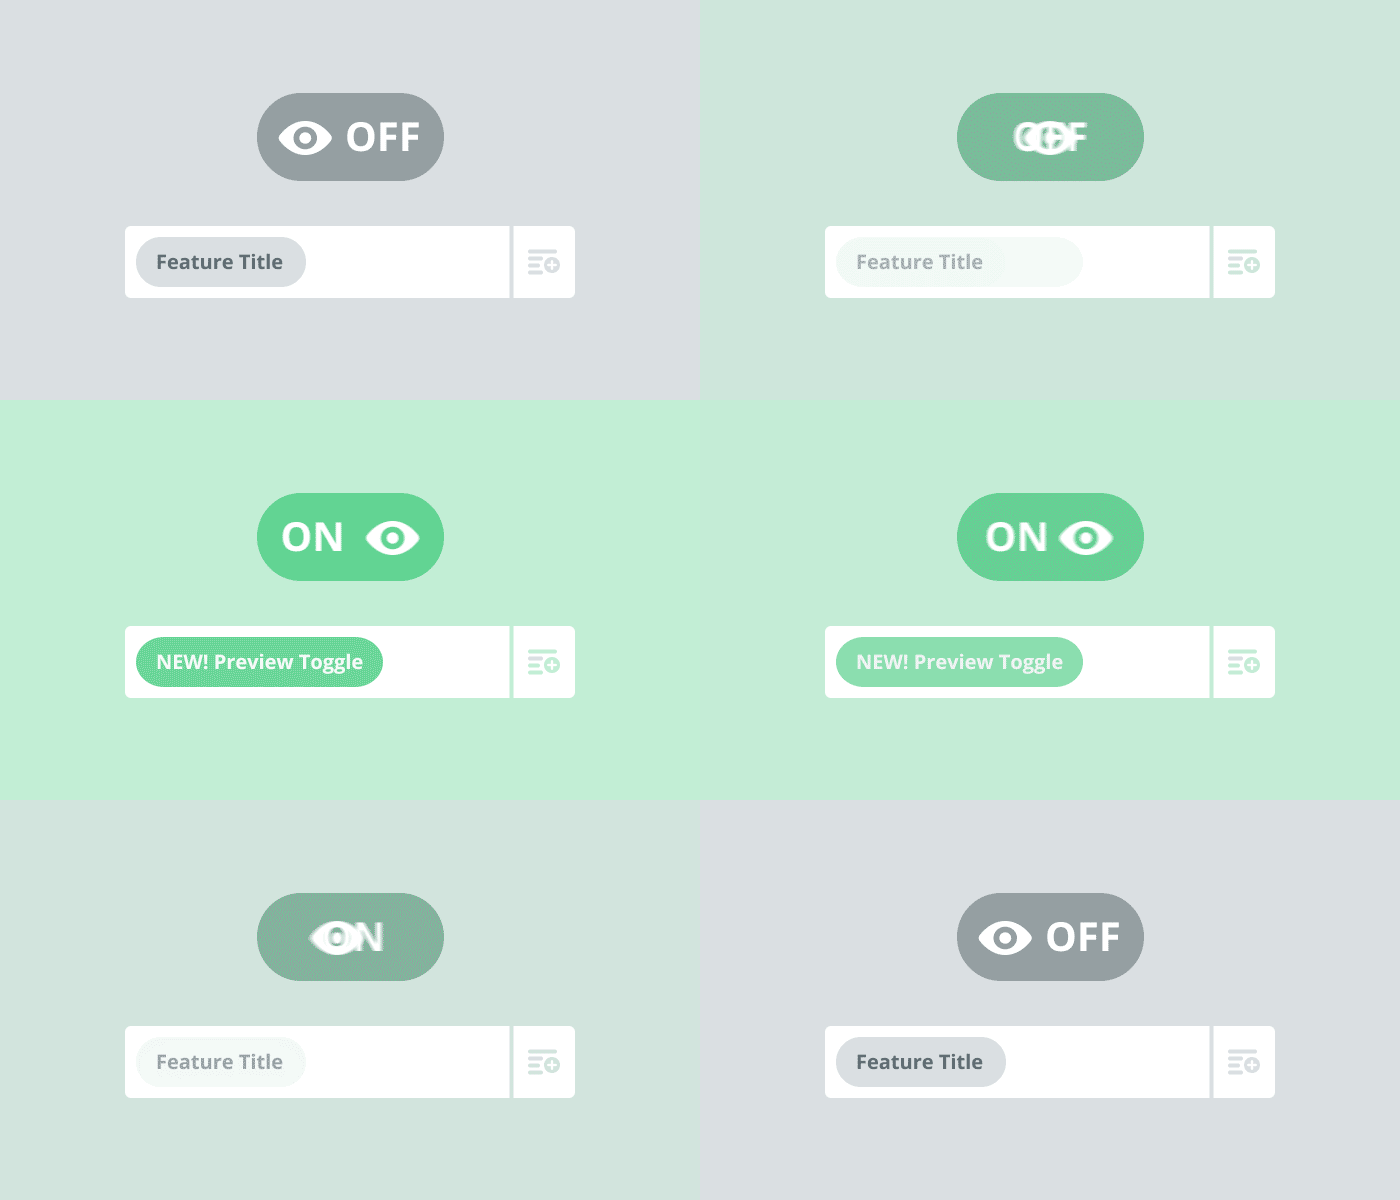
Partial to the old labels? Just flip the toggle at the top of the screen and we'll show you those label names. You can always swap back to see your results. Let's take a closer look.
Handy, huh? Use the preview toggle to get a glimpse of the Zap you're building without the back-and-forth of testing.
Try it Out
See for yourself how easy the preview toggle makes building, testing, and tweaking your Zaps. Build a new Zap now, or go play with an existing one.


