Squarespace is a website builder that lets anyone design a website with no coding or design skills. By dragging and dropping pre-existing or custom elements to the desired space, business owners can easily create a paint-by-numbers website that looks both professional and unique.
Here, we'll provide tutorials for all of the main features of Squarespace:
How much does Squarespace cost? Squarespace has four different plans, starting at $12/month (when paid annually). All plans come with the bare essentials you need to host a website, like a domain name, unlimited bandwidth and storage, basic templates, SSL security, mobile optimization, 24/7 customer support, basic website metrics, and SEO features. As you upgrade, you'll unlock more features, including more design options with blocks, more integrations, unlimited contributors, CSS and JavaScript customization, advanced analytics, pop-ups and banners, and more. If you plan to turn your site into an online store, you'll have to consider one of the Commerce plans, which include unlimited product ranges, customer accounts, sales analytics, on-site checkout, and more.
Connect Squarespace to thousands of apps with Zapier's Squarespace integrations.
How to Choose a Template in Squarespace
When first setting up your website, Squarespace will ask for your goals so it can cater its recommendations for a template—what other sites might call a theme. If you don't complete that information, you can still browse the templates without recommendations by clicking Skip to Templates.

Choose your template with care because it defines not just the design, but also the entire structure of your site, affecting functionality and user experience. Templates vary in aesthetic and in how they communicate information, so the first step is finding the one that best matches your goals.
Templates are broken down by category for quick browsing: everything from Online Stores to Portfolios to Weddings. Hovering over a template gives you the option to preview it or jump straight to using it. You can click the heart icon to save a template into your Favorites, either to compare your top choices or to save it for another website later.
As an example site for this guide, we'll choose the Mentor template to promote our site. Once you've selected your template, you'll be prompted to sign up or sign in if you haven't already, and you'll be taken to an optional onboarding tutorial that runs you through the basic functions.
How to Design a Page in Squarespace
You can access the site editor anytime to customize your website. First, click your account icon in the upper-right, and then select Websites.
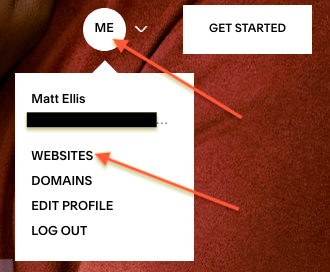
If you have more than one site, you can choose which one you want to edit. Just click the card to open the site editor.
In the site editor, you'll navigate to various sections on the left, and use the WYSIWYG editor on the right to directly edit the site preview.
Each section of your preview site has its own edit menu, as do some specialty areas like Site Title, Navigation, and an Index section to make structural changes to the order of the sections themselves. Editing in Squarespace works by hovering your cursor over the section you want to edit and clicking the appropriate option from the pop-up menu.

Most sections have three options:
Edit: The most common function, this brings the WYSIWYG editor to full screen and allows you to add, delete, or customize individual elements, including text and visuals.
Banner: This allows you to change the hero image or background visuals. Having nothing just leaves a generic gray background.
Settings: This opens new editor window with more advanced details, such as the page's metadata, URL, and the option to duplicate a page. In this window, you can also access the features for SEO, social sharing, visual media, and page header code injections (if you have a Business or either Commerce account).
How to edit text in Squarespace
To edit text, open the editor for the corresponding section of the page. Hover over that section, and when the menu appears, click Edit.

Next, hover over the text you want to change. You'll see a menu with the word Text.

You don't have to click the word Text—it's more of an indicator that you're in the right spot. Instead, you can click anywhere in the actual placeholder text to open the text editor.
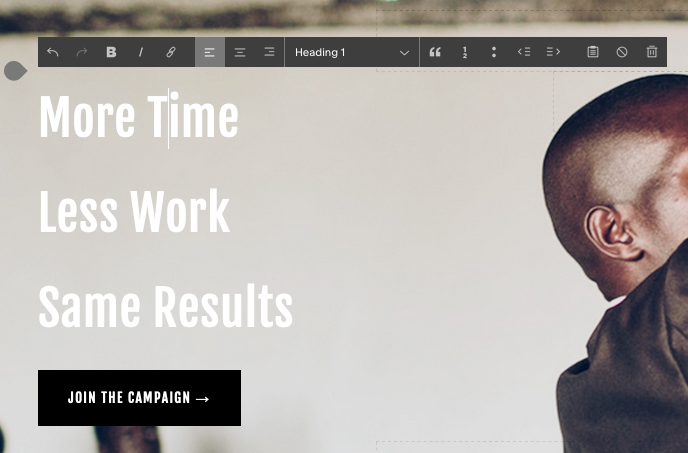
The Squarespace text editor is fairly standard, so there shouldn't be any surprises. If the text you want isn't there, try a different section of the page and click the Edit button. The section dividers aren't always easily apparent, so you may need to try a few guesses.
How to add and resize images in Squarespace
Images are integral to every website, so Squarespace gives you ample customization options for selecting your visuals. You can either follow the template, which we explain here, or you can personalize the template using Blocks, which we explain in the next section.
To follow the template, you'll edit images using the WYSIWYG editor. This editor breaks the page up by sections, so you can only edit the images in one section at a time.
To edit hero or background images, hover over the appropriate section and click Banner in the menu. Keep in mind some sections don't have background images, so this option won't always be available.

Clicking Banner opens a new editor window (the same as the Settings option) for all the media on the page. Click Edit Image.

This opens a relatively sophisticated image editor, where you can customize the image's levels and settings. You can also crop the image by clicking the icon in the upper-right. Don't forget to click Save when you're finished.

To add a new image, you first have to delete the old one by clicking on the Trash icon. With no image, a new screen is displayed.
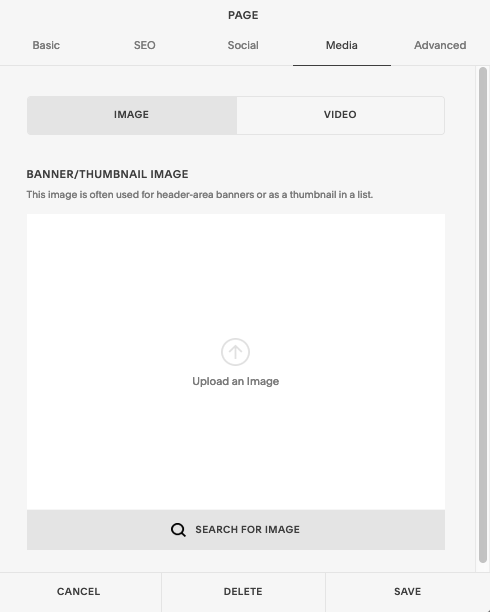
Squarespace gives users the option of using provided stock photos (Search for Image), or uploading original ones (Upload an Image).
While their free stock library—courtesy of Unsplash—might be more convenient, keep in mind that everyone using Squarespace has free access to these images, making it harder for your own site to stand out. You can also purchase usage rights from Getty stock photos by choosing the Premium option.
Alternatively, you can upload a video banner, but you have to use a URL from either YouTube or Vimeo to do so.
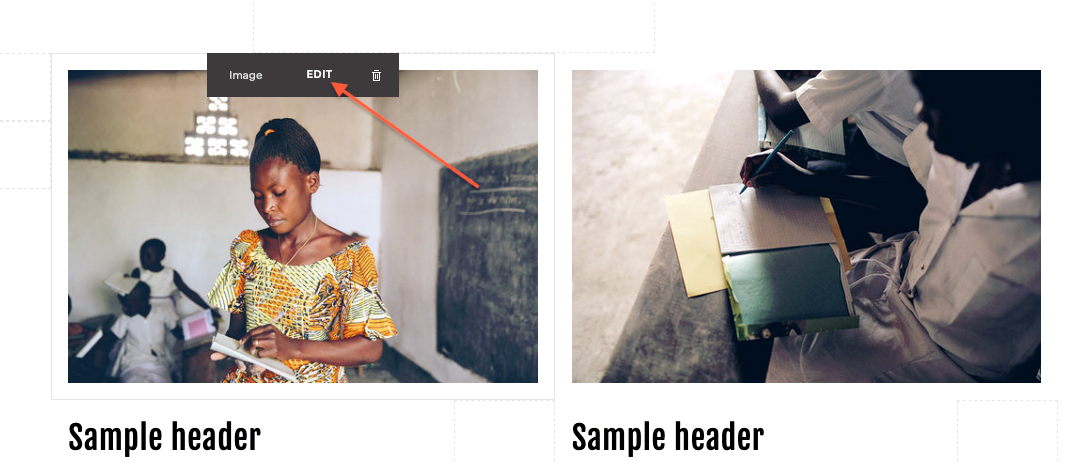
What about other images on your site? Find the section with images you want to change and click Edit. Then, hover over the image you want to edit, and click Edit.
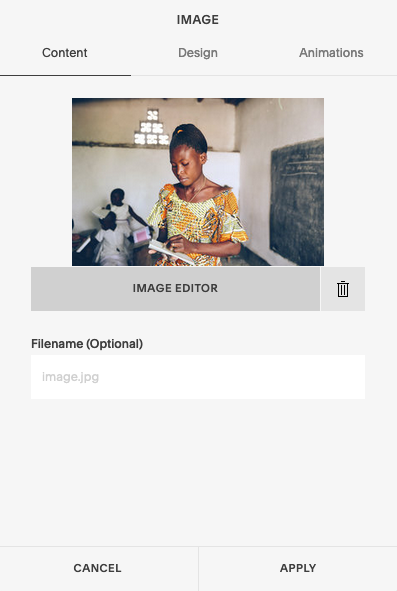
This opens the image editor, which is similar to the banner editor, but not identical. To replace the image, you must first delete the original by clicking the Trash icon.
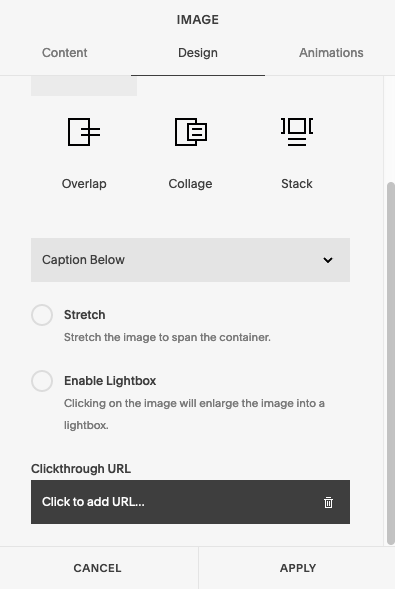
You can also modify the image and how it's used in the Design tab of this window. Here, you can write a caption, add a clickthrough URL, and determine how the image is embedded alongside the other text.
The third tab, Animation, lets you add animated effects to the image. When you're finished, click Apply in the bottom-right corner of the window.
To resize an image, click on the gray guide line next to the image.
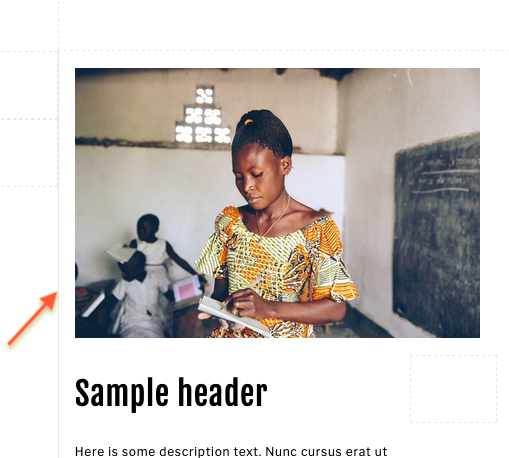
When the cursor changes to the resize icon, you're free to click-and-drag the guide line wherever you want to resize the image.
How to add a block in Squarespace
Blocks in Squarespace allow you to add your own personal touches to otherwise by-the-book templates. You can use blocks to add text, images, buttons, and more wherever you want, regardless of the original template.
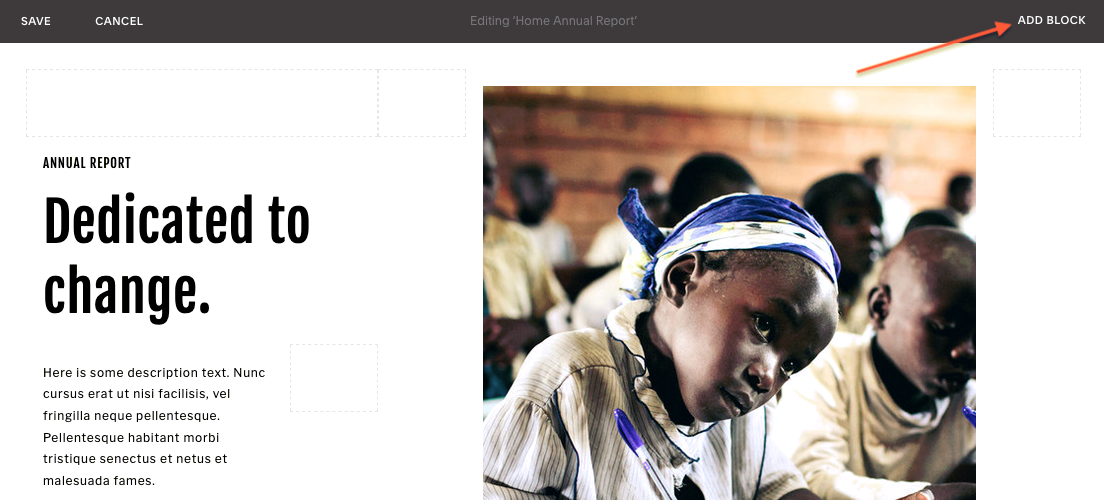
As usual, start by clicking Edit in the menu of the section in which you want to add a block. Then, at the top of the site editor, in the upper-right corner, click Add Block.
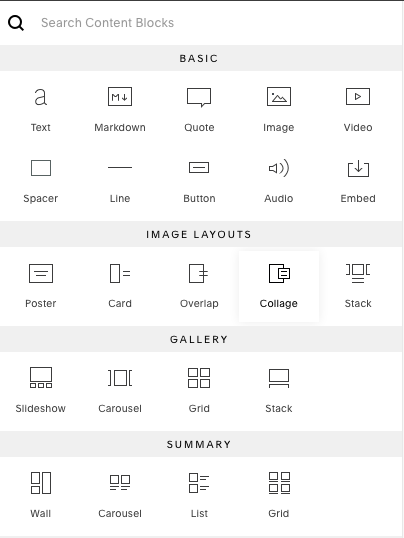
Squarespace allows many different kinds of blocks: text, standalone images, image galleries, and much more. Note that the Business plan and both Commerce plans have access to exclusive blocks that Personal plans do not.
Choose the type of block you want to add from the menu.
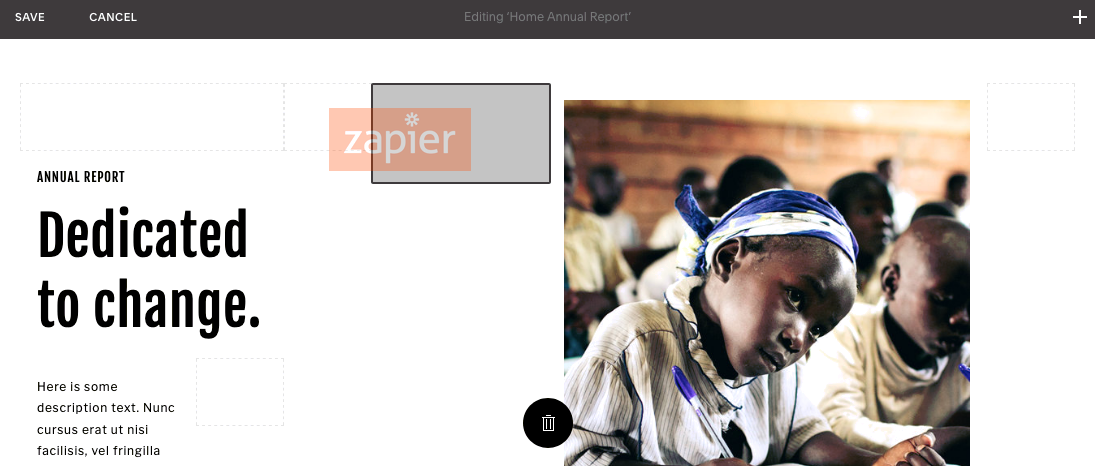
Your selection will open a corresponding editor, where you can input the content you want. Once you've added the content, you're free to drag and drop your new block wherever you want it on the page (just keep in mind that some sections don't allow blocks).
How to preview your site in Squarespace
Want to interact with your site as if it were live—that is, without all the editor menus? Just hover the cursor over the upper-left corner until the arrow appears, then click it.

This opens the preview menu, where you can navigate your site as your users would, with active links and functional dropdown menus. To return to the editor, click the arrow in the upper-left corner.
How to Add eCommerce Features in Squarespace
If you have a Business plan or either of the Commerce plans, you can add eCommerce functionality to your Squarespace site. Click Commerce in the left sidebar when you first open your site editor. From there, you can access all your eCommerce-related analytics, see live orders, manage your inventory, check customer profiles, implement discounts, and choose your settings on all eCommerce features.
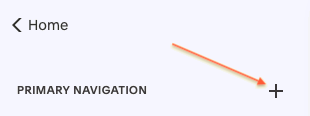
To make a product page, click Pages in the sidebar, then click the plus icon next to Primary Navigation.
In the New Page window, click Products. It's represented by the dollar sign under the Collections category.
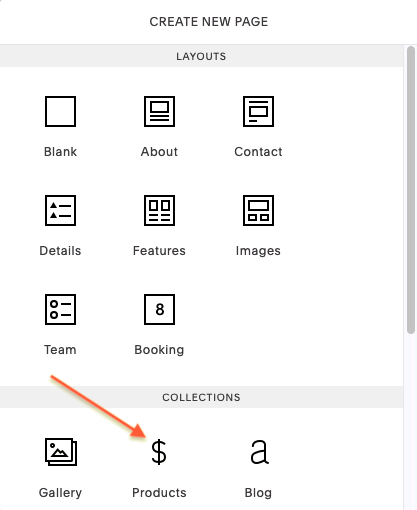
This generates an empty product page. Hover over the page to bring up the editor menu, and click Add Product.

This opens a new window. Your first step is choosing the type of product: Physical, Digital, Service, or Gift Card. Next comes the product editor, which is where you'll upload all product images, write the title, set the price, and customize secondary attributes like the product description, URL, form fields, and linked accounts.
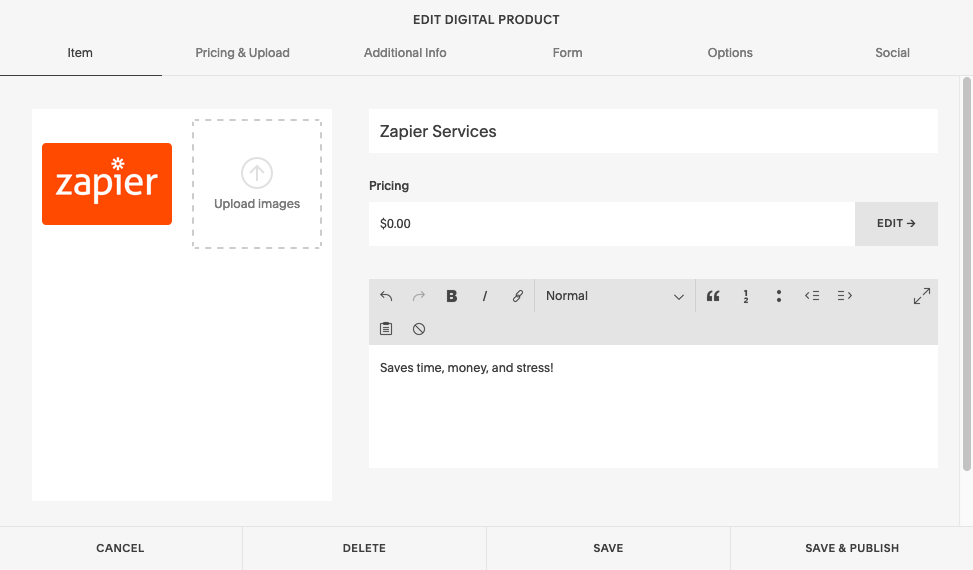
Click Save & Publish to add the new product to your product page. Every new product you create goes to your internal product database, so you can publish and unpublish all of your products at any time without having to fill in all the information every time.
Once you've mastered Squarespace, you can supercharge its powers with Zapier's Squarespace integrations. Automatically send information from Squarespace form blocks to thousands of other apps.

