MeisterTask is a flexible project management app that scales from personal project tracking to a full-blown project management tool for a large team. It's based on the Kanban task management system, but it can be adapted and customized based on the needs of your project or company.
In this tutorial, we'll walk you through how to get started with MeisterTask and show you how to use the main features.
MeisterTask Pricing: MeisterTask's free plan includes unlimited projects, tasks, and collaborators (along with two integrations, time tracking, and 10MB file attachments). If you want features like automations, unlimited integrations, recurring tasks, project groups, statistics, reports, and multiple team members, you can upgrade to the MeisterTask Pro plan for $9.99/month.
Connect MeisterTask to thousands of other apps using Zapier's MeisterTask integrations.
MeisterTask Glossary
If you're new to MeisterTask, you'll notice some of the words used within the app are different from those used in other project management apps—and even in other kanban apps.
Projects: Projects in MeisterTask are similar to boards in Trello—they're the top-level of organization within your account. MeisterTask's collaboration features work on a per-project basis, so you can use different projects to collaborate with different teams and co-workers.
Sections: A project in MeisterTask is made up of multiple sections. In Trello, and in the Kanban method more broadly, these are referred to as lists.
Tasks: What Trello refers to as cards, MeisterTask calls tasks. And that's exactly what they are: to-do items.
Power-Ups: MeisterTask calls their native integrations power-ups. It also bundles some features like time tracking under this heading.
Statistics: MeisterTask bundles performance tracking, time tracking, and detailed reports into one section called Statistics. You can access it by clicking your profile icon.
How to Create Projects, Sections, and Tasks in MeisterTask
MeisterTask's task management system revolves around projects. When you open the MeisterTask dashboard, you'll see the projects section on the left. On the right are your assigned tasks and unread notifications.
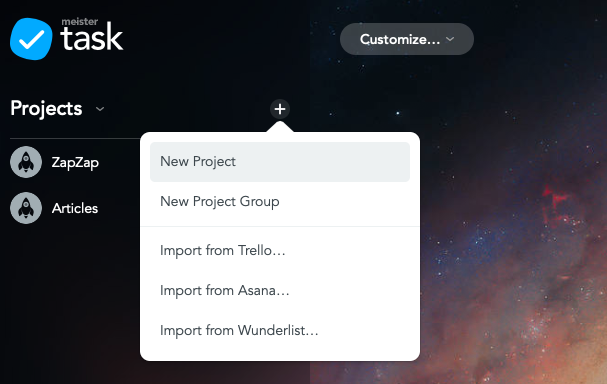
Click on the plus icon next to Projects to create a new project. From there, you can choose to create a new project group or import an existing project from services like Trello, Asana, and Wunderlist. Because we're creating a standalone project, click on New Project.
From the next popup, give the project a name and a description. If you're collaborating with others, you can enter their email addresses or usernames to add them to the project. At that point, your newly created project will appear. The blank project features three sections: Open, In Progress, and Done.
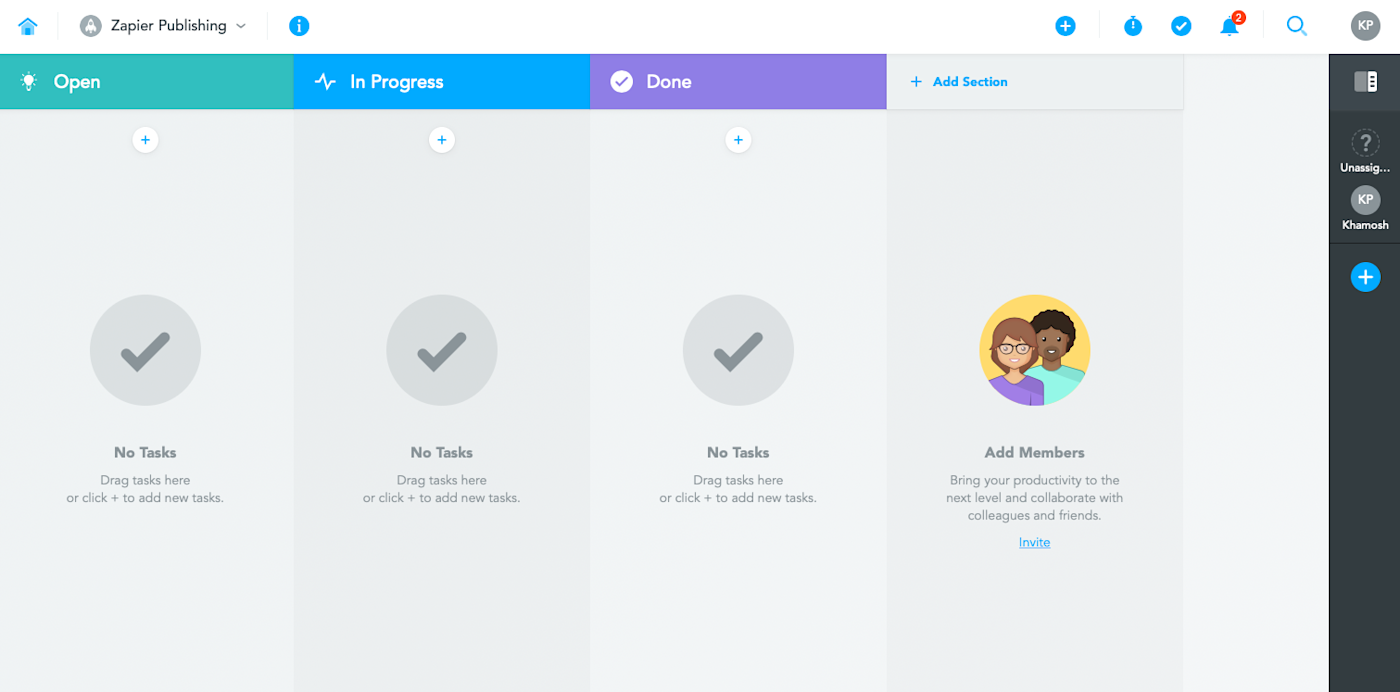
If you only want to track the progress of a task, this system will be enough. But chances are, you're going to need something more custom. That's easily achievable: You can edit any section heading, and you can add new sections as well.
How to change the sections in a MeisterTask project
In this example, we're going to customize the project as a publishing system. So we'll need the following six sections: Research, Assigned, In Progress, Editing, Designing, Published.
Click a section heading to change the title.
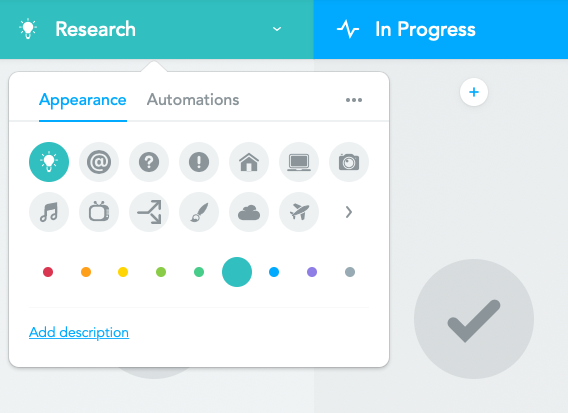
Click the dropdown next to the title to change the icon and the color.
Click Add Section to add a new section. Enter the section title and change the icon and color to suit your needs.
How to add a task in MeisterTask
To add a new task, click the plus icon in any section. A blank text box will appear, where you can type a brief description of your task and press Enter/ return to create it.
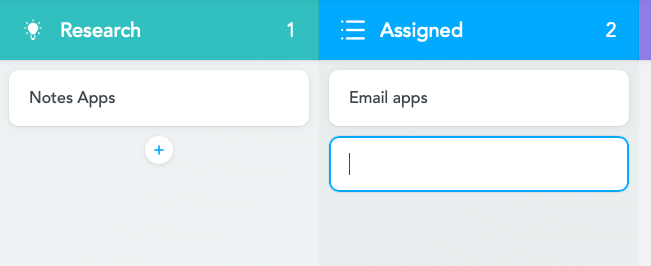
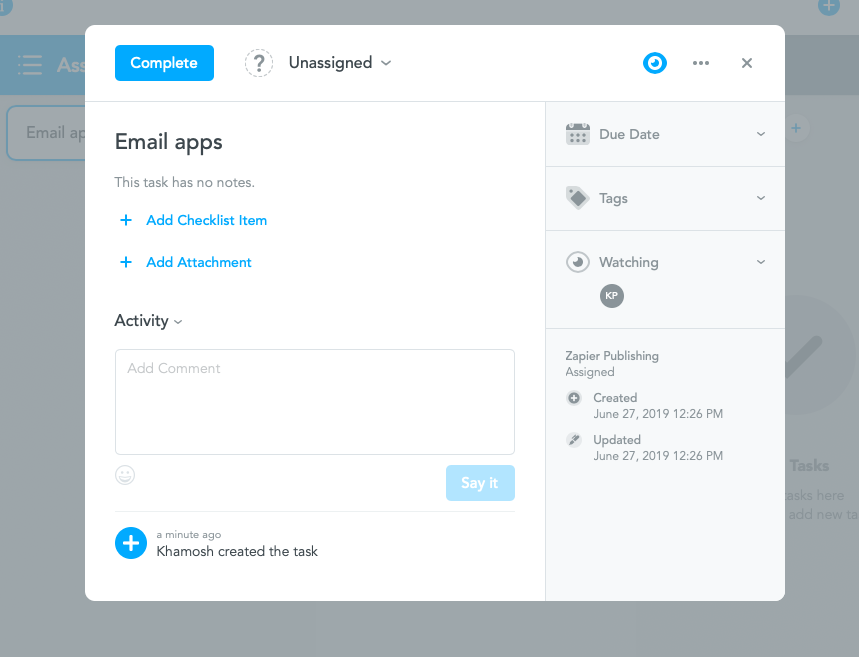
If you press Enter / return again, it will open the task's detailed view (instead of creating a new task). From there, you can add notes, checklist items, attachments, and comments. You can also add a due date, add tags, and add or remove users from the watchlist (to activate notifications).
How to assign a task in MeisterTask
By default, each task is unassigned. To assign a task to yourself or to a team member, click Unassigned at the top. The dropdown will show a list of all members in the project.
Click the menu button to find options related to the task. From there, you can move, duplicate, repeat, archive, and share the task. Once your task is done, click the Complete button. At any time, you can click outside the task pop-up to go back to the project.
Now you can continue creating new tasks and adding details. If you're using the static kanban method, you only need to use the Complete button to get rid of the task. If you're using the flowing kanban method, drag and drop a task from one section to another as you make progress.
How to invite people to a project in MeisterTask
To invite someone to your project, click on the i (Information) button next to the project title and select Invite Person.
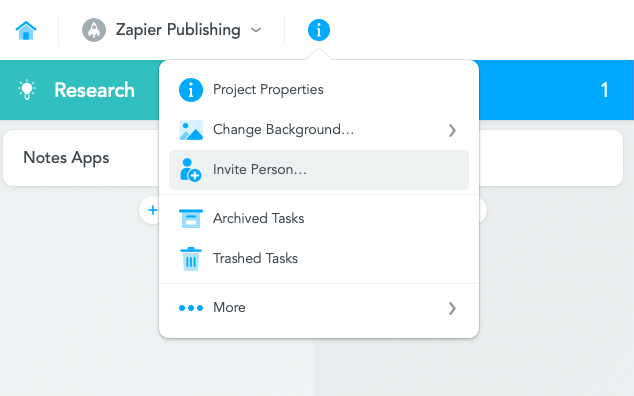
Enter their email address, and click Send. The invitees will receive an email and a notification in their MeisterTask dashboard. They can click on the notification to instantly open and join the project.
They'll now have full access to the project: They can create tasks, customize sections, and edit all the details in the project.
How to track time in MeisterTask
MeisterTask has a basic, task-based time tracking feature. To enable it, open a project, click on the i button, go to Project Properties, and switch to the Power-Ups tab. Now, turn on the Time Tracking feature (time tracking needs to be enabled on a per-project basis).
For a more detailed walkthrough of how to use the time tracking feature, read our tutorial on How to Use MeisterTask Time Tracking.
How to Use the MeisterTask Dashboard
When you open MeisterTask, you're first greeted by the dashboard. On the left, you'll see all your projects. On the right, you'll find two columns: My Tasks and Notifications. (Note: You can hide either of these sections from the top toolbar.)
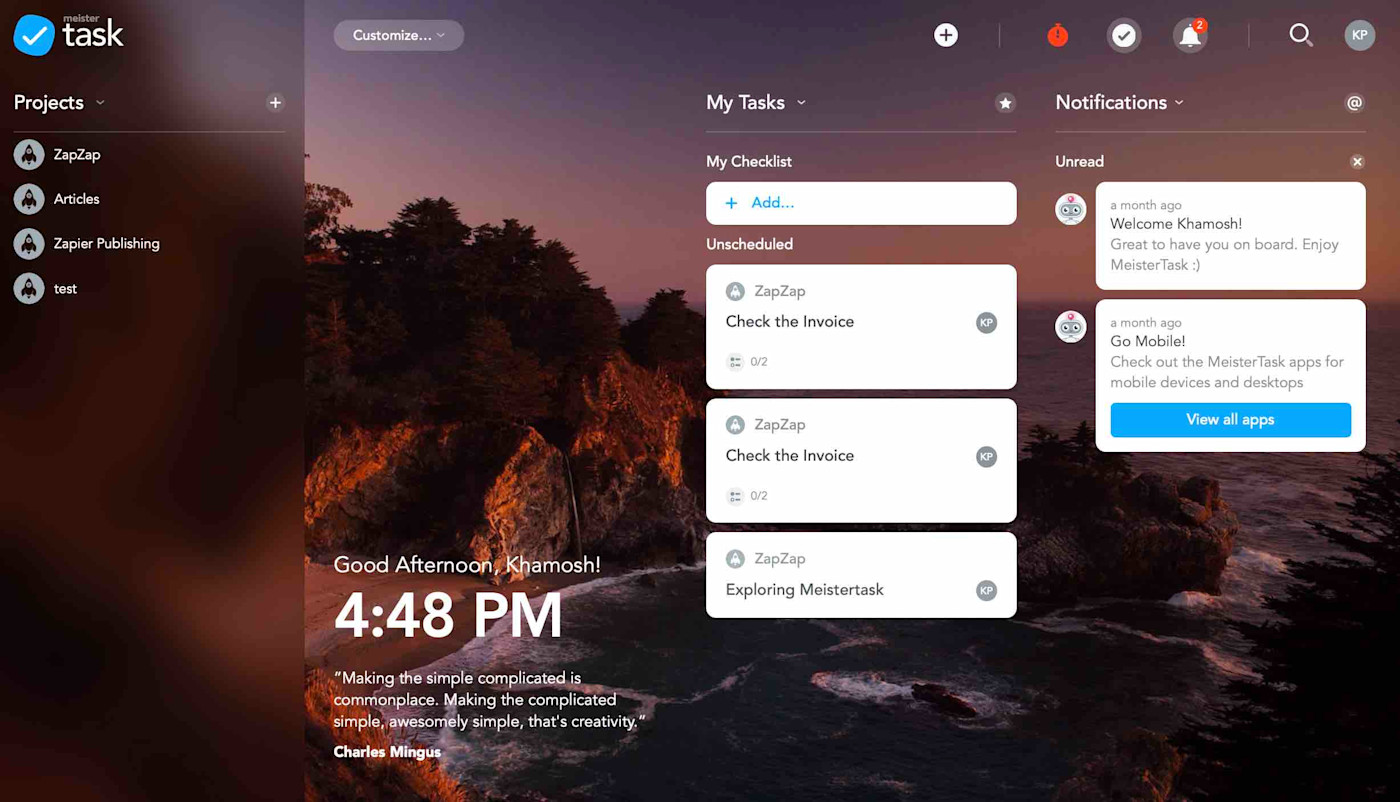
The My Tasks section is a great way to quickly view all your assigned tasks. Click on a task and interact with the detailed view or click the @ symbol to filter through your mentions.
How to customize the MeisterTask dashboard
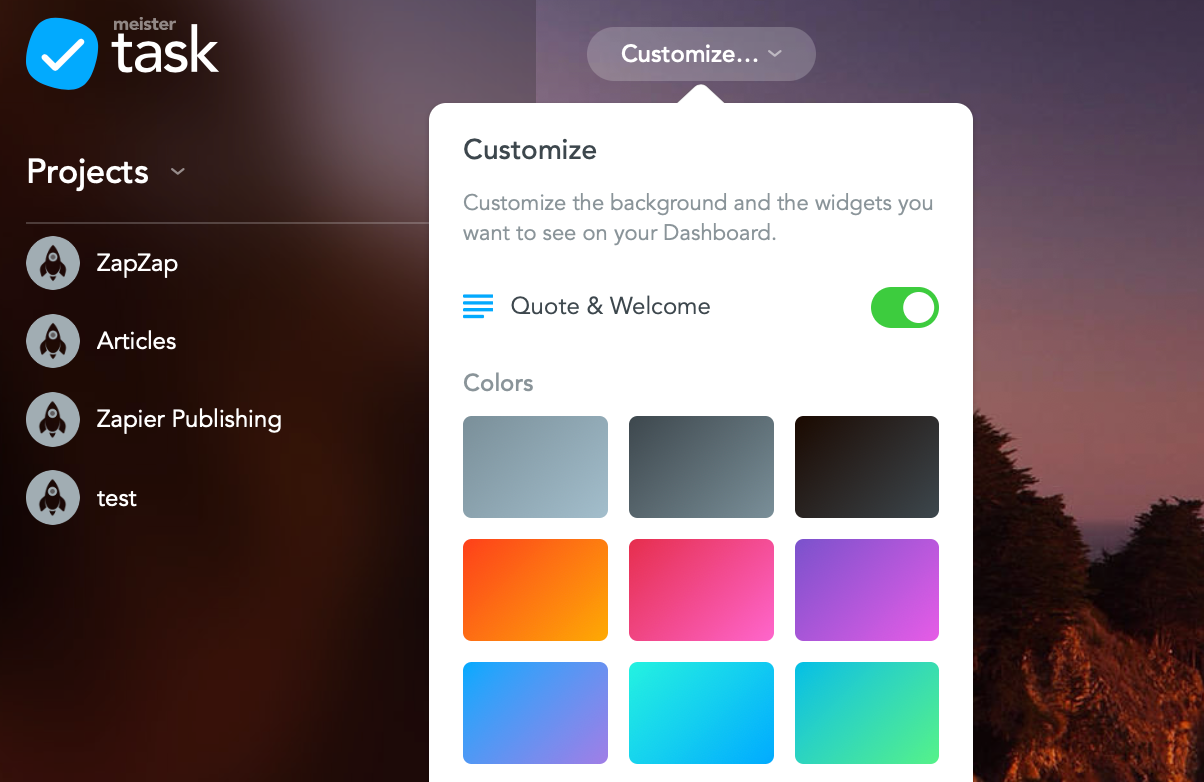
Click on the Customize button to change from the photo background to a solid color or turn off the time and the quote. If you've subscribed to the Pro plan, you can switch to a different photo or upload your own.
How to add tasks from the MeisterTask dashboard
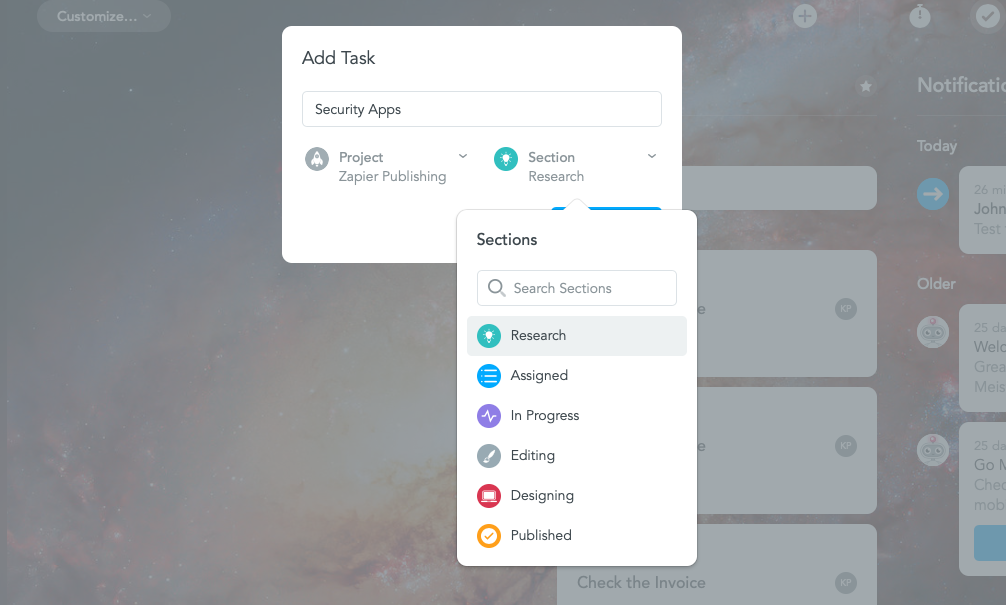
Click the plus icon from the top toolbar to enter a new task title and select a project and section for it to live in. When you click on Create Task, it automatically opens the task's detailed view right in the dashboard, so you can assign it to someone or add notes to the task.
How to search in Meistertask
Next, click the Search button. It will open a new, feature-rich search box, with filters like Scope, Project, Assigned To, Tags, and more.
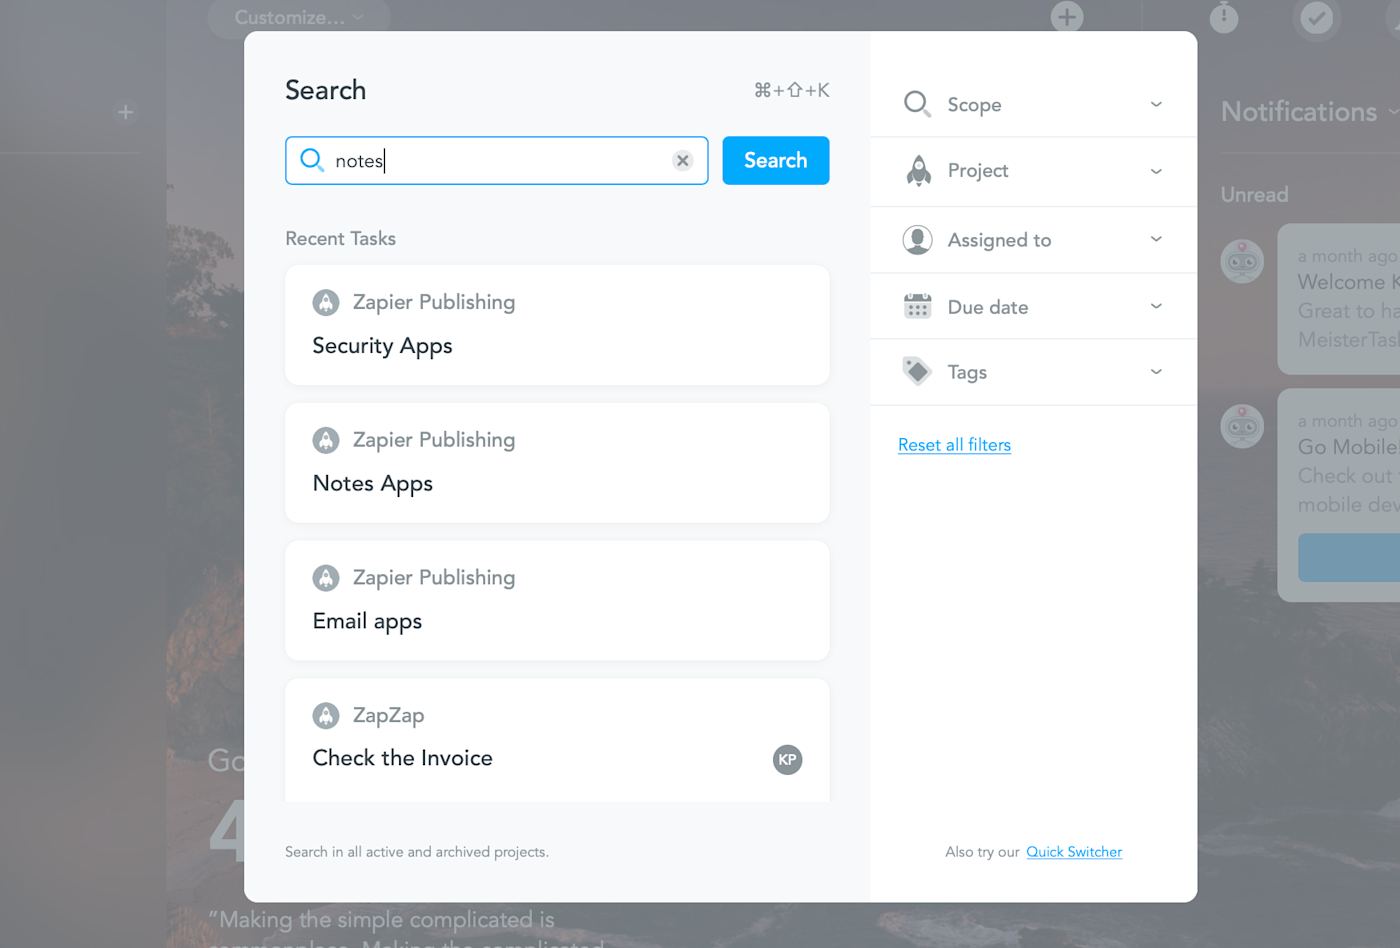
Meistertask's quick switcher can be accessed from anywhere in the app and lets you easily navigate to wherever you want to be. Press Command/Control + K and you can search for any project, using the arrow keys to navigate.
How to Use MeisterTask Automations
If you upgrade to the $9.99/month Pro plan, you can access the Automations feature, which is activated within sections. Click the dropdown next to the section heading, switch to the Automations tab, and then click on Add Automation.
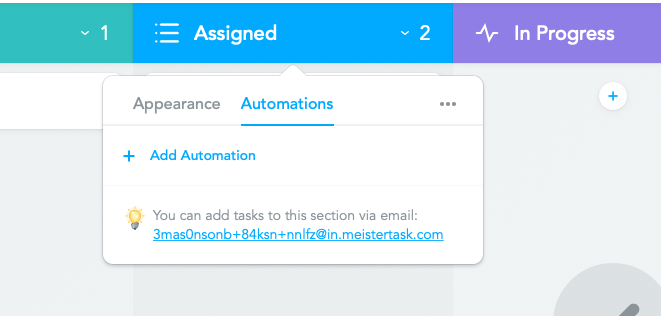
Here, you'll see a list of supported automations. You can automate tasks like time tracking, updating the status of a task, updating the due date, sending emails based on task progress, sending Slack messages, moving tasks, and more.
How to create recurring tasks in MeisterTask
One of the most common uses of the Automation feature is for setting up a recurring task. Learn how to do this by reading our tutorial on How to Create Recurring Tasks in MeisterTask. And don't forget you can customize these recurring tasks even further with Zapier.
MeisterTask has native integrations—which it calls power-ups—with dozens of online services and productivity apps. Open a project, click on the i button from the top, select Project Properties, and switch to the Power-Ups tab. Here, you'll see a list of supported services. If you don't find a service that you're looking for, take a look at Zapier's MeisterTask integrations, which allow you to connect MeisterTask to thousands of apps.
How to Create and View Reports in MeisterTask
To review data from your MeisterTask account, click on your profile icon and select Statistics. From the Performance tab, you'll be able to view the performance of your entire team on one page. You can see data as far back as the beginning of your account, and you can filter based on projects and team members.
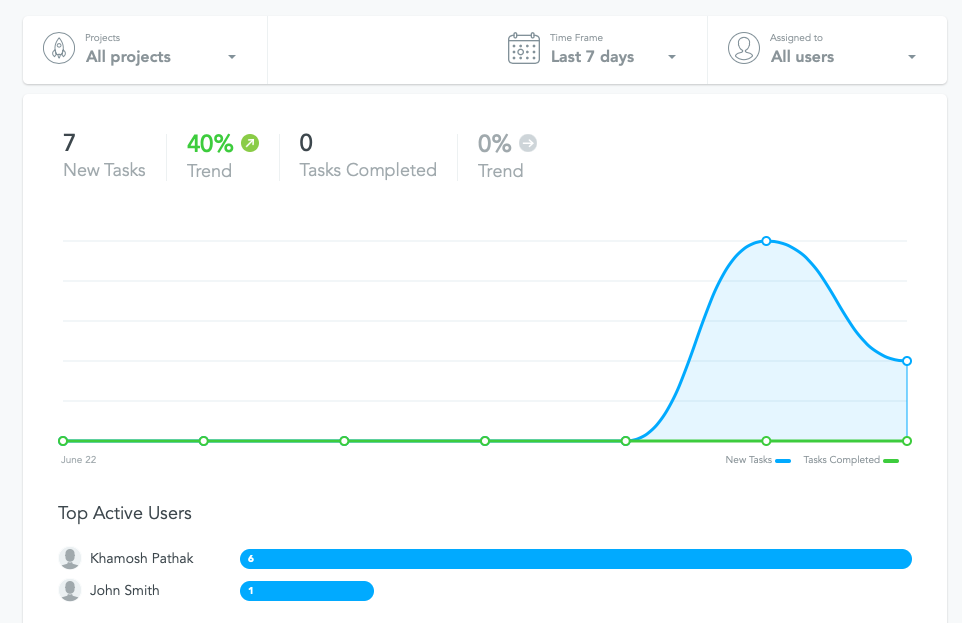
From the left sidebar, you can generate reports for open tasks, completed tasks, overdue tasks, and more.
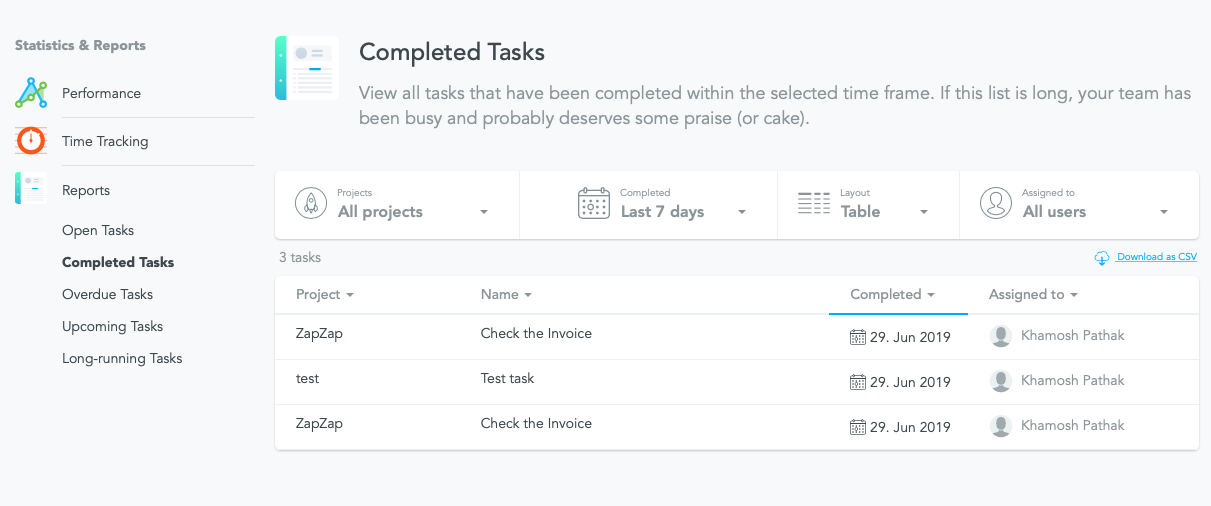
You can filter and sort using various time- and member-based parameters, making this an easy way to evaluate your team's progress. Plus, every report can be downloaded in CSV format so you can open it in a spreadsheet for further analysis.
Once you've mastered MeisterTask, you can supercharge it with Zapier's MeisterTask integrations, which will allow you to connect MeisterTask to 1,500+ apps to automate your workflows.
