
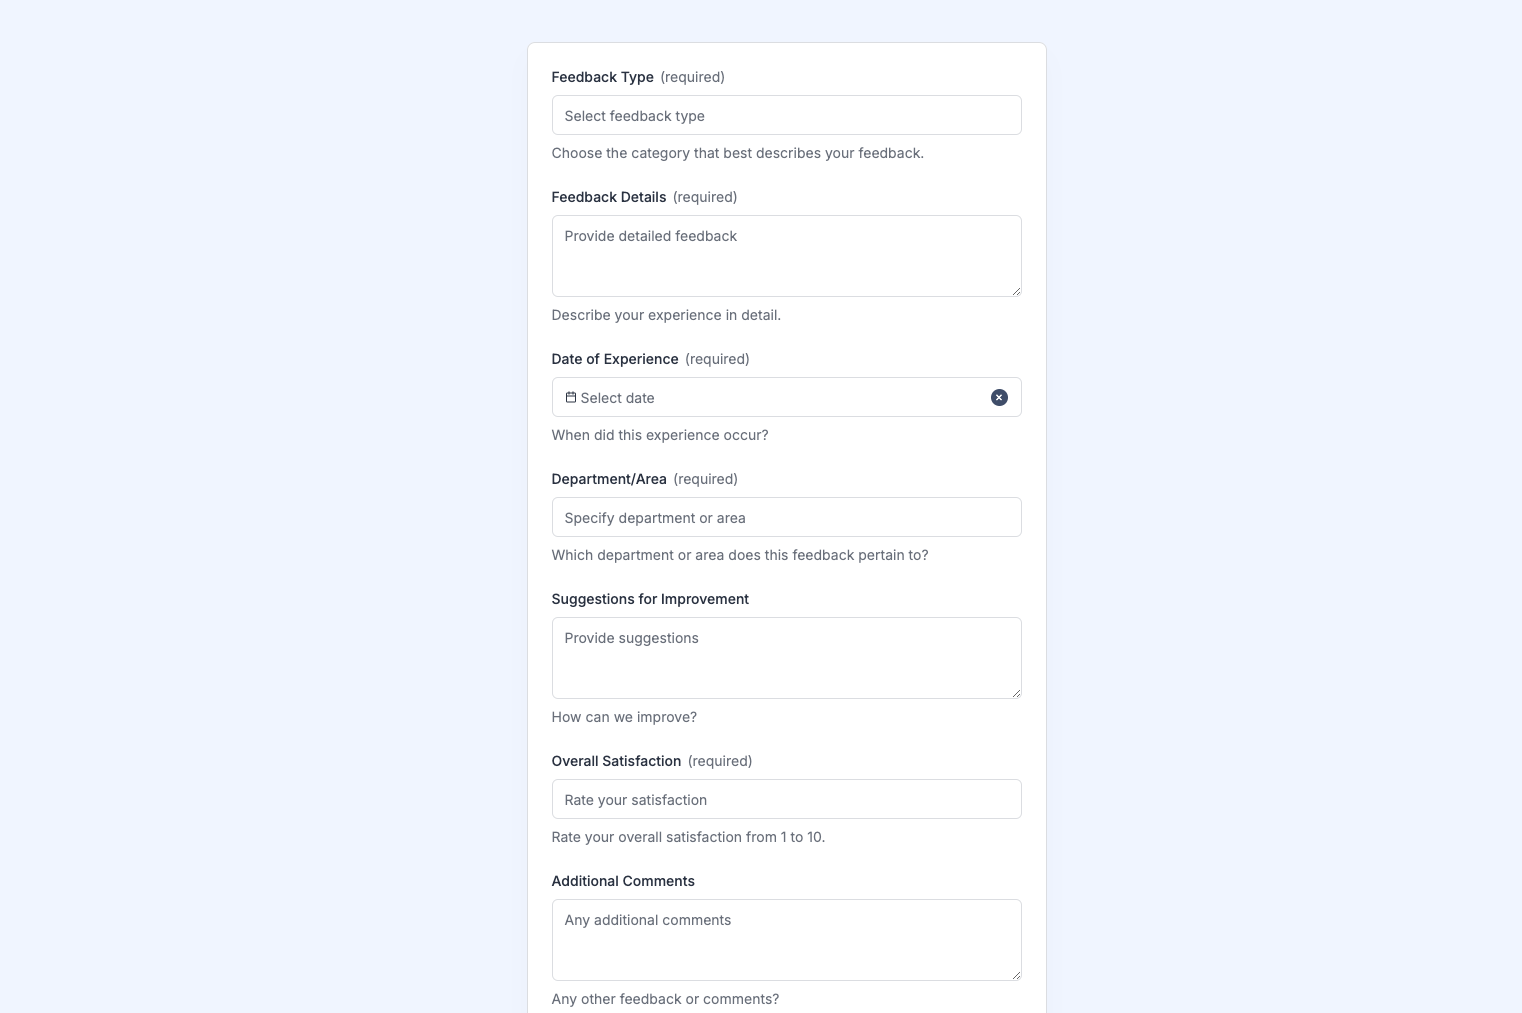
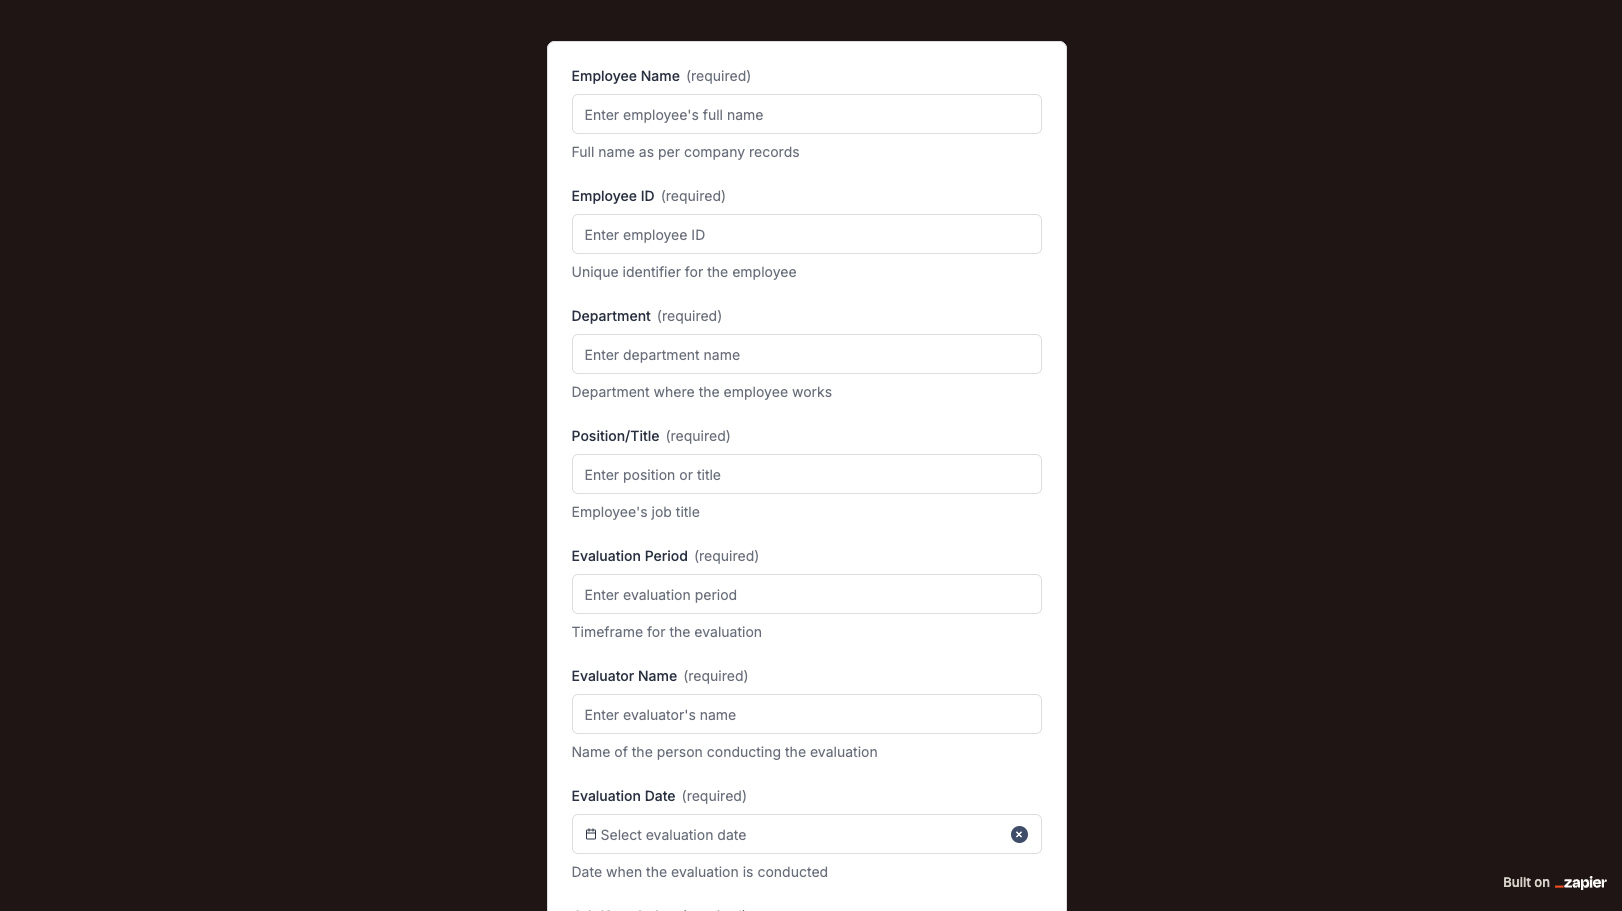
The Training Request Form template, created with Zapier Interfaces Online Form Builder, is designed to streamline the process of requesting and managing training sessions within an organization. This form template is particularly beneficial for HR departments, team leaders, and managers who are responsible for employee development and training programs. By utilizing this form, organizations can ensure that training requests are organized, tracked, and efficiently processed, leading to a more structured approach to employee skill enhancement.
Key Features of the Training Request Form
- User-Friendly Interface: The form is designed with a simple and intuitive interface, making it easy for employees to submit their training requests without any technical difficulties.
- Customizable Fields: Organizations can tailor the form fields to capture specific information relevant to their training programs, such as the type of training, preferred dates, and the number of participants.
- Automated Notifications: Once a training request is submitted, automated notifications can be sent to the relevant stakeholders, ensuring that no request goes unnoticed.
- Integration Capabilities: The form can be integrated with various applications and software, such as Google Calendar, Slack, or Trello, to streamline the workflow and keep all parties informed.
Benefits of Using Zapier Interfaces
- Efficiency: By automating the training request process, organizations can save time and reduce the administrative burden on HR teams and managers.
- Consistency: The use of a standardized form ensures that all necessary information is collected in a consistent manner, reducing the likelihood of errors or omissions.
- Scalability: As organizations grow, the form can be easily adapted to accommodate an increasing number of training requests, making it a scalable solution for businesses of all sizes.
- Data Management: With all training requests stored in a centralized location, organizations can easily track and analyze data to identify trends and make informed decisions about future training initiatives.
How to Implement the Training Request Form
- Step 1: Customize the Form: Begin by customizing the form template to include fields that are relevant to your organization’s training needs. This may include fields for the employee’s name, department, type of training, and any specific requirements.
- Step 2: Set Up Integrations: Connect the form with other applications used by your organization to ensure seamless communication and data flow. This could involve integrating with your calendar system to automatically schedule training sessions.
- Step 3: Test the Form: Before rolling out the form to all employees, conduct a test run to ensure that all fields are functioning correctly and that integrations are working as expected.
- Step 4: Launch and Monitor: Once the form is live, monitor its usage and gather feedback from employees to make any necessary adjustments. Regularly review the data collected to assess the effectiveness of your training programs.
Frequently Asked Questions
How does the online form builder collect and organize responses from form submissions?
The responses are automatically collected and organized into a structured, user-friendly table format for efficient management and analysis. Here’s how the process works:
When a user submits a form, their responses are instantly captured and stored in a secure, cloud-based database. Each form field (e.g., name, email, or custom questions) is mapped to a corresponding column in the table, ensuring data is neatly organized. The table updates in real-time, allowing you to view and manage responses as soon as they are submitted.
Building on this functionality, you can leverage Zaps to configure email or Slack notifications, ensuring you receive instant alerts for new form submissions. Additionally, Zaps enable you to create sophisticated customization and integration workflows tailored to your specific needs.
How do I share the form with others?
Once customized, the form can be shared as a link. You can find this link in the top left corner of the Form Editor. Simply copy and send the link to anyone you want to share it with. This eliminates the need for printing or manual distribution, making the process quick and efficient.
Can I customize the form fields in the template?
Absolutely. One of the great advantages of using Interfaces is the ability to customize your forms. You can add, remove, or modify fields to suit your specific event planning needs. Just remember to update your Zap accordingly if you make significant changes to the form structure.