If you own or moderate a Discord server, managing your community without automation can be tough.
Thanks to developers and users who like to tinker, there's a massive ecosystem of Discord bots. These user-like apps let you add extra moderation tools, gamification, or a dose of randomness to any server. Discord even launched an app directory to make adding bots to a server easier.
But what if you can't find a bot that suits your needs and don't know how to code? You can create your Discord bot with Zapier in a few clicks.
With our automated workflows called Zaps, you can connect your favorite apps to Discord without any code. We'll show you how you can create your own custom bot to manage your community your way.
New to Zapier? It's workflow automation software that lets you focus on what matters. Combine user interfaces, data tables, and logic with thousands of apps to build and automate anything you can imagine. Sign up for free to use this app, and thousands more, with Zapier.
Types of Discord bots
There are a few types of Discord bots you might encounter. Since other users or developers often create bots, some may have a separate settings interface where you can manage bot behavior.
Discord bots generally fall into a few groups:
Notification bots alert a channel or specific role, often about events happening in other apps, such as someone starting a Twitch stream. This tutorial will show you how to create a notification bot from a new Google Form submission. You can still follow along if you want to create a notification bot that triggers from another app.
Command bots are triggered by a command often beginning with a slash or exclamation point. For example, the built-in /tableflip command will add the table-flipping text emoticon to your message. Currently, you need an understanding of code (or a willingness to tinker) to build Discord command bots.
Reply bots will respond to specific phrases you set in advance. These are often used for frequently asked questions or rule reminders.
Note: Discord forbids "self-bots", which are bots that pose as your account.
In this guide, we'll explain how to make one of each type.
Before you begin
To connect a Discord server to Zapier, you need to be the server owner or an administrator with the ability to add bots and create webhooks.
If you don't have one already, create a #testing channel that general members cannot access so you can test your bot without spamming the server.
Since Zapier needs existing information to test while creating a Zap, make sure you have some for it to work with, such as an existing Discord message or member.
How to make a Discord notification bot without code
Let's start with the easiest bot type to create in Zapier—the notification bot. We'll make a bot that notifies everyone when someone new joins your server. Once you get the hang of this bot, you can use a similar process to notify your server of anything you'd like, whether you have a new event in your calendar or Twitch stream.
You can create your own Zap from scratch, or just click on the Zap template below to start from a pre-made workflow.
First, set up your trigger—the event that starts a Zap. If you're using the Zap template, this will already be set up for you. If you're starting from scratch, search for and select Discord for your trigger app and New User Added for your trigger event. Then connect your Discord account.
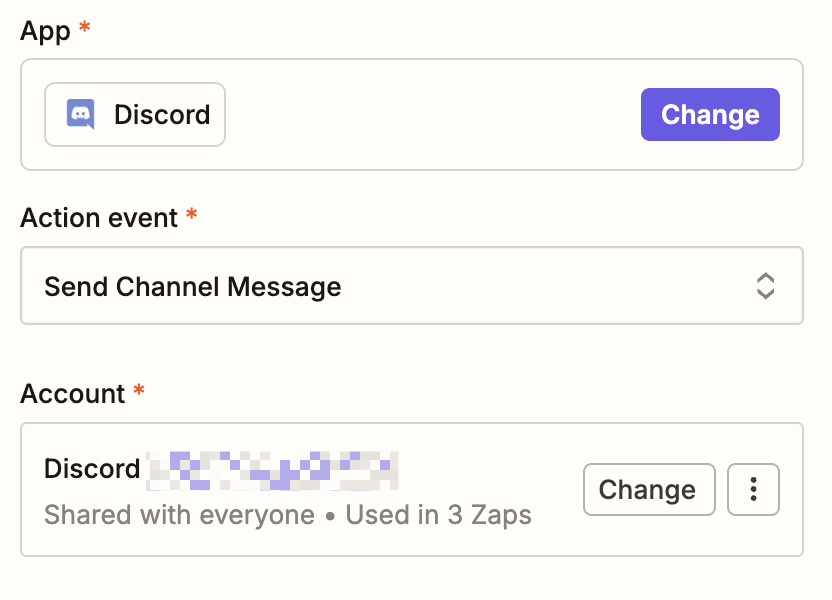
You'll see a new window from Discord prompting you to agree to permissions and select a server to connect Zapier to.
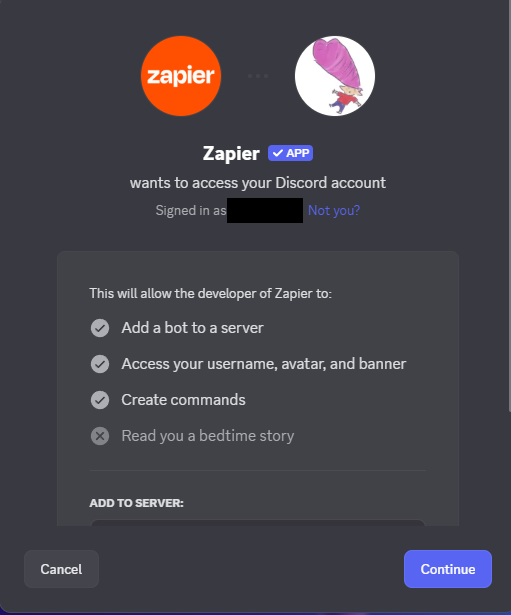
After you click Continue, Discord will also prompt you to choose what permissions Zapier has on your server. For this Zap, it will need to be able to read messages, send messages, and manage webhooks.
For each app you connect, Zapier will ask for a general set of permissions which allows you to be flexible with your Zaps. The only actions Zapier takes on your app accounts are those a given Zap needs to accomplish what you've set up.
Now click Test trigger. When you test your trigger, Zapier will look for a recently joined user on your server, which will be used to set up the rest of your Zap. Once you see a success message, click Continue.
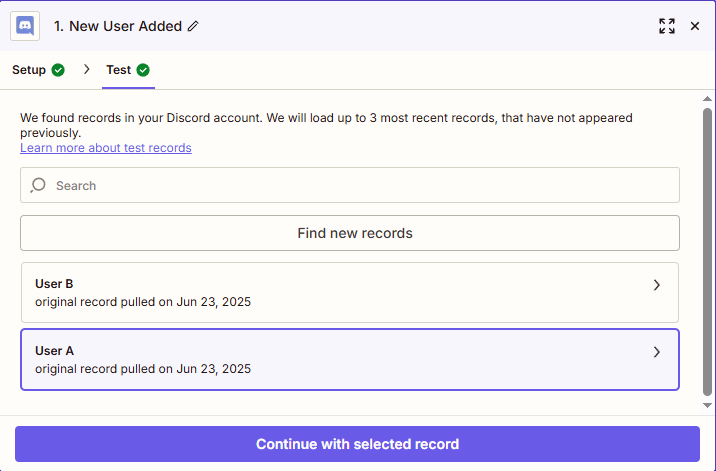
Now it's time to create your Zap's action, which is the event it will perform once it's triggered. The action in this Zap will send a message on Discord notifying people about the new user.
Search for and select Discord for your action app and Send Channel Message for your action event. If you're using the Zap template, this will already be selected for you. Zapier will automatically select the Discord account you connected in your trigger step. Finally, click Continue.
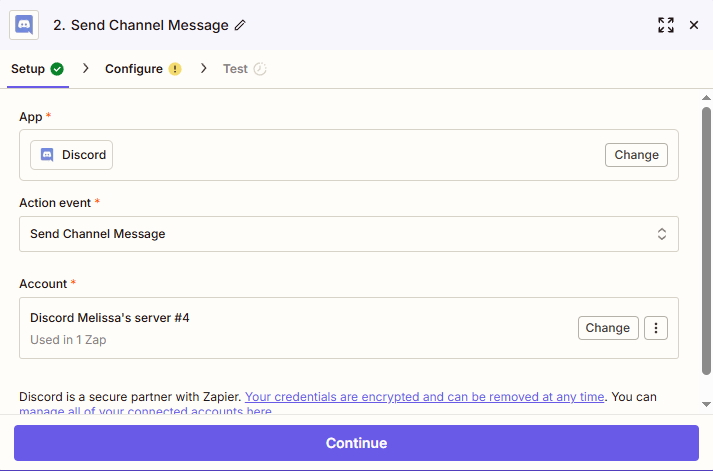
Now, here's the fun part—configuring your welcome message.
Choose the channel where you want your welcome message to appear, such as a testing channel.
Then, it's time to write your message. Click the + sign in the Message Text field to map data from the first step into your message. For example, in the case of this notification bot, you can choose Username or Global Name to include the new user's name in your message.
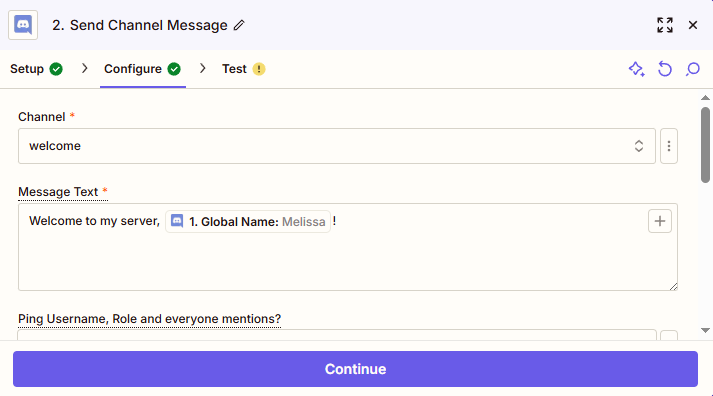
In this step, you can also:
Ping the new user's username as well as @everyone
Set the message as a text-to-speech message (requires the "Send TTS Message" permission for Zapier)
Name your bot and give it an icon (default is Zapier)
Attach a file
Once you're done writing your message, click Continue.
Finally, test your bot to make sure it's formatted correctly. Zapier will send a message to the specified Discord channel, so make sure you do this in a testing channel or alert your server that you're testing a bot.
If everything is set up correctly, you'll see a success message.
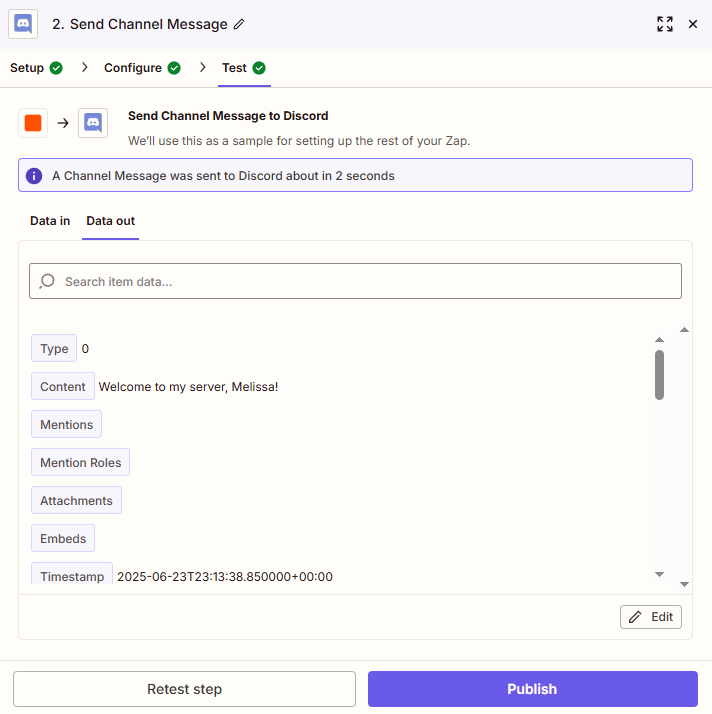
Check your Discord to make sure you're happy with how your message looks.

If everything looks good, return to the Zap editor. If you used a testing channel, go back and select the real channel you want your bot messages to appear, and make sure your Zap is on!
How to make a Discord command bot without code
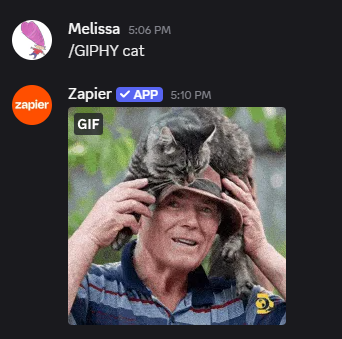
Now that you know how to make a Zap, you can combine different actions and triggers to create your ideal bot. Zapier also lets you add steps in between to get more specific. Let's use that knowledge to make a command bot that sends a random GIF from GIPHY when you send the /GIPHY command.
Start by writing a message that contains "/GIPHY" and a keyword in your test channel, such as "/GIPHY cat". Zapier will use this message for testing.
Next, create a new Zap from scratch or click on this Zap template to get started:
Select Discord for your trigger app and New Message Posted to Channel for your trigger event. Choose the channel where you want your bot to live. (If you want to use this bot on multiple channels, duplicate this Zap for each channel.)
Next, select Filter for the action app in your next step. Select these conditions to make the bot respond only to the /GIPHY command:
Field: Content
Condition: (Text) Contains
Text/Data: /GIPHY
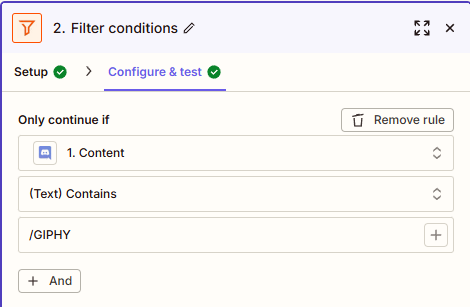
Click Continue to test your filter, then add another step to your Zap.
Select Giphy for your action app and Find GIF for your action event.
In the Search field, map the Content data from your first step. You can also set the content rating for the GIFs GIPHY retrieves according to your community guidelines.
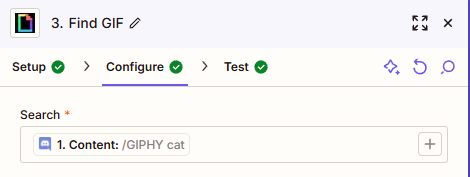
Finally, add a final action step to your Zap and select Discord for your action app and Send Channel Message for your action event.
Next, map the URL data from your GIPHY step to the Message Text field, like this:
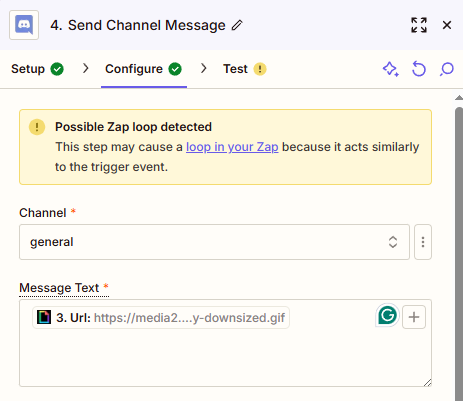
Zapier will warn you about a possible Zap loop—in other words, a constant series of messages triggering other messages. The filter prevents this Zap from creating infinite messages, but be mindful of these warnings as you create your own Discord bots.
After you run your final test, you should see a GIF related to the keyword in your message in your test channel. If everything looks good, publish and enjoy your random GIFs!
How to make a Discord reply bot without code
On top of notification and command bots, Zapier can also create reply bots. We'll use a filter step again to recognize inappropriate words and send a warning. (You could also tweak this bot to respond to specific keywords related to a common question and provide the answer to that question.)
This time around, you'll need to create a test message with one of the inappropriate words in it. You'll just need one so the filter can recognize it as a valid message.
Next, start building your Zap. Create your own, or use this Zap template to get started:
Send warning messages in Discord for specific word usage
Like the last two times, select Discord for your trigger app and New Message Posted to Channel as your trigger event, then select the channel where you want your bot to operate.
Next, add a filter step. Set up these criteria for the filter:
Field: Content
Condition: (Text) Contains
Text/Data: One of the inappropriate words on your list
Instead of clicking Continue this time, click the Add "Or" rule group button to add another set of criteria with another word on your list. The "Or" rule groups instruct the bot to look for any of these words rather than all of them at once.
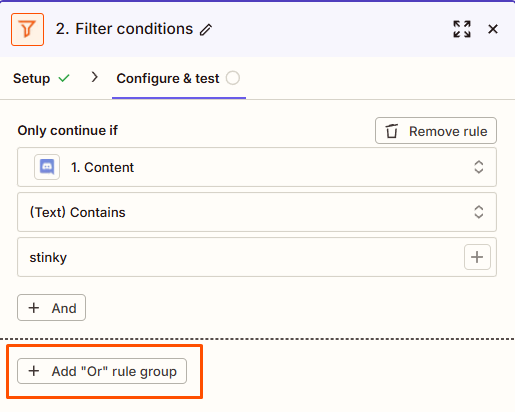
Your setup should look something like this:
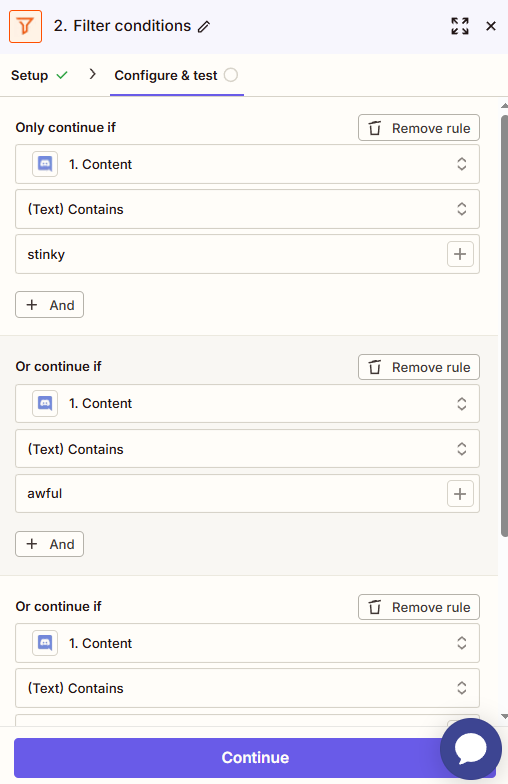
Click Continue once you have all of your words listed in the filter.
Next, add another action step and select Discord for the action app and Send Channel Message for the event. Then, write a warning message directing the user to your rules.
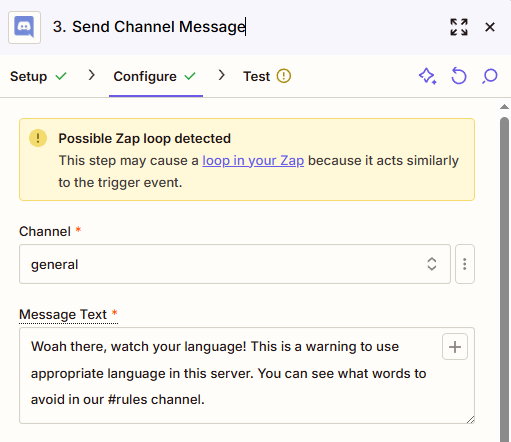
After you test this action, your warning message should appear in response to your test message. If everything looks good, you're done!

Optional: How to mention roles or users
When you're customizing your Discord messages, you can also include formatting to mention a user or a specific role. For example, you could tag moderators in the above bot's message. Since you need IDs in order to mention a user or a certain role, there are a few ways to achieve this.
To mention the same role each time, send a message in any channel—preferably your testing channel—with \@ROLENAMEHERE. It will return the role ID, properly formatted for you to copy and paste.
To mention a different role or user based on your Zap trigger, you can use a search step—available on paid Zapier plans—to dynamically search for role or user. Just make sure you have a way to collect user names.
Create your own Discord bot with Zapier
Now that you know how to make each type of Discord bot in Zapier, the sky's the limit. Chain multiple actions together with multi-step Zaps—available on paid Zapier plans—or check out our guides on using built-in Zapier tools with your favorite apps to create all sorts of Discord bots.
Related reading
This article was originally published in May 2019, with previous contributions by Justin Pot Krystina Martinez. It was most recently updated in July 2025 by Melissa King.

