Calendly makes it easy for customers to schedule appointments with you, which is exactly the kind of functionality that's nice to have on a website. And if you're reading this, your website's probably built on WordPress.
There's no Calendly for WordPress plugin, meaning you'll have to do the embedding yourself. The good news: it's not hard. In this guide, I'll cover four simple methods to embed Calendly in WordPress.
Note: These methods will only work for self-hosted WordPress sites. If your website is hosted by WordPress.com, sorry—all you can do is link to Calendly. But if you're on the WordPress Premium, Business, Commerce, or legacy Pro plans, you can add an official Calendly block to any site.
Table of contents:
Find your Calendly embed code
No matter what method you use to add Calendly to WordPress, you'll want to start by grabbing your embed code.
Log in to your Calendly account.
Go to the Event types section, and select the event you want to embed.
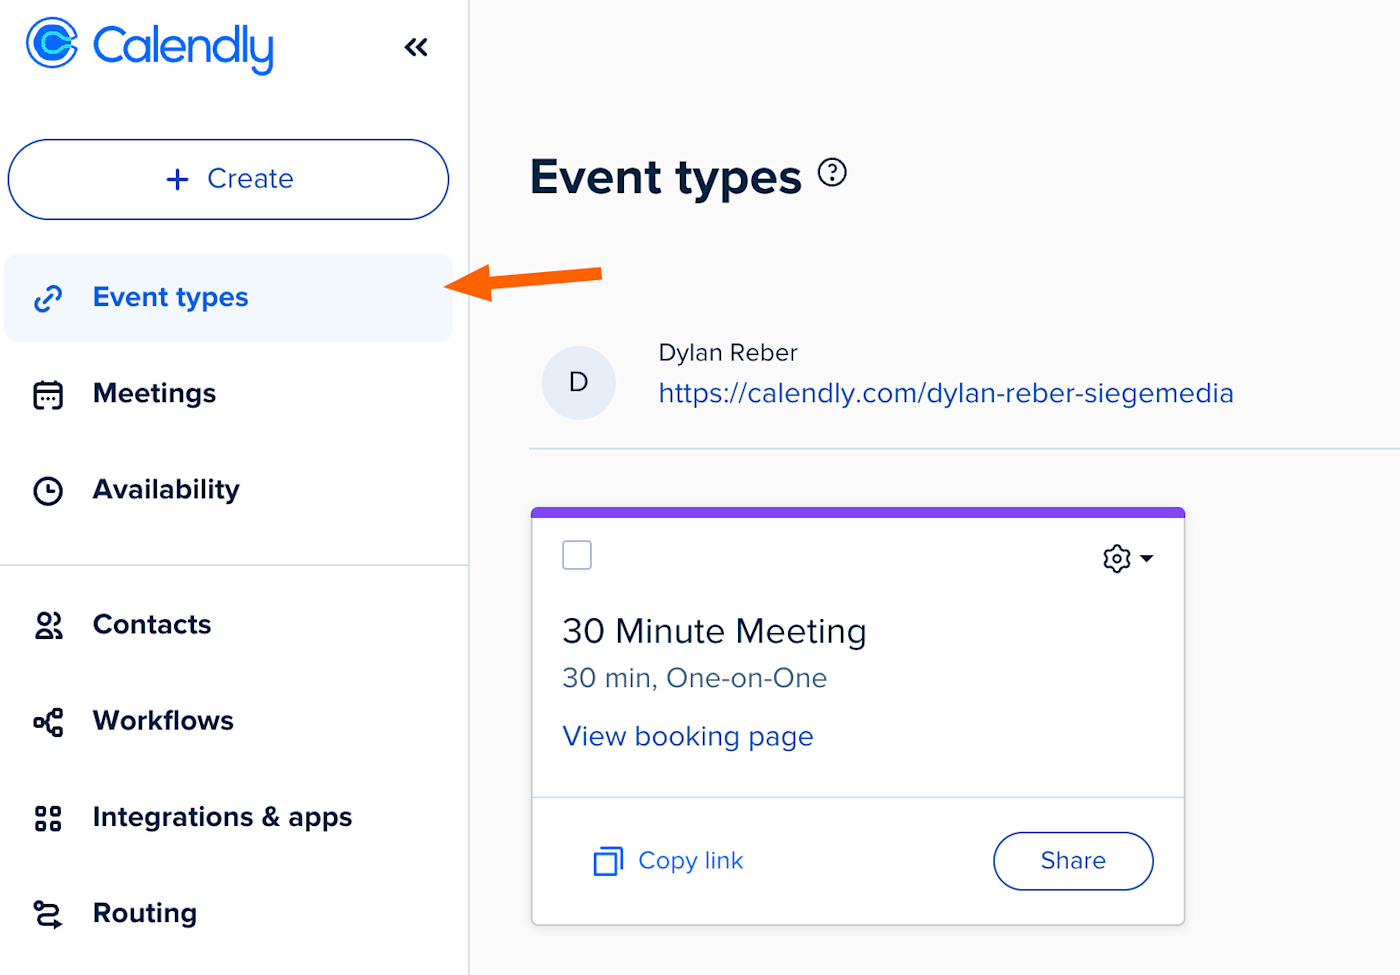
Click the Share button on the event.

Select Add to website in the window that appears, then choose one of the three embed options.
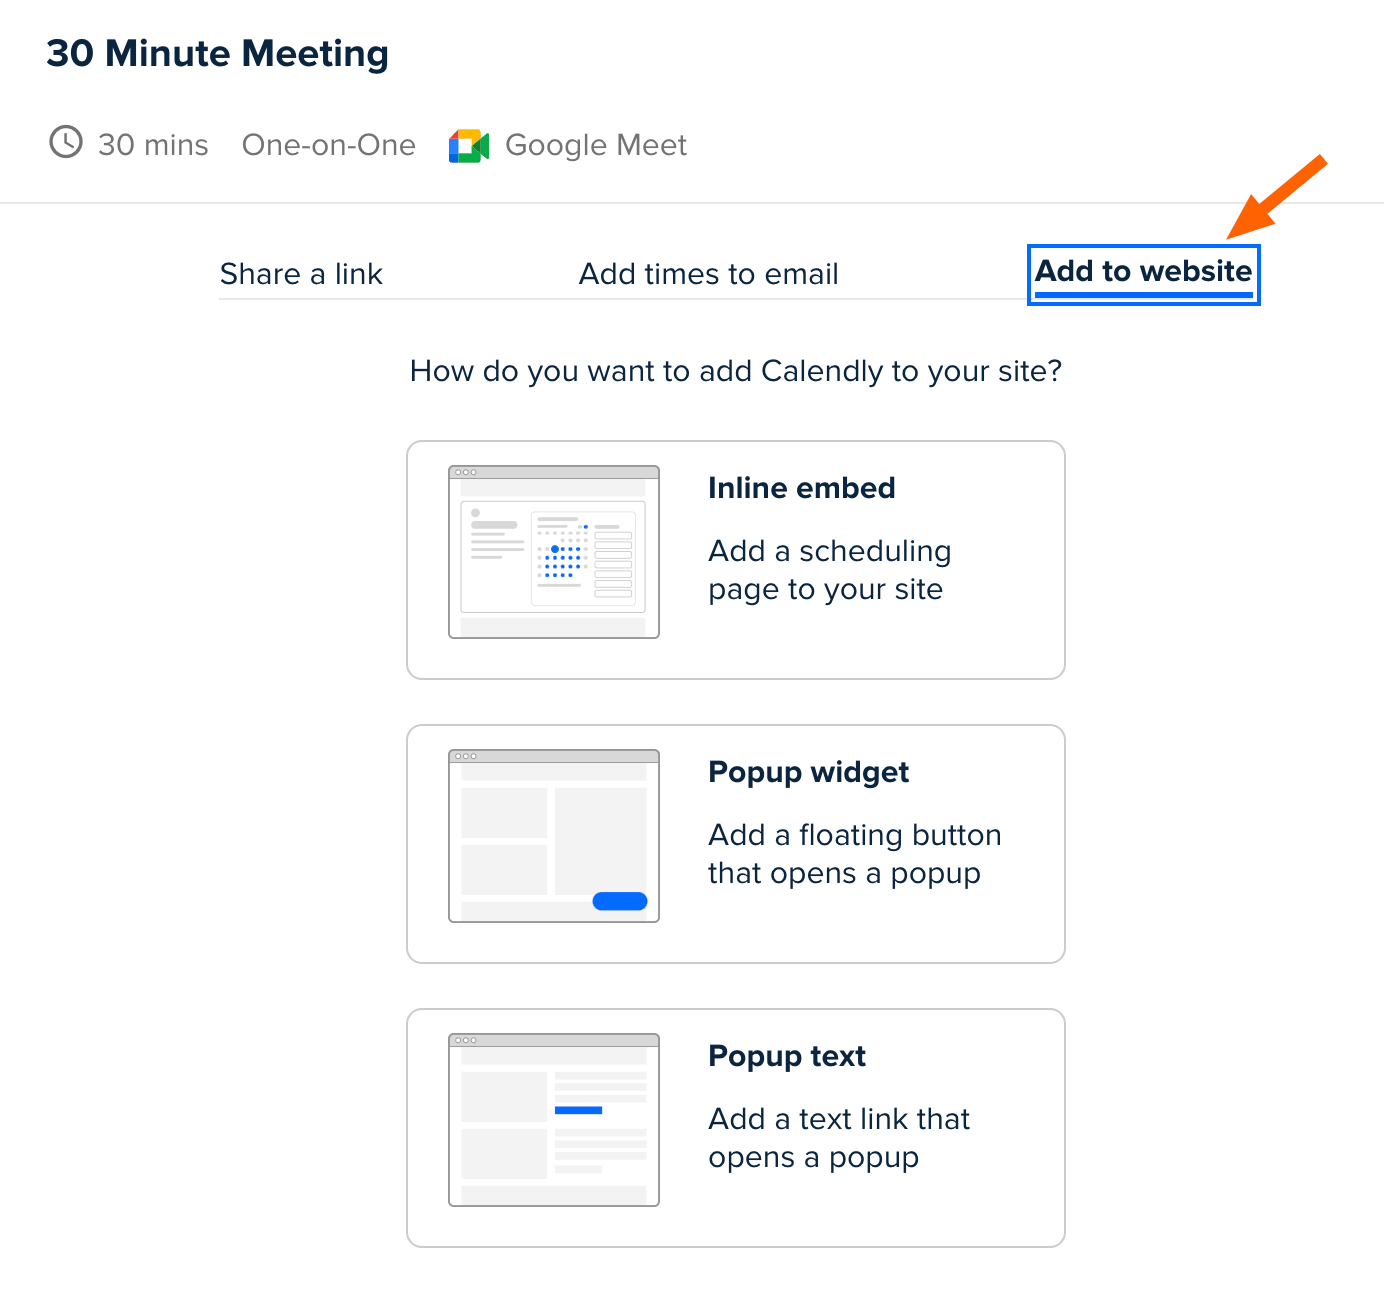
Click Continue. You'll be taken to another screen with an embed code you can copy.

Keep this tab open as you go through the embedding process in case you get sidetracked doing something a little more exciting (unlikely, I know).
Option 1: Embed Calendly on a single page or post
You can embed Calendly into any individual page or post on your WordPress site. This is probably the simplest method, especially if you've already subjected yourself to learning the WordPress block editor.
Log in to your WordPress admin dashboard.
Go to the Pages section and select the page where you want to embed Calendly, or create a new page by clicking Add New Page.

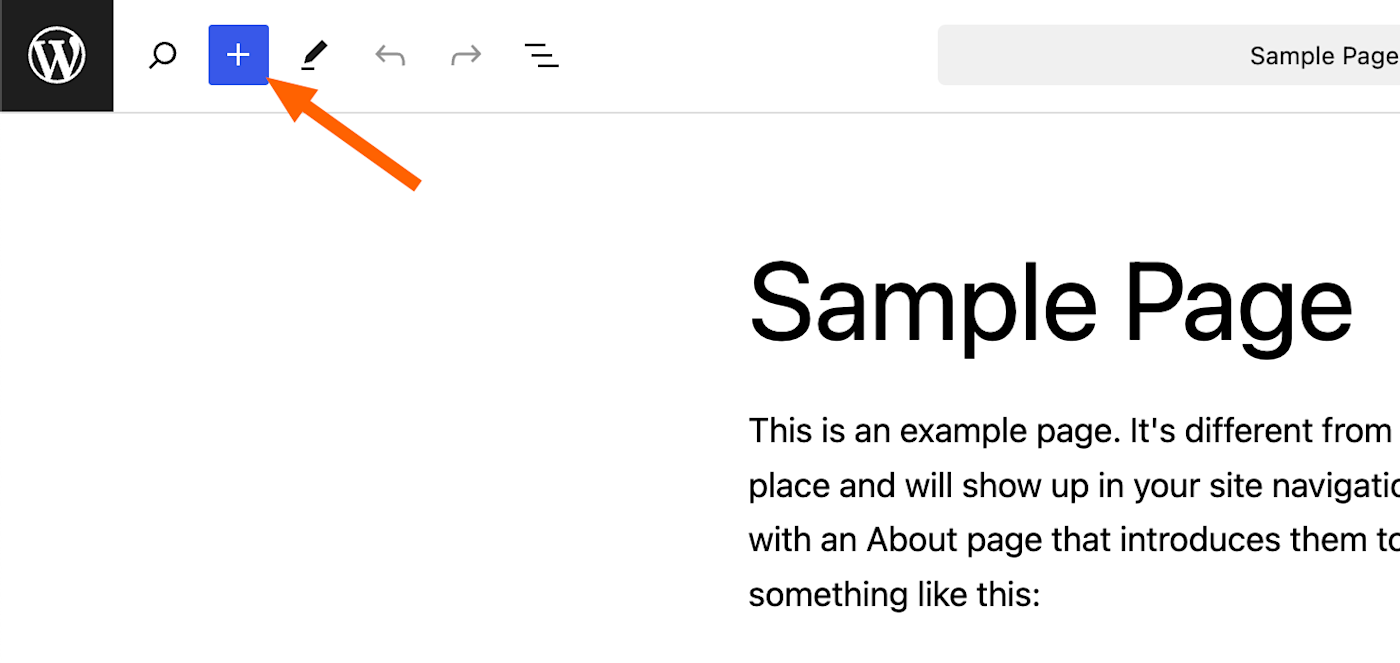
Add a new block by clicking the + icon in the top-left corner.
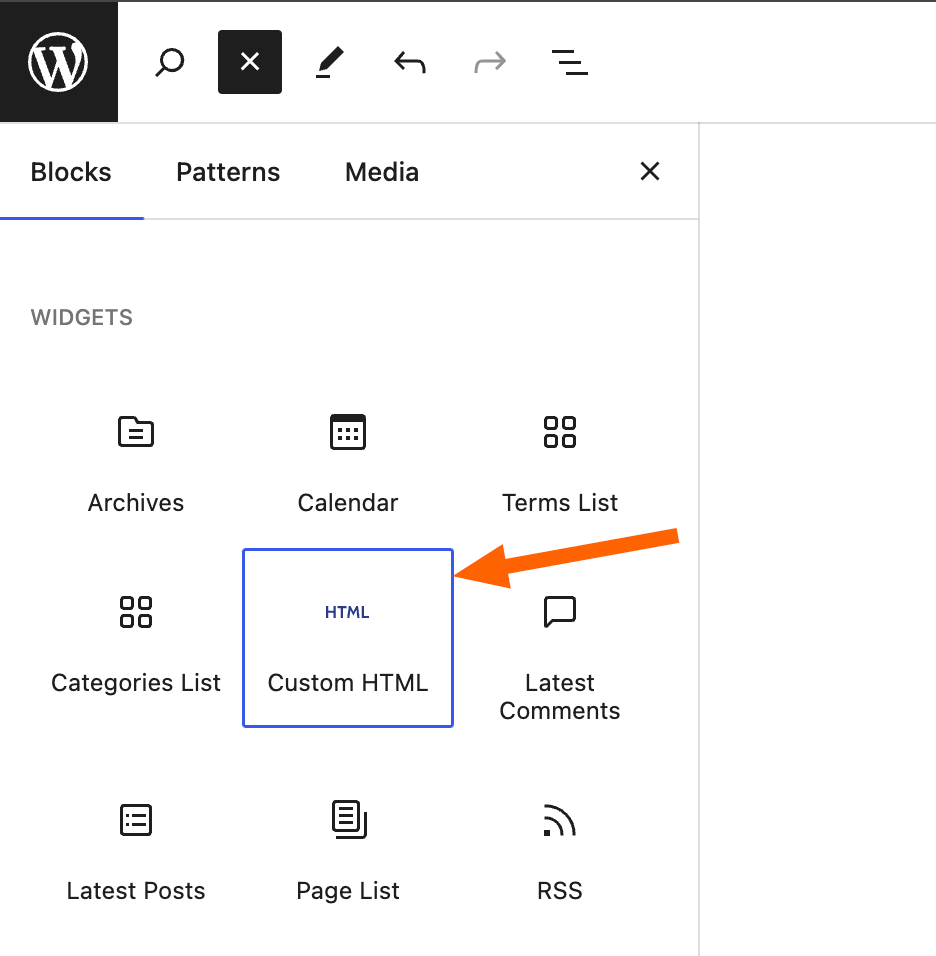
Scroll down to the Widgets section and select Custom HTML.
Paste your Calendly embed code into the HTML block that appears on your page.
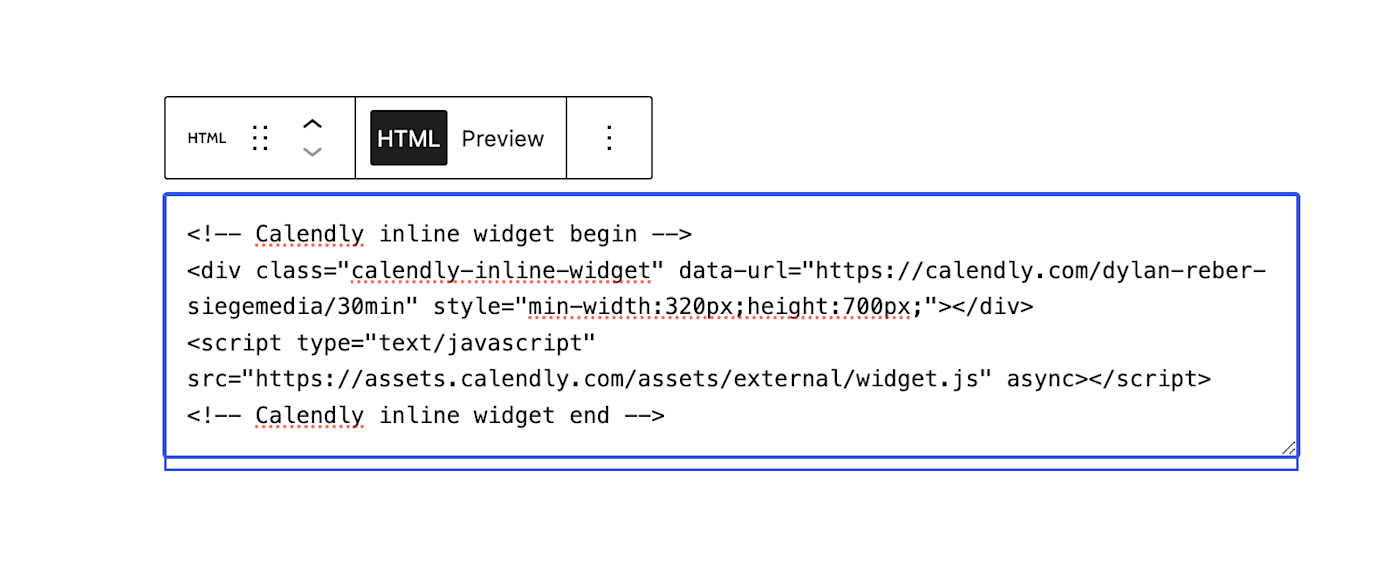
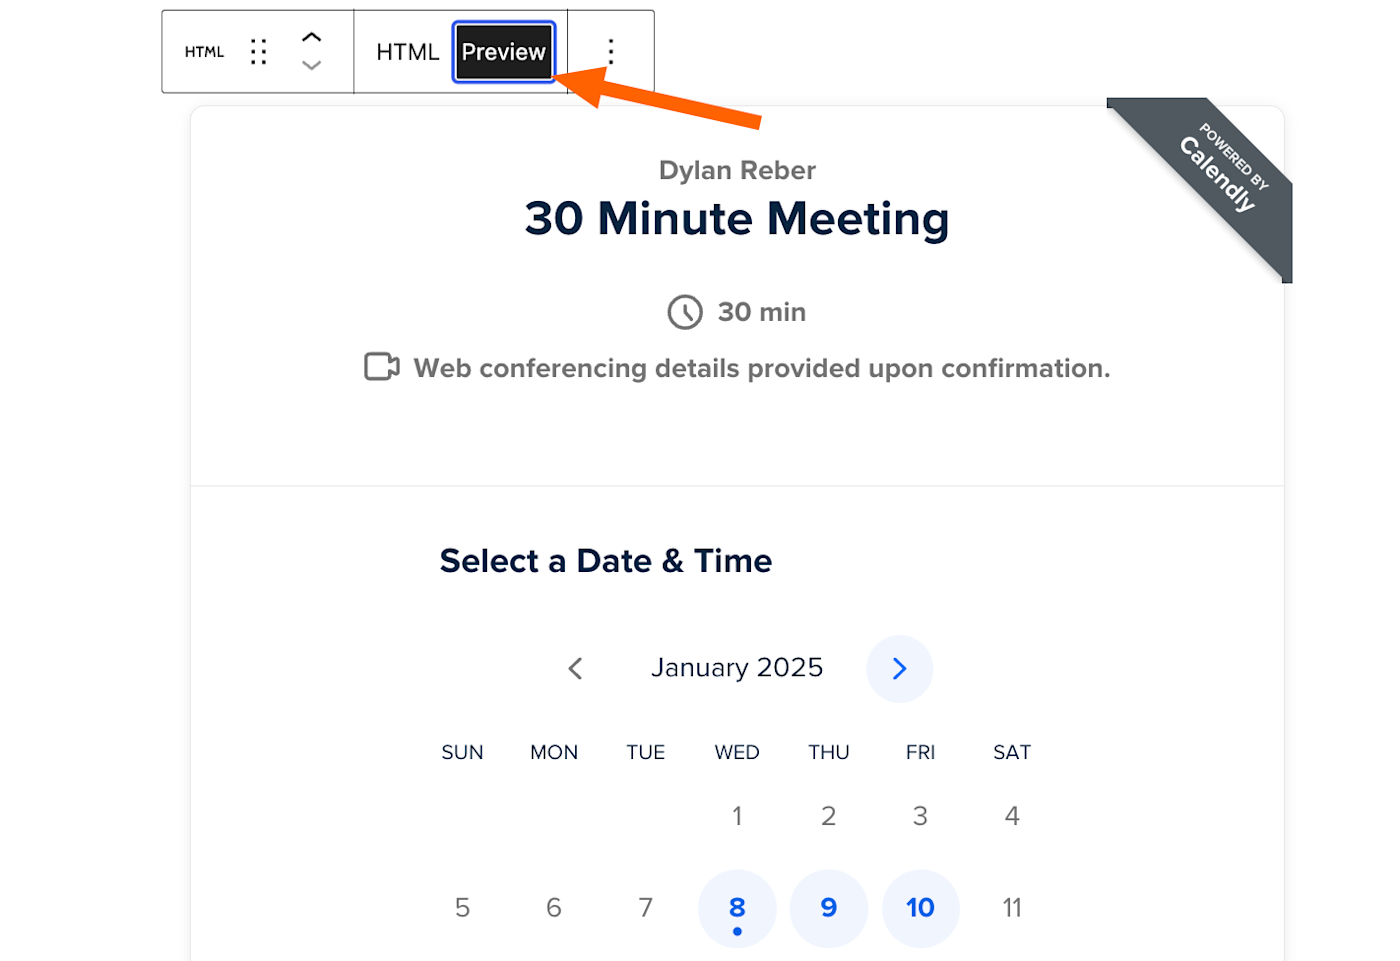
Click Preview to ensure the embed works, then click Save in the top-right corner to update your page.
Now your site's visitors can easily book an appointment without having to open another page. Remember, this embed will only apply to the page you added it to.
Option 2: Add a site-wide popup widget
Want Calendly to show up on every page on your website? There's no official Calendly WordPress plugin, but you can embed the HTML as a widget that applies to every page on your site.
Start by following the steps to find your Calendly embed code, then select the Popup widget option and copy the code.

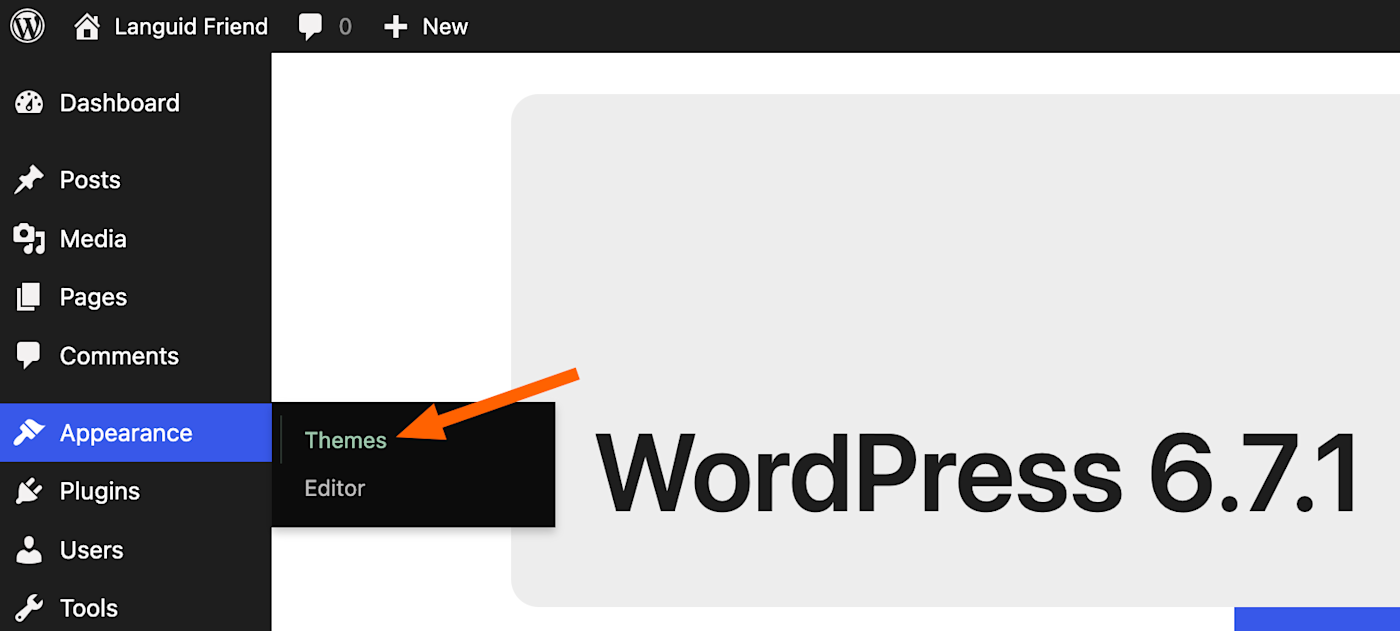
In WordPress, go to the Appearance > Themes section in your admin dashboard.
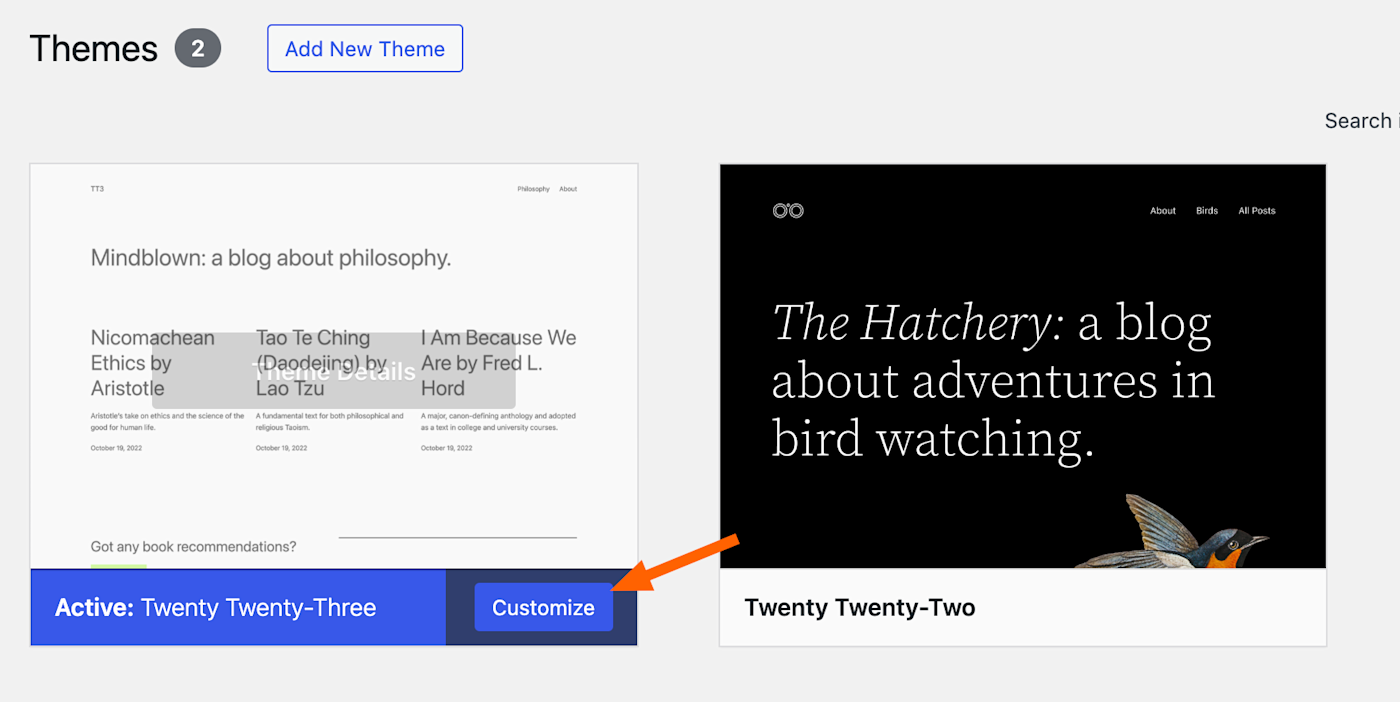
Select the theme you're using for your website, and click Customize.
Click anywhere on your site's homepage to enter editing mode.
Scroll down, and locate your site's footer. If you don't have a footer, you can add one from Blocks. (Note: you can also use a header or sidebar for this step. It just has to be an element that appears on every page of your site.)
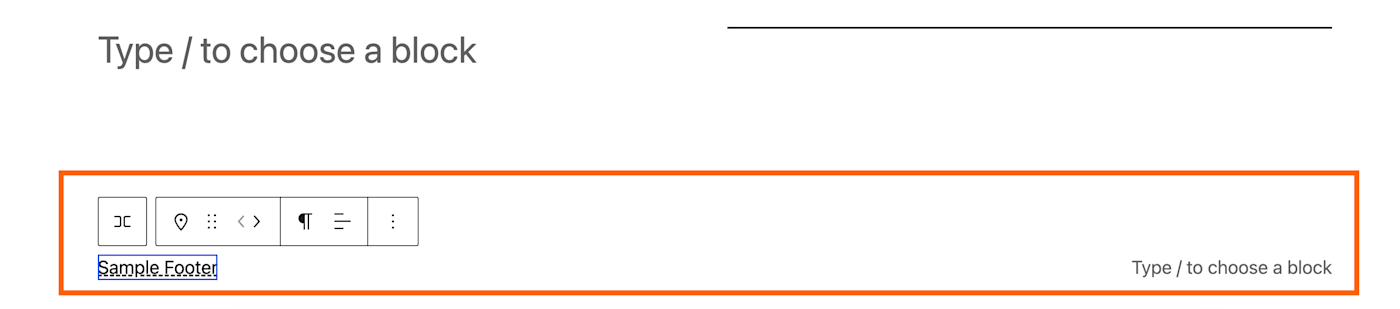
Click the + icon in the top-left corner, then scroll down to the Widgets section and select Custom HTML.
Drag the Custom HTML widget to your desired area (the footer, in my example).
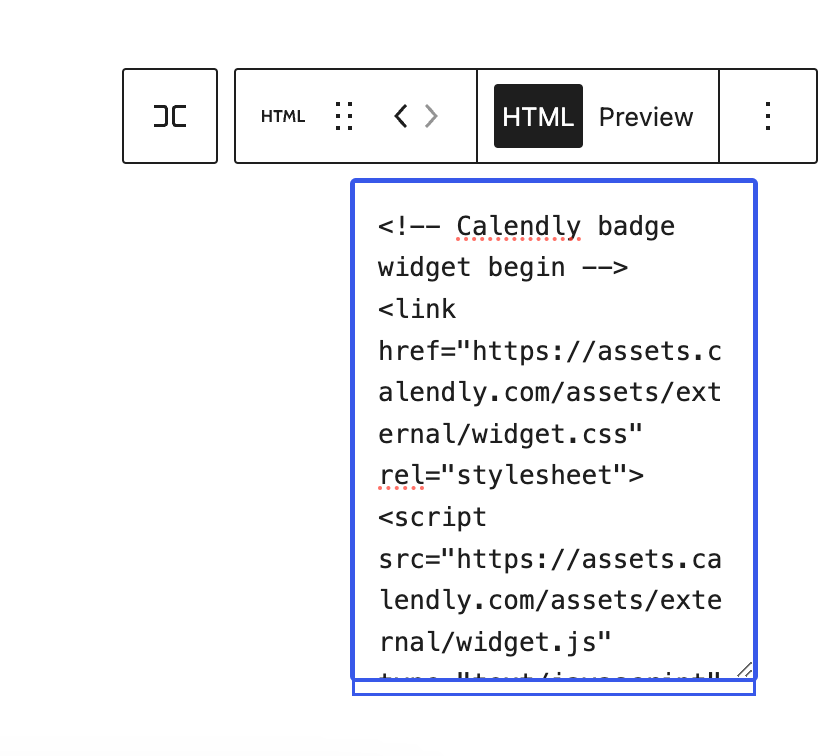
Paste your Calendly embed code into the HTML block that appears and click Save. (Note: previewing the HTML code doesn't work for Calendly's popup widget, but it'll still appear when you view your site.)
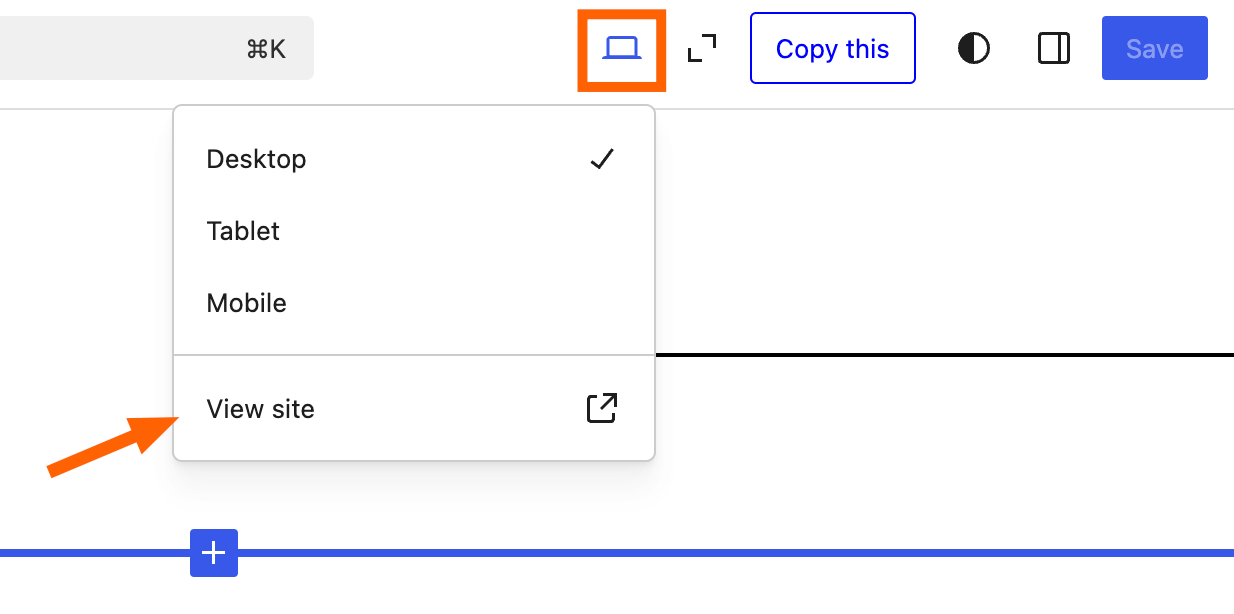
To check that the popup is actually working on your site, click the little desktop icon at the top of the page, then click View site.
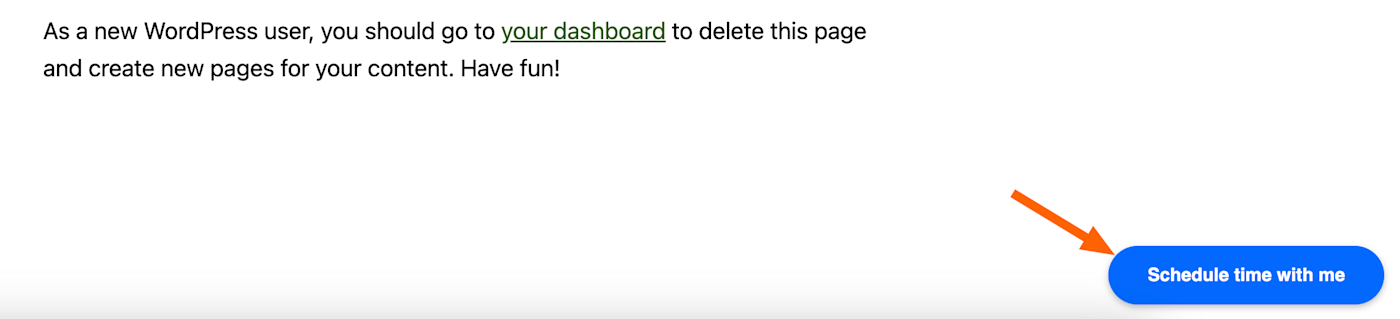
As shown below, a floating Calendly button will display on every page where the widget area is visible. When users click it, they'll get a popup allowing them to schedule an appointment.
If you get a kick out of tedium, you can also just manually add the widget to every page you want it to appear on, but I prefer the shortcut.
Option 3: Embed Calendly with a page builder
If you're not a fan of WordPress's default (and sometimes tricky) page editor, you can also use a page builder to embed Calendly on your site. In this example, I'll use Elementor, but the steps should be pretty much the same for any builder.
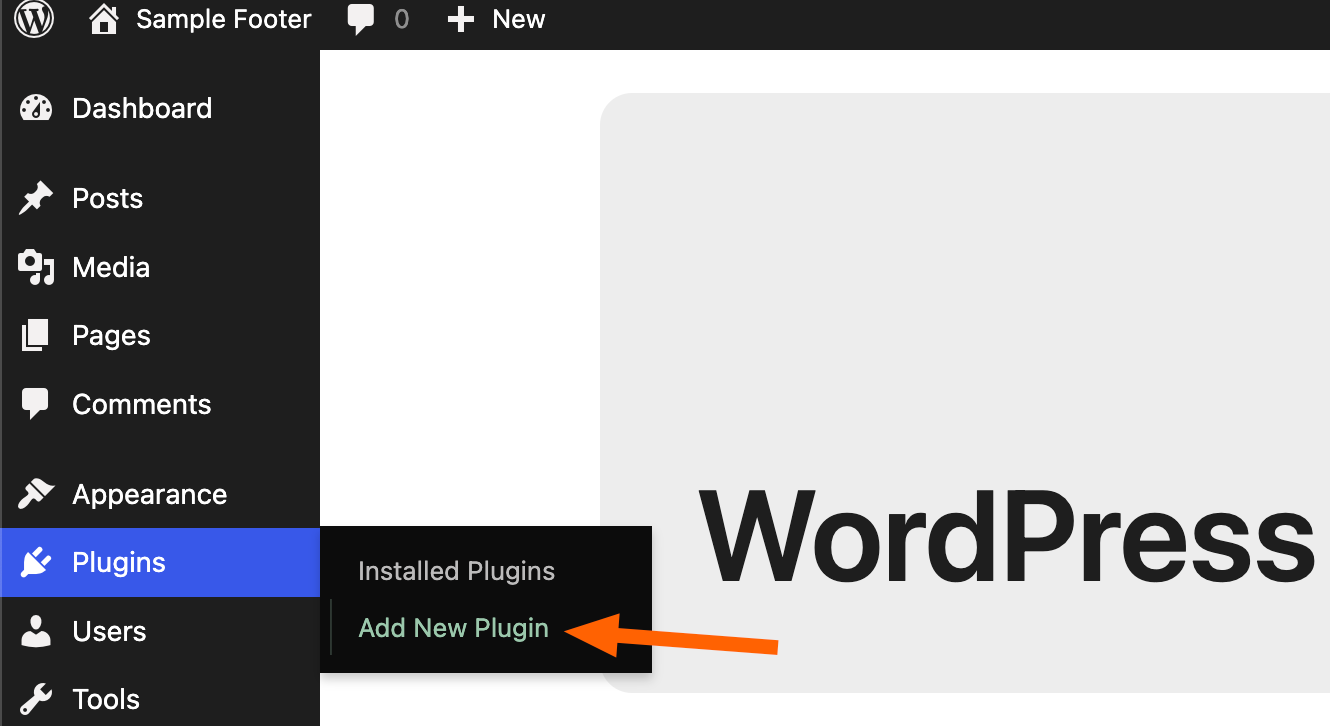
From the WordPress dashboard, go to Plugins > Add New Plugin.
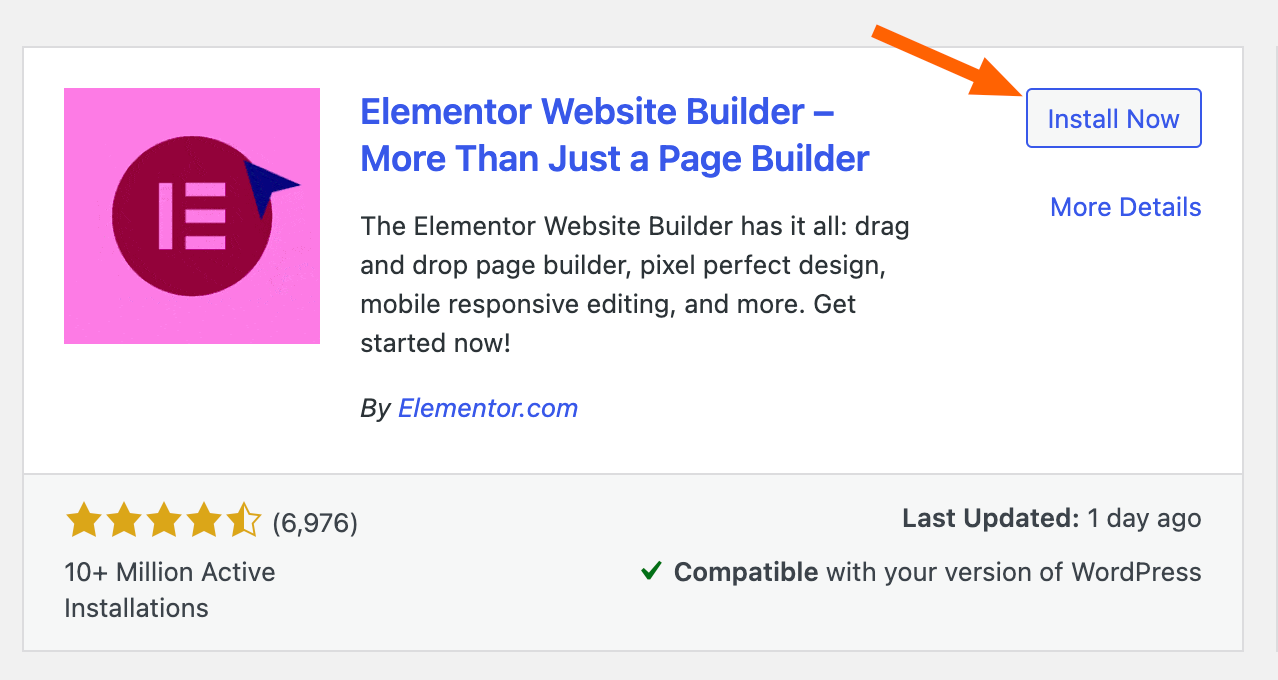
Search for Elementor using the search box. Click Install Now in the Elementor plugin card that appears, then click Activate.
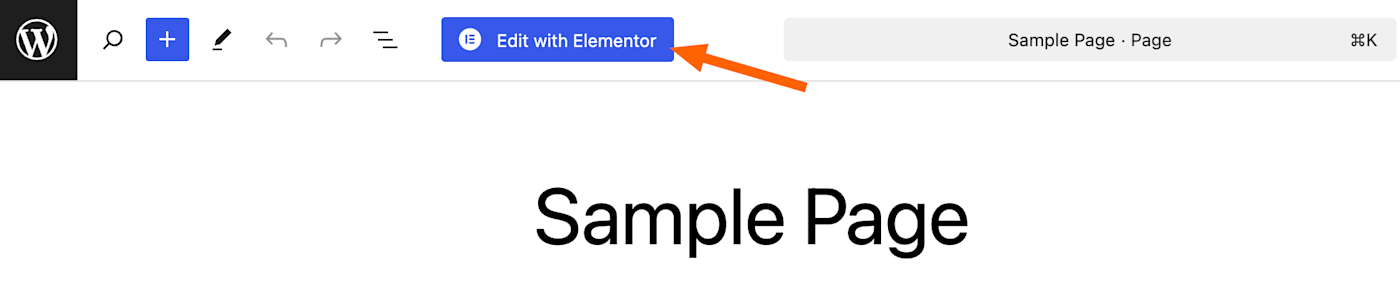
Open the WordPress page or post where you want to embed Calendly using Elementor.
Click Edit with Elementor at the top of the page.
Click the + icon in the top-left corner to open Elements.
To find the HTML widget, enter
HTMLin the search box.
Click and drag the HTML widget to your desired location on the page.
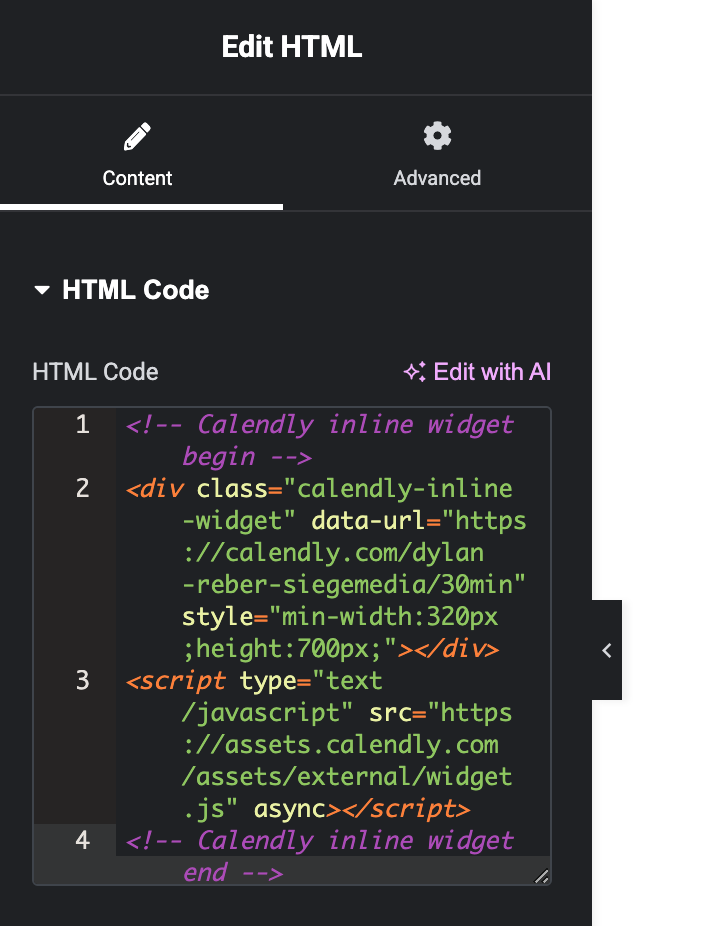
Paste your Calendly embed code into the HTML Code box.
Click the Preview Changes button (the little eye icon) in the top right to preview your page and ensure the Calendly embed works correctly with your theme.
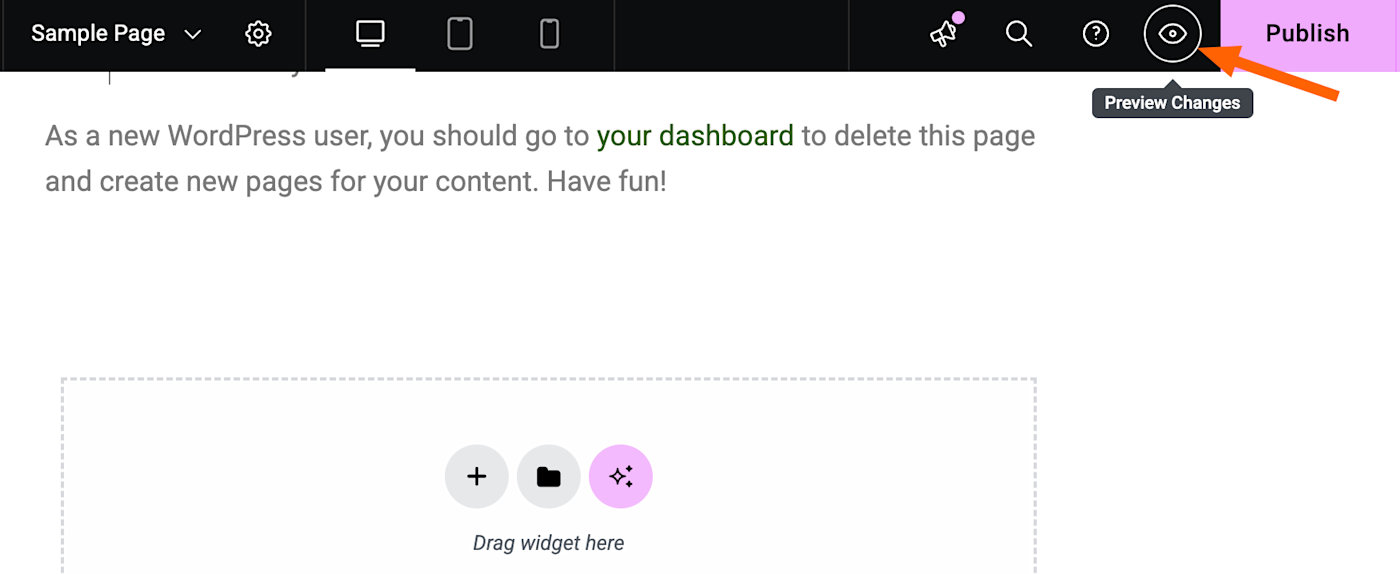
If everything looks right, click Publish to save your changes.
Option 4: Use a third-party Calendly plugin
If none of the above methods suit your fancy, there's a free third-party plugin designed specifically for embedding Calendly in WordPress. This option is best if you have multiple Calendly event types, as it'll automatically port them over to your WordPress admin dashboard once you set it up.
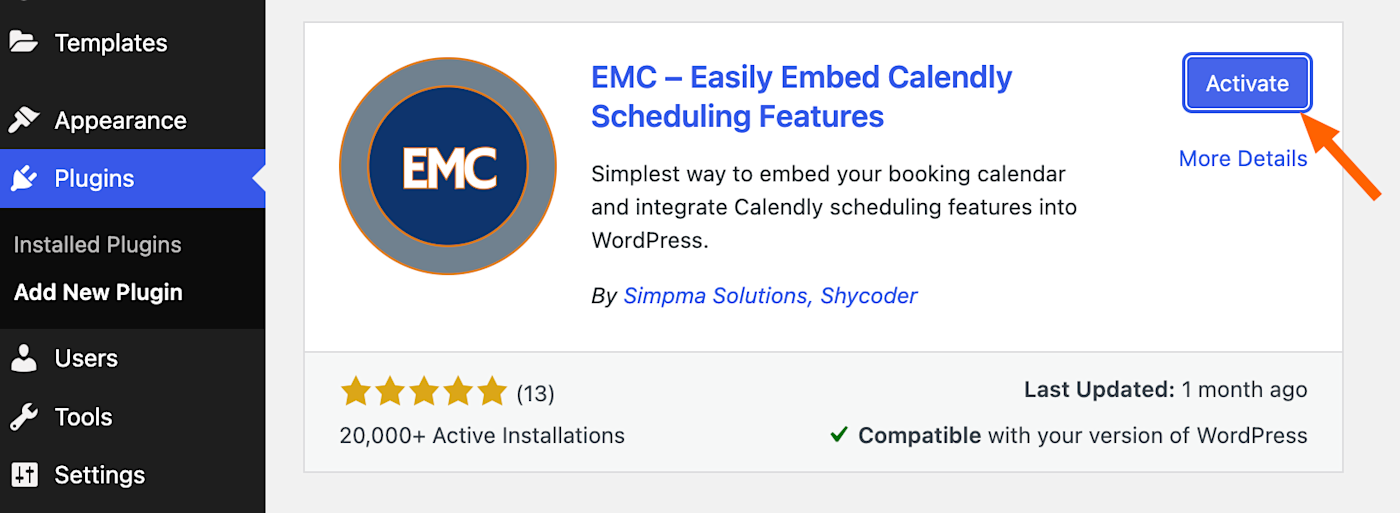
Go to the WordPress admin dashboard, navigate to Plugins > Add New Plugin, and search for EMC Scheduling Manager.
Install the plugin, then click Activate.
Go to your WordPress admin dashboard, and find the new EMC menu item. Hover over it, and select Settings.

Enter your Calendly API key, which you can find on Calendly's integrations page. Just follow the steps to get your personal API token. (Note: Calendly defaults to a V2 API key, so paste yours in the V2 box in EMC's setting.)

Click Save Settings. Now that you've connected your Calendly account, the plugin will automatically pull in your event types.
Go to EMC > Event Types. You'll see shortcodes that let you add your booking calendar to any WordPress page. For example
[calendly url="https://calendly.com/yourusername/30min" type="1"]
Copy the shortcode for your desired event type, then go to Pages and open the page you want to add Calendly to.
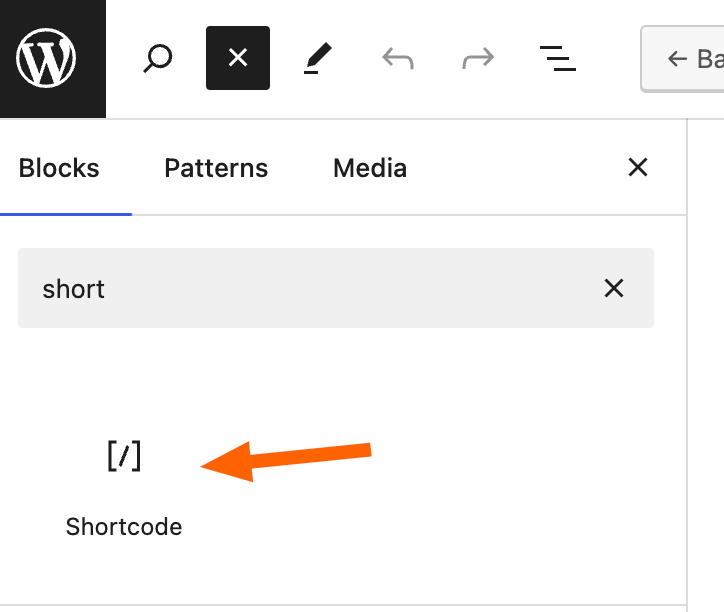
Click the + icon in the top-left corner, and select the Shortcode block. (You can locate it using the search bar or by scrolling through the Blocks tab.)
Paste the EMC shortcode you copied into the Shortcode block that appears on your page.
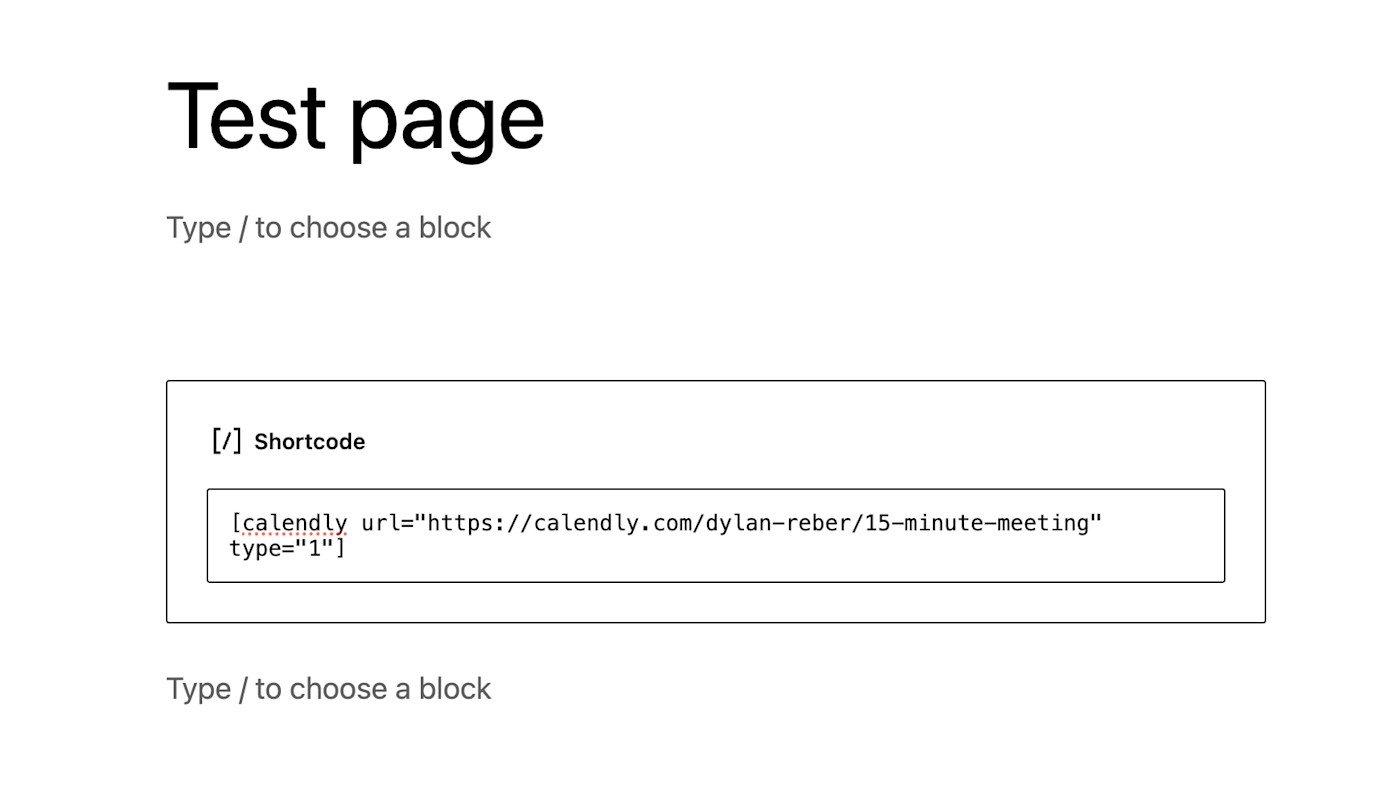
Preview the page to make sure your Calendly embed appears properly. When you're done, remember to save the page as a draft or hit Publish if it's ready to go live.
Connect Calendly with your favorite apps
Now that we've exhausted pretty much every option to add Calendly to your WordPress site, why not integrate it with every other app you use, too? Zapier connects Calendly with thousands of popular tools, giving you access to automations that trigger when you book, cancel, or reschedule meetings. Or you can create or cancel meetings based on triggers from other apps.
With Zapier, you can do things like automatically create Zoom meetings (with invite links) whenever a new Calendly appointment is created, send Slack messages to new Calendly invitees, and add Calendly events to Google Calendar. And that's just scratching the surface.
Learn more about Zapier's Calendly integrations, or get started with one of these premade workflows.
More details
More details
Zapier is the most connected AI orchestration platform—integrating with thousands of apps from partners like Google, Salesforce, and Microsoft. Use interfaces, data tables, and logic to build secure, automated, AI-powered systems for your business-critical workflows across your organization's technology stack. Learn more.
Related reading:
This article was originally published in June 2019 by Justin Pot. The most recent update was in January 2025.