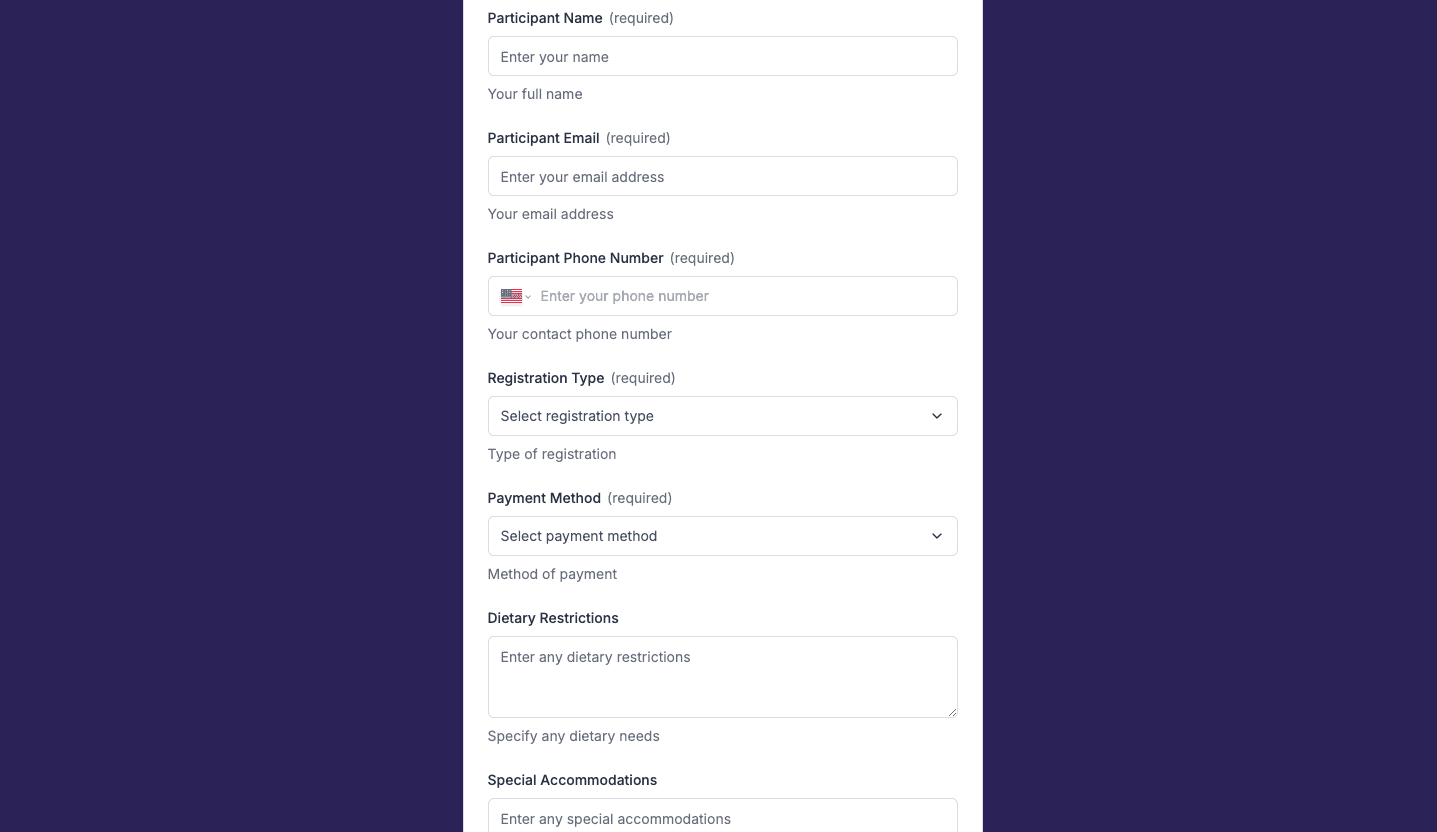
The Column Class Registration Form template, created with Zapier Interfaces Online Form Builder, is designed to streamline the process of enrolling students in various classes. This form template is ideal for educational institutions, training centers, and organizations offering workshops or courses. It simplifies the registration process, ensuring that all necessary information is collected efficiently and accurately. By utilizing this form, administrators can save time, reduce errors, and enhance the overall experience for both staff and participants.
Key Features
-
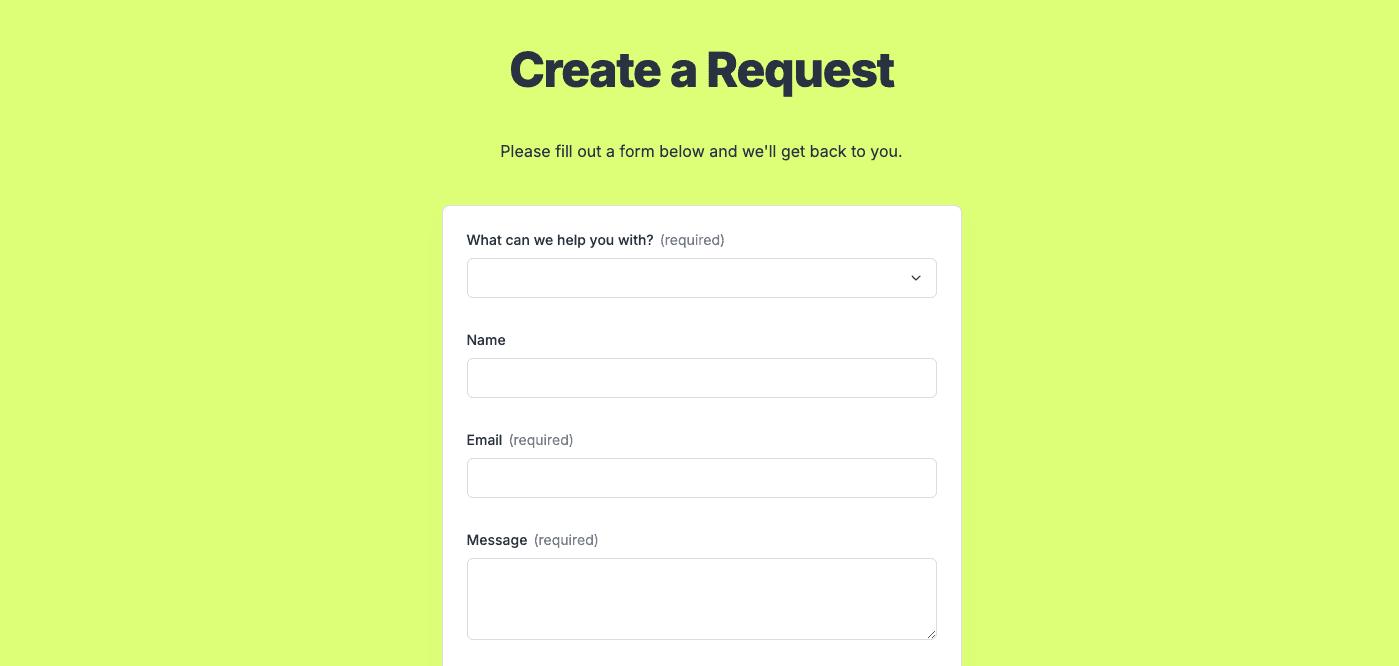
User-Friendly Interface: The form is designed with a clean and intuitive layout, making it easy for users to navigate and complete. This ensures a smooth registration process for all participants.
-
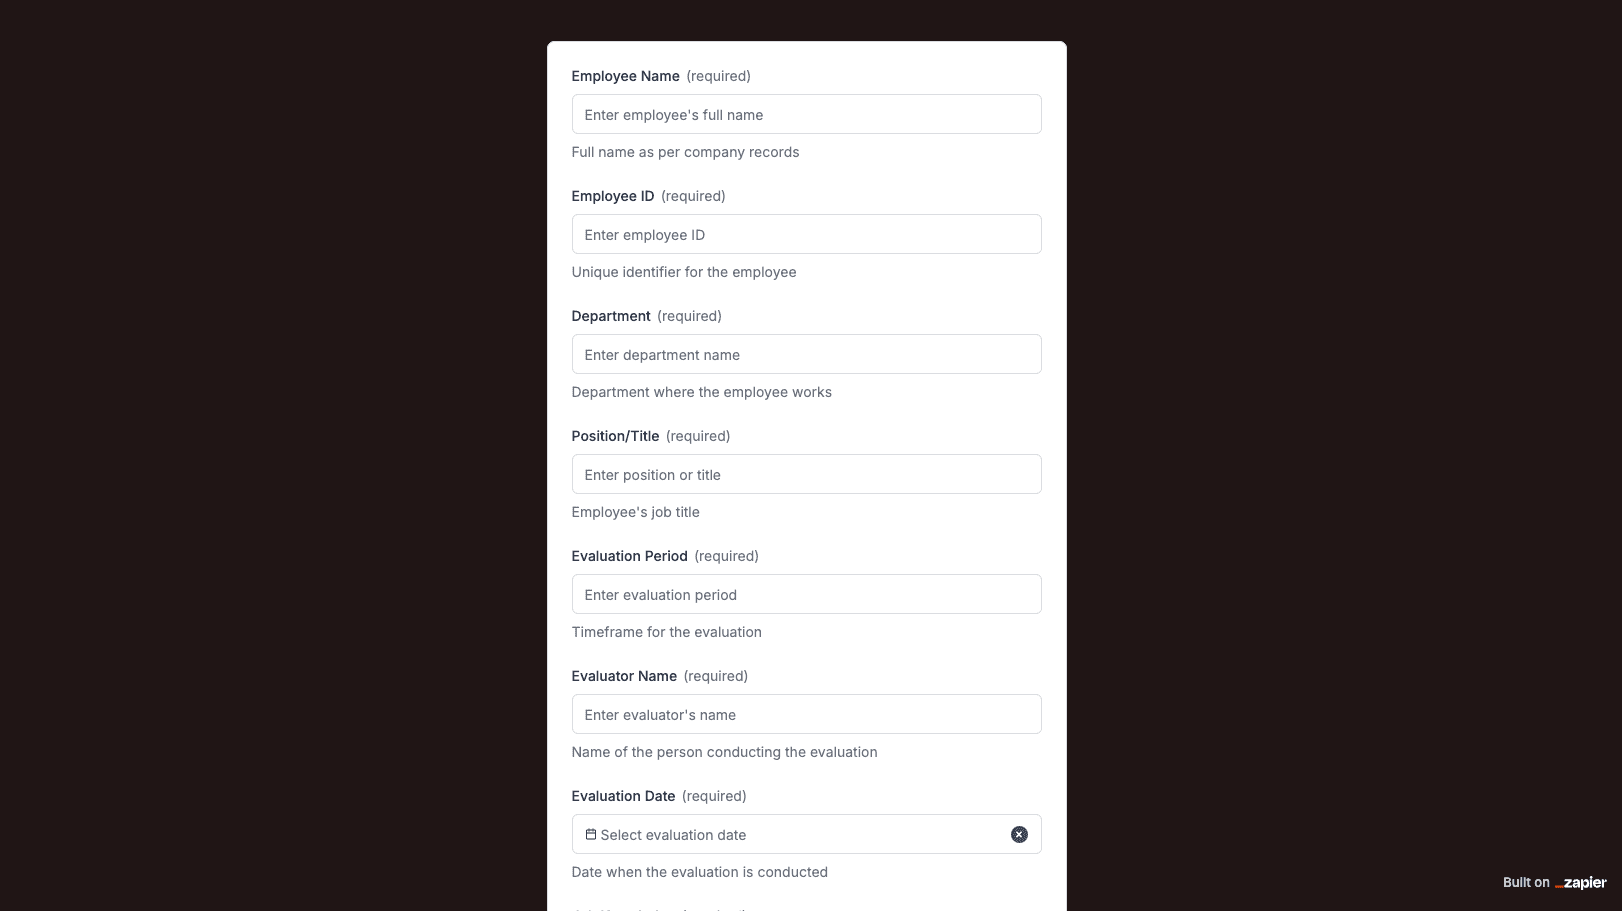
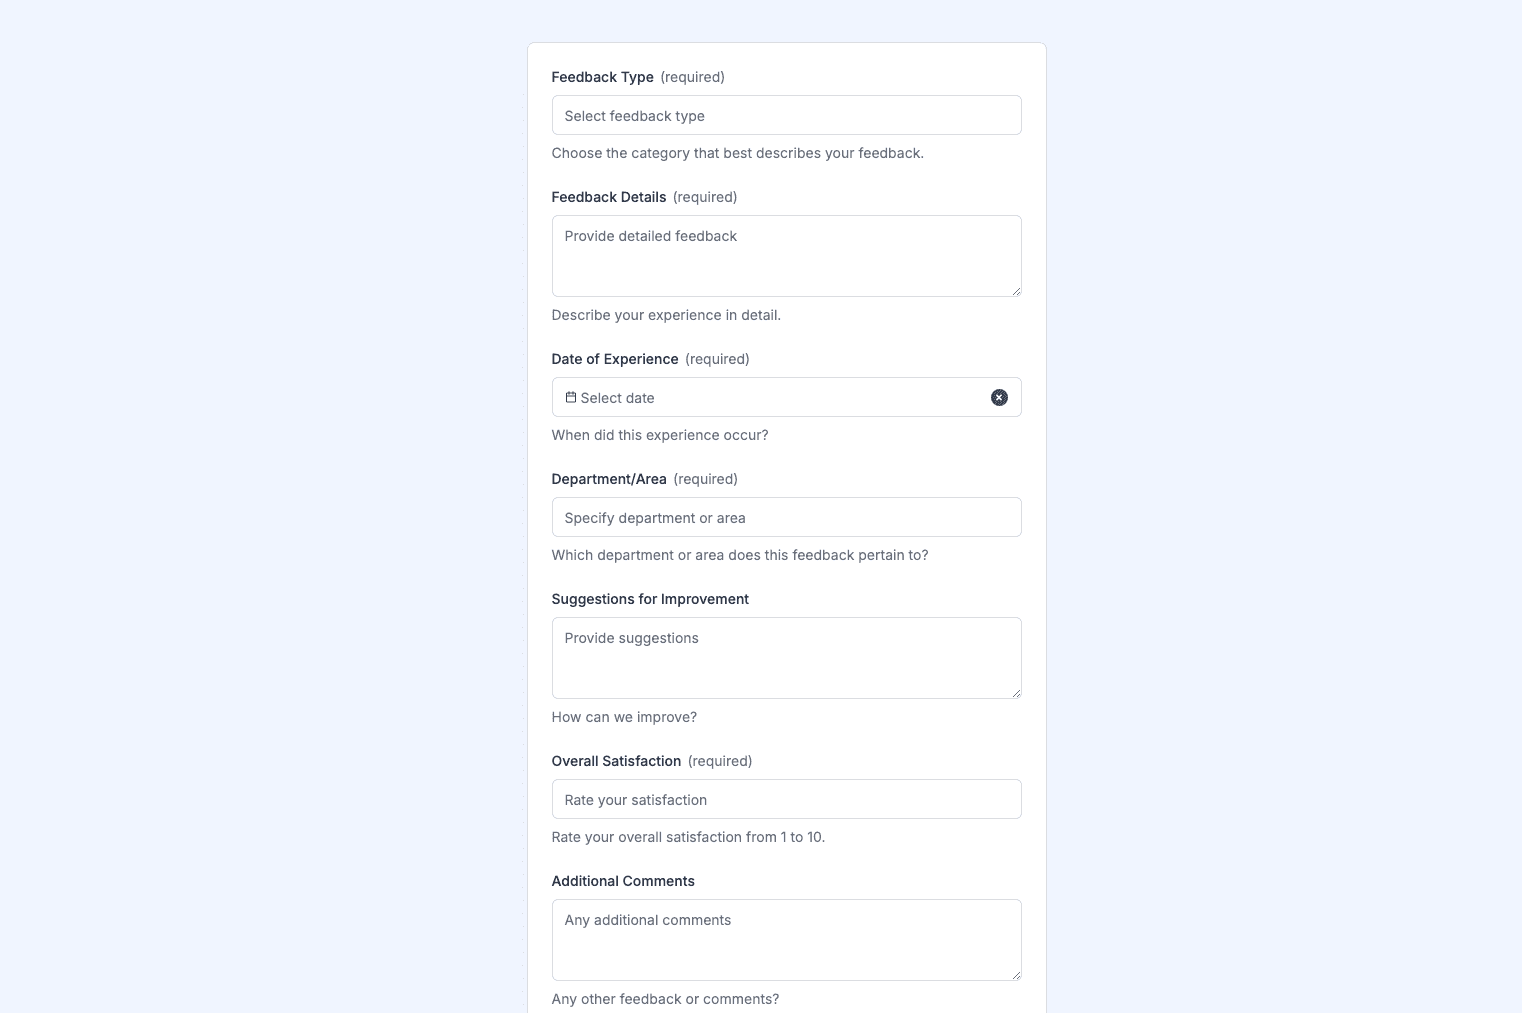
Customizable Fields: Administrators can tailor the form to meet specific needs by adding or removing fields. This flexibility allows for the collection of relevant information, such as personal details, course preferences, and payment options.
-
Automated Workflows: By integrating with Zapier's automation capabilities, the form can trigger various actions, such as sending confirmation emails, updating databases, or notifying instructors. This reduces manual tasks and enhances efficiency.
Benefits of Integration
-
Seamless Data Management: The form can be connected to various applications and software, such as Google Sheets, CRM systems, or email marketing platforms. This integration ensures that data is automatically synced and organized, minimizing the risk of errors and data loss.
-
Enhanced Communication: Automated notifications and reminders can be set up to keep participants informed about important dates, changes, or additional requirements. This improves communication and ensures that everyone is on the same page.
-
Improved Decision-Making: With real-time data collection and analysis, administrators can make informed decisions about class sizes, resource allocation, and scheduling. This leads to more effective planning and management.
How to Use the Form
-
Setup and Customization: Begin by accessing the Zapier Interfaces Online Form Builder. Customize the form by selecting the fields that are most relevant to your organization’s needs. This may include fields for personal information, course selection, and payment details.
-
Integration with Other Tools: Connect the form to your preferred applications using Zapier’s integration features. This could involve linking to a CRM for participant tracking or an email service for automated communications.
-
Testing and Deployment: Before launching the form, conduct thorough testing to ensure all fields and integrations function correctly. Once satisfied, deploy the form on your website or share it via email or social media to reach potential participants.
Conclusion
The Column Class Registration Form template is a powerful tool for any organization looking to streamline their registration process. By leveraging Zapier's automation and integration capabilities, administrators can enhance efficiency, improve data management, and provide a seamless experience for participants.
Frequently Asked Questions
How does the online form builder collect and organize responses from form submissions?
The responses are automatically collected and organized into a structured, user-friendly table format for efficient management and analysis. Here’s how the process works:
When a user submits a form, their responses are instantly captured and stored in a secure, cloud-based database. Each form field (e.g., name, email, or custom questions) is mapped to a corresponding column in the table, ensuring data is neatly organized. The table updates in real-time, allowing you to view and manage responses as soon as they are submitted.
Building on this functionality, you can leverage Zaps to configure email or Slack notifications, ensuring you receive instant alerts for new form submissions. Additionally, Zaps enable you to create sophisticated customization and integration workflows tailored to your specific needs.
How do I share the form with others?
Once customized, the form can be shared as a link. You can find this link in the top left corner of the Form Editor. Simply copy and send the link to anyone you want to share it with. This eliminates the need for printing or manual distribution, making the process quick and efficient.
Can I customize the form fields in the template?
Absolutely. One of the great advantages of using Interfaces is the ability to customize your forms. You can add, remove, or modify fields to suit your specific event planning needs. Just remember to update your Zap accordingly if you make significant changes to the form structure.