Today's marketers and business owners have their work cut out for them. The average customer uses 10 different channels to communicate with companies, making the digital marketing landscape (and the full customer journey) more fragmented than ever.
While this creates more opportunities for lead generation, it also makes it harder to track which interactions actually lead to conversions.
With offline conversion tracking for Google Ads, marketers can close the data gap by seeing which search ads result in offline sales or other valuable customer actions. With this data, you can better understand the ROI of your ads and optimize your campaigns for the outcomes that matter most to your business.
Supercharge your Google Ads campaigns
Optimize your ad performance by automating essential tasks like customer list syncing and offline conversion tracking. For a limited time, Zapier users get 2,000 free tasks per month for 6 months, helping you scale your campaigns effortlessly. Learn about the limited-time offer.
How to track offline conversions in Google Ads with Zapier
Typically, tracking offline conversions can be a time-consuming process that involves manually exporting conversion information, reformatting it, and uploading it to Google Ads. With Zapier, you can shave hours off of this task by automatically uploading conversion information to Google Ads from your CRM.
You can create a Zap from scratch. Or, to start from a template, click on the Zap template below. If you don't have one yet, you'll need to create a Zapier account. Then, follow the directions below to set up your Zap.
More details
For this tutorial, we're going to walk through an example that uses HubSpot as the CRM where the lead was added. If you use a different CRM, you can still follow these same steps—just choose your CRM platform as the trigger step instead. Here are a few Zap templates to get you started:
More details
More details
More details
Zapier is the most connected AI orchestration platform—integrating with thousands of apps from partners like Google, Salesforce, and Microsoft. Use interfaces, data tables, and logic to build secure, automated, AI-powered systems for your business-critical workflows across your organization's technology stack. Learn more.
Set up your Hubspot trigger step
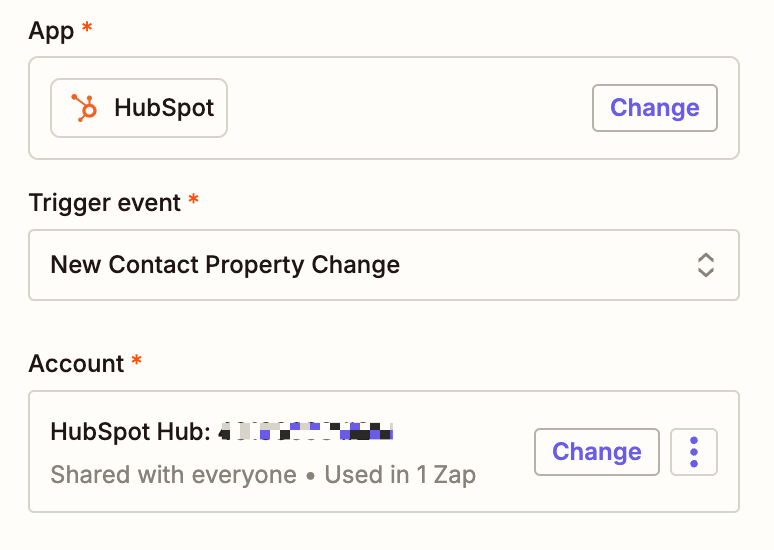
First, set up your trigger. This is the event that starts your Zap. Choose HubSpot as the trigger app and New Contact Property Change as the trigger event. Then connect your HubSpot account, if you haven't already, and click Continue.
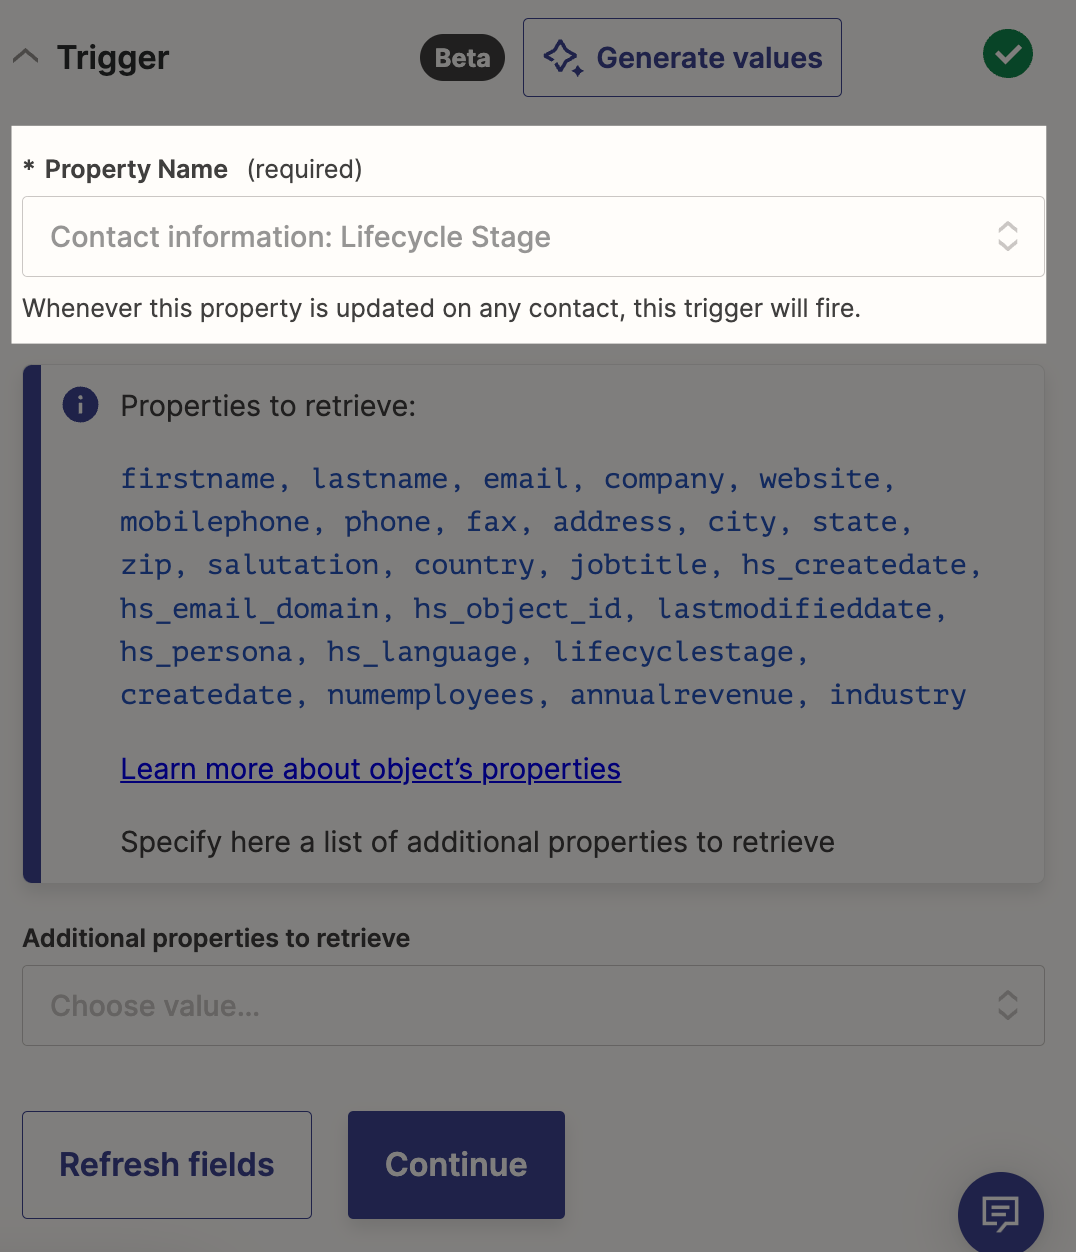
Next, you'll select the property in HubSpot that you're using to track conversions. In this case, we'll choose Contact Information: Lifecycle Stage.
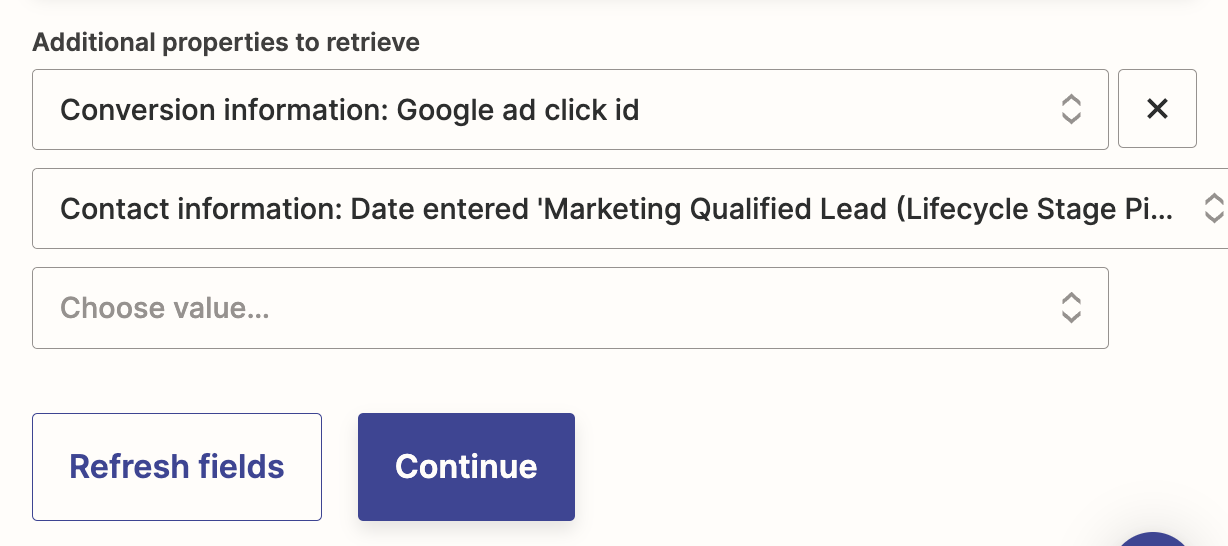
Then, in the Additional properties to retrieve field, there are two additional pieces of information you need to retrieve from HubSpot: the property containing your Google Ads Click ID and the property that indicates when your conversion event happened. You'll need this information when setting up your Google Ads action step later on.
The names of these fields will look different depending on how you label them in your CRM. Click into the field and select the right one from your list of options.

Once you've added both of those properties, click Continue.
Next, you need to test your trigger. Zapier will find a lead in HubSpot and use the information from it as you set up the rest of your Zap.
Click Test Trigger.
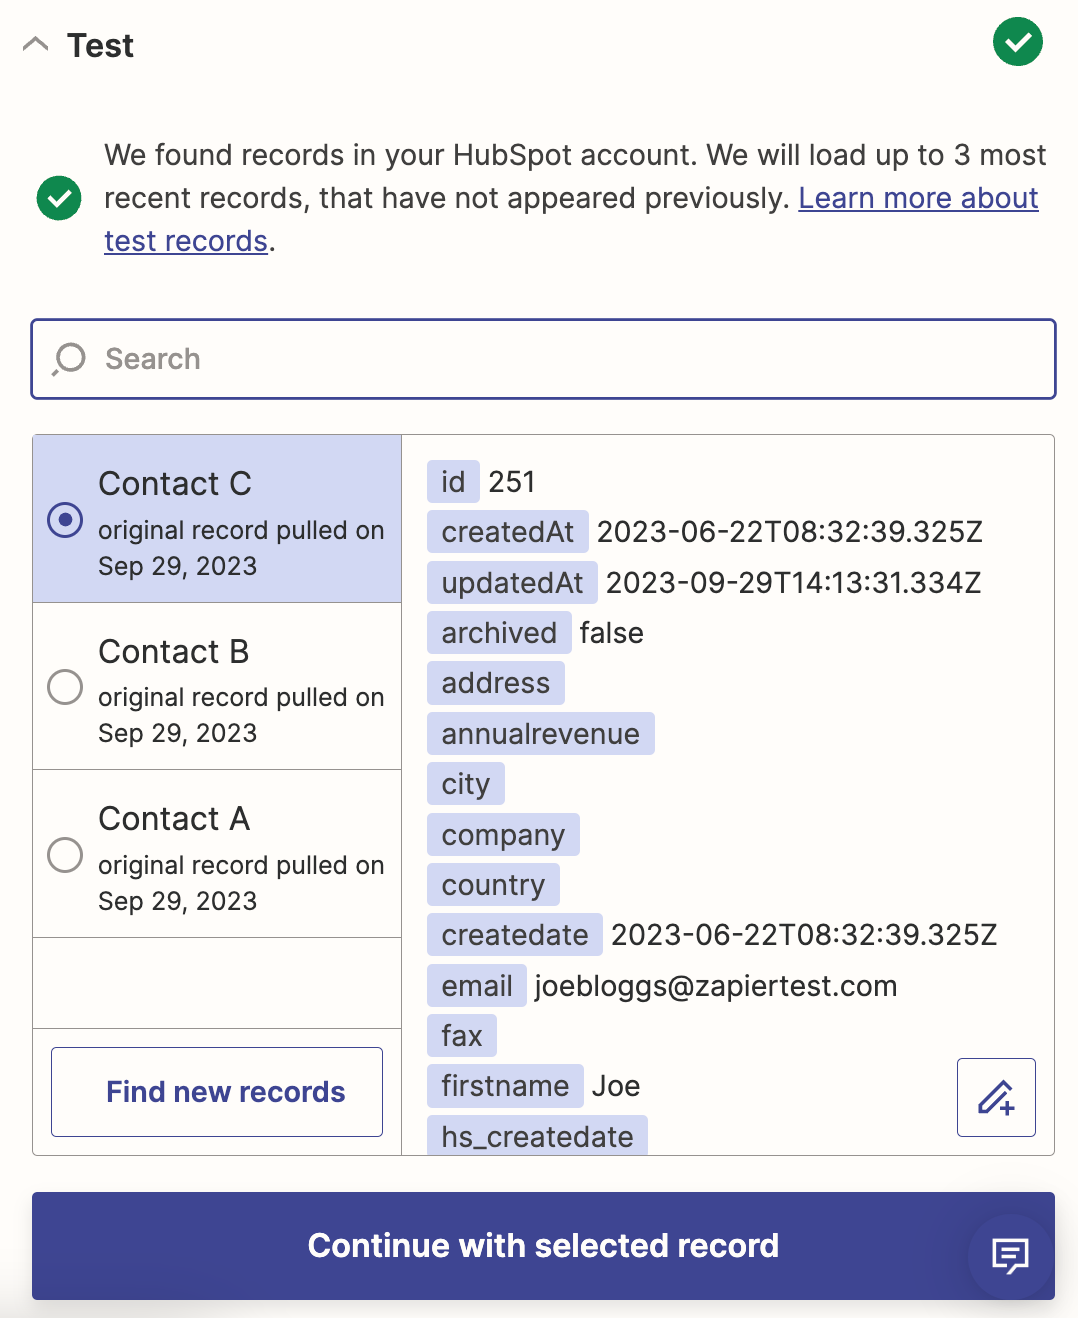
Once your trigger is working properly, click Continue with selected record.
Set up your Filter by Zapier action step
Now let's set up your first action. Actions are the events your Zap performs once it's triggered. Choose Filter by Zapier as your app, and click Continue.

Next, specify which leads you want to continue through the rest of the Zap. In this example, a lead becoming a "Marketing Qualified Lead" is our conversion event, so we'll filter specifically for leads whose lifecycle stage is changed to "Marketing Qualified Lead."
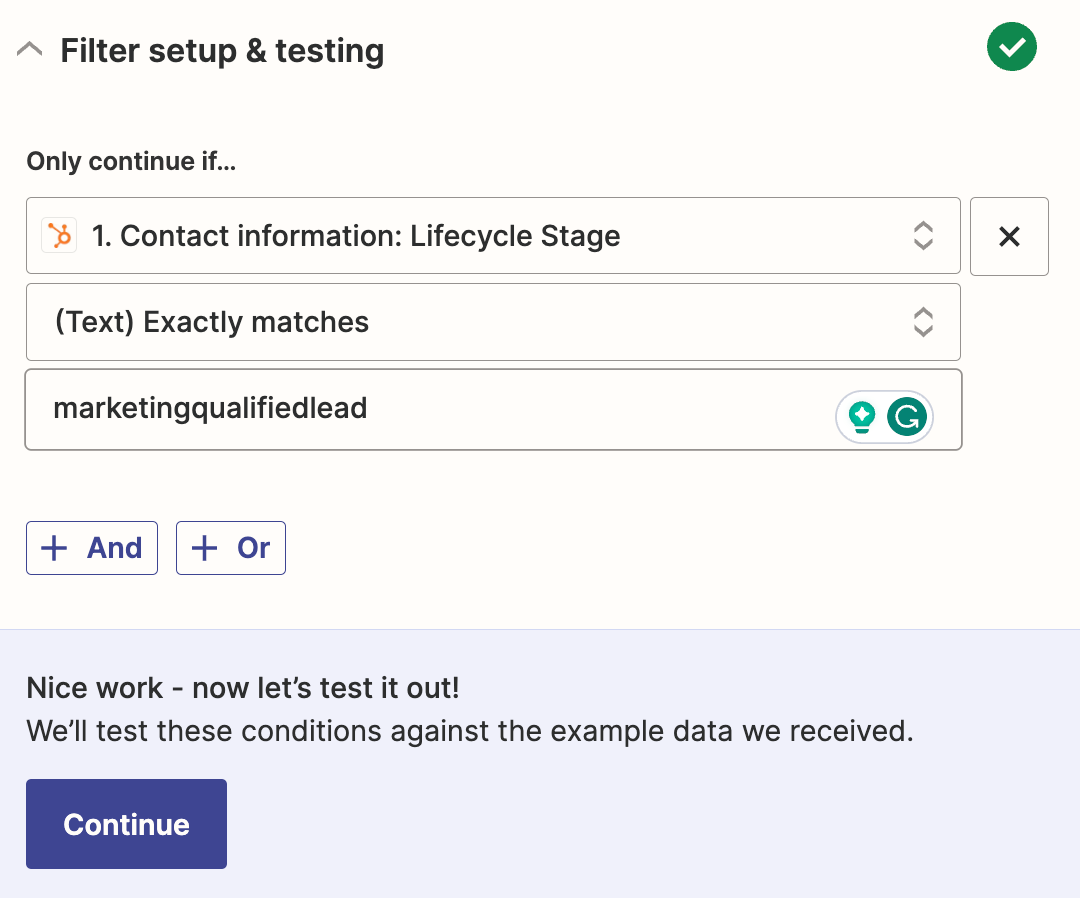
Note: When setting up the filter, you'll want to make sure that you enter the text exactly how it appears in your CRM.
Next, click + And, and add a filter to confirm that the lead's Google Click ID exists. This tells you that the lead did, indeed, interact with a Google ad.
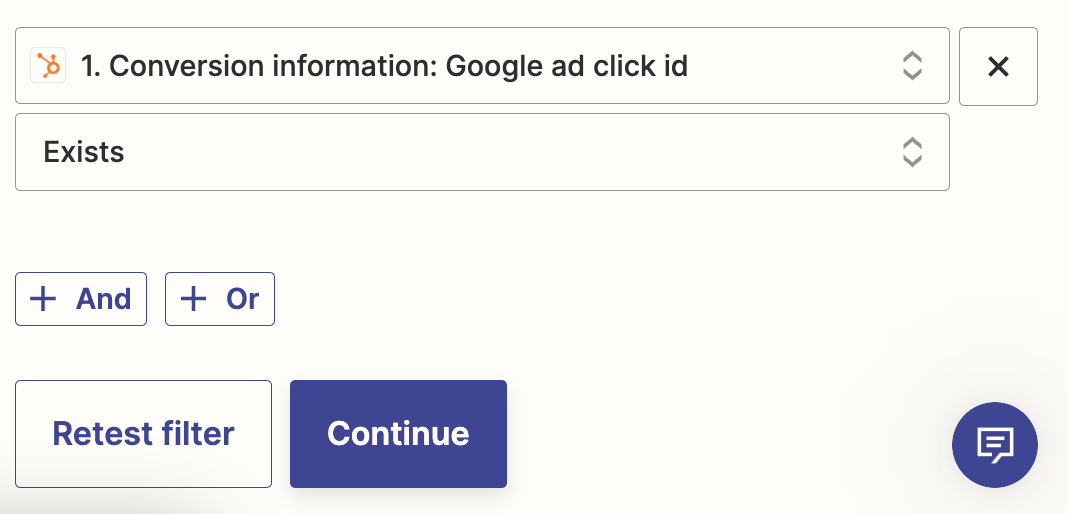
Once you've finished customizing your filter step click Continue.
Next, Zapier will test to see if your lead would have gone through the filter or not.
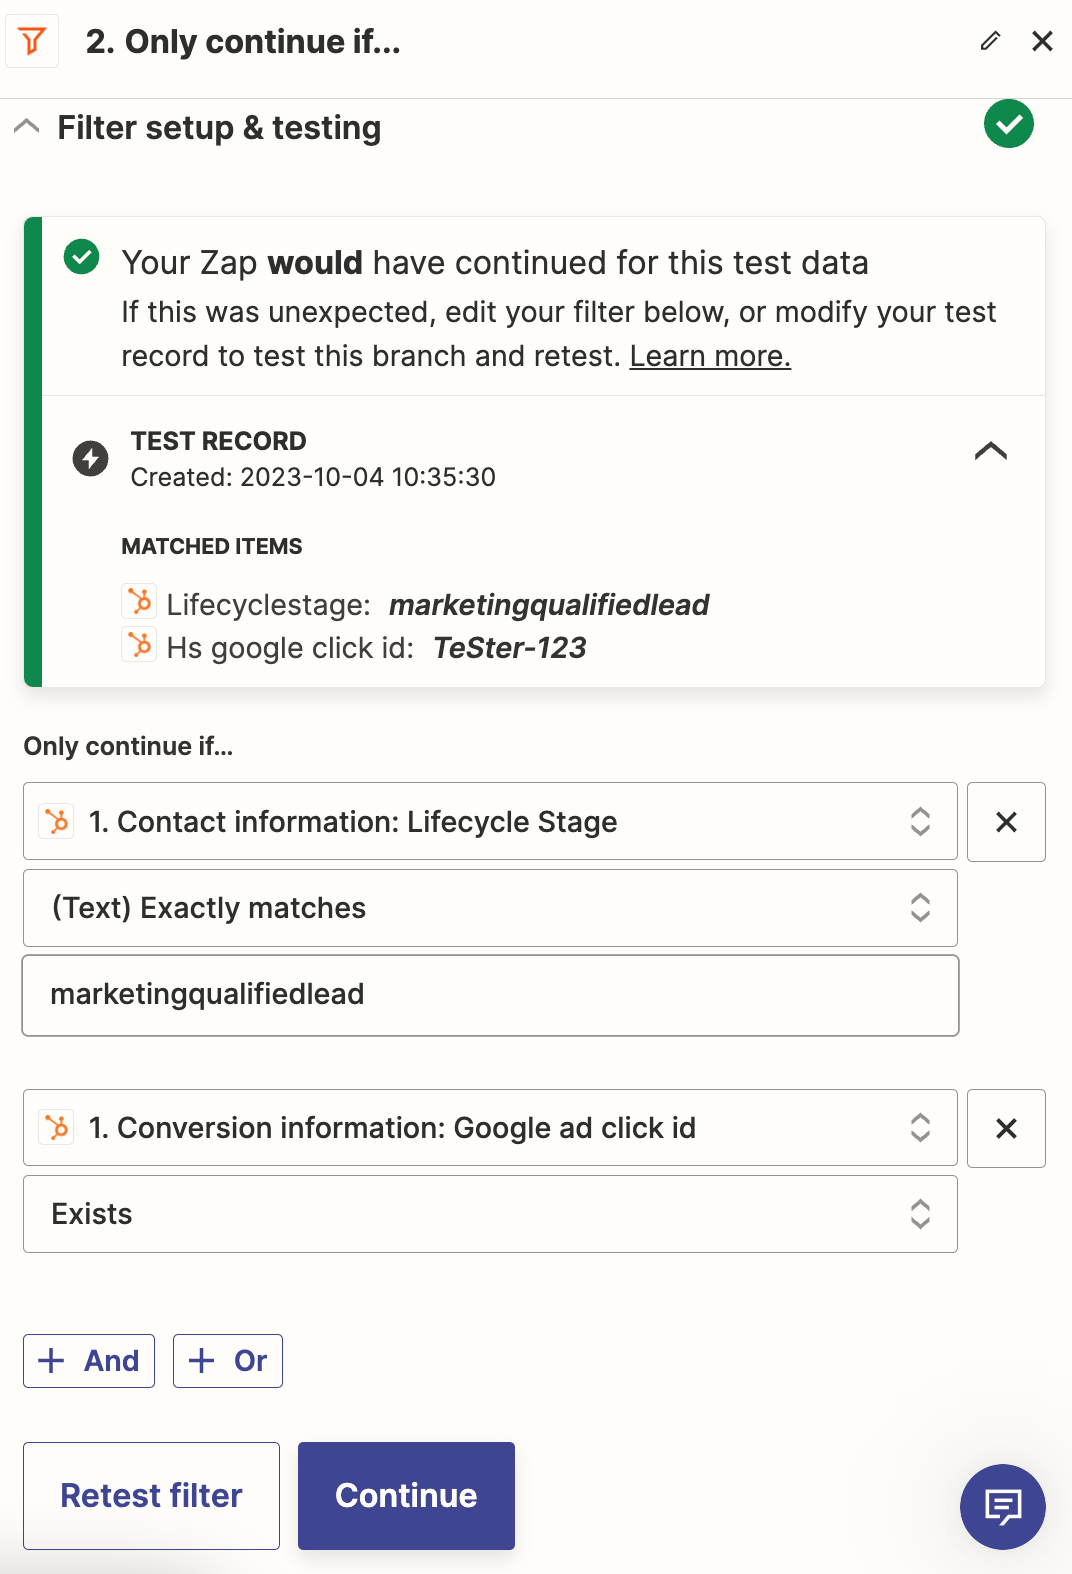
Once you're done and your test is successful, click Continue.
Set up your Delay by Zapier action step
If the conversion event you're tracking can occur within 24 hours of someone clicking on an ad, we recommend adding a delay step to the process.
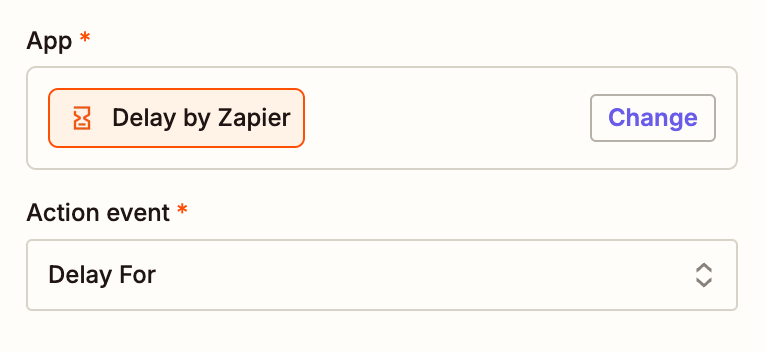
Select Delay by Zapier as your app and Delay For as your event. Click Continue.
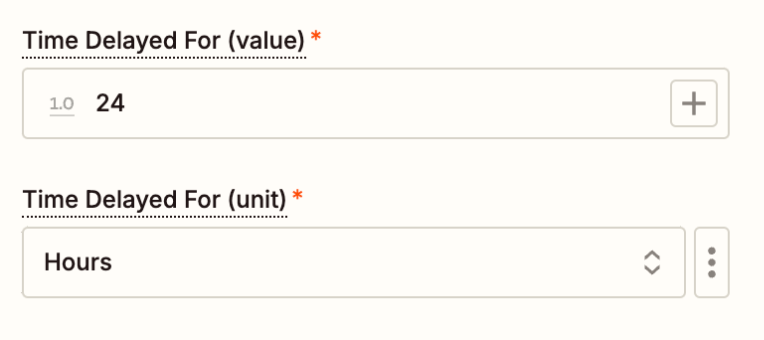
Next, specify how long you want your delay to be. Type in 24 in the Time Delayed For (value) field, and select hours from the dropdown in the Time Delayed For (unit) field. Click Continue.
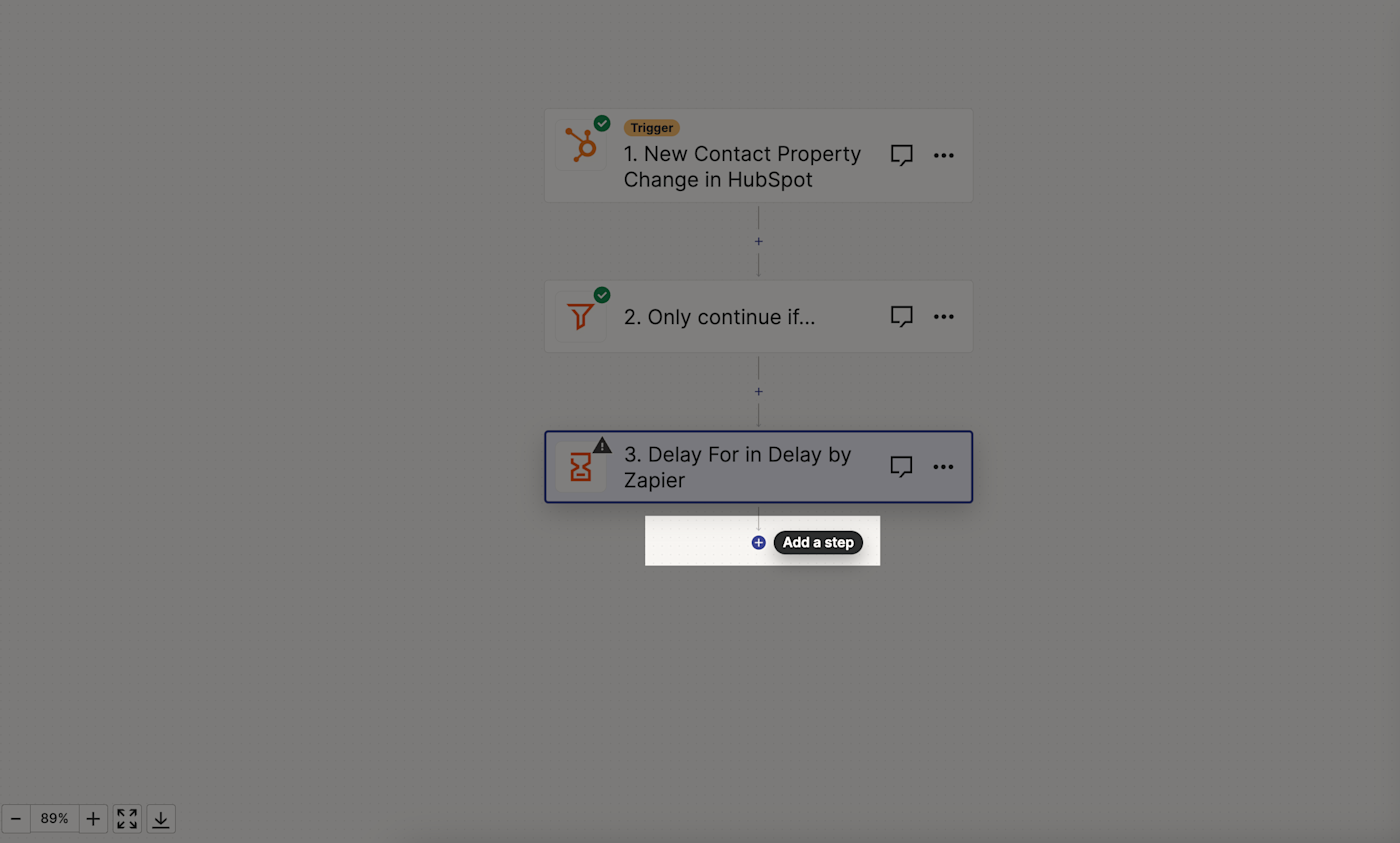
Next, test your delay step by clicking Test step. When your test is complete, click the + button to add a new step.
Set up your Google Ads action step
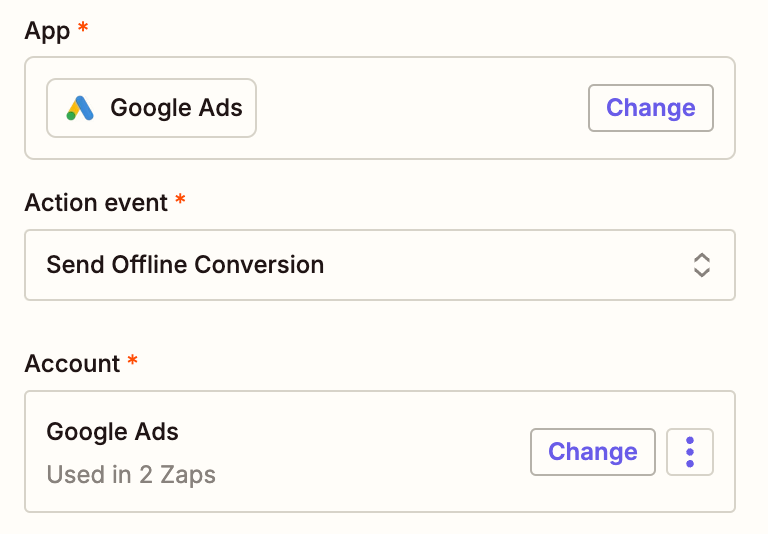
Now, set up your Google Ads action step to track your conversion. Choose Google Ads as your app and Send Offline Conversion as your event. Connect your Google Ads account, if you haven't already, then click Continue.
Now, it's time to customize your Google Ads conversion step. This is where you will specify what conversion information you send to Google Ads.
In the Use Google Ads as… field, select your Google Ads account information from the dropdown.
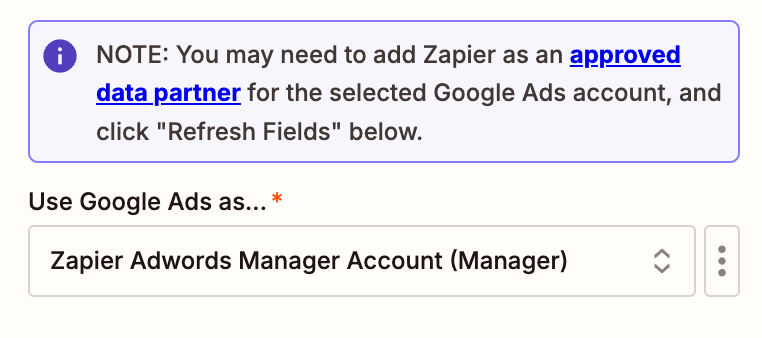
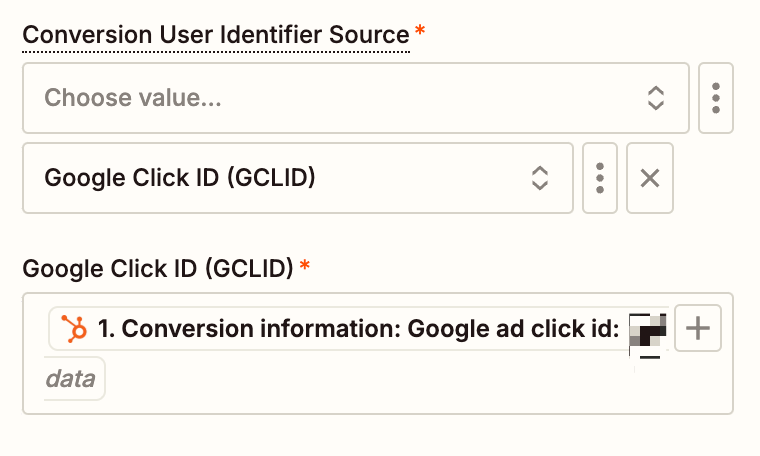
In the Google User Identifier Source field, select Google Click ID (GCLID) from the dropdown. Then, in the Google Click ID (GCLID) field, search for and select the HubSpot property containing the Google Click ID.
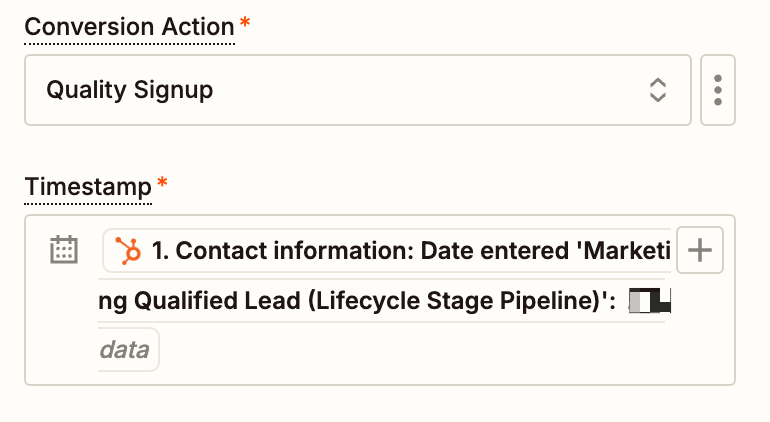
Next, use the Conversion Action field to specify which type of action is being counted as a conversion. In this case, it's Quality Signup, but it could look different for you based on the types of conversion events you've set up in your Google Ads account.
Click the +icon in the Timestamp field and search for and select the HubSpot property that indicates when the conversion took place from the list of options.
You can further customize your action step by adding data in the Value and Currency fields, but that only applies if your conversion is linked to a purchase or the closing of a deal, so we'll leave it blank in this example.
Once you finish customizing your Google Ads step, click Continue. Zapier will then test your action step by sending an offline conversion to Google Ads. Click Test step.
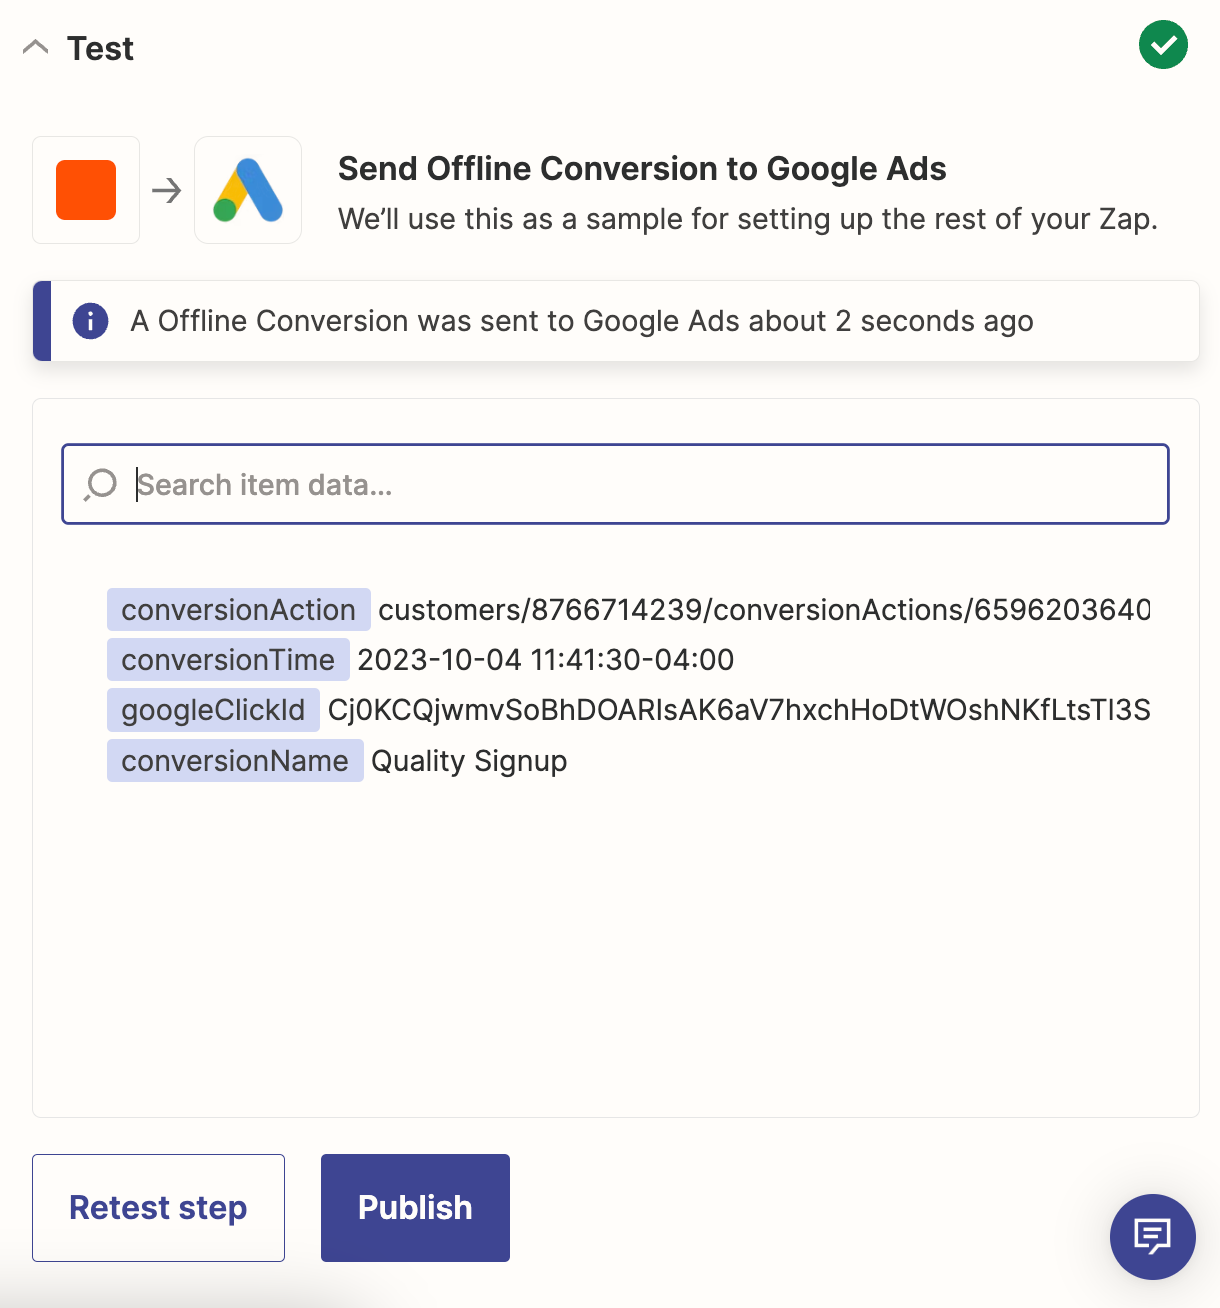
Once you've run a successful test, you're ready to use your Zap.
Looking for other ways to automate Google Ads? Try these workflows:
More details
Spend less time tracking
As a business owner or marketer, continually testing new features and trying new ways to optimize your processes is an integral part of the growth journey.
Take this Google Ads workflow, for instance. Instead of spending hours of your busy work week uploading your offline conversion data from Excel spreadsheets, you can use these Zaps to automatically send your offline conversions to Google Ads and optimize your campaigns in real time.
This article was originally published in January 2021, with previous contributions by Jasmine Williams and Will Harris. It was most recently updated in March 2025 by Elena Alston.
