Some concepts just hit better when they're visual. It's one thing to know that the dinosaurs lived thousands of years ago—it's another entirely to see the sheer length of time between the Triassic, Jurassic, and Cretaceous periods laid out visually from one cover of a library book to another.
Even if you're not concerned with the passage of prehistoric time, showing the stages of a large-scale project in order can be a helpful visual tool. So let's look at how to build a timeline using Google Docs.
Table of contents:
How to create a timeline in Docs
Google Drawings is my new favorite thing in Docs. It makes adding designs (like flowcharts) to documents super easy, and you can save and share those designs just as easily.
While you can add a drawing to an existing document, I like to start with a fresh one. This keeps the formatting in good shape, and you can save the drawing and add it to other documents later.
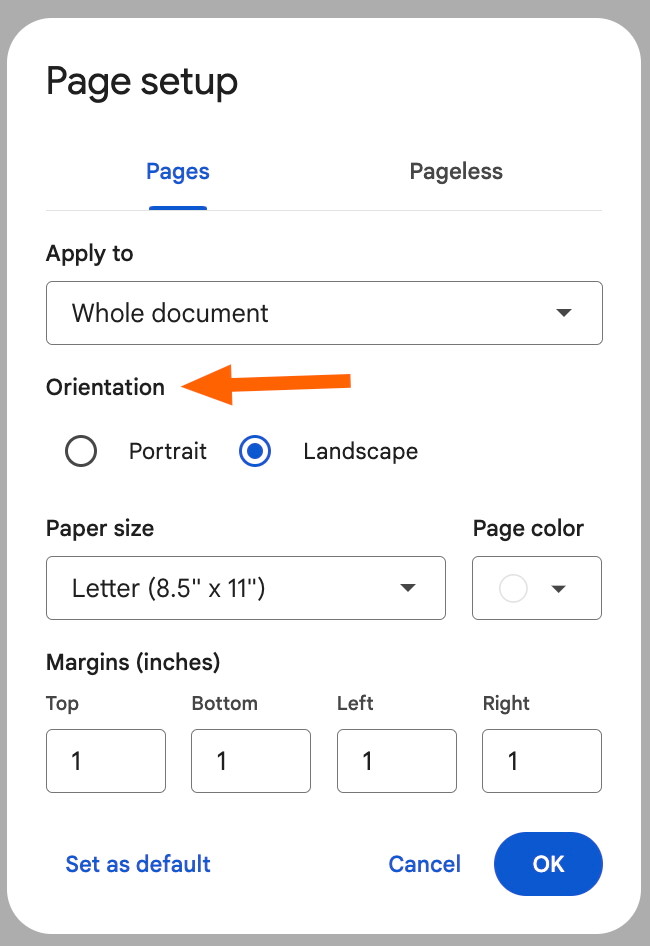
Open a new Google Doc, then click File > Page setup and select Landscape. Click OK.
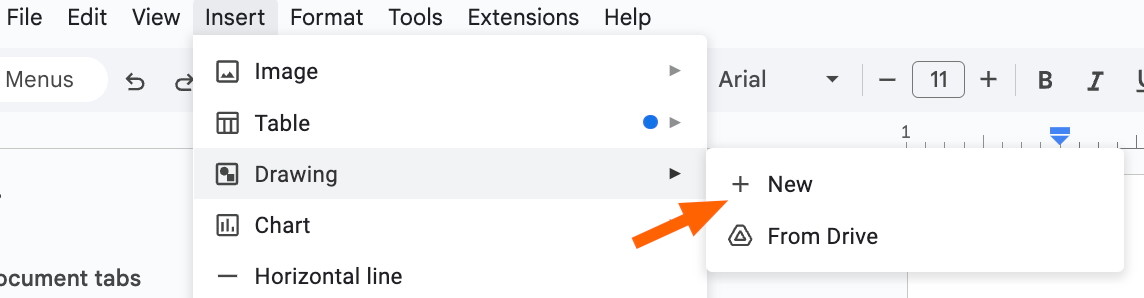
Open Google Drawings by clicking Insert > Drawing > New.
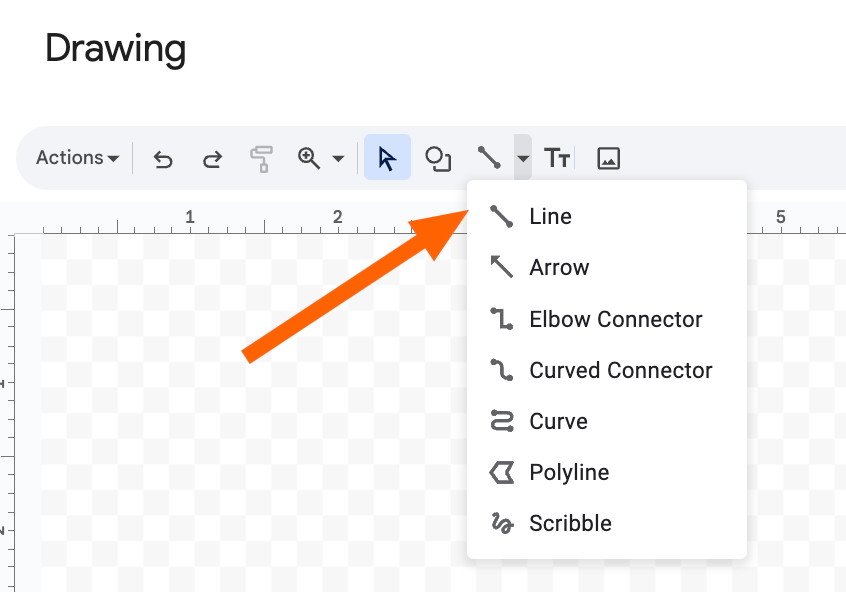
In the Google Drawings screen, click the Line button and select the line tool. Draw a line from one end of the screen to the other using the grid lines. Hold the Shift key while drawing to keep the line perfectly horizontal.
If the line looks too thin, click the Line weight button, and select a thicker size.

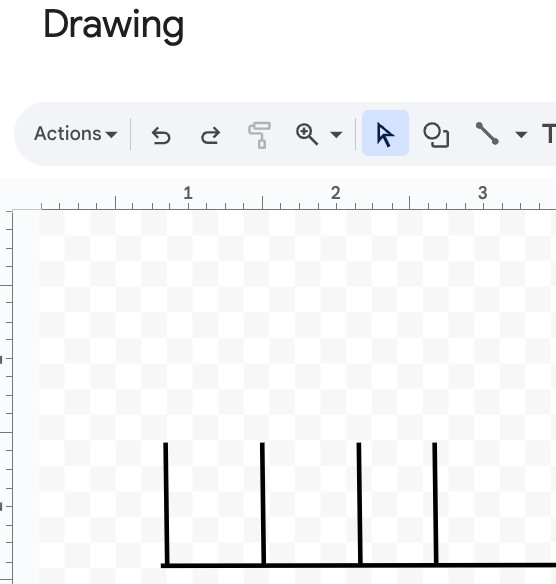
Add a vertical line off the main line for each event you want to include. Use the ruler and the background grid to help keep them straight and evenly spaced.
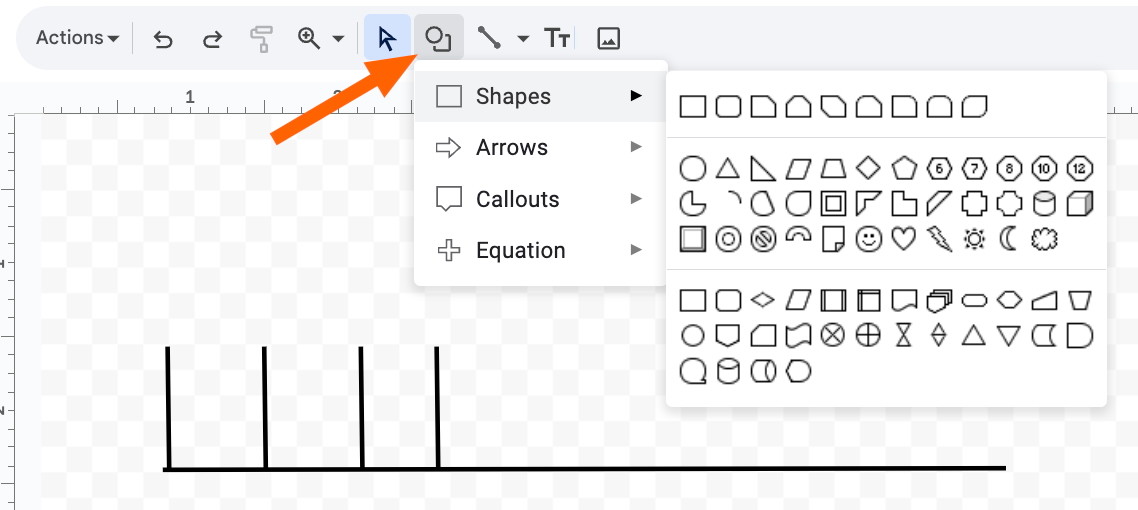
Click the Shape button and choose a shape from the dropdown menu for each event type, like tasks, milestones, or dependencies.
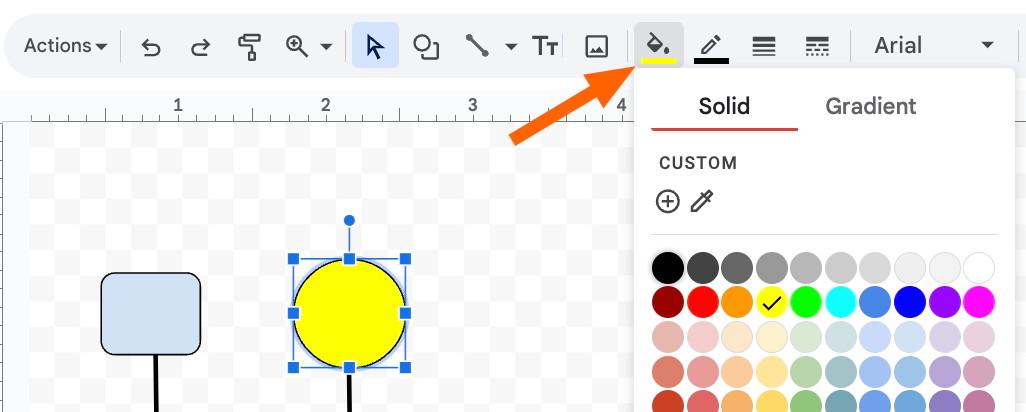
To make the shapes easier to tell apart, click the Fill color button to pick a new color.
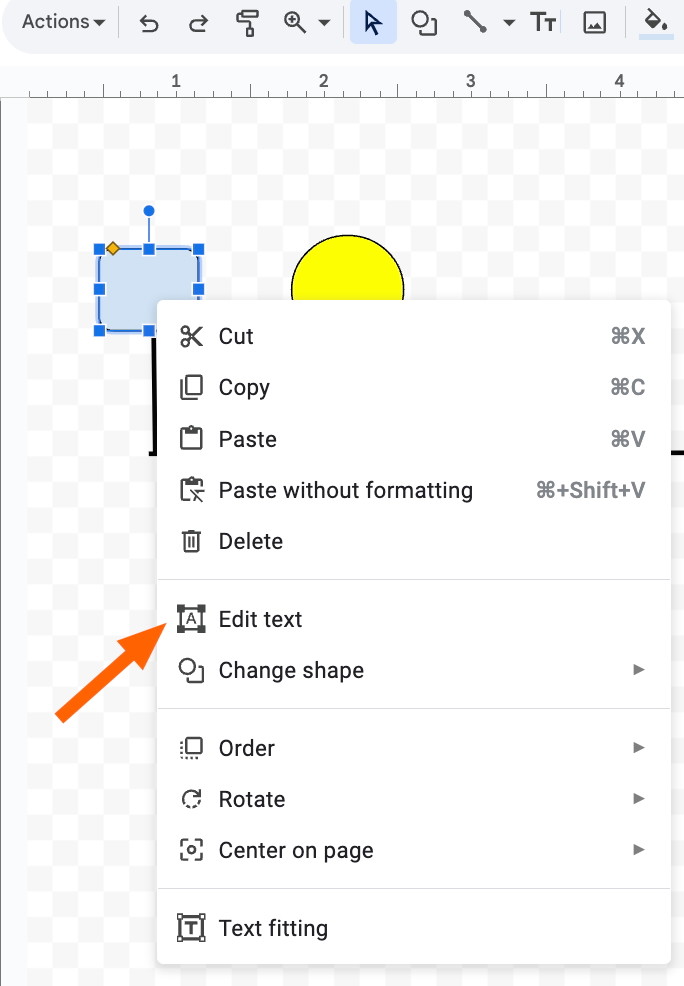
To add text, right-click inside the shape and choose Edit text. You can then use the text tools to change the font, size, and other characteristics.
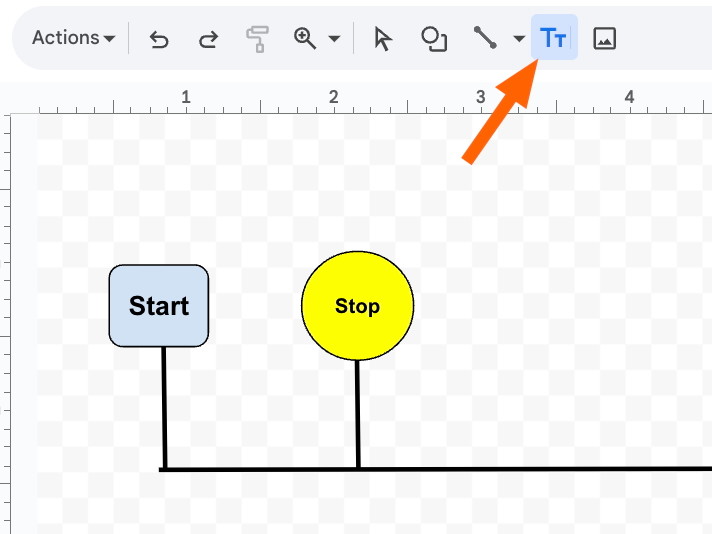
Directly below each of the vertical marker lines, add a text box by clicking the Text box button. Then click and drag to create a text field below each vertical marker.
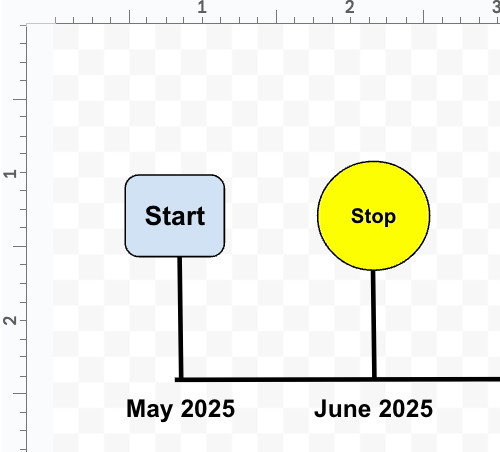
In each text box, add key details like dates, milestones, or project phases.
When your timeline is done, click Save and close at the top right of the window. That will drop your finalized timeline into your Google Doc.

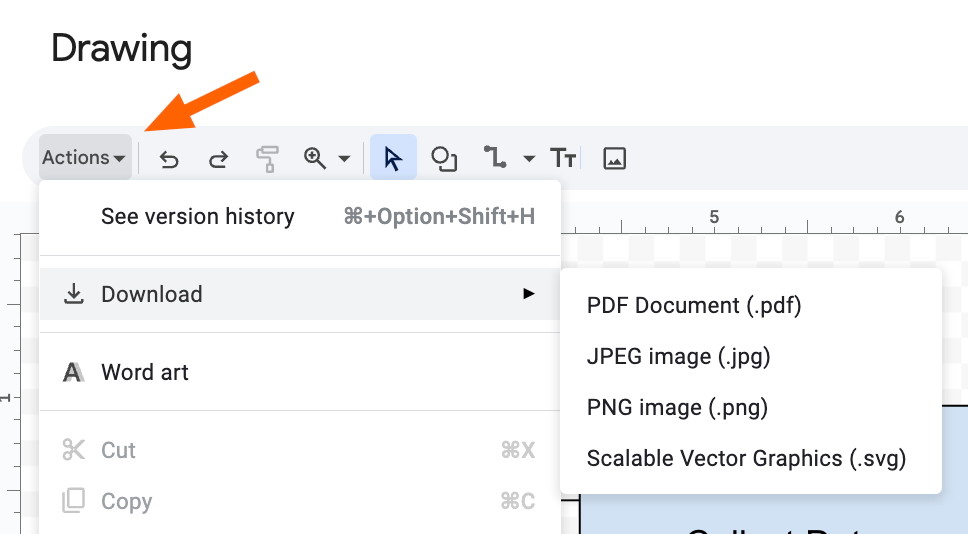
If you want to use the image of the timeline somewhere else, like in a presentation, click the Actions button in the Google Drawings menu and select Download, then choose the format and save it to your Google Drive or your device.
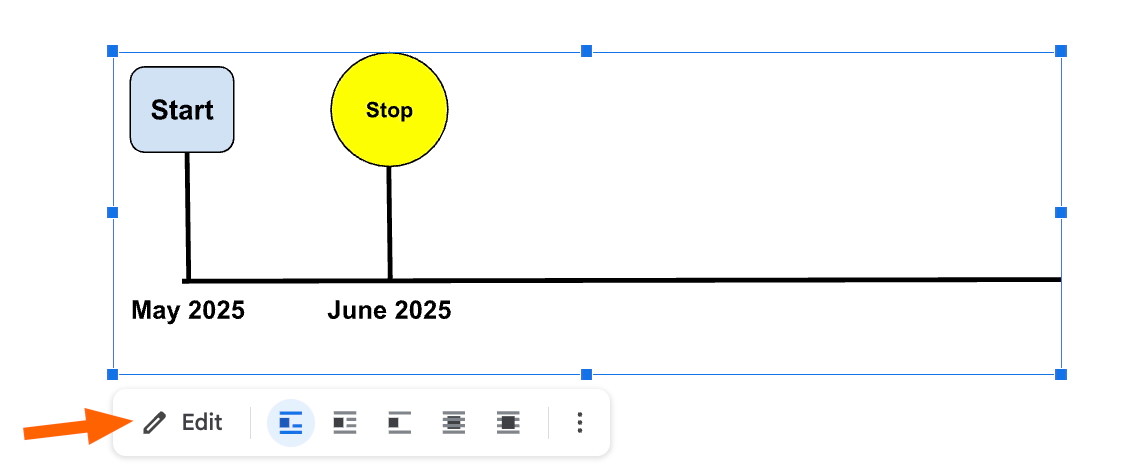
If you want to edit the timeline image, click on it and select Edit. This will reopen the Google Drawings window.
Additional timeline styling
While creating timelines is a helpful feature in Google Docs, let's just say the finished products don't necessarily look incredible. If you feel like getting fancy with your timeline, here are a few ways to spruce it up.
Color coding
Use different colors for different types of events. For example, you can use blue for milestones, green for task completion points, and red for deadlines to make the timeline visually intuitive. Or assign colors to specific teams so they better understand where they enter a project, who they're following, and who they're handing off their work to.
With more complex timelines, creating clear periods of time using color can help your team focus on what's happening now and what's still to come. If, hypothetically, a Tyrannosaurus Rex were to look at the aforementioned prehistoric timeline, she might find that she entered history in the Cretaceous period—called out in blue in that particular library book.
You can also use these colors to create more detailed timelines that fit within a set time frame.
Adjust line styles
Vary line thickness or style when you want to emphasize key milestones or phases. This is especially helpful if there are distinct stages in a project (or major events that punctuate a period of history) that you need to call attention to for context.
Adding a meteor to the end of the project timeline? Maybe highlight it with some bold lines.
Add visual cues
If you're going to use your timeline to show how to complete an upcoming project, it can help to add visual cues when you need to make dependencies or deadlines as clear as possible.
To connect events, use the Arrow tool in Google Drawings to clearly show dependencies between tasks. You can use thicker lines in different colors to show when different people (or dinosaurs) come on board for certain tasks.
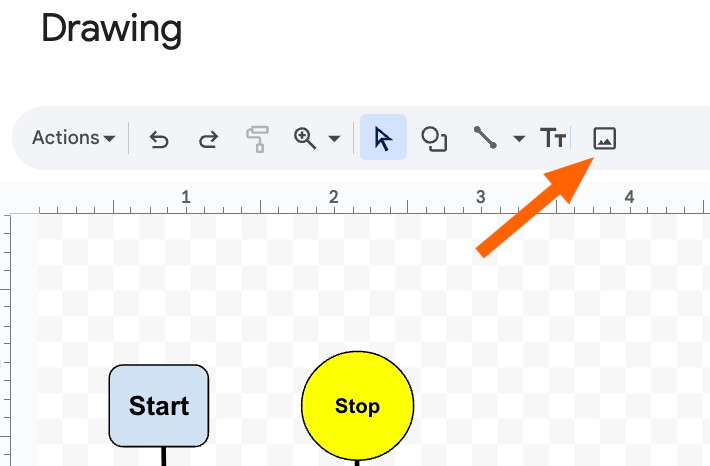
Incorporate images
If you really want your timeline to capture the attention of anyone who sees it, you can add images. Click the Images button and choose the photo, icon, or illustration you want from your computer or Google Drive, or search Google to find the perfect image.
If you're having trouble getting images to show up the way you want, Google Docs add-ons can make working with images in Docs easier.
Build and use templates
To scale your timeline efforts, Google Docs also lets you create and autopopulate templates. If you're tasked with building a bunch of timelines for upcoming work projects or you want visual aids to enhance a report, having a timeline template ready to go will save you from having to remember how to build a timeline from scratch.
Level up your Google Docs with automation
Learning how to make a timeline on Google Docs is just one of the many powerful things you can do with Google's suite of tools. If you're rushed and trying to complete a project before a major extinction event, you might want to try some of Zapier's Google Docs integrations.
You can automatically create new Docs using form submissions, send email alerts when edits are completed, and much more. Google Docs automations may be too late to save the dinosaurs, but they can still help you build fully automated systems for your work. Here are a few pre-made templates to get you started.
More details
Zapier is the most connected AI orchestration platform—integrating with thousands of apps from partners like Google, Salesforce, and Microsoft. Use interfaces, data tables, and logic to build secure, automated, AI-powered systems for your business-critical workflows across your organization's technology stack. Learn more.
Related reading: