If you use Facebook Lead Ads to collect information through forms, you know it's a great way to capture genuine interest from people already engaging with your content. From product launches to discount sales and even new board game meetups, you can target the right people with tailored messaging that speaks directly to their interests.
The only problem? Once you've captured those leads in Facebook, you'll want to take action on them in other apps—without manually exporting and uploading lists.
Enter: automation. With Zapier, you can create a single automated workflow—what we call Zaps—that sends out a personalized email and adds lead data to an ongoing Google spreadsheet at the same time. Give your entire team access to lead data and quickly follow up with leads without going to Facebook.
This workflow requires a multi-step Zap, which is available on a paid Zapier plan or during a free trial. Learn more about multi-step Zaps. Facebook Lead Ads is also a premium app—available on Zapier's paid plans. Learn more about premium apps.
Before you begin
Before you get started, make sure your Facebook Leads Ads settings are such that you're capturing the full name and email of users interacting with your Facebook ad.
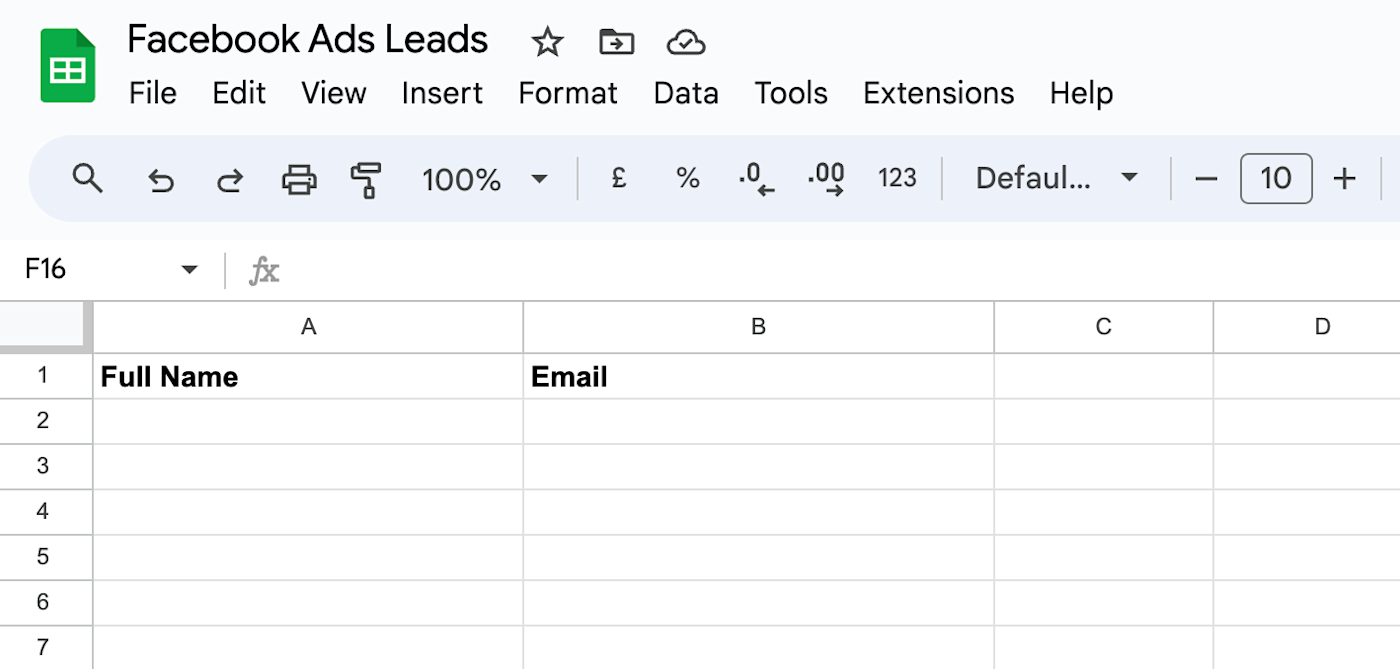
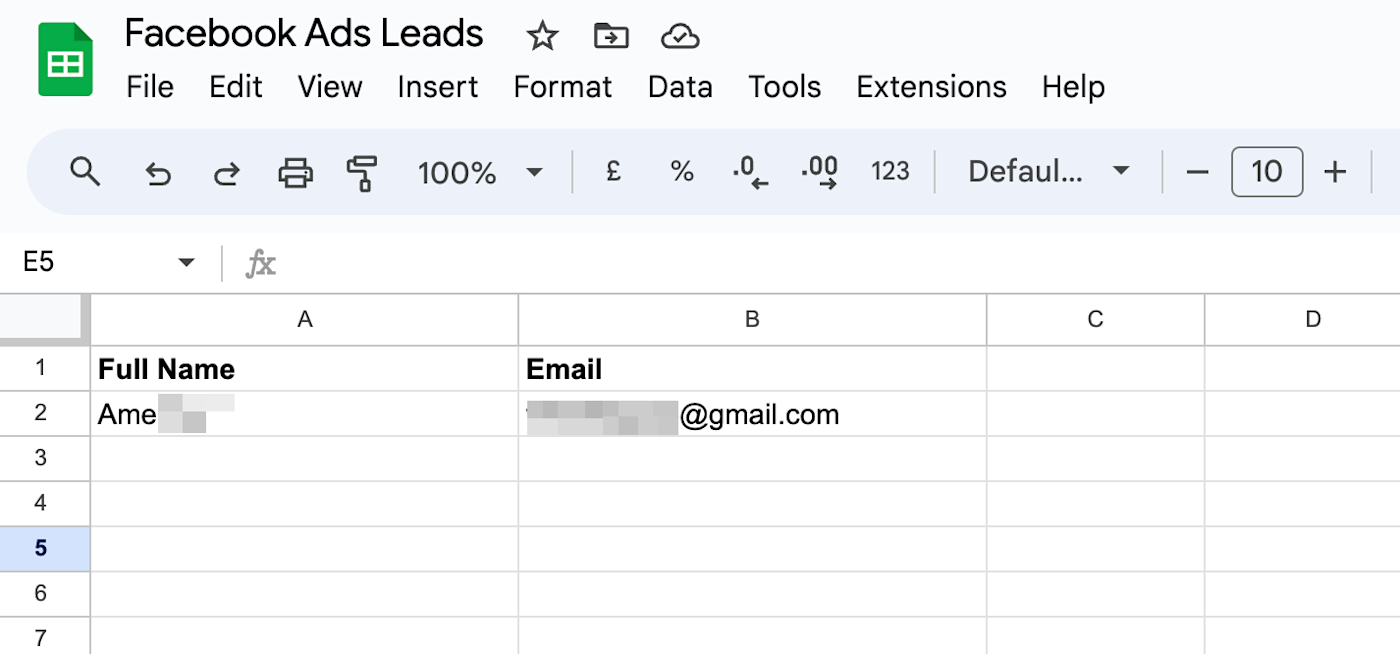
Next, create a new spreadsheet in Google Sheets and create headers that correspond to the data you're trying to collect. The Zap won't work correctly if your spreadsheet doesn't have a header row.
In this example, we're collecting a person's full name and email address for joining a local board game meetup. If you wanted, you could also add a column for keeping track of the email you'll send in your second action step of this Zap.
How to add Facebook Leads to Google Sheets and Gmail
Zapier lets you create automated workflows called Zaps, which send your information from one app to another. You can create your own Zap from scratch without any coding knowledge, but we also offer quick templates to get you started.
If you'd like to start with a template, click the template below, and you'll be taken to the Zap editor. You'll need to create a Zapier account if you don't already have one. Then, follow the directions below to set up your Zap.
Send a Gmail email and add a spreadsheet row to Google Sheets for new leads in Facebook Lead Ads
Set up your Facebook Lead Ads trigger
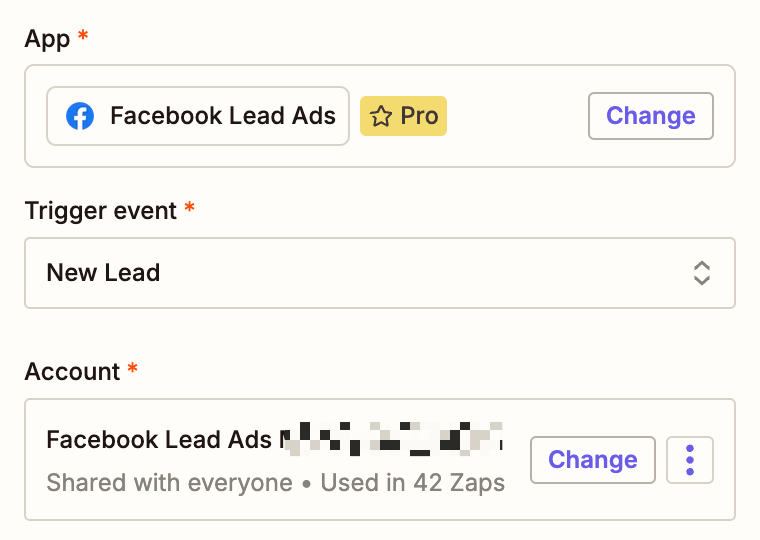
Let's start with the trigger—the event that starts your Zap. If you're using the Zap template, this will be selected for you. Otherwise, search for and select Facebook Lead Ads as the trigger app and New Lead as the trigger event. Then connect your Facebook account, if you haven't already, and click Continue.
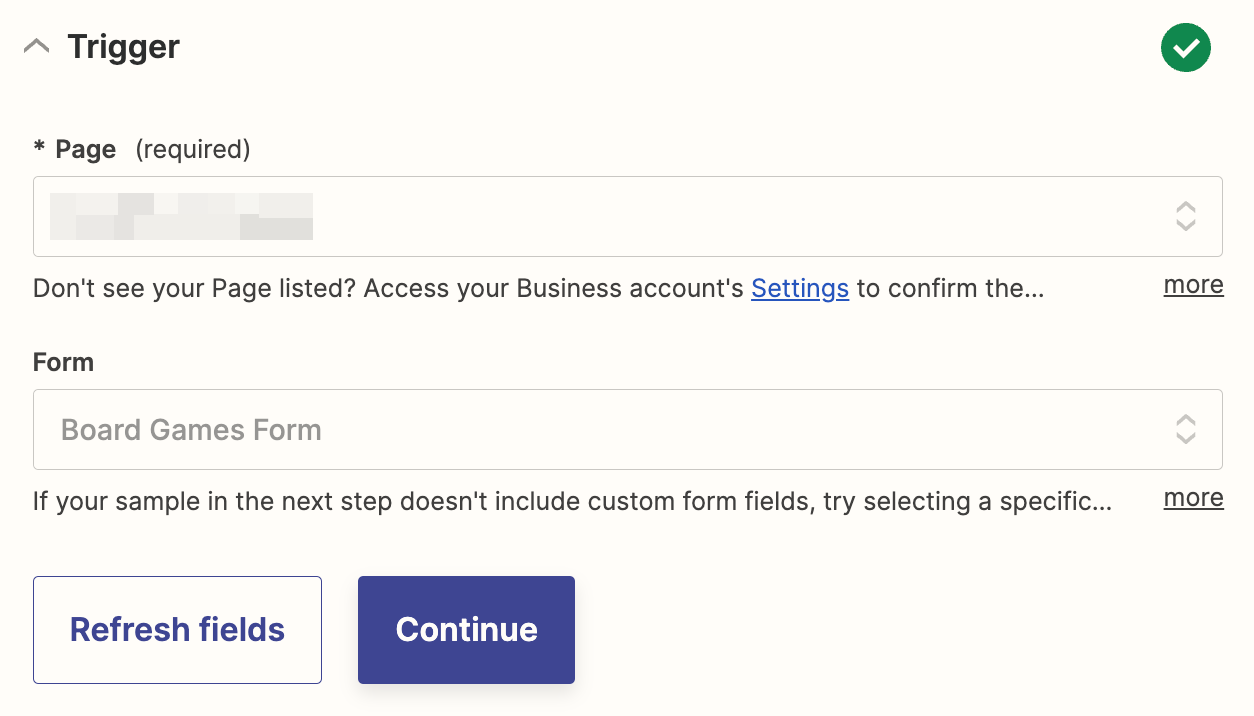
To set up the trigger, select the Facebook Page and Form you'd like to use in this Zap. Then, click Continue.
Now, it's time to test your trigger step. This will gather information from the Facebook Ads form that will be used to set up the rest of your Zap. Before clicking Test trigger, make sure there's at least one submission in the form (you can add fake testing data if you don't have any submissions).
Zapier will show you the most recent data from the ad form.
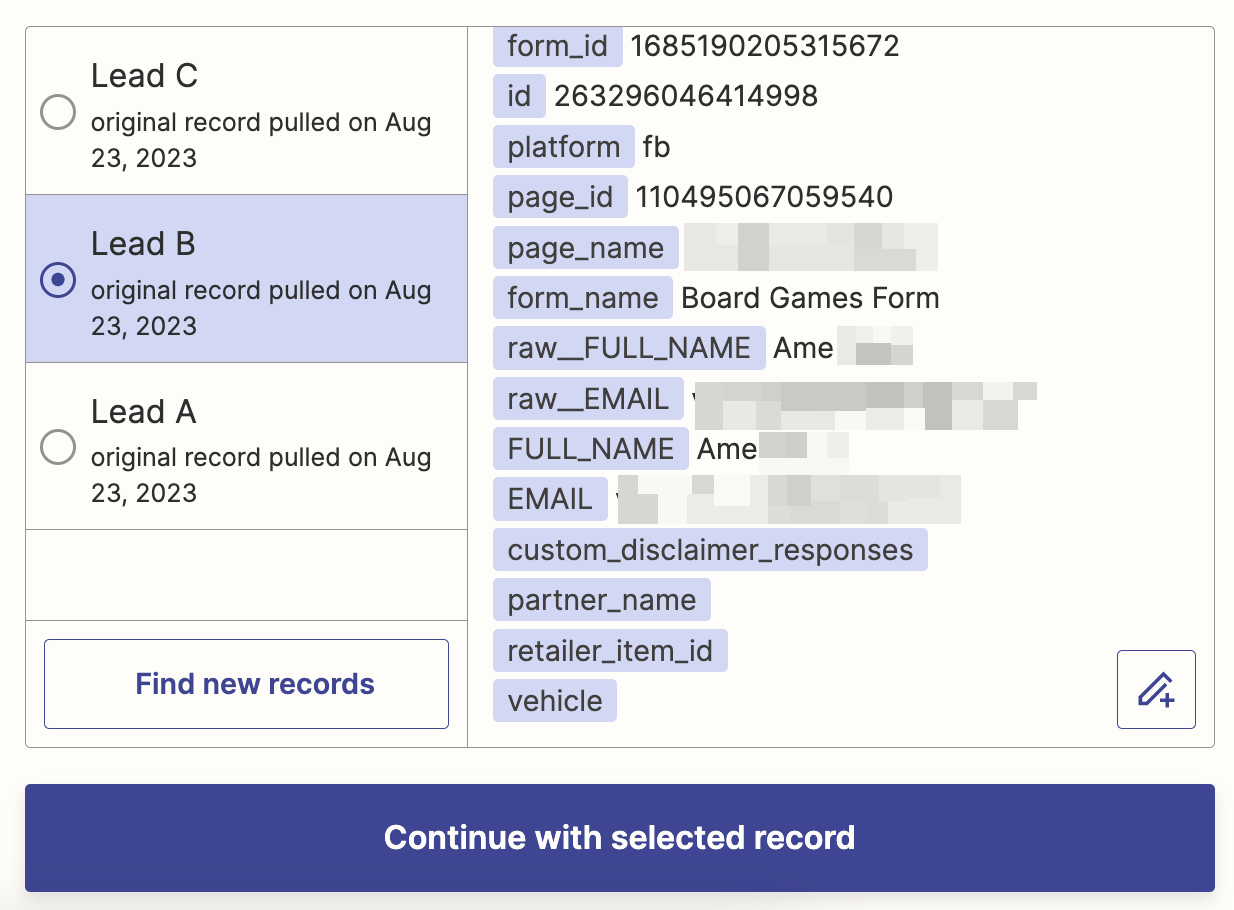
Click Continue with selected record to move on to setting up your action step.
Set up your Gmail action
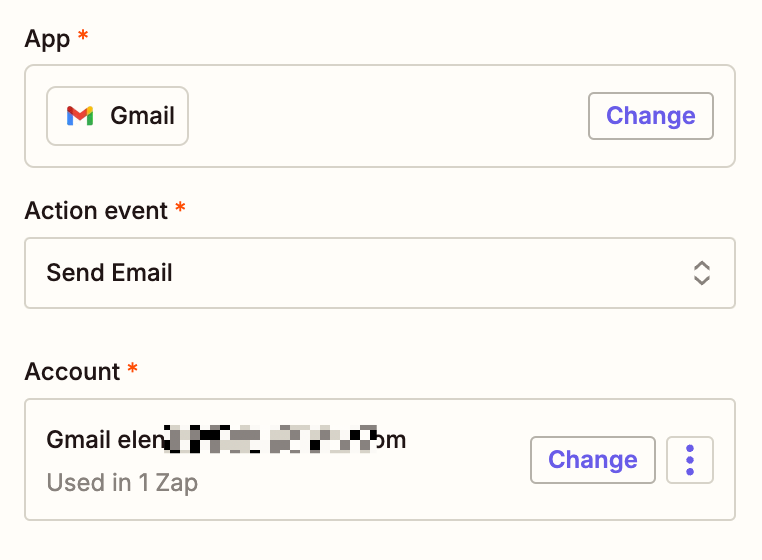
Now it's time to set up the action that will send out the email—the event your Zap will perform once it's triggered. If you're using the Zap template, these will already be selected for you. Otherwise, search for and select Gmail as your action app and Send Email as your action event. Next, connect your Gmail account, if you haven't already, then click Continue.
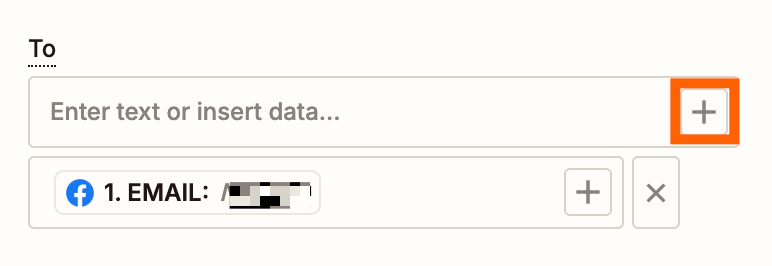
Now, it's time to customize your action step. First, click the + icon in the To field and select either Email or Raw Email from the list of options. This will ensure the email is sent to the email address collected in your previous Facebook Lead Ads step.
Next, customize the From Name section. Here, you can automatically input the Facebook page's name or use something else.
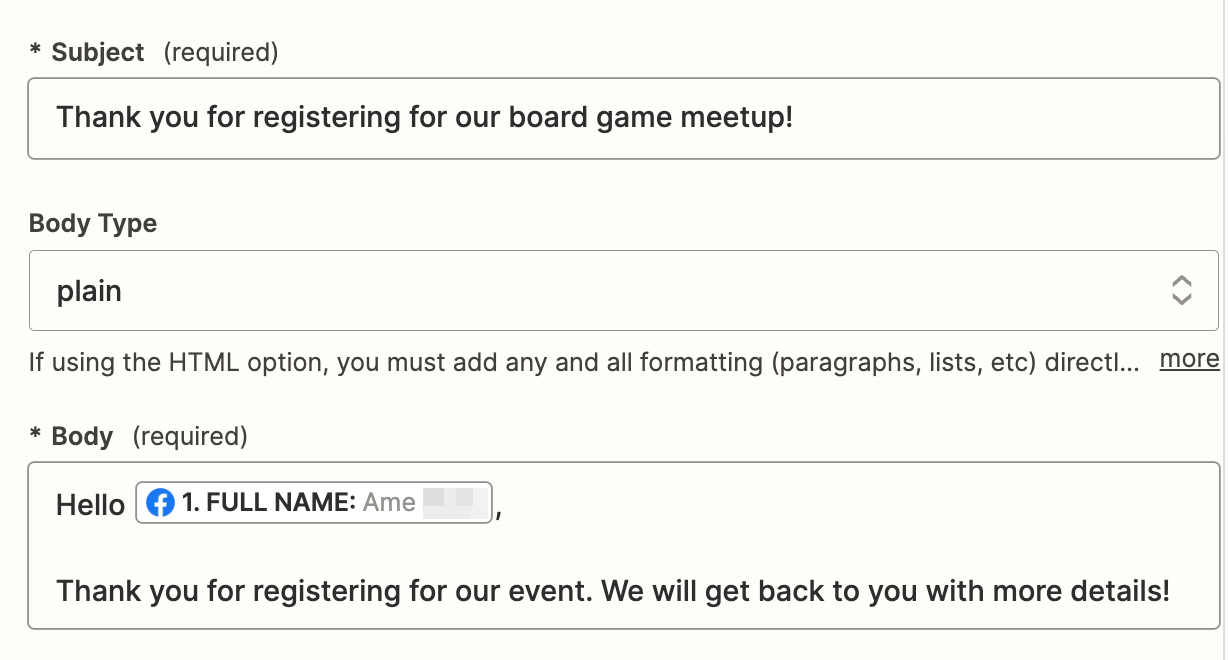
Use the Subject field to create an eye-catching subject line.
Craft the email copy in the Body field. Write in the static copy you'd like to repeat each time. You can also add data from your previous Facebook Lead Ads step—like the lead's name—by clicking in the field and selecting the data from the dropdown.
You can then add a custom signature or attachments if you'd like. Once you're ready, click Continue.
Next, click Test step, and Zapier will send a test email using the linked Gmail account. You will see the test date in the preview.
If it works correctly, you should also see an email in your sent emails in your Gmail inbox. This is what our successful email looked like.

Once you're happy with your step, click Continue to move on to the next action step.
Set up your Google Sheets action
Now it's time to set up the Google Sheets action—the event your Zap will perform once the email is sent. If you're using the Zap template, these will already be selected for you. Otherwise, click the + button at the end of the steps to add a new action.
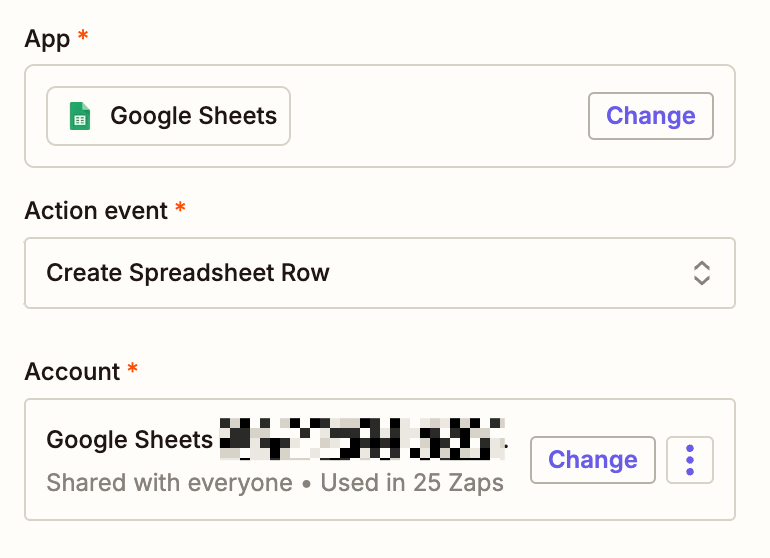
Search for and select Google Sheets as your action app and Create Spreadsheet Row as your action event. Connect your Google Sheets account if you haven't already, then click Continue.
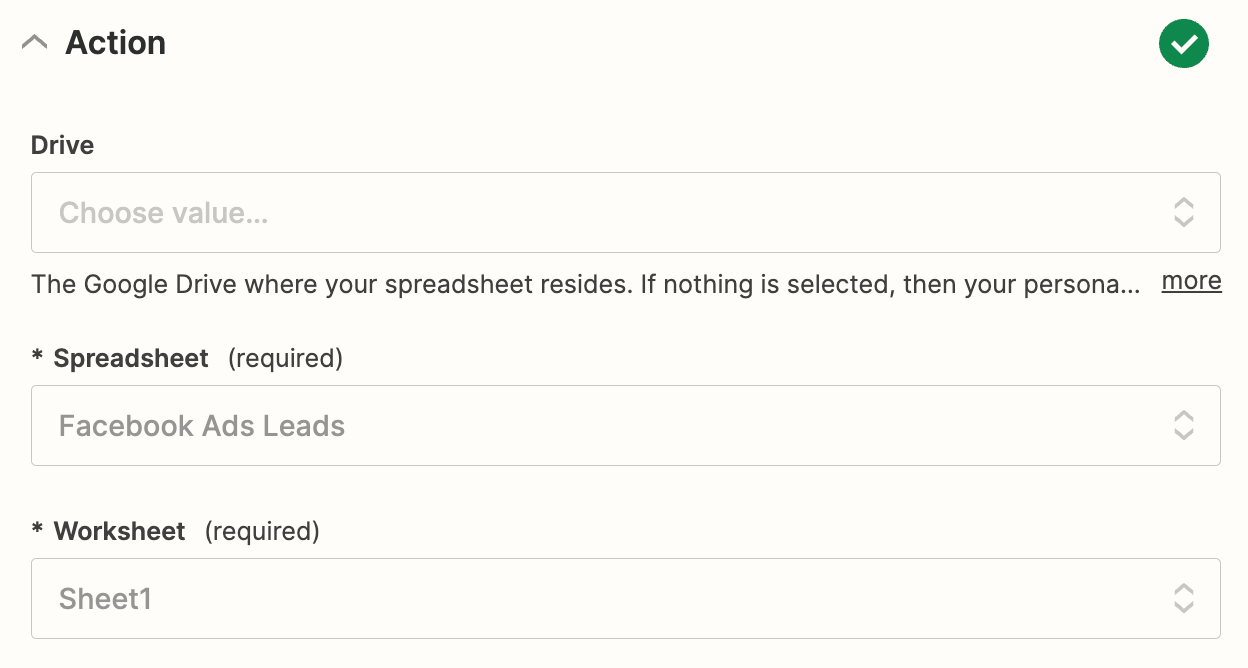
Let's customize the Google Sheets action now. First, choose the appropriate drive in the Drive field where your Google Sheet is stored. Next, select the Spreadsheet you created for the landing page, then choose the appropriate Worksheet (by default, it's "Sheet1").
Zapier will then automatically pull in the column headings you added to your sheet.
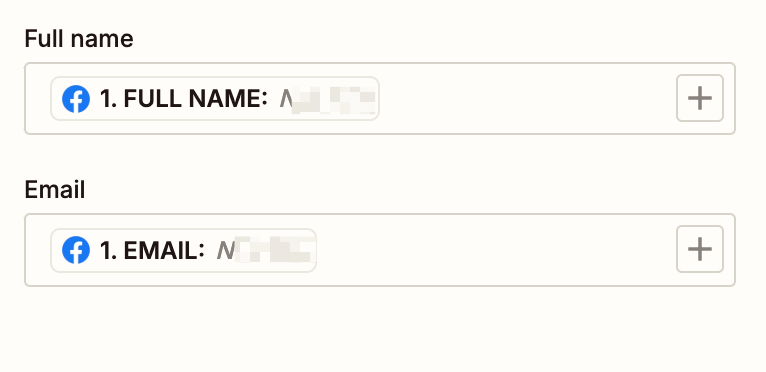
What's left now is to map our columns with the data from Facebook Lead Ads. To add the data from your previous Facebook Lead Ads step, simply click the + icon in a field and select the data you'd like to use from the list of options.
For our example, we'll add Full Name to the Full Name field and Raw Email or Email data to the Email field. Your mapping will depend on your landing page, but Zapier shows the data preview from the test, so it's quite easy to match the fields that you want.
Once that's done, click Continue.
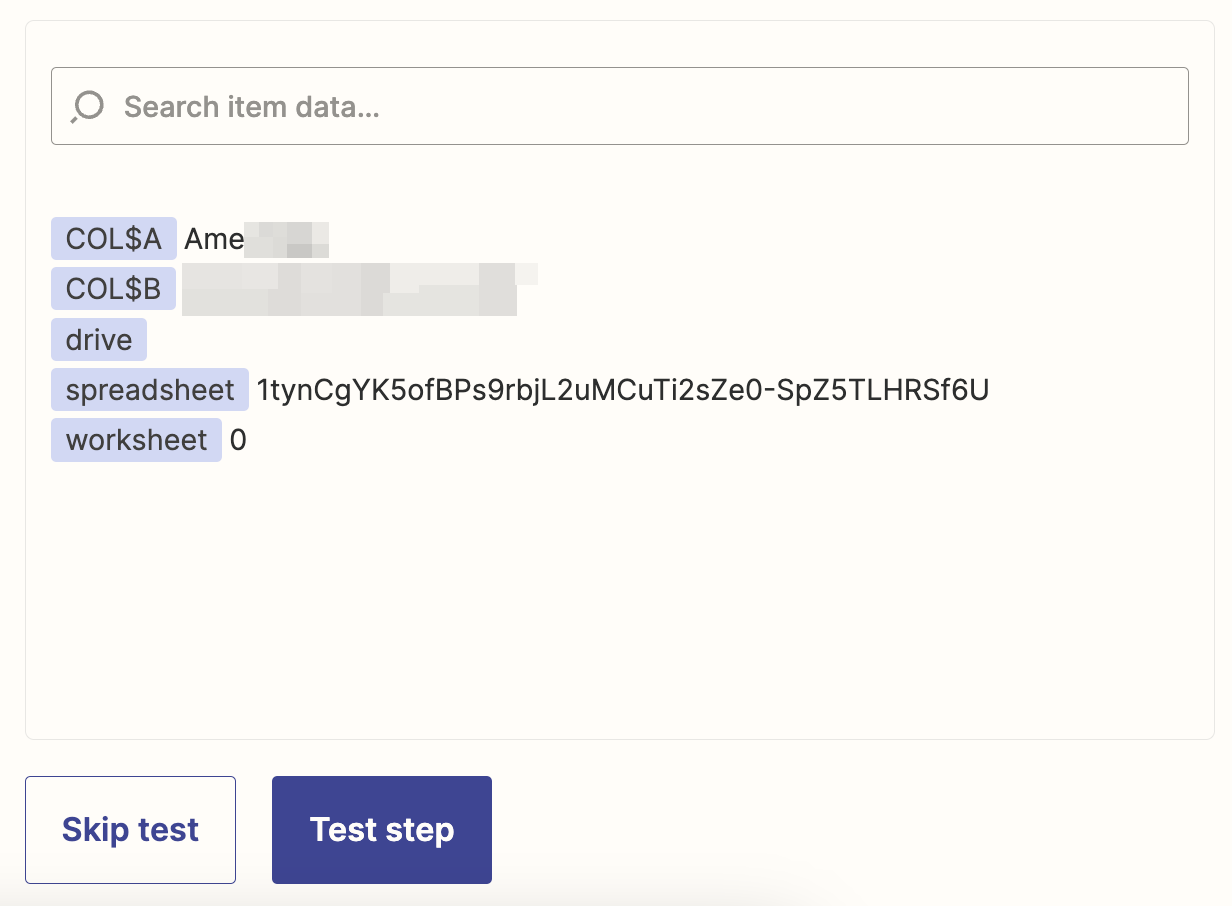
Click Test action, and Zapier will send the test data to the spreadsheet in Google Sheets. Check the results to make sure the right data is mapped to the appropriate columns.
If you'd like, you can go to your Google Sheets spreadsheet to double-check. Here's what the successful test results look like for us.
And that's all there is to it! Any time you get a new lead from a Facebook form, they will instantly receive a personalized email, and their data will be added to a new row in Google Sheets.
Bonus step: Add new Facebook leads to your CRM
To better keep your sales teams in the loop, you can add an extra step to your Zap that lets you log any new Facebook leads in your CRM. That way, your sales team can better keep a record of all the lead information in one place, making it easier to track progress and follow up with any additional outreach if needed.
Instead of manually chasing down leads, you can bridge the gap between marketing and sales so that any handoffs are seamless without losing valuable information.
To do this, add another step to your Zap. Then search for and select Salesforce as your action app and Create Lead as your action event.
Note: If you don't use Salesforce as your CRM, you can swap it out for any other CRM tool supported by Zapier.
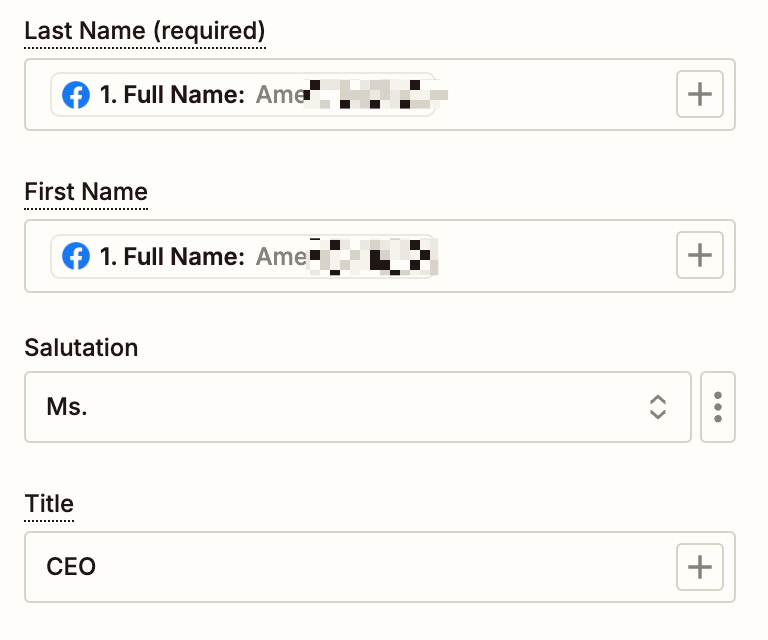
Once you've connected your CRM account, customize each field to ensure that lead's contact details are properly mapped to the right places. Here's an example using Salesforce:
Once you've finished customizing your fields, just remember to switch on your Zap. Now, every new lead from your Facebook Lead Ads account will be automatically added to your CRM, helping your sales teams stay in the loop.
Related reading:
This article was originally published in September 2023. It was most recently updated by Elena Alston in March 2025.